
1. Wprowadzenie
This manual provides detailed instructions for the setup, operation, and maintenance of your NEEWER 16MP 1080P HD Trail Game Camera, Model 10095110. Designed for wildlife monitoring, hunting, and security applications, this camera features high-resolution imaging, fast trigger speed, and robust weather resistance.
2. Składniki produktu
W skład pakietu wchodzą następujące elementy:
- NEEWER Trail Game Camera
- Pasek montażowy
- Kabel USB
- Wspornik montażowy i śruby
- Instrukcja obsługi
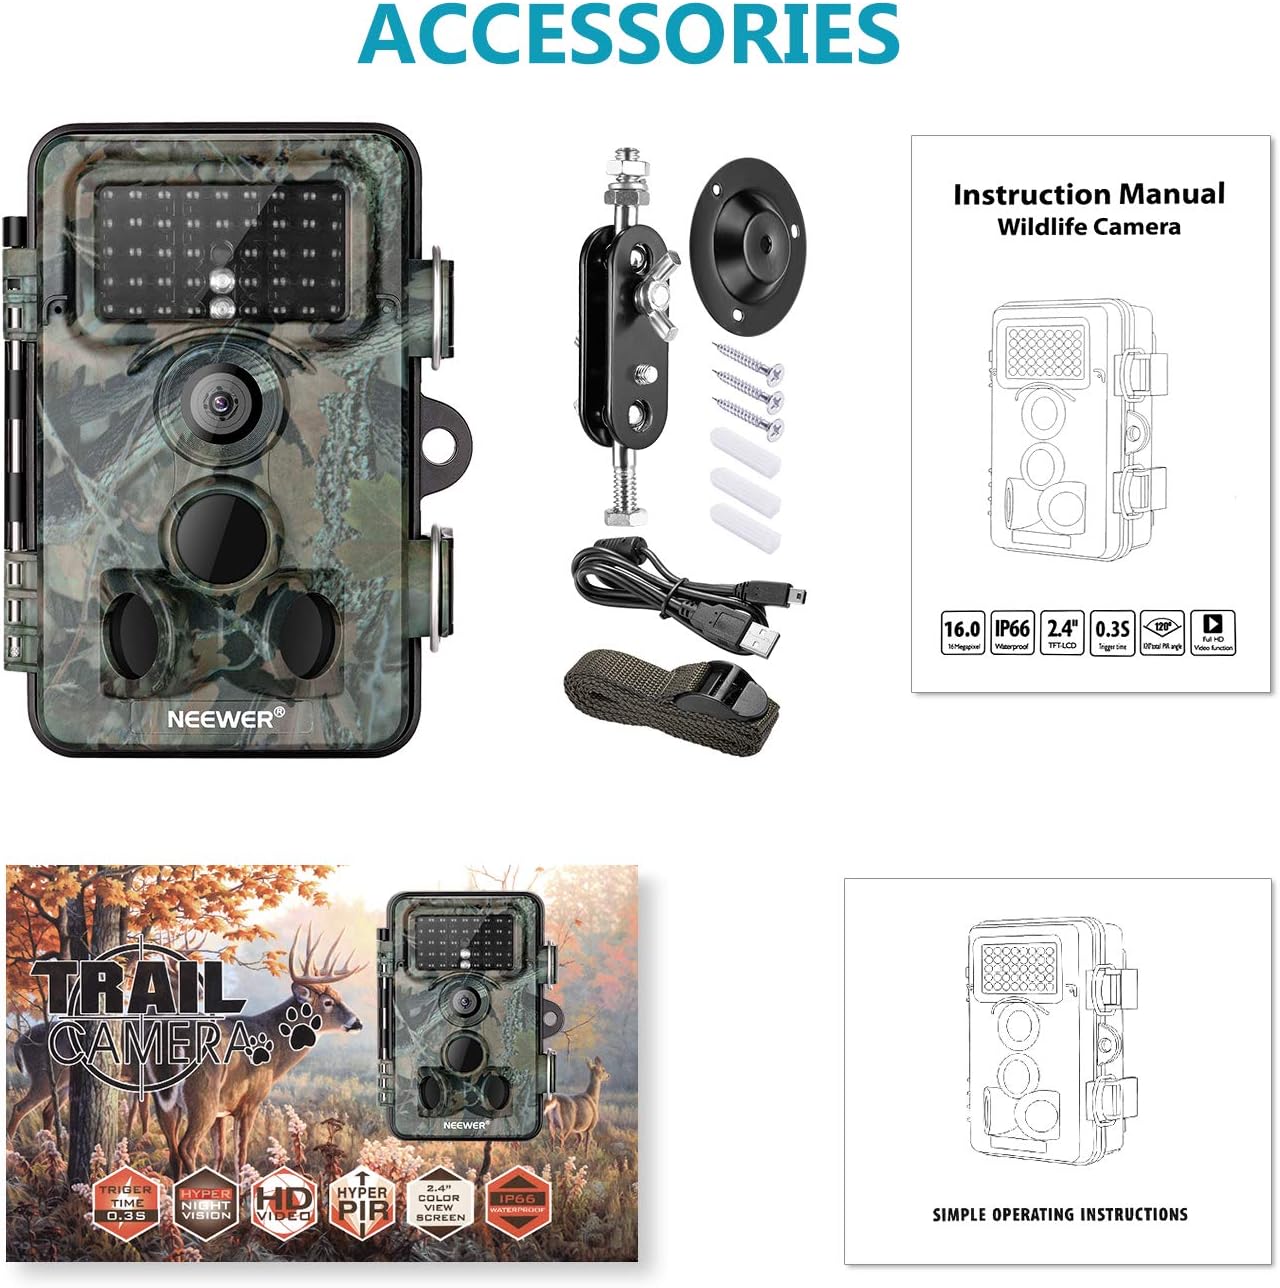
Figure 2.1: Included components of the NEEWER Trail Game Camera package.
3. Główne cechy
- 16 Megapixel Still Images: Capture high-resolution photos of wildlife.
- Wideo w jakości Full HD 1080P: Record clear video footage.
- Prędkość wyzwalania 0.3 s: Rapidly capture motion-activated events.
- Obiektyw szerokokątny 120 stopni: Zapewnia szerokie pole view dla zapewnienia kompleksowego pokrycia.
- Motion Activated Night Vision: Equipped with 42pcs infrared LEDs for clear night shots up to 20m (65ft).
- IP66 Waterproof and Dustproof Design: Ensures durability in various outdoor conditions.
- 2.4-inch TFT-LCD Screen: For easy menu navigation and playback.

Figure 3.1: High Trigger Speed
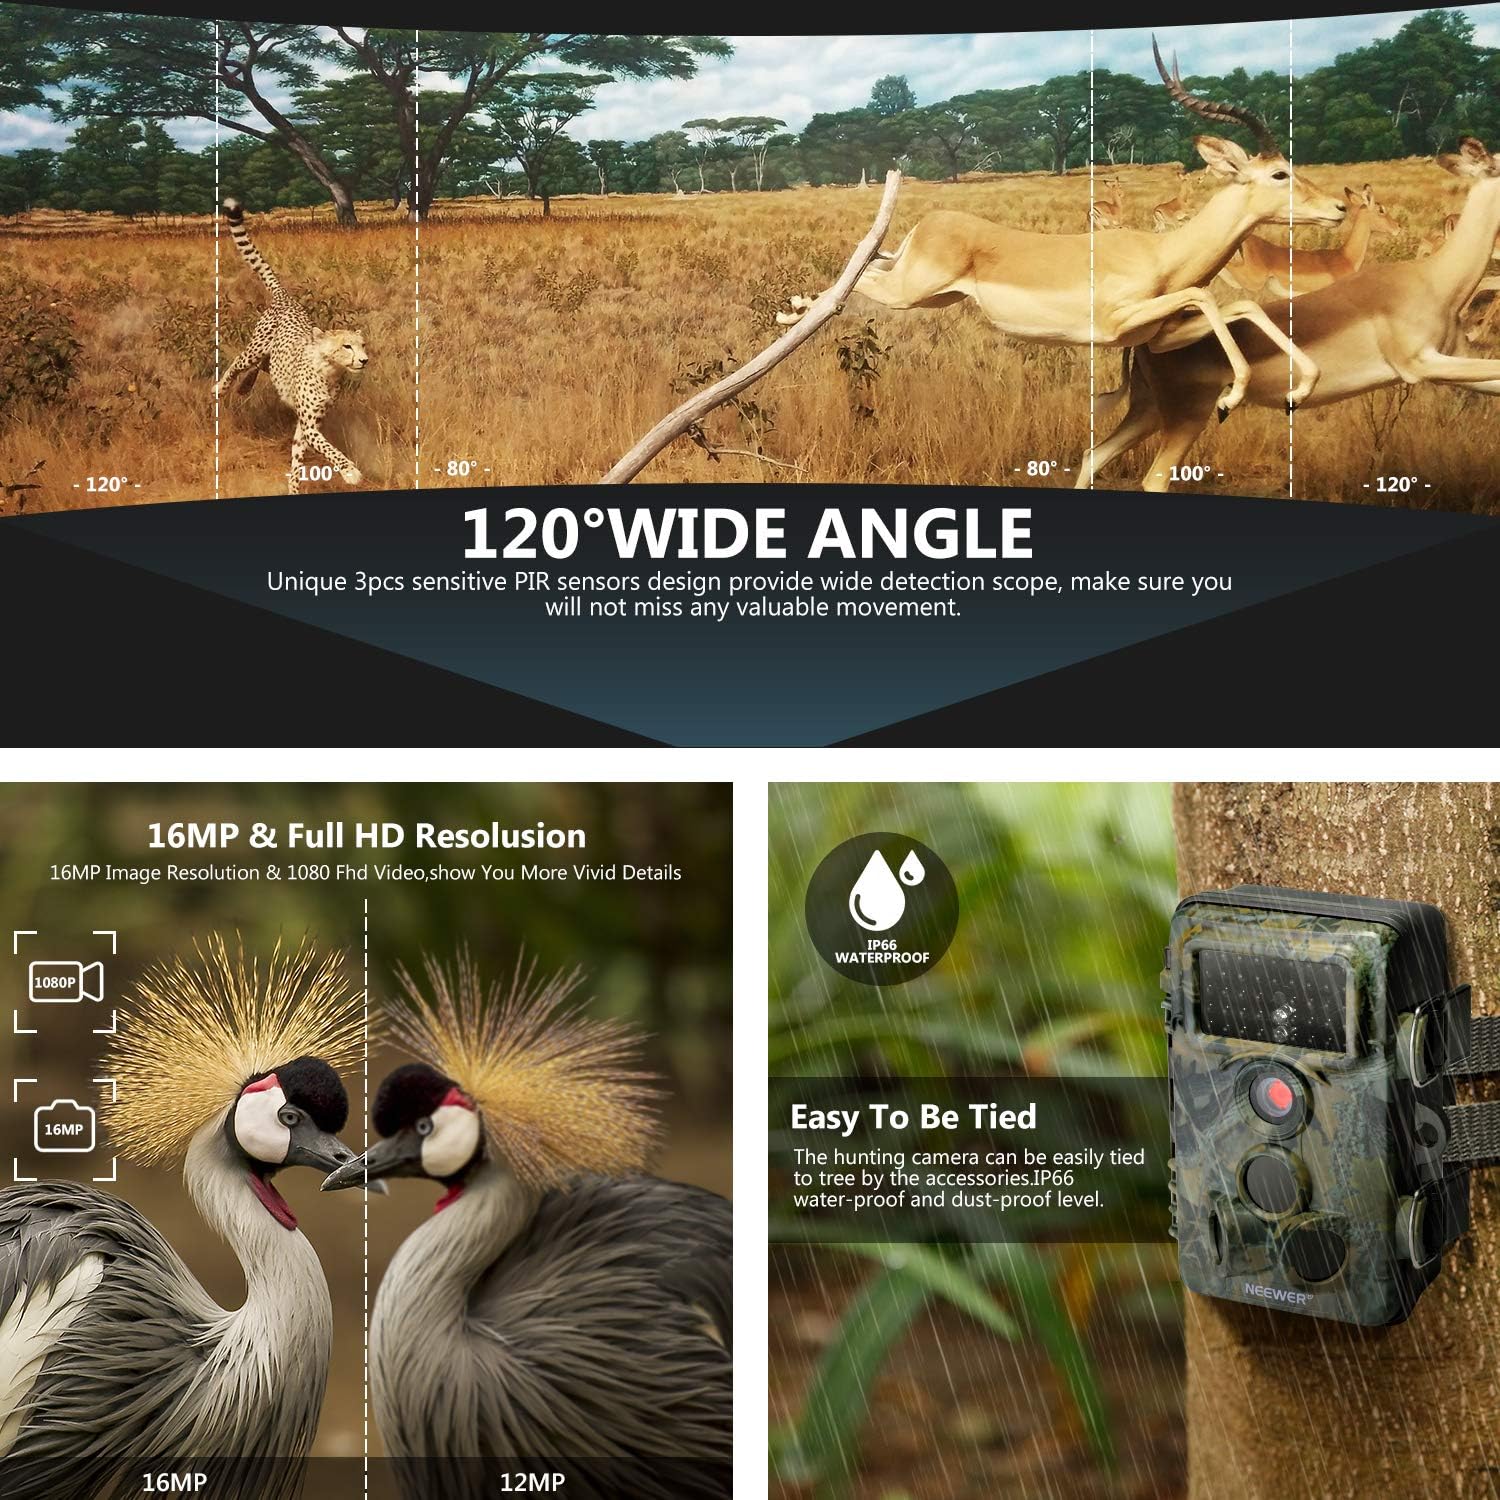
Figure 3.2: 120 Degree Wide Angle Lens

Rysunek 3.3: Super widzenie nocne
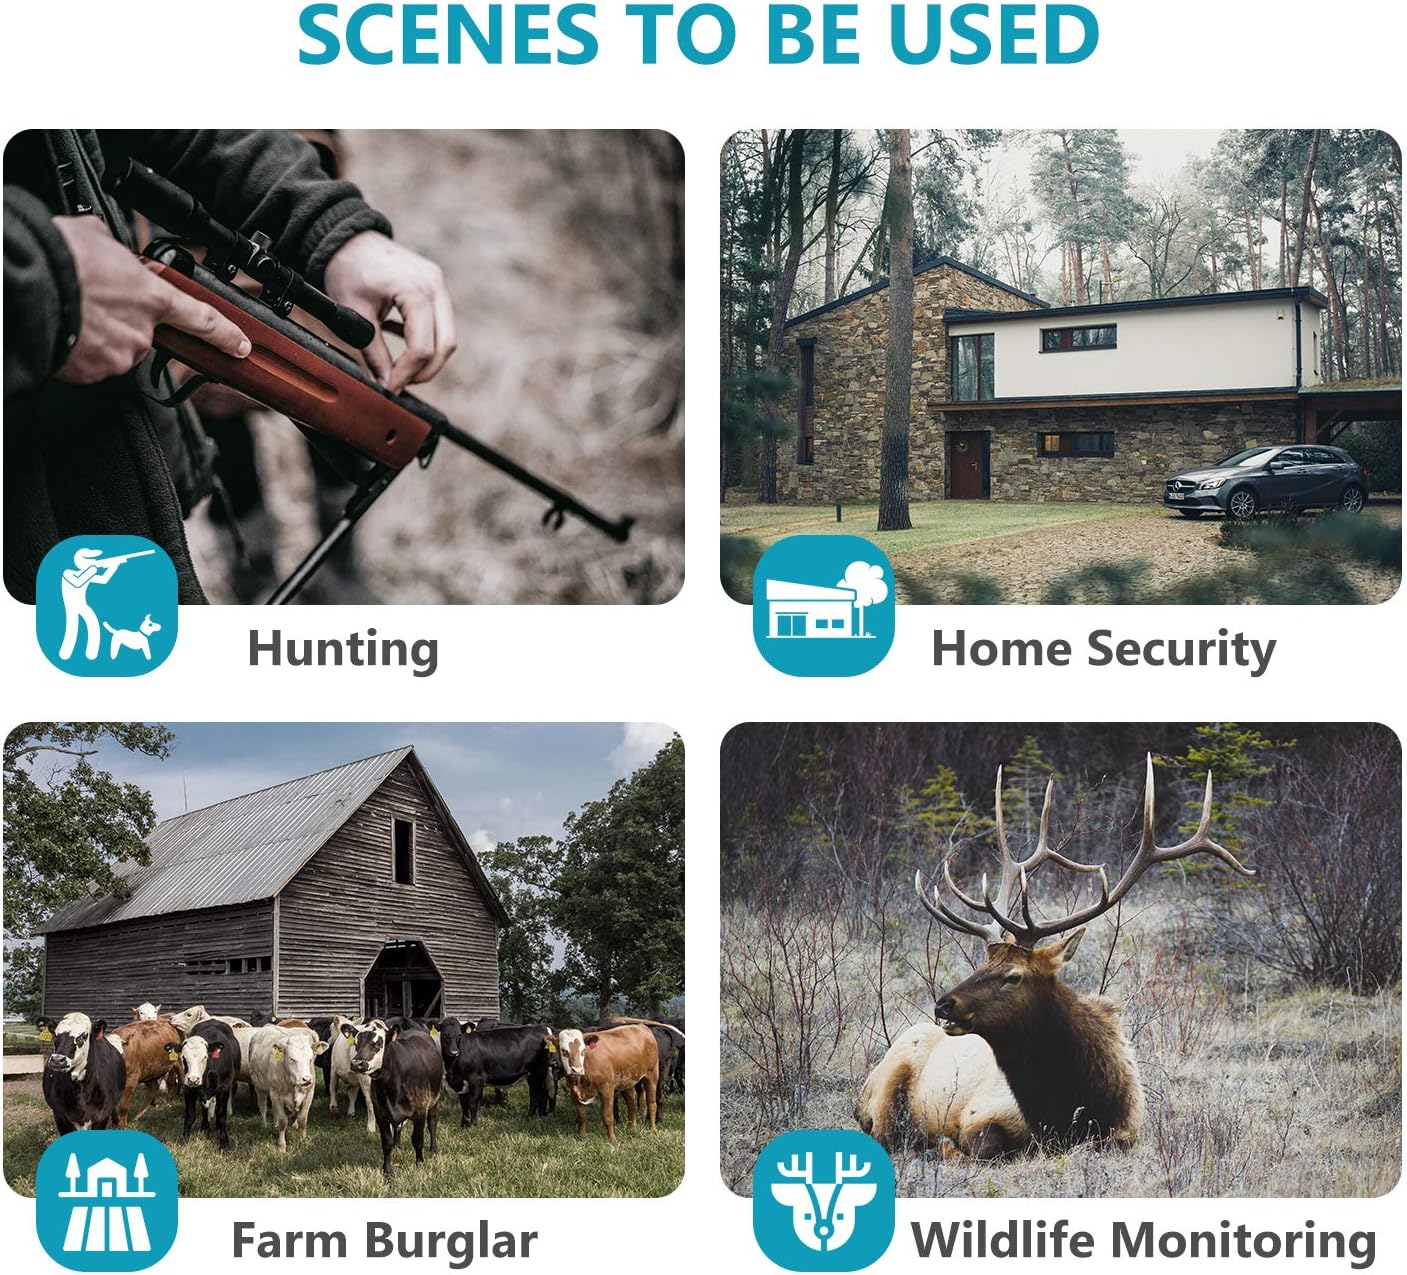
Rysunek 3.4: Różne scenariusze zastosowań
4. Konfiguracja
4.1 Battery and Power Installation
The camera operates on AA batteries (not included) and can be supplemented or powered by an external 6V/9V/12V DC power source, such as a compatible solar panel. Rechargeable batteries are recommended for sustained use.
- Open the camera's housing by unlatching the side clips.
- Locate the battery compartment. Insert 4 or 8 AA batteries, ensuring correct polarity.
- If using an external solar panel (e.g., TKKOK X58 model), connect its output cable to the DC IN port on the camera. The solar panel can also have its own internal battery system.

Figure 4.1: Internal layout and connections of the camera.
4.2 Instalacja karty pamięci
The camera supports SD/SDHC memory cards up to 64GB. A memory card is required for storing photos and videos.
- Po otwarciu obudowy kamery znajdź gniazdo karty SD.
- Insert the SD card with the metal contacts facing the back of the camera until it clicks into place.
- Before first use, it is recommended to format the SD card via the camera's menu to ensure compatibility and optimal performance.
4.3 Montaż kamery
The camera can be mounted using the included strap or the mounting bracket.
- Mocowanie paska: Przeciągnij dołączony pasek przez otwory z tyłu aparatu i zamocuj go na drzewie lub słupie.
- Montaż wspornika: Attach the mounting bracket to a surface using the screws. Then, attach the camera to the bracket using its 1/4-inch tripod thread.
- Position the camera to cover the desired area, ensuring the PIR sensors have an unobstructed view.
5. Instrukcja obsługi
5.1 Power On/Off and Mode Switch
The camera has a 3-position mode switch: OFF, SETUP, and ON.
- OFF: Wyłącza kamerę.
- USTAWIAĆ: Allows access to the menu, settings, and image/video playback.
- NA: Activates the camera for motion-triggered recording. The screen will turn off after a few seconds to conserve power.
5.2 Nawigacja po menu
Use the control buttons (MENU, OK, Up/Down/Left/Right arrows, REPLAY) to navigate the camera's settings.
- Naciśnij MENU aby wejść do menu ustawień.
- Użyj W górę/w dół arrows to scroll through options.
- Naciskać OK aby wybrać opcję lub potwierdzić ustawienie.
- Użyj Lewo/Prawo arrows to change values or navigate sub-menus.
- Naciskać POWTÓRNA ROZGRYWKA Do view zrobione zdjęcia i filmy.
5.3 Photo/Video Modes and Settings
In SETUP mode, you can configure various parameters:
- Tryb: Wybierz opcję Zdjęcie, Wideo lub Zdjęcie+Wideo.
- Rozmiar zdjęcia: Set image resolution (e.g., 16MP, 12MP).
- Rozmiar wideo: Set video resolution (e.g., 1080P, 720P).
- Długość filmu: Define the duration of video recordings.
- Czułość PIR: Adjust the sensitivity of the motion sensors.
- Upływ czasu: Enable time-lapse photography.
- Data/Godzina: Ustaw aktualną datę i godzinę.
5.4 Widzenie nocne
The camera automatically switches to night vision mode in low-light conditions, utilizing its infrared LEDs to capture clear black and white images/videos without disturbing wildlife.
Film 5.1: Oficjalny produktview highlighting key features like trigger speed, wide angle, and night vision.
6. Konserwacja
6.1 Odporność na warunki atmosferyczne
The camera features an IP66 waterproof and dustproof rating. Ensure the housing is securely latched and all port covers are tightly sealed to maintain its weather resistance.
6.2 Pielęgnacja baterii
Regularly check battery levels, especially if not using a solar panel. Replace or recharge batteries as needed. For optimal performance, use high-quality rechargeable AA batteries.
6.3 Zarządzanie kartą pamięci
Periodically format the SD card to prevent data corruption and ensure sufficient storage space. Back up important footage to a computer before formatting.
6.4 Czyszczenie
Gently clean the camera lens and PIR sensors with a soft, dry cloth to ensure clear images and proper motion detection. Avoid using abrasive cleaners.
7. Rozwiązywanie Problemów
- Kamera nie włącza się: Check battery installation and ensure batteries are charged. Verify external power source connection if used.
- Słaba jakość obrazu/wideo: Ensure the lens is clean and free from obstructions. Check resolution settings in the menu.
- No recordings: Verify that the SD card is inserted correctly and has sufficient free space. Format the SD card if necessary. Check PIR sensitivity settings and ensure the camera is in 'ON' mode.
- Nadmierne rozładowywanie baterii: This can occur with frequent triggers or in very cold weather. Consider using a solar panel for continuous power or higher capacity rechargeable batteries.
- Water inside the camera: Ensure all latches are securely closed and rubber seals are properly seated. If water ingress occurs, dry the camera thoroughly and check for any damage to seals.
- Short video recordings: If videos are shorter than set, check battery levels. Low battery can sometimes cause truncated recordings. Reformat the SD card.
8. Specyfikacje
| Efektywna rozdzielczość obrazu nieruchomego | 16 MP |
| Rozdzielczość przechwytywania wideo | 1080p |
| Szybkość wyzwalania | 0.3s |
| Pole View | 120 stopni |
| Zakres noktowizora | Up to 20m (65ft) with 42pcs Infrared LEDs |
| Międzynarodowa Ocena Ochrony | IP66 (wodoodporność i pyłoszczelność) |
| Rozmiar ekranu | 2.4 Inches TFT-LCD |
| Typ pamięci flash | SD, SDHC (up to 64GB) |
| Źródło zasilania | AA Batteries (4 or 8), External DC 6V/9V/12V |
| Pozycja Wymiary (dł. x szer. x wys.) | 7.76 x 4.84 x 3.35 cala |
| Waga przedmiotu | 295 gram |
9. Gwarancja i wsparcie
For warranty information and technical support, please refer to the NEEWER official webOdwiedź stronę internetową lub skontaktuj się bezpośrednio z działem obsługi klienta. Zachowaj paragon jako dowód zakupu.
Ask a question about this manual
Ask about setup, troubleshooting, compatibility, parts, safety, or missing instructions. Manuals+ will review the question and use this page’s manual context to help answer it.