1. Wprowadzenie
This manual provides essential information for the safe and efficient operation of your Lenco L-30BK Belt Drive Turntable. Please read these instructions thoroughly before using the device and retain them for future reference. The Lenco L-30BK is designed for playing vinyl records at 33 and 45 RPM, featuring a built-in preamplifier and USB connectivity for digitizing your vinyl collection.
2. Informacje dotyczące bezpieczeństwa
- Źródło zasilania: Upewnij się, że napięcie zasilaniatagSpełnia wymagania określone na urządzeniu. Używaj wyłącznie dołączonego zasilacza.
- Woda i wilgoć: Nie wystawiaj urządzenia na działanie deszczu, wilgoci ani kapiących/rozpryskujących się płynów. Nie stawiaj na urządzeniu przedmiotów wypełnionych płynami, takich jak wazony.
- Wentylacja: Zapewnij odpowiednią wentylację. Nie blokuj otworów wentylacyjnych.
- Ciepło: Trzymaj urządzenie z dala od źródeł ciepła, takich jak grzejniki, kratki wentylacyjne, piece lub inne urządzenia (w tym amp(lifiers) wytwarzające ciepło.
- Czyszczenie: Przed czyszczeniem odłącz urządzenie od gniazdka ściennego. Użyj miękkiej, suchej ściereczki. Nie używaj środków czyszczących w płynie ani w aerozolu.
- Serwisowanie: Nie próbuj samodzielnie naprawiać tego produktu. Wszelkie czynności serwisowe należy powierzyć wykwalifikowanemu personelowi serwisowemu.
- Umieszczenie: Place the turntable on a stable, level surface to prevent vibrations and ensure proper playback.
3. Zawartość opakowania
Sprawdź, czy w przesyłce znajdują się wszystkie wymienione poniżej elementy:
- Lenco L-30BK Turntable Unit
- Osłona przeciwpyłowa
- Talerz
- Pas napędowy
- Slipmata
- Zasilacz sieciowy
- Kabel USB
- Kabel audio RCA
- Instrukcja obsługi
- Pick-up Needle (pre-installed on cartridge)
4. Koniec produktuview
Familiarize yourself with the components of your Lenco L-30BK turntable.

Rysunek 4.1: Przód view of the Lenco L-30BK Turntable with the dust cover open, revealing the main components including the platter, tonearm, and control buttons.

Rysunek 4.2: Rear panel connections of the Lenco L-30BK, including RCA audio outputs (L/R), USB port, DC12V power input, and the main power switch.
Kluczowe komponenty:
- Talerz: The circular platform where records are placed.
- Ramię: Zawiera wkładkę i igłę, która odczytuje rowki płyty.
- Cartridge and Stylus: Converts physical vibrations into electrical signals. The L-30BK features a Movable Magnet Sensor (MMC) with an individually replaceable stylus.
- Selektor prędkości: Switch to select between 33 and 45 RPM playback speeds.
- Automatyczne wyłączenie: Automatycznie zatrzymuje obrót talerza po zakończeniu płyty.
- Osłona przeciwpyłowa: Chroni gramofon przed kurzem, gdy nie jest używany.
- Wyjścia audio RCA (L/P): Do podłączenia do zewnętrznego ampgłośniki niskotonowe lub aktywne.
- Port USB: For connecting to a computer to digitize vinyl records.
- Wejście zasilania DC12V: Do podłączenia zasilacza.
5. Konfiguracja
5.1 Rozpakowywanie i umieszczanie
- Ostrożnie wyjmij gramofon z opakowania.
- Place the unit on a stable, level surface, away from direct sunlight, heat sources, and excessive dust or vibrations.
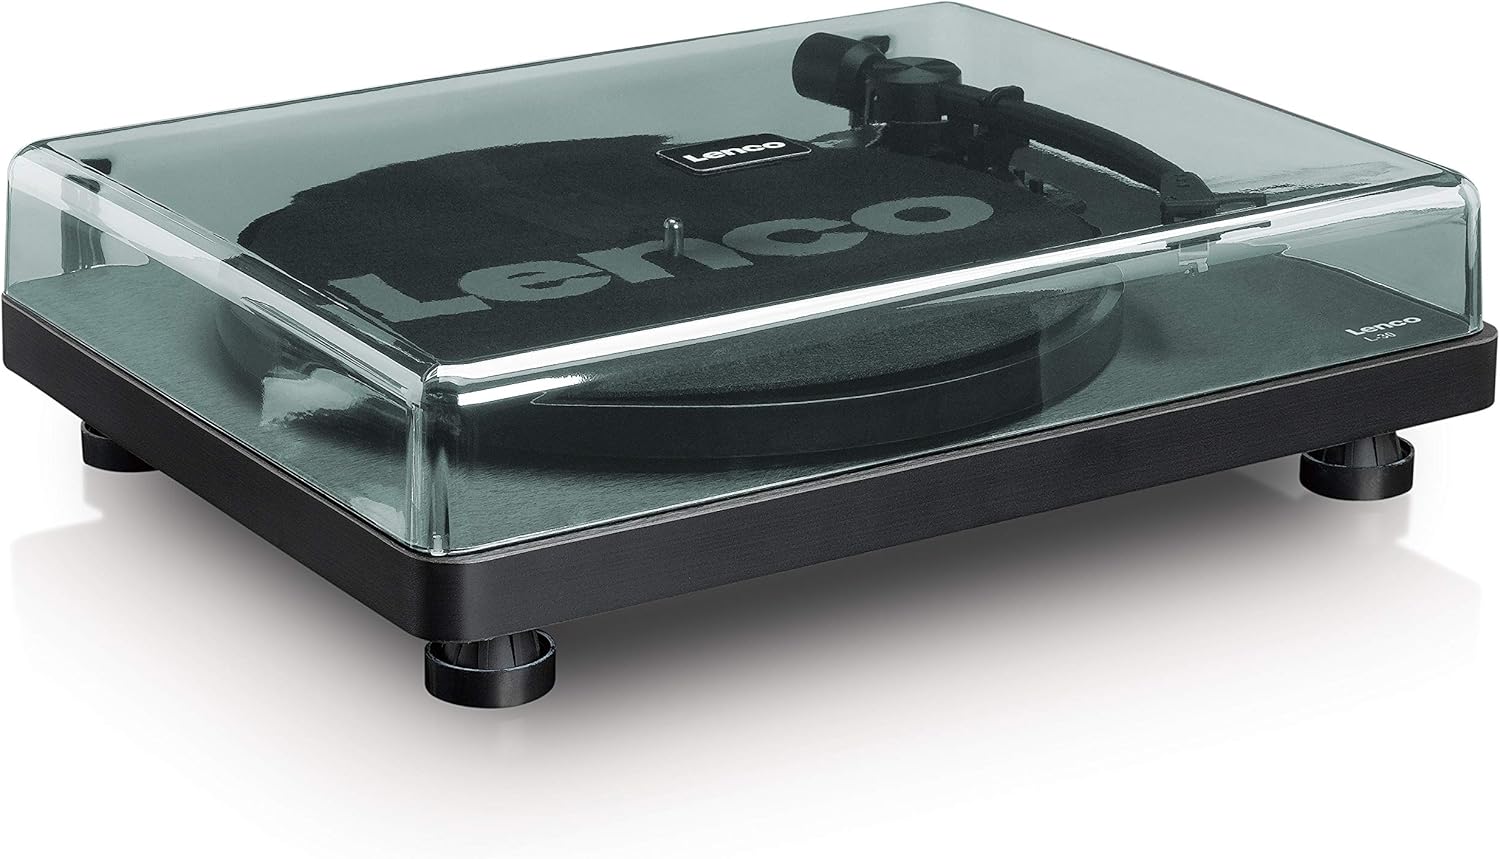
- Załóż osłonę przeciwkurzową, dopasowując jej zawiasy do otworów z tyłu gramofonu.

Rysunek 5.1: The Lenco L-30BK Turntable with its protective dust cover closed, ready for placement.
5.2 Montaż talerza i pasa
- Umieść talerz na wrzecionie gramofonu.
- Znajdź pasek napędowy, który zazwyczaj znajduje się pod talerzem lub jest zapakowany osobno.
- Carefully stretch the drive belt around the motor pulley and the inner rim of the platter. Ensure the belt is not twisted.
- Połóż slipmatę na talerzu.
5.3 Połączenie audio
The L-30BK has a built-in preamplifier, allowing direct connection to most audio systems.
- Connect the RCA audio cable (red for right channel, white for left channel) from the AUDIO OUT jacks on the rear of the turntable to the LINE IN or AUX IN jacks on your ampgłośniki niskotonowe lub aktywne.
5.4 Połączenie zasilania
- Connect the DC12V power adapter to the DC12V POWER input on the rear of the turntable.
- Podłącz zasilacz do odpowiedniego gniazdka ściennego.
5.5 Złącze USB (do digitalizacji)
- To digitize your vinyl records, connect the USB cable from the USB port on the rear of the turntable to an available USB port on your computer (PC or Mac).
6. Instrukcja obsługi
6.1 Włączanie/wyłączanie
- Flip the ON/OFF switch on the rear panel to the 'ON' position to power on the turntable.
- Flip the switch to 'OFF' when not in use.
6.2 Odtwarzanie płyty
- Połóż płytę na talerzu, upewniając się, że jest wyśrodkowana.
- Select the appropriate speed (33 or 45 RPM) using the speed selector switch. For 45 RPM singles, place the included adapter on the spindle if needed.
- Podnieś ramię gramofonu za pomocą dźwigni.
- Ręcznie umieść ramię gramofonu nad wybranym rowkiem początkowym płyty.
- Delikatnie opuść ramię za pomocą dźwigni. Igła opadnie na płytę i rozpocznie się odtwarzanie.
- At the end of the record, the auto shut-off function will stop the platter rotation. Lift the tonearm and return it to its rest.

Rysunek 6.1: Proper technique for lowering the tonearm onto a record for playback.
Rysunek 6.2: Szczegółowy view of the Movable Magnet Sensor (MMC) cartridge and stylus assembly.
6.3 Digitalizacja nagrań przez USB
The L-30BK allows you to convert your vinyl records into digital audio filekorzysta z komputera.
- Podłącz gramofon do komputera za pomocą dołączonego kabla USB.
- Download and install audio recording software such as Audacity (available online for free) on your computer.
- Open the recording software and select the USB Audio Device as the input source.
- Start recording in the software, then begin playing your record on the turntable as described in section 6.2.
- Once the record finishes, stop the recording in the software and save your digitized audio file.
7. Konserwacja
7.1 Czyszczenie gramofonu
- Przed czyszczeniem należy zawsze odłączyć gramofon od gniazdka elektrycznego.
- Use a soft, dry, lint-free cloth to wipe the cabinet and dust cover.
- Nie należy używać środków czyszczących o działaniu ściernym, wosków ani rozpuszczalników, gdyż mogą one uszkodzić powłokę.
7.2 Pielęgnacja i wymiana igły
- The stylus is a delicate component. Avoid touching it with your fingers.
- Clean the stylus regularly using a soft brush, gently brushing from back to front.
- The stylus should be replaced after approximately 300-500 hours of playback, or if you notice a degradation in sound quality.
- To replace the stylus, carefully pull the old stylus assembly forward and down from the cartridge. Insert the new stylus assembly by pushing it upwards and backwards into the cartridge until it clicks into place.
8. Rozwiązywanie Problemów
If you encounter problems with your turntable, refer to the following common issues and solutions:
| Problem | Możliwa przyczyna | Rozwiązanie |
|---|---|---|
| Brak zasilania | Zasilacz nie jest podłączony; Wyłącznik zasilania jest wyłączony; Gniazdko ścienne jest uszkodzone. | Ensure power adapter is securely connected; Turn power switch to 'ON'; Test wall outlet with another device. |
| Brak dźwięku lub niska głośność | Kable RCA nie są prawidłowo podłączone; Amplifier/speakers off or volume low; Input selected incorrectly on ampliyfikator. | Check RCA cable connections; Turn on amplifier/speakers and adjust volume; Select correct input source on your audio system. |
| Zniekształcony dźwięk | Dirty stylus; Damaged stylus; Dirty record; Turntable not on a stable surface. | Clean the stylus; Replace the stylus if damaged; Clean the record; Ensure turntable is on a stable, level surface. |
| Pomijanie rekordów | Dirty or scratched record; Stylus worn or damaged; Turntable not level; External vibrations. | Clean the record; Replace the stylus; Ensure turntable is level; Place turntable away from sources of vibration. |
| Problemy z nagrywaniem przez USB | USB cable not connected; Incorrect input selected in software; Software not installed. | Check USB cable connection; Select 'USB Audio Device' as input in recording software; Install Audacity or similar software. |
9. Specyfikacje
| Nazwa modelu | L-30BK |
| Marka | Lenco |
| Typ napędu | Napęd pasowy |
| Prędkości | 33 1/3, 45 obr/min |
| Przedampżywsze | Wbudowany |
| Rodzaj kasety | Movable Magnet Sensor (MMC) |
| Łączność | USB, RCA Audio Out |
| Automatyczne wyłączanie | Tak |
| Średnica talerza | 300 mm |
| Tworzywo | Wood (Enclosure) |
| Kolor | Czarny |
| Waga przedmiotu | 3.28 kilograma |
| Wymiary (dł. x szer. x wys.) | 41Dł. x 32Sz. x 12Wys. centymetrów |
| Stosunek sygnału do szumu | 60dB |
| Tomtage | 240 wolty |
| Źródło zasilania | Elektryczny przewodowy |
10. Gwarancja i wsparcie
Lenco products are manufactured to high quality standards. In the event of a defect, your product is covered by the terms of the warranty in your country of purchase. For detailed warranty information, please refer to the warranty card included with your product or visit the official Lenco website. For technical support or service inquiries, please contact Lenco customer service through their official channels.