Wstęp
The Cooler Master Hyper 212 LED is a high-performance CPU cooler designed to efficiently dissipate heat from your processor. It features a PWM (Pulse Width Modulation) Red LED fan, four direct contact heat pipes, and funnel-shaped aluminum fins for optimized cooling. The universal bracket design ensures compatibility with various CPU platforms, providing a straightforward installation process.
Zawartość opakowania
Przed rozpoczęciem instalacji należy upewnić się, że wszystkie komponenty są obecne:
- Hyper 212 LED CPU Cooler (Heatsink and Fan Assembly)
- Uniwersalne uchwyty montażowe (do gniazd Intel i AMD)
- Mounting Hardware (screws, standoffs, backplate)
- Pasta termoprzewodząca
- Additional fan clips (for optional second fan)
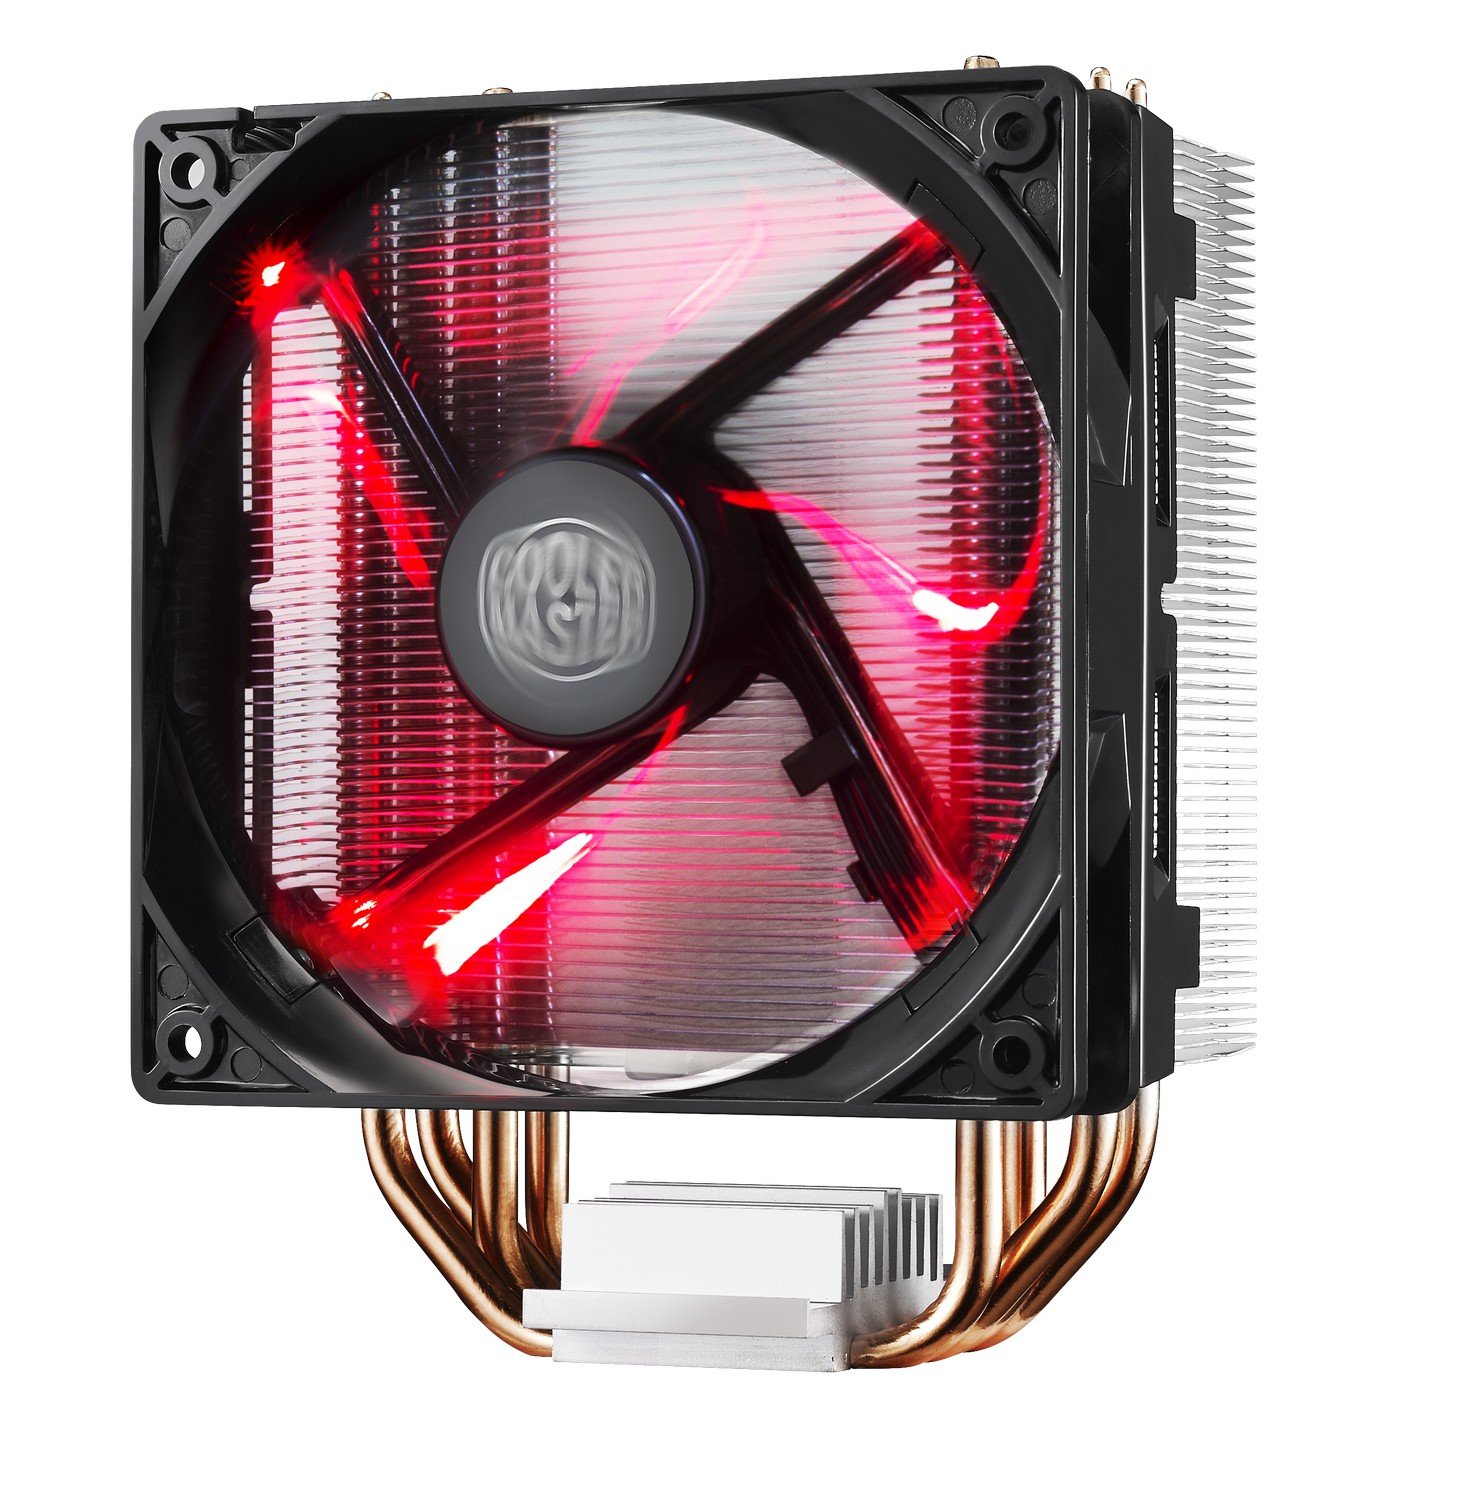
Image: The Cooler Master Hyper 212 LED CPU Cooler, showing the heatsink, fan, and copper heat pipes.
Konfiguracja i instalacja
Proper installation is crucial for optimal performance. Please follow these steps carefully. Refer to the official installation video for visual guidance.
- Przygotuj płytę główną: Depending on your CPU socket (Intel or AMD), select the appropriate backplate and mounting studs. Secure the backplate to the rear of your motherboard.
- Nałóż pastę termoprzewodzącą: Clean the surface of your CPU and the cooler's base. Apply a small, pea-sized amount of the included thermal paste to the center of your CPU's integrated heat spreader (IHS). Do not spread it manually; the pressure from the cooler will distribute it evenly.
- Zamontuj chłodnicę: Carefully align the cooler with the mounting studs on the motherboard. Place the cooler onto the CPU, ensuring the heat pipes make direct contact. Secure the cooler using the provided screws, tightening them in a diagonal pattern until snug. Avoid over-tightening.
- Podłącz kabel wentylatora: Podłącz 4-pinowy kabel wentylatora PWM do złącza CPU_FAN na płycie głównej.
- Check RAM Clearance: Due to the cooler's size, verify that it does not obstruct your RAM modules. If necessary, adjust RAM placement or consider low-profile BARAN.
Video: Official Cooler Master installation guide for the Hyper 212 LED CPU Cooler. This video demonstrates the step-by-step process of mounting the cooler onto a motherboard, including backplate installation, thermal paste application, and securing the heatsink.

Obraz: Alternatywa view of the Cooler Master Hyper 212 LED CPU Cooler, highlighting its dimensions and fan design.
Instrukcja obsługi
The Hyper 212 LED operates automatically once installed and connected to the CPU_FAN header. The PWM function allows the motherboard to control the fan speed based on CPU temperature, ensuring efficient cooling and reduced noise levels during lighter loads.
- Sterowanie wentylatorem PWM: The fan speed adjusts dynamically to maintain optimal CPU temperatures.
- Red LED Illumination: The fan features integrated red LEDs that illuminate when the fan is operational. These LEDs are always on when the fan is running and cannot be independently controlled or disabled without modification.
- Kierunek przepływu powietrza: Ensure the fan is oriented to draw cool air through the heatsink and exhaust warm air towards your case's rear or top exhaust fans for effective system cooling.
Konserwacja
Regularna konserwacja pomaga zapewnić długowieczność i optymalną wydajność chłodzenia procesora.
- Czyszczenie kurzu: Periodically inspect the heatsink fins and fan blades for dust accumulation. Use compressed air or a soft brush to gently remove dust. Ensure the fan is not spinning during cleaning to prevent damage.
- Pasta termoprzewodząca: If you remove the cooler for any reason, it is recommended to clean off the old thermal paste from both the CPU and the cooler base and apply fresh thermal paste before reinstallation.
Rozwiązywanie problemów
If you encounter issues with your Hyper 212 LED CPU Cooler, consider the following:
- Wysokie temperatury procesora:
- Sprawdź, czy chłodnica jest solidnie zamontowana i ma prawidłowy kontakt z procesorem.
- Upewnij się, że pasta termoprzewodząca została nałożona prawidłowo i równomiernie.
- Check that the fan cable is securely connected to the CPU_FAN header on the motherboard.
- Confirm fan is spinning. If not, check connections or consider fan replacement.
- Zapewnij właściwy przepływ powietrza wewnątrz obudowy komputera.
- Hałas wentylatora:
- Sprawdź, czy w łopatki wentylatora nie uderzają żadne kable ani przeszkody.
- Sprawdź, czy wentylator jest solidnie przymocowany do radiatora.
- Dust accumulation can cause increased noise; clean the fan and heatsink.
- Trudności z instalacją:
- Refer to the detailed installation video and diagrams. Pay close attention to backplate orientation and screw placement.
- Ensure correct mounting hardware is used for your specific CPU socket.
Specyfikacje
| Numer modelu | RR-212L-16PR-R1 |
| Wymiary produktu (dł. x szer. x wys.) | 0.9" dł. x 4.7" szer. x 4.7" wys. |
| Tworzywo | Aluminum (Heatsink), Copper (Heat Pipes) |
| Metoda chłodzenia | Fan, Heat Pipes |
| Typ wentylatora | PWM Red LED Fan |
| Maksymalna prędkość obrotowa | 1800 obr./min. |
| Przepływ powietrza | 66.3 stóp sześciennych na minutę (CFM) |
| Poziom hałasu | 31 decybeli (dB) |
| Typ złącza zasilania | 4-stykowy |
| Tomtage | 12 wolty |
| Cotage | 2.28 watów |
| Kompatybilne urządzenia | Desktop CPUs (Universal Socket Support) |
| Waga przedmiotu | 1.7 funtów |
Informacje o gwarancji
This Cooler Master Hyper 212 LED CPU Cooler comes with a 1 rok gwarancji. For warranty claims or detailed terms and conditions, please refer to the official Cooler Master webodwiedź witrynę lub skontaktuj się z działem obsługi klienta.
Wsparcie
For further assistance, technical support, or to download the latest drivers and manuals, please visit the official Cooler Master webstrona:
You may also contact Cooler Master customer service directly for product-specific inquiries.