1. Ważne instrukcje bezpieczeństwa
Please read all instructions carefully before using the Mesko MS 4403 Espresso Machine. Retain this manual for future reference.
- Upewnij się, że objętośćtagWartość podana na urządzeniu odpowiada lokalnemu napięciu sieciowemutage przed podłączeniem urządzenia.
- Nie zanurzaj urządzenia, przewodu zasilającego ani wtyczki w wodzie lub innej cieczy.
- Urządzenie to nie jest przeznaczone do użytku przez osoby (w tym dzieci) o ograniczonej sprawności fizycznej, sensorycznej lub umysłowej, a także osoby nieposiadające odpowiedniego doświadczenia lub wiedzy, chyba że znajdują się one pod nadzorem osoby odpowiedzialnej za ich bezpieczeństwo lub otrzymały od niej instrukcje dotyczące korzystania z urządzenia.
- Dzieci powinny znajdować się pod nadzorem, aby mieć pewność, że nie bawią się urządzeniem.
- Unplug the machine from the outlet when not in use and before cleaning. Allow it to cool before putting on or taking off parts, and before cleaning the appliance.
- Nie używaj żadnego urządzenia, jeśli przewód lub wtyczka są uszkodzone, ani po awarii urządzenia lub po jego uszkodzeniu w jakikolwiek sposób.
- Nie umieszczaj urządzenia na lub w pobliżu gorącej kuchenki gazowej lub elektrycznej, ani w nagrzanym piekarniku.
- Do zbiornika na wodę należy wlewać wyłącznie zimną wodę.
- Always ensure the water tank is filled to at least the minimum level before operating the machine.
- Unikaj kontaktu z gorącymi powierzchniami, szczególnie z dyszą pary i uchwytem filtra, podczas pracy urządzenia.
2. Koniec produktuview
The Mesko MS 4403 is a semi-automatic espresso machine designed for home use, capable of brewing espresso and frothing milk for various coffee beverages. Familiarize yourself with its components:

Obraz 2.1: Ogólnie view of the Mesko MS 4403 Espresso Machine. This image displays the machine from a front-right perspective, showing the main body, control panel, portafilter handle, steam wand, and the transparent water tank on the side.
- Panel sterowania: Buttons for power, single espresso, double espresso, and steam function.
- Pokrętło kontrolne: Adjusts steam intensity or hot water flow.
- Uchwyt filtra: Pojemnik na zmieloną kawę do zaparzenia.
- Dysza pary: Stosowany do spieniania mleka.
- Zbiornik na wodę: Wyjmowany zbiornik na wodę.
- Taca ociekowa: Zbiera nadmiar płynu i można go wyjąć w celu czyszczenia.

Obraz 2.2: Close-up of the control dial. This image focuses on the rotary dial, which is used to control the steam output for frothing milk and the hot water dispenser. Markings for 'OFF', steam, and water are visible.

Obraz 2.3: Strona view of the machine showing the water tank. This image provides a clear view of the transparent water tank attached to the side of the espresso machine, with visible 'MAX' and 'MIN' fill level indicators.
3. Konfiguracja
3.1 Rozpakowanie i wstępne czyszczenie
- Usuń z urządzenia wszystkie materiały opakowaniowe i naklejki.
- Wash the water tank, portafilter, filter basket, and drip tray with warm, soapy water. Rinse thoroughly and dry.
- Wytrzyj zewnętrzną część urządzenia za pomocąamp płótno.
3.2 Napełnianie zbiornika na wodę
- Wyjmij zbiornik na wodę z tyłu urządzenia.
- Fill the tank with fresh, cold water up to the 'MAX' line. Do not exceed this line.
- Umieść zbiornik na wodę z powrotem na swoim miejscu i upewnij się, że jest prawidłowo osadzony.
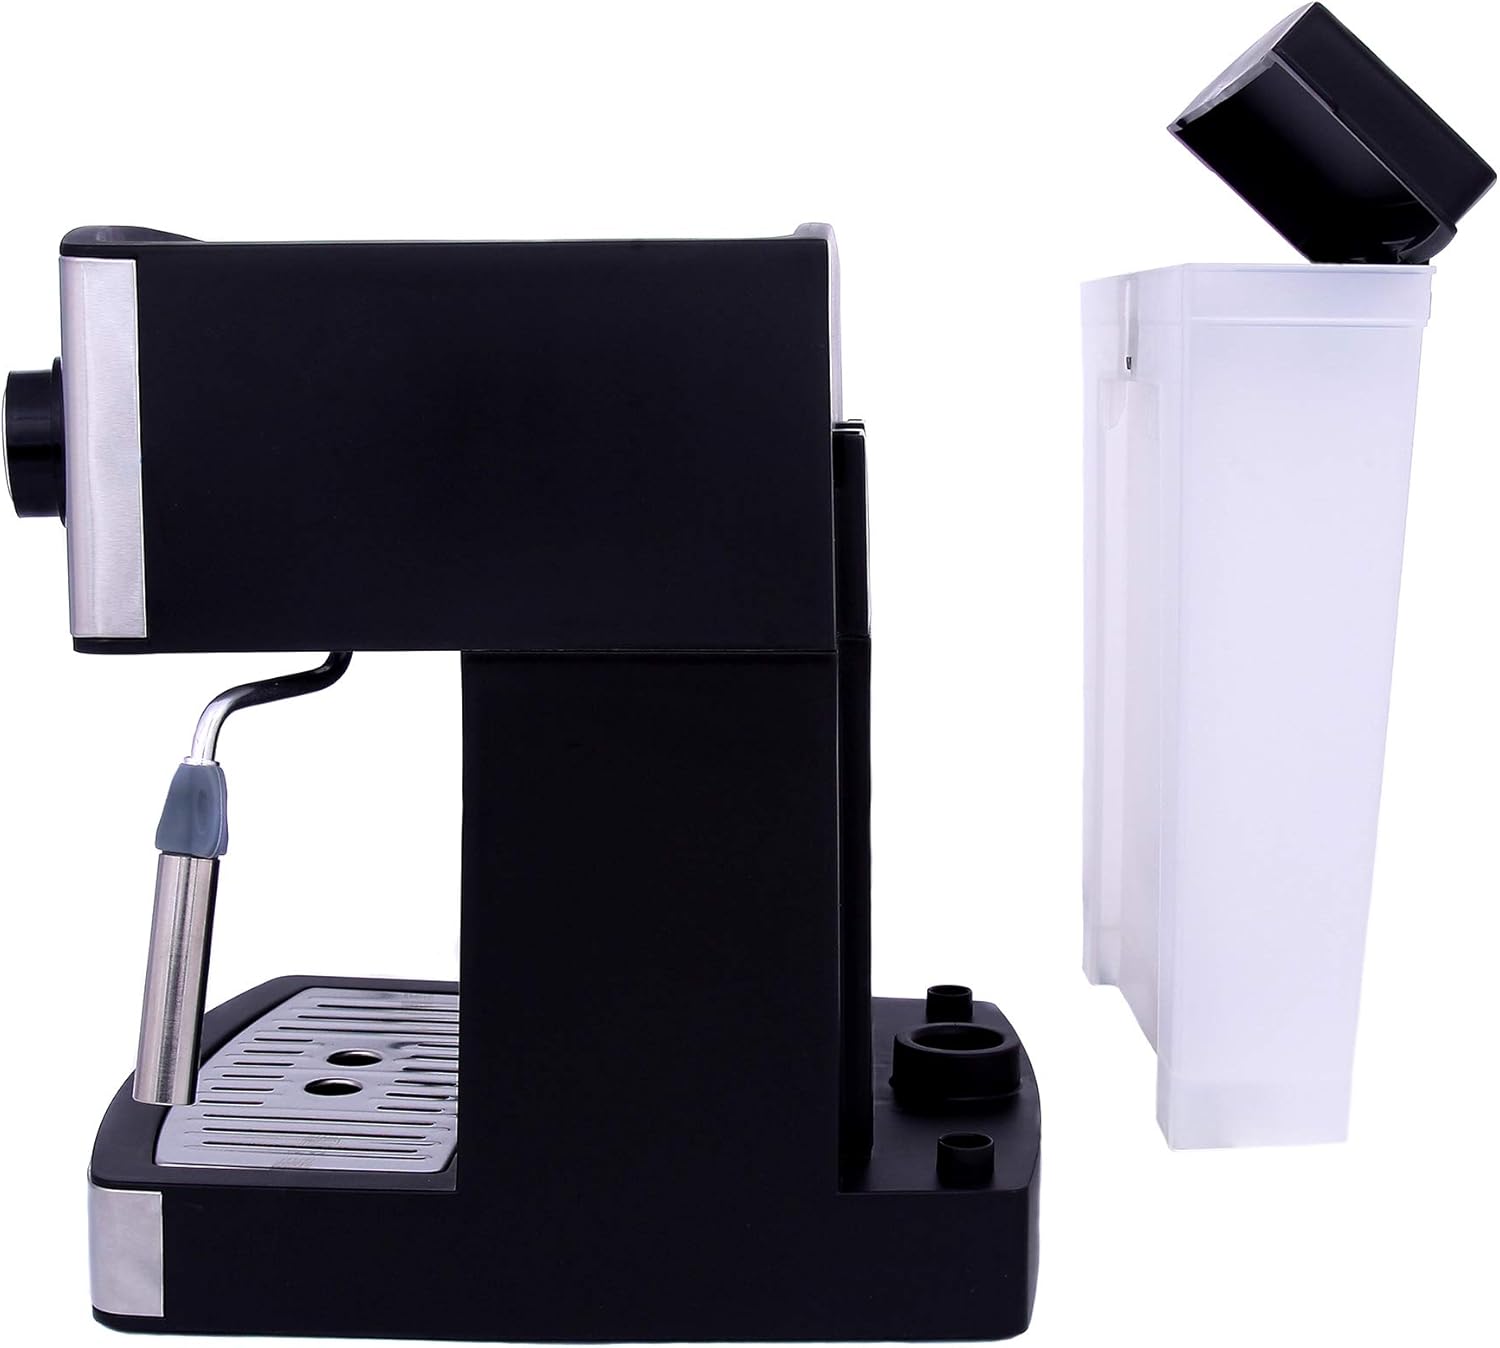
Obraz 3.1: Water tank removed from the machine. This image shows the side of the espresso machine with the water tank detached, illustrating how the tank can be easily removed for filling or cleaning.
3.3 Priming the Pump (First Use)
- Sprawdź, czy zbiornik na wodę jest pełny.
- Podłącz maszynę do gniazdka elektrycznego.
- Umieść filiżankę pod dyszą parową.
- Turn the control dial to the hot water position (faucet icon) and press the power button. Allow water to flow through the steam wand for about 30 seconds to prime the pump.
- Turn the control dial back to 'OFF' and press the power button to stop. The machine is now ready for use.
4. Instrukcja obsługi
4.1 Przygotowanie espresso
- Ogrzewanie wstępne: Turn on the machine and allow it to preheat for approximately 2-3 minutes until the indicator light signals readiness.
- Przygotowanie uchwytu filtra: Umieść wybrany filtr (pojedynczy lub podwójny) w uchwycie filtra.
- Dodaj kawę: Grind fresh coffee beans to a fine consistency suitable for espresso. Use the provided scoop to add ground coffee to the filter basket. For a single shot, use one scoop (approx. 7g); for a double shot, use two scoops (approx. 14g).

Obraz 4.1: Portafilter and coffee scoop. This image shows the detached portafilter, which holds the ground coffee, alongside a black plastic coffee measuring scoop, essential tools for preparing espresso.
- Tamp Kawa: Użyj tamper (often found on the back of the scoop) to press the ground coffee firmly and evenly into the filter basket. Ensure the surface is level.
- Zamontuj uchwyt filtra: Align the portafilter with the group head on the machine. Insert it and twist firmly to the right until it is securely locked in place.
- Zaparz Espresso: Place your espresso cup(s) on the drip tray under the portafilter spouts. Press the single or double espresso button. The machine will brew the coffee and stop automatically.
- Wyjmij uchwyt filtra: Po zakończeniu parzenia ostrożnie przekręć uchwyt filtra w lewo, aby go wyjąć. Wyrzuć zużyte fusy.
4.2 Spienianie mleka
- Przygotuj mleko: Napełnij dzbanek do spieniania mleka ze stali nierdzewnej zimnym mlekiem (mlecznym lub roślinnym) tuż poniżej dzióbka.
- Aktywuj Steama: Naciśnij przycisk pary na panelu sterowania. Poczekaj, aż kontrolka zasygnalizuje, że urządzenie osiągnęło temperaturę parowania.
- Dysza pary czyszczącej: Briefly turn the control dial to the steam position to release any condensed water from the wand into an empty cup. Turn it back to 'OFF'.
- Spienione mleko: Immerse the tip of the steam wand just below the surface of the milk. Turn the control dial to the steam position. Angle the pitcher slightly to create a swirling motion.
- Monitoruj temperaturę: Continue frothing until the milk reaches the desired temperature and texture (typically around 60-70°C or when the pitcher is too hot to touch comfortably).
- Zatrzymaj parowanie: Turn the control dial back to 'OFF' and remove the pitcher.
- Czyszczenie dyszy parowej: Natychmiast wytrzyj dyszę parową wodą.amp Ściereczką usuń resztki mleka. Ponownie krótko przepłucz dyszę, aby usunąć resztki mleka.
5. Konserwacja i czyszczenie
Regularne czyszczenie zapewnia optymalną wydajność i długą żywotność ekspresu do kawy.
5.1 Codzienne czyszczenie
- Taca ociekowa: Po każdym użyciu lub gdy wskaźnik zacznie się unosić, opróżnij i opłucz tackę ociekową.
- Portafiltr i koszyk filtrujący: Usuń zużytą kawę mieloną i opłucz uchwyt filtra oraz koszyk filtra pod bieżącą wodą.
- Dysza pary: Wipe the steam wand immediately after each use with a damp cloth and purge briefly.
5.2 Cotygodniowe czyszczenie
- Zbiornik na wodę: Remove and wash the water tank with warm, soapy water. Rinse thoroughly.
- Kierownik grupy: Wipe the group head (where the portafilter attaches) with a damp szmatką, aby usunąć resztki kawy.
5.3 Odkamienianie
Descaling is essential to remove mineral buildup and should be performed every 2-3 months, or more frequently in areas with hard water.
- Przygotuj środek odkamieniający zgodnie z instrukcją producenta środka odkamieniającego.
- Napełnij zbiornik na wodę roztworem odkamieniającym.
- Umieść duży pojemnik pod głowicą grupy i dyszą pary.
- Naciskając przycisk espresso, przepuść przez grupę ekspresową połowę roztworu.
- Run the remaining half of the solution through the steam wand by activating the steam function.
- Dokładnie wypłucz zbiornik na wodę i napełnij go świeżą wodą.
- Repeat the process with fresh water to rinse the internal components, ensuring no descaling solution remains.
6. Rozwiązywanie Problemów
Aby zapoznać się z najczęstszymi problemami i ich rozwiązaniami, zapoznaj się z poniższą tabelą.
| Problem | Możliwa przyczyna | Rozwiązanie |
|---|---|---|
| Brak dozowania kawy | Water tank empty or not properly seated. Pump not primed. Coffee too finely ground or tamped za mocno. | Fill water tank and ensure it's seated. Prime the pump. Use coarser grind or lighter tamp. |
| Coffee brews too slowly or drips | Kawa zmielona zbyt drobno lubamped too hard. Filter basket clogged. | Użyj grubszego lub lżejszego zmieleniaamp. Clean filter basket. |
| Coffee brews too quickly or is weak | Kawa zmielona zbyt grubo lub za mało kawy. | Użyj drobniej zmielonej kawy lub większej jej ilości. |
| Brak pary z dyszy | Steam function not activated or not at temperature. Steam wand clogged. | Ensure steam button is pressed and indicator light is on. Clean steam wand. |
| Z maszyny wycieka woda | Water tank not properly seated. Drip tray full. Seal issues. | Ensure water tank is correctly placed. Empty drip tray. Contact support if seals are damaged. |
7. Specyfikacje
| Funkcja | Specyfikacja |
|---|---|
| Marka | Mesko |
| Numer modelu | MS-4403 |
| Kolor | Czarny |
| Wymiary (dł. x szer. x wys.) | Wymiary 21 x 26 x 30.5 cm |
| Waga | 800 gramów |
| Pojemność | 1.6 litra (zbiornik na wodę) |
| Moc | 850 watów |
| Tomtage | 240 wolty |
| Tworzywo | Stal nierdzewna |
| Cechy | Spieniacz do mleka |
8. Informacje o gwarancji
The Mesko MS 4403 Espresso Machine comes with a standard manufacturer's warranty. Please refer to the warranty card included with your purchase for specific terms, conditions, and duration. Keep your proof of purchase for any warranty claims.
9. Obsługa klienta
If you encounter any issues not covered in this manual or require further assistance, please contact Mesko customer support. Contact details can typically be found on the product packaging, the official Mesko webwitrynę lub stronę pomocy technicznej sprzedawcy.
When contacting support, please have your product model number (MS 4403) and proof of purchase readily available.