Wstęp
This manual provides essential information for the proper setup, use, maintenance, and troubleshooting of your ASICS GEL-Venture 5 Trail Runner shoes. Designed for comfort and performance, these shoes feature Rearfoot GEL cushioning technology and a rugged outsole, making them suitable for various terrains. Please read this manual thoroughly to ensure optimal performance and longevity of your footwear.
Setup and Initial Fit
Proper fit is crucial for comfort and performance. Follow these steps to prepare your new ASICS GEL-Venture 5 Trail Runner shoes for use:
- Sznurowanie: Ensure laces are threaded evenly through all eyelets. Begin lacing from the toe box, ensuring a snug but not overly tight fit across the forefoot.
- Midfoot Security: Tighten the laces over the midfoot to secure your foot without restricting circulation. The goal is to prevent excessive foot movement inside the shoe.
- Ankle Comfort: Adjust the laces around the ankle collar to provide support without causing pressure points. A common lacing technique involves using the top eyelet for added ankle security, especially on uneven terrain.
- Initial Walk: Wear the shoes for a short walk to assess the fit. Your toes should have a small amount of space (about a thumb's width) between the longest toe and the end of the shoe. Your heel should feel secure with minimal slippage.
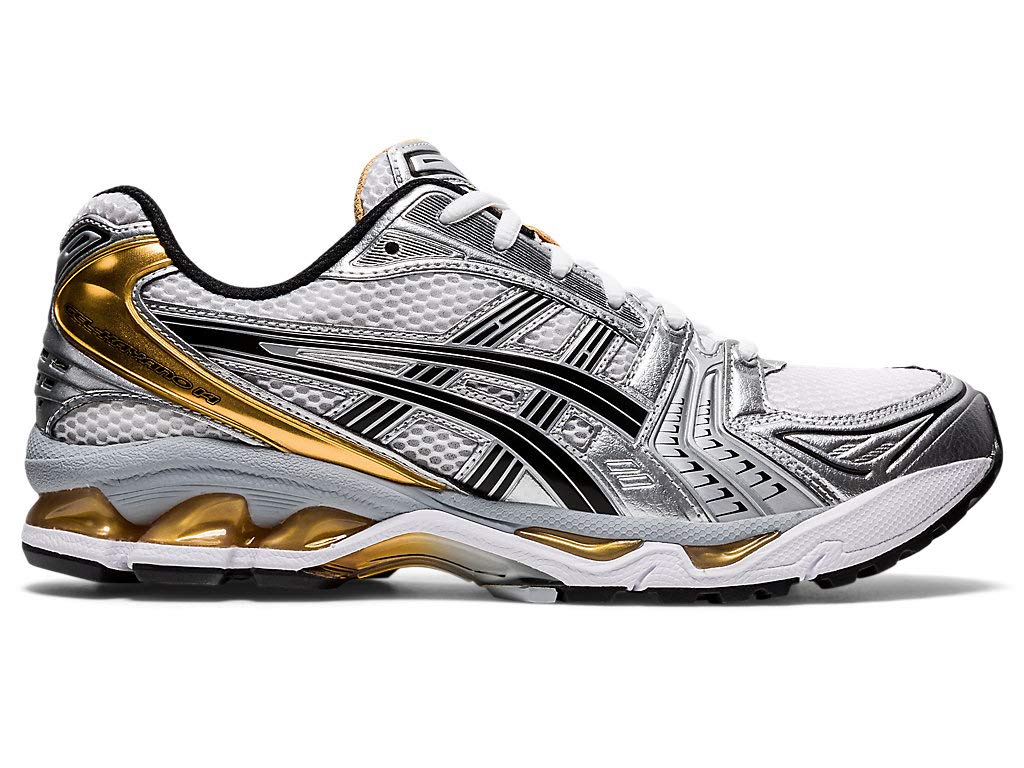
Rysunek 1: Widok z przodu view of the ASICS GEL-Venture 5 Trail Runner, showing the lacing system and overall design.
Operating (Usage) Guidelines
The ASICS GEL-Venture 5 Trail Runner is engineered for versatility across various outdoor activities.
- Przeznaczenie: These shoes are primarily designed for trail running, light hiking, and general outdoor activities. Their rugged outsole provides traction on uneven surfaces.
- Przydatność terenu: The outsole pattern is optimized for dirt paths, gravel, and moderate trails. While they offer some water resistance, they are not fully waterproof and should not be submerged.
- Running Form: Maintain your natural running form. The Rearfoot GEL cushioning is designed to absorb shock during impact, providing comfort over longer distances.
- Dostosowanie: If you are new to trail running or this specific shoe model, gradually increase your mileage to allow your feet and body to adapt.
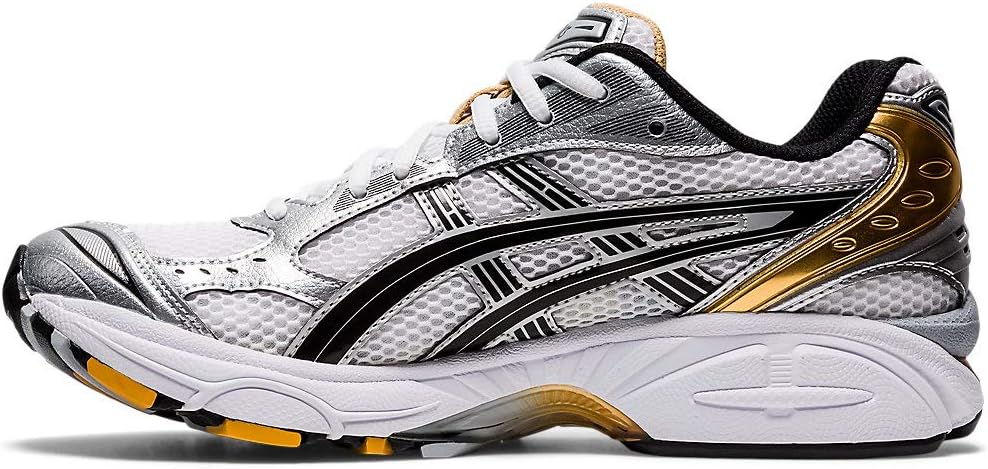
Rysunek 2: Profesjonalizm bocznyfile of the ASICS GEL-Venture 5 Trail Runner, highlighting the sole and cushioning technology.
Pielęgnacja i konserwacja
Proper care extends the life and performance of your ASICS GEL-Venture 5 Trail Runner shoes.
- Czyszczenie:
- Remove loose dirt and mud with a soft brush or cloth.
- For stubborn dirt, use a mild soap and warm water solution. Gently scrub the mesh and synthetic overlays.
- Nie prać w pralce ani nie suszyć w suszarce bębnowej, gdyż może to spowodować uszkodzenie materiałów i klejów.
- Wysuszenie:
- Allow shoes to air dry naturally at room temperature. Avoid direct heat sources like radiators or direct sunlight, which can cause materials to shrink or crack.
- Stuffing shoes with newspaper can help absorb moisture and maintain shape during drying.
- Składowanie: Przechowuj buty w chłodnym i suchym miejscu, z dala od bezpośredniego światła słonecznego, gdy ich nie używasz.
- Kontrola zapachu: If odors develop, remove insoles and allow them to air out. Odor-absorbing inserts can also be used.

Rysunek 3: Tył view of the ASICS GEL-Venture 5 Trail Runner, showing heel support and GEL cushioning.
Rozwiązywanie problemów
Zapoznaj się z poniższymi częstymi problemami i ich możliwymi rozwiązaniami:
| Wydanie | Możliwa przyczyna | Rozwiązanie |
|---|---|---|
| Foot Discomfort/Pain | Incorrect lacing, wrong size, or insufficient break-in period. | Adjust lacing for a more comfortable fit. Ensure correct shoe size. Allow for a gradual break-in period. Consider different socks. |
| Heel Slippage | Laces not tight enough around the ankle, or shoe size is too large. | Utilize the top eyelet for a more secure heel lock. Re-evaluate shoe size. |
| Reduced Traction | Outsole clogged with mud/debris, or excessive wear on the tread. | Clean the outsole thoroughly after each use. If tread is significantly worn, consider replacing the shoes for safety. |
| Zapach | Gromadzenie się wilgoci, brak wentylacji. | Ensure shoes are fully dried after each use. Remove insoles to air out. Use odor-absorbing products. |
Specyfikacje
- Nazwa modelu: GEL-Venture 5
- Numer modelu przedmiotu: GEL-Venture 5-M
- Marka: ASICS
- Dział: Męskie
- Wymiary produktu: 12.44 x 6.3 x 4.75 cala
- Waga przedmiotu: 1.44 funtów (650 gramów)
- Materiał podeszwy: Guma
- Materiał zewnętrzny: Guma
- Materiał wewnętrzny: Faux Leather Mesh
- Typ zamknięcia: Sznurowane
- Rodzaj sportu: Działanie
- Poziom wodoodporności: Wodoodporny
- Producent: ASICS America Corporation
- Data pierwszej dostępności: 17 listopada 2009 r.

Rysunek 4: Widok z góry na dół view of the ASICS GEL-Venture 5 Trail Runner, showing the toe box and lacing.
Informacje o gwarancji
For detailed warranty information regarding your ASICS GEL-Venture 5 Trail Runner shoes, please refer to the official ASICS website or contact ASICS customer service directly. Warranty terms and conditions may vary by region and purchase location. Please retain your proof of purchase for any warranty claims.
Obsługa klienta
If you require further assistance, have questions not covered in this manual, or need to report an issue, please contact ASICS customer support.
- Urzędnik Webstrona: Visit the official ASICS webwitryna z odpowiedziami na często zadawane pytania, informacjami o produktach i opcjami kontaktu.
- Informacje kontaktowe: Refer to the "Contact Us" section on the ASICS website for phone numbers, email addresses, or live chat support specific to your region.