1. Introduzzjoni
Thank you for choosing the BOLISS BLS-2818HDS High-Back Ergonomic Drafting Chair. This manual provides essential information for the safe assembly, operation, and maintenance of your new chair. Please read it thoroughly before use and retain it for future reference.
This chair is designed for comfort and support in various office and drafting environments, featuring an ergonomic design, adjustable components, and durable construction.
2. Informazzjoni dwar is-Sigurtà
- Always follow the assembly instructions carefully to ensure proper and safe setup.
- Exercise caution when adjusting movable parts, such as the headrest, armrests, and seat height, to prevent pinching or injury.
- Toqgħodx bilwieqfa fuq is-siġġu u lanqas tużah bħala banketta.
- Kun żgur li l-viti u l-boltijiet kollha huma ssikkati sew qabel l-użu u iċċekkja perjodikament għal jekk humiex laxki.
- Do not exceed the chair's weight capacity (not explicitly stated, but generally around 250-300 lbs for similar chairs).
- Keep children away from the chair during assembly and adjustment.
- If any parts are missing, damaged, or worn, discontinue use and contact customer service for replacements.
3. Kontenut tal-Pakkett
Qabel l-assemblaġġ, ivverifika li l-komponenti kollha huma preżenti u mhux imħassra. Jekk xi partijiet huma nieqsa jew imħassra, jekk jogħġbok ikkuntattja l-appoġġ għall-klijenti.
- Backrest with Mesh
- Seat Cushion (Double Layer)
- Headrest aġġustabbli
- Flip-Up Armrests (2)
- Ċilindru tal-Lift tal-Gass
- Qoxra tal-Lift tal-Gass
- Star Base (5-star)
- Xandara (5)
- Ċirku tas-saqajn
- Pjanċa tal-Mekkaniżmu
- Ħardwer tal-Assemblaġġ (Viti, Allen Wrench)
4. Istruzzjonijiet tal-Assemblea
Assembly typically takes approximately 30 minutes. It is recommended to assemble the chair on a soft, clean surface to prevent damage.
- Waħħal ir-Roti mal-Bażi: Daħħal il-ħames roti fit-toqob fit-tarf ta’ kull sieq tal-bażi tal-istilla. Imbotta sew sakemm jidħlu f’posthom.
- Daħħal il-Gass Lift: Poġġi ċ-ċilindru tal-irfigħ tal-gass fit-toqba taċ-ċentru tal-bażi tal-istilla. Għattih bl-għatu tal-irfigħ tal-gass.
- Assemble Foot Ring: Slide the foot ring over the gas lift cylinder and secure it at the desired height using the adjustment knob.
- Waħħal il-Mekkaniżmu mas-Sedil: Align the mechanism plate with the screw holes on the underside of the seat cushion. Ensure the front of the mechanism faces the front of the seat. Secure with screws using the provided Allen wrench.
- Waħħal id-Dirgħajn mas-Sedil: Attach the flip-up armrests to the sides of the seat cushion using the designated screws. Do not overtighten initially.
- Waħħal id-Dahar tas-Sedil: Connect the backrest to the seat assembly. Secure with screws. Once all connections are made, tighten all screws on the armrests and backrest firmly.
- Qabbad l-Assemblea tas-Sedil mal-Lift tal-Gass: Poġġi s-sedil immuntat bir-reqqa fuq iċ-ċilindru tal-irfigħ tal-gass, filwaqt li tiżgura li t-tarf koniku tal-irfigħ tal-gass jidħol sew fil-mekkaniżmu.
- Waħħal ir-Rasrest: Insert the adjustable headrest into the top of the backrest. Adjust to your preferred height.

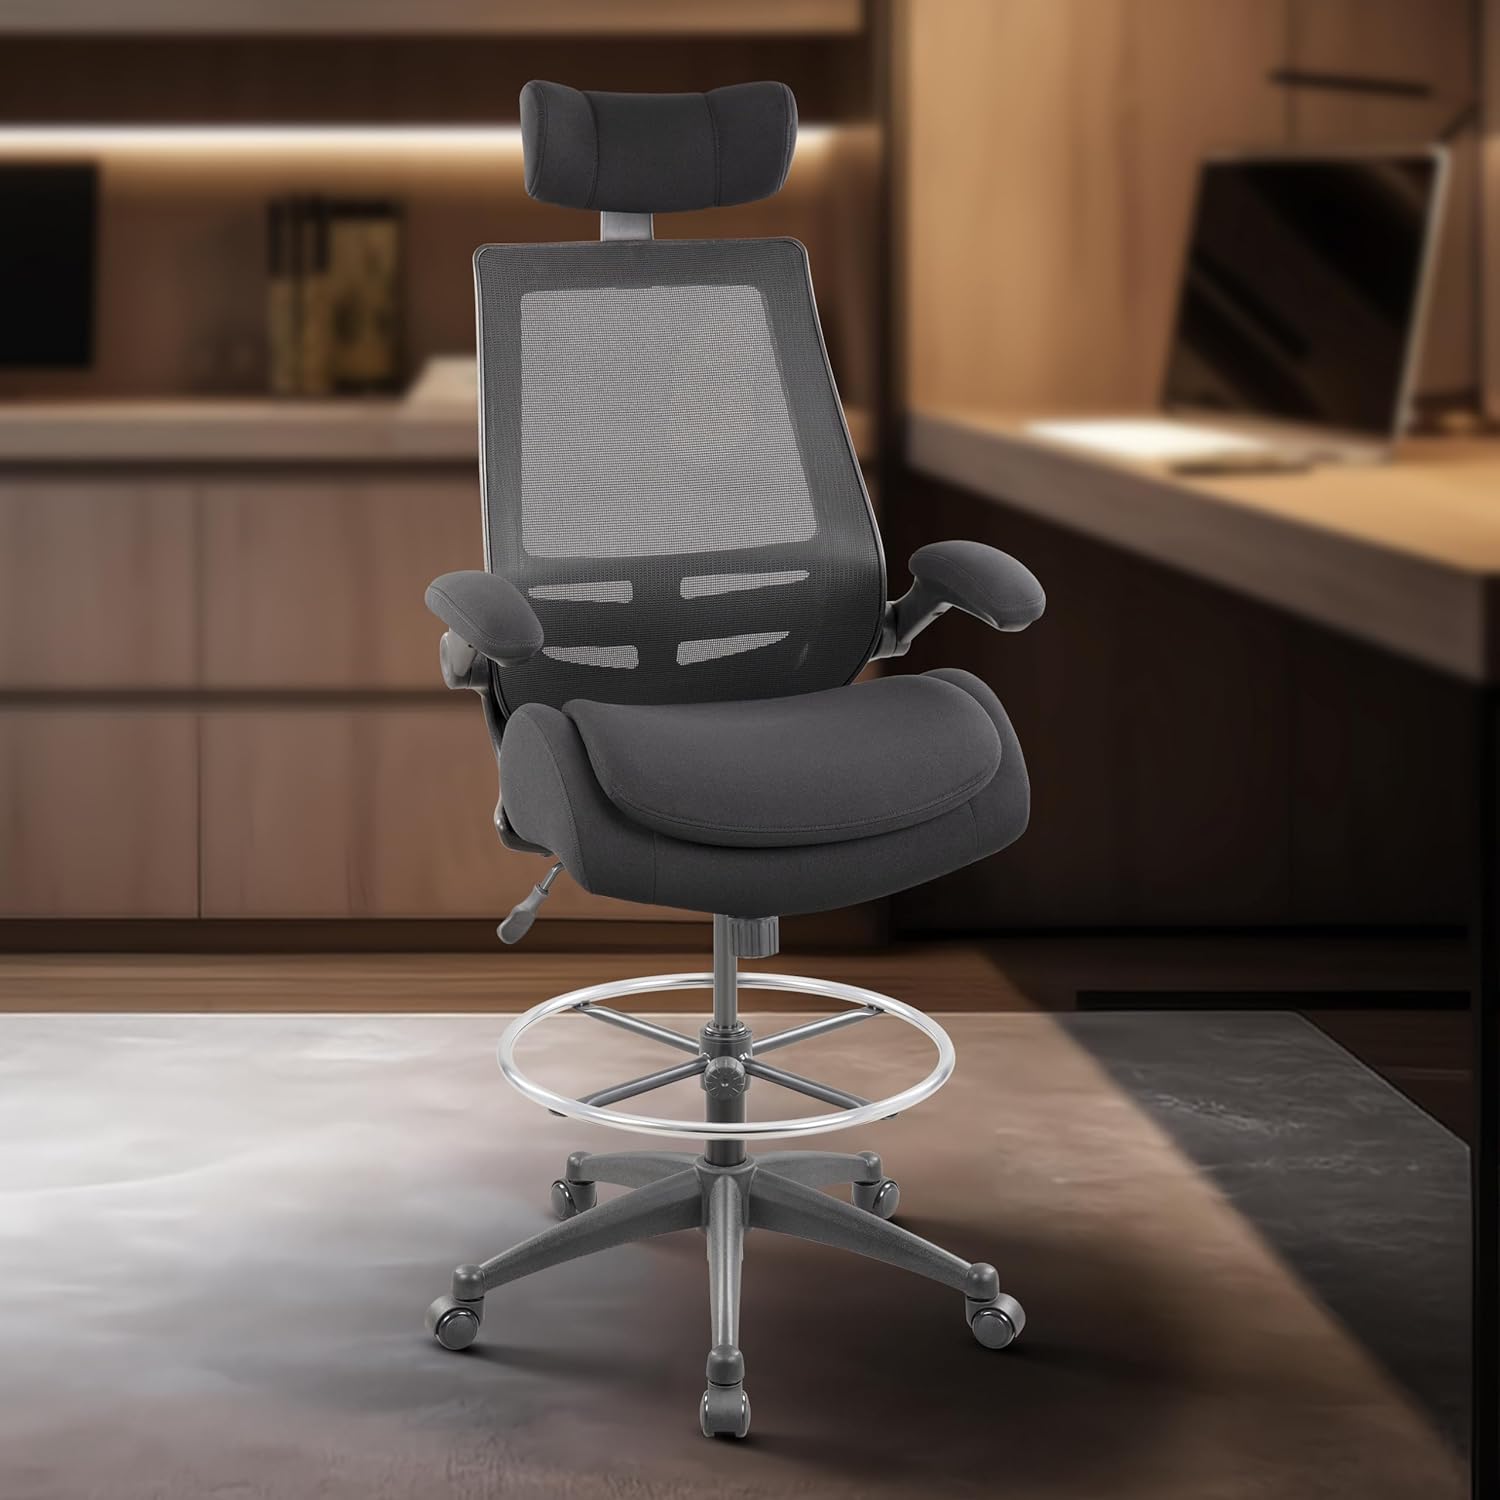
Quddiem view of the assembled BOLISS BLS-2818HDS drafting chair, showcasing the double seat cushion, flip-up arms, and adjustable headrest.
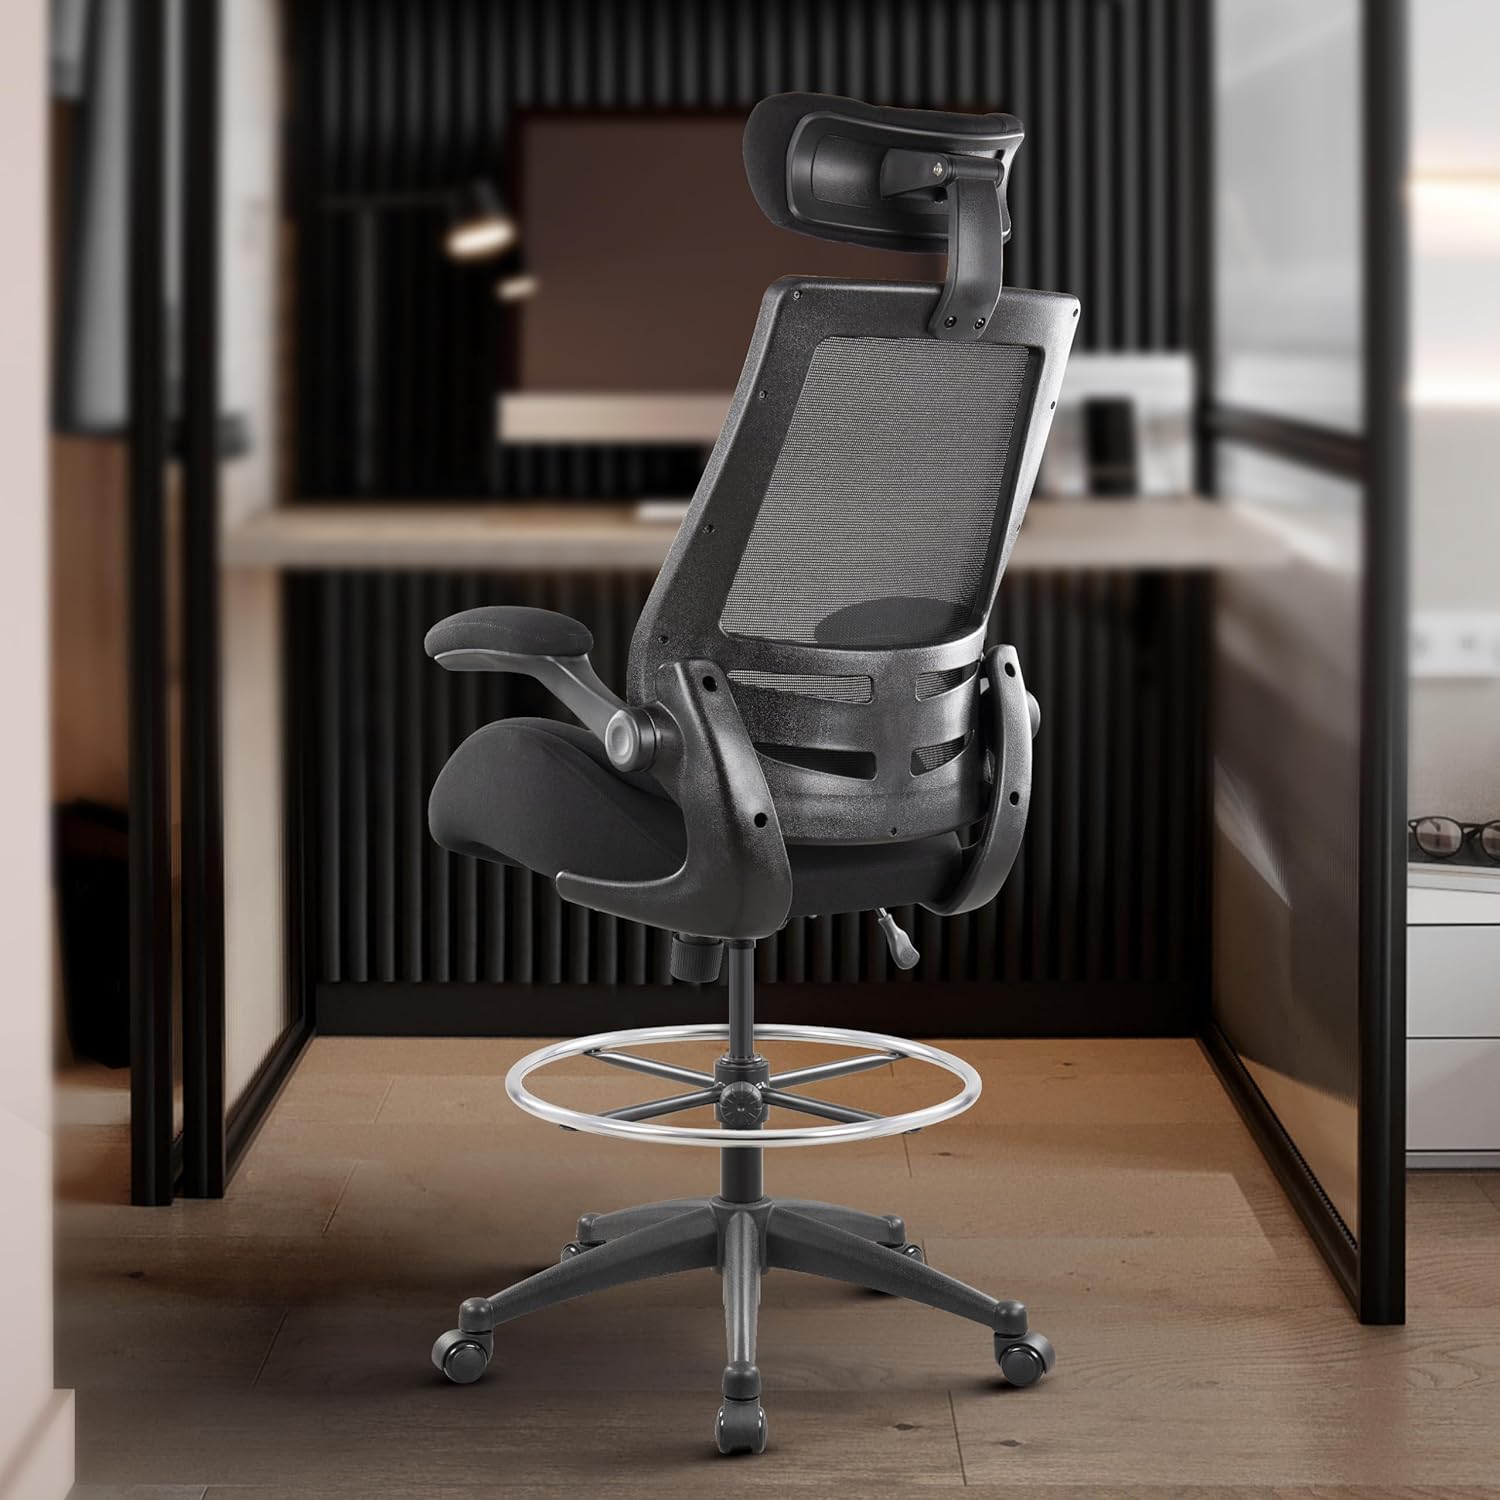
Lura view of the assembled BOLISS BLS-2818HDS drafting chair, highlighting the mesh backrest and lumbar support design.
Ġenb view of the assembled BOLISS BLS-2818HDS drafting chair, showing the ergonomic profile and foot ring.
5. Istruzzjonijiet Operattivi
Your BOLISS BLS-2818HDS chair offers several adjustment features to customize your seating experience:
- Aġġustament tal-Għoli tas-Sedil: Locate the lever on the right side under the seat. To raise the seat, lift the lever while taking your weight off the chair. To lower the seat, lift the lever while seated. Release the lever to lock the height.
- Serħan tar-ras aġġustabbli: The headrest can be adjusted vertically to accommodate different user heights and preferences. Gently pull up or push down the headrest to find a comfortable position. It offers 4 levels of height adjustment.
- Flip-Up Armrests: The armrests can be flipped up to allow the chair to be pushed closer to a desk or to save space when not in use. Simply lift the armrests upwards until they lock into the vertical position. To lower, pull them down.
- Foot Ring Adjustment: The large foot ring can be adjusted in height to provide optimal support for your feet and legs, reducing pressure during prolonged sitting. Loosen the knob on the foot ring, slide it to the desired height, and then tighten the knob securely.
- Appoġġ Lumbari: The chair features an ergonomically designed backrest that naturally supports the lumbar region, promoting a healthy spinal curve. This support is integrated into the backrest structure.
- Funzjoni ta' Mimdud: This chair offers one reclining position. To recline, pull out the lever on the left side under the seat. Push the lever back in to lock the chair in an upright position. Note: This model does not feature a tilting mechanism.

Illustration of the flip-up armrest and adjustable headrest, demonstrating how these features can be utilized for space-saving and personalized comfort.

A user demonstrating the oversized foot ring, which provides sturdy support for legs and feet, adjustable to different heights for various scenarios.
6. Manutenzjoni
- Tindif: Uża artab, damp cloth with mild soap to clean the chair's surfaces. Avoid harsh chemicals or abrasive cleaners. For the mesh backrest, a vacuum cleaner with a brush attachment can remove dust.
- Iċċekkja tal-Hardware: Iċċekkja l-viti u l-boltijiet kollha perjodikament biex tiżgura li huma ssikkati. Issikkahom mill-ġdid jekk meħtieġ biex iżżomm l-istabbiltà u s-sigurtà.
- Kura tal-Caster: Keep casters free of hair and debris to ensure smooth movement. Clean them regularly.
- Lift tal-gass: The gas lift is a sealed unit and requires no maintenance. If it fails to hold height, it may need replacement.
7 Issolvi l-problemi
| Problema | Kawża Possibbli | Soluzzjoni |
|---|---|---|
| Chair does not hold height or sinks | Faulty gas lift cylinder | Contact customer service for a replacement gas lift. |
| Is-siġġu jitħawwad jew iħossu instabbli | Viti maħlula jew assemblaġġ mhux xieraq | Check and tighten all assembly screws. Ensure casters are fully inserted into the base. |
| Ir-roti ma jdurux bla xkiel | Debris fir-roti jew roti bil-ħsara | Clean casters to remove hair or debris. If damaged, contact customer service for replacements. |
| Armrests are loose | Loose armrest screws | Tighten the screws securing the armrests to the seat. |
8. Speċifikazzjonijiet
- Ditta: BOLISS
- Isem tal-Mudell: BLS-2818HDS (LB-2818HD-BLK)
- Kulur: Iswed
- Materjal: Nylon, Wood (Frame), Foam (Seat), Sponge (Fill)
- Dimensjonijiet tal-Prodott (P x W x H): 28"D x 19.5"W x 52.8"H
- Piż tal-oġġett: 46.2 Liri
- Fond tas-Sedil: 19.3 pulzieri
- Użi Rakkomandati: Drafting, Office
- Stil ta' Dahar: Malja
- Stil tad-driegħ: Flip-Up
- Serħan għar-ras: Adjustable (4 levels)
- Għadd tal-Pożizzjoni Mimduda: 1
- Inklinazzjoni: Nru
- Assemblaġġ Meħtieġa: Iva

Detailed diagram showing the dimensions of the BOLISS BLS-2818HDS drafting chair, including height, width, and depth measurements.

Visual representation of key components such as the mechanism, gas lift (SGS certified), sturdy base, and wear-resistant casters, highlighting quality and durability.
9. Garanzija u Appoġġ
For any questions, concerns, or issues regarding your BOLISS BLS-2818HDS drafting chair, please contact BOLISS customer service. Refer to your purchase documentation for specific warranty details and contact information.
We recommend keeping your proof of purchase for warranty claims.