Manwal tal-Utent tal-Magna tal-Ħjata Elettronika Jaguar 190S
Mudell: 190S
Introduzzjoni
This manual provides comprehensive instructions for the safe and efficient operation, setup, and maintenance of your Jaguar 190S Electronic Sewing Machine. Designed for both beginners and experienced users, the Jaguar 190S offers a wide range of features for various sewing and quilting projects. Please read this manual thoroughly before using the machine to ensure optimal performance and longevity.
1. Setup
1.1 Spakkjar u Tqegħid
- Oħroġ il-magna mill-imballaġġ tagħha bir-reqqa.
- Place the machine on a stable, flat surface. Ensure adequate space around the machine for comfortable operation.
- Connect the foot pedal and power cord to the machine and a suitable power outlet (220 Volts).

Figura 1: Quddiem view of the Jaguar 190S Electronic Sewing Machine. This image shows the main body of the machine, including the needle area, presser foot, stitch selection panel, and LCD screen.
1.2 It-Tkebbib tal-Bobina
- Poġġi rukkell tal-ħajt fuq il-pin tar-rukkell.
- Iggwida l-ħajta mill-gwida tal-ħajta ta' fuq u madwar id-diska tat-tensjoni tal-istralċ tal-bobina.
- Poġġi bobina vojta fuq il-fus tal-istralċ tal-bobina.
- Wrap the thread clockwise a few times around the bobbin.
- Imbotta l-magħżel tal-bobbin winder lejn il-lemin.
- Start the machine (using the foot pedal or start/stop button) to wind the bobbin. Stop when the bobbin is full.
- Aqta’ l-ħajta u imbotta l-magħżel lura lejn ix-xellug.
1.3 Id-Daħħal tal-Ħjut fil-Magna
- Għolli l-lieva tas-sieq tal-presser.
- Poġġi r-rukkell tal-ħajta fuq il-pin tar-rukkell.
- Segwi l-mogħdija numerata tal-ħjut indikata fuq il-magna, waqt li tiżgura li l-ħjut jgħaddu mill-gwidi kollha u l-lieva tat-teħid tal-ħjut.
- Use the automatic needle threader for quick and easy needle threading.
- Daħħal il-bobina mkebba fil-kaxxa tal-bobina, waqt li tiżgura li l-ħajta tgħaddi b'mod korrett mir-rebbiegħa tat-tensjoni.
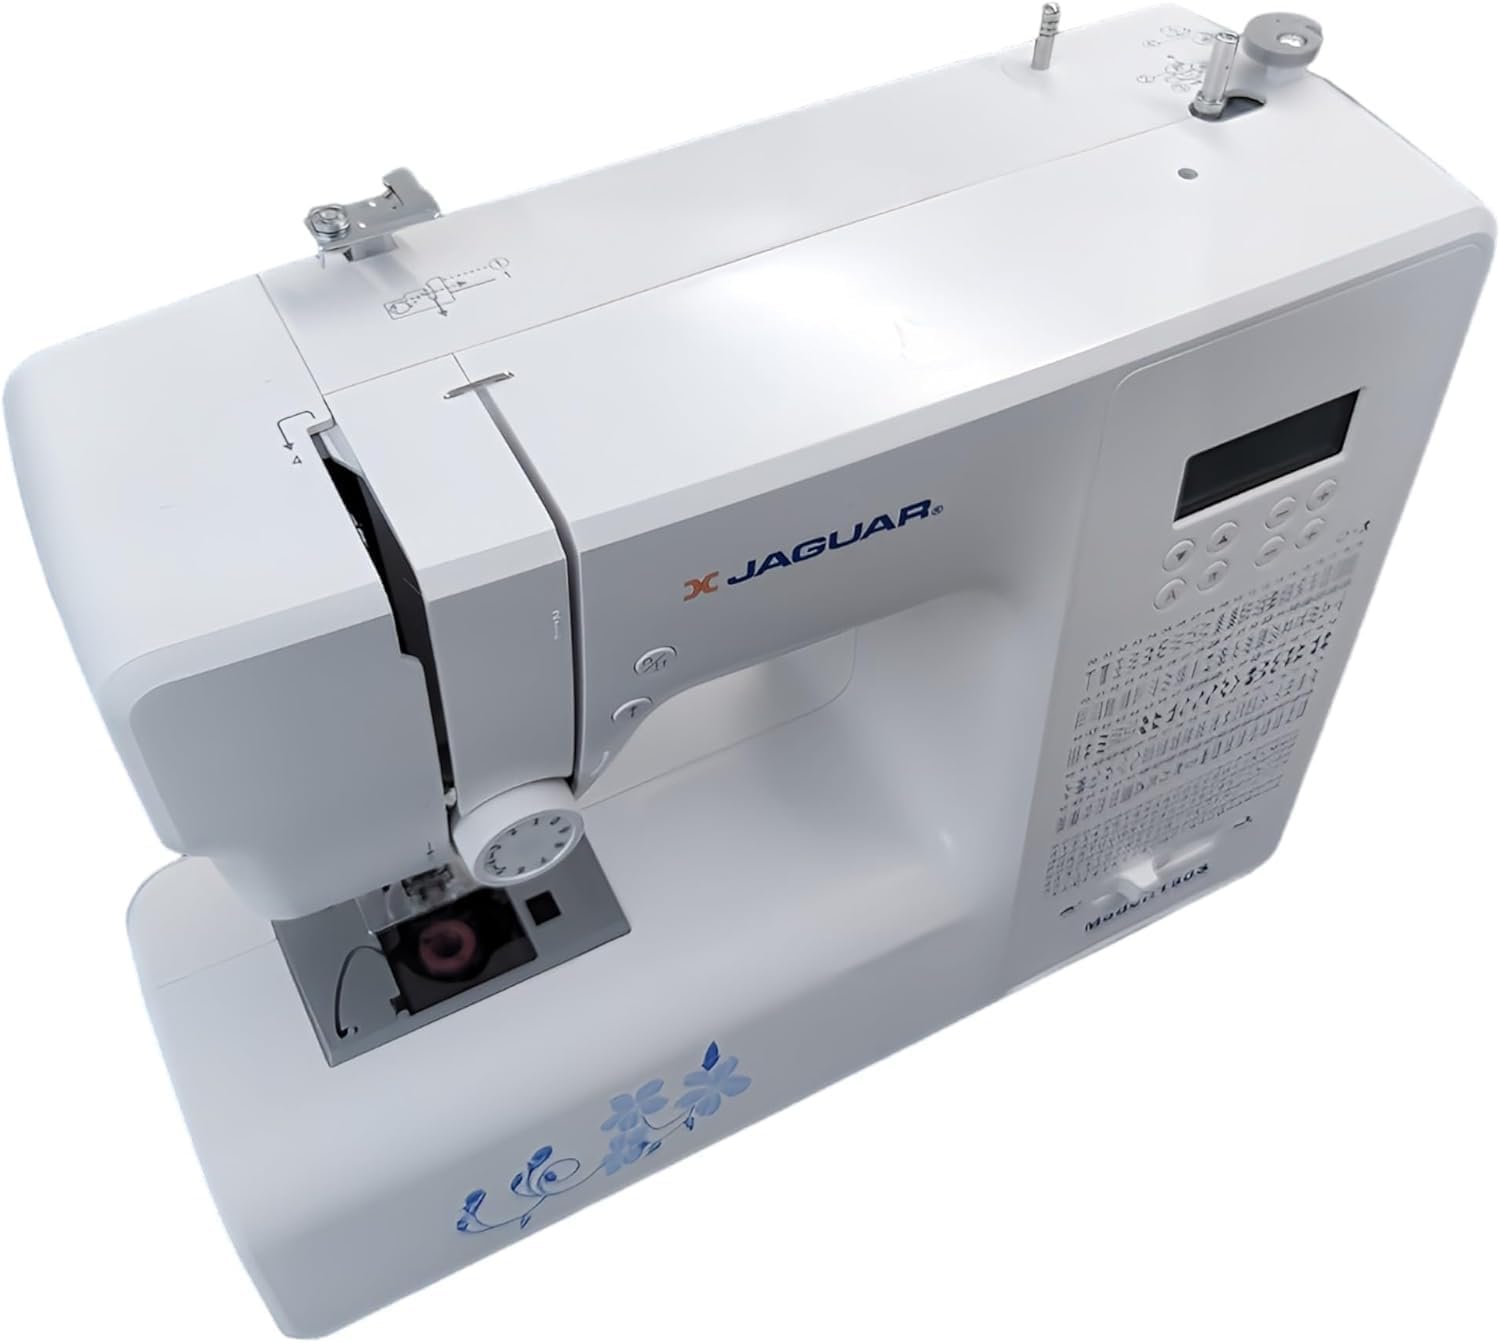
Figura 2: Minn fuq għal isfel view of the Jaguar 190S, illustrating the upper threading path and bobbin winding area. This view helps in understanding how to correctly thread the machine.
1.4 Attaching the Needle
- Dawwar ir-rota tal-idejn biex tgħolli l-labra għall-ogħla pożizzjoni tagħha.
- Ħoll il-labra clamp kamin.
- Daħħal il-labra l-ġdida bin-naħa ċatta tħares lejn wara tal-magna, billi imbottaha 'l fuq kemm tista'.
- Issikka l-labra clamp kamin sew.
1.5 Attaching the Presser Foot
- Għolli s-saqaf tal-pressjoni.
- Press the release button on the back of the presser foot holder to remove the current foot.
- Align the desired presser foot with the holder and lower the presser foot lifter until it snaps into place.
2. Istruzzjonijiet Operattivi
2.1 Kontrolli Bażiċi
- Skrin LCD: Displays selected stitch number, length, and width.
- Stitch Selection Buttons: Use the '+' and '-' buttons to navigate through the 200 available stitches.
- Speed Control Slider: Adjusts sewing speed from 150 to 700 stitches per minute.
- Buttuna Start / Stop: Operates the machine without the foot pedal.
- Buttuna Reverse: Għat-tisħiħ tal-ponti fil-bidu u fit-tmiem tal-ħjatat.
- Buttuna 'l fuq/'l isfel tal-labra: Positions the needle either fully up or fully down.
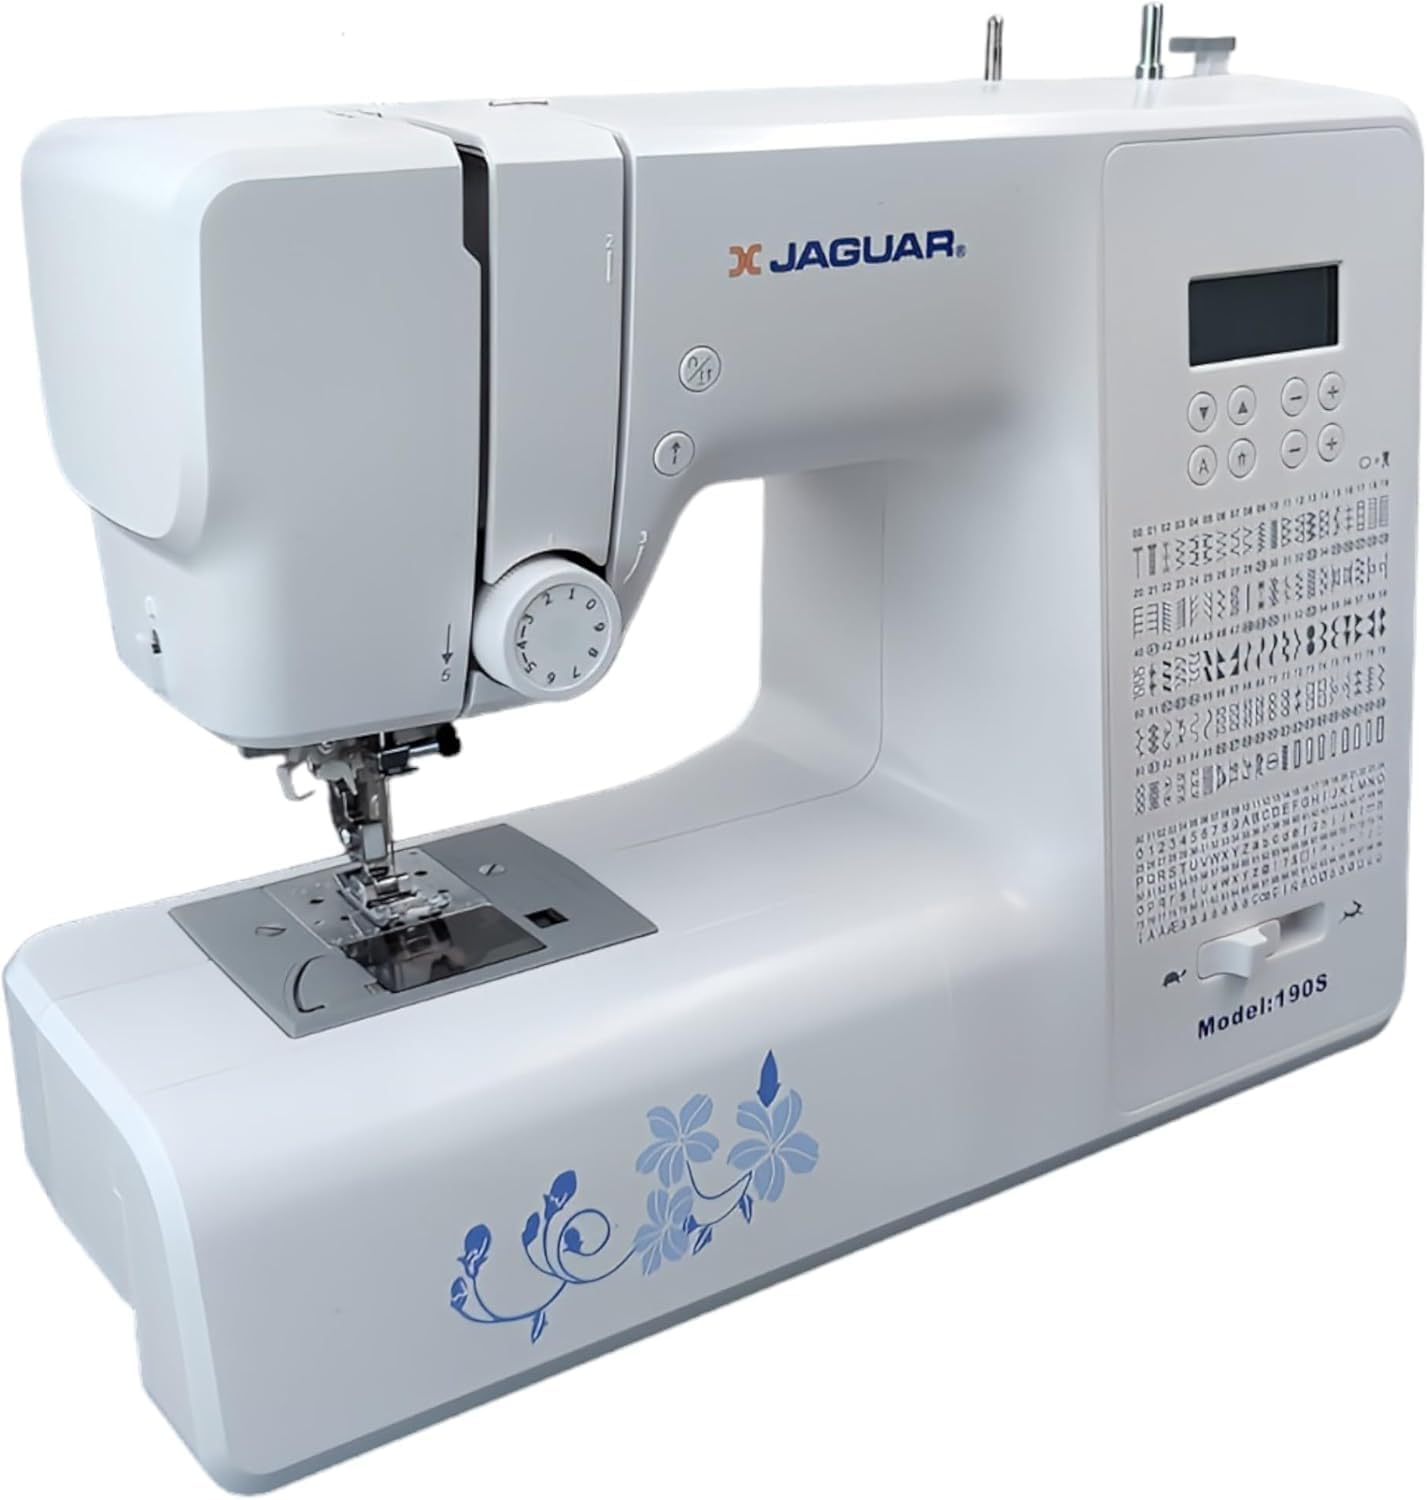
Figure 3: Close-up of the Jaguar 190S control panel and LCD screen. This image highlights the buttons for stitch selection, speed control, and needle positioning.
2.2 Għażla u Aġġustament tal-Punti
- Turn on the machine. The default stitch (usually a straight stitch) will appear on the LCD.
- Use the stitch selection buttons to choose from the 200 built-in stitches, including utility, decorative, and alphanumeric options.
- The machine automatically sets optimal stitch length and width for the selected stitch. These can be manually adjusted using dedicated buttons if desired (Length: 0-7mm, Width: 0-4.5mm).
2.3 Threader Awtomatiku tal-Labra
- Ensure the needle is in its highest position.
- Lower the needle threader lever completely.
- Guide the thread as instructed by the markings near the needle.
- Release the lever slowly; a loop of thread will be pulled through the needle eye.
2.4 Automatic Buttonholes
- Attach the one-step buttonhole foot.
- Place the button you intend to use into the buttonhole foot's size guide.
- Select one of the 8 automatic buttonhole styles from the stitch menu.
- Niżżel il-lieva tat-toqba.
- Start sewing; the machine will automatically create the buttonhole to the correct size.
2.5 Free-Motion Sewing and Quilting
- To engage free-motion sewing or quilting, lower the feed dogs using the lever located at the back of the needle plate area.
- Attach a darning or free-motion quilting foot (not included, may be purchased separately).
- Manually guide the fabric to create your desired stitches.
2.6 Aġġustament tat-Tensjoni tal-Ħajta
- The machine features an adjustable thread tension lever.
- Adjust the tension setting based on the fabric type and thread used. Correct tension results in balanced stitches on both sides of the fabric.
- Test on a scrap piece of fabric before sewing your project.
3. Manutenzjoni
3.1 Tindif tal-Magni
- Dejjem aqla l-magna qabel it-tindif.
- Regularly clean lint and dust from the bobbin area, feed dogs, and needle plate using the provided brush.
- Imsaħ il-barra tal-magna b'ċarruta ratba u niexfa. Evita li tuża kimiċi ħarxa.
3.2 Changing the Needle
- Change the needle frequently, especially after 8-10 hours of sewing or if it becomes bent or dull. A dull needle can cause skipped stitches or fabric damage.
- Refer to section 1.4 for detailed instructions on attaching a new needle.
3.3 Ħażna
- Meta ma tkunx qed tuża l-magna, għattiha biex tipproteġiha mit-trab.
- Aħżen f'post niexef u frisk 'il bogħod mix-xemx diretta.
4 Issolvi l-problemi
Din it-taqsima tindirizza kwistjonijiet komuni li tista' tiltaqa' magħhom. Għal problemi mhux elenkati hawn, jekk jogħġbok ikkuntattja l-appoġġ għall-klijenti.
4.1 Punti Maqbuża
- Ensure the needle is inserted correctly and is not bent or dull. Replace if necessary.
- Check that the machine is properly threaded, both upper and bobbin threads.
- Use the correct needle type and size for your fabric.
4.2 Tkissir tal-Ħajt
- Verify correct threading and bobbin winding.
- Adjust upper thread tension. Too high tension can cause thread breakage.
- Check for burrs or rough spots on the needle plate or bobbin case.
- Ensure the needle is not bent or dull.
4.3 Uneven Stitches / Poor Stitch Quality
- Check and adjust thread tension for both upper and bobbin threads.
- Ensure the machine is threaded correctly.
- Uża ħajta ta’ kwalità tajba.
- Clean the bobbin area from lint and debris.
5. Speċifikazzjonijiet
| Karatteristika | Dettall |
|---|---|
| Brand | JAGUAR |
| Numru tal-Mudell | 190S |
| Programmi tal-Ħjata | 200 (including 100 alphanumeric, 8 automatic buttonholes) |
| Tul tal-ħjata | 0 mm - 7 mm |
| Wisa tal-ħjata | 0 mm - 4.5 mm |
| Threader tal-Labra | Awtomatiku |
| Sistema tal-bobini | Quick-insert horizontal hook with automatic winding |
| Wiri | LCD backlit |
| Kontroll tal-veloċità | Electronic, 150 to 700 stitches/minute |
| Dawl | LED integrat |
| Qawwa | 35 Watts |
| Voltage | 220 Volts |
| Dimensjonijiet (L x W x H) | 43 x 23 x 35 ċm (madwar 16.9 x 9.1 x 13.8 pulzieri) |
| Piż | 5 Kilogrammi (madwar 11 lbs) |
| Materjal | Plastik |
6. Aċċessorji Inklużi
The Jaguar 190S comes with a comprehensive set of accessories to get you started:
- Standard Zigzag Foot
- One-Step Buttonhole Foot
- Satin Stitch Marda
- Keffa Għomja Marda
- Marda tal-Ħjata tal-Buttuna
- Electronic Foot Pedal
- Needles (3 pieces)
- Twin Labra
- Kap tar-rukkell
- Bobbin Holder
- Screwdrivers (small + for needle plate)
- Bobbins (4 total, one pre-installed)
- Spool Pin awżiljarju
- Seam Ripper / Brush

Figure 4: A selection of the accessories included with the Jaguar 190S, such as various presser feet, bobbins, needles, and the foot pedal.
7. Garanzija u Appoġġ
Your Jaguar 190S Electronic Sewing Machine is covered by a garanzija ta 'sena for parts and manufacturing defects. Please retain your proof of purchase for warranty claims.
For technical assistance, troubleshooting beyond this manual, or warranty service, please contact your retailer or the official Jaguar customer support. Contact information can typically be found on the product packaging or the manufacturer's websit.