1. Introduzzjoni
The GameMax Mirage 120mm PC Cooling Fan is designed to provide efficient cooling for computer components while offering customizable RGB lighting. This fan features a dual-ring Rainbow LED design, a hydraulic bearing for quiet operation, and a 7-blade fan structure. It is compatible with 5V addressable 3-pin Aura Sync systems, allowing for synchronized lighting effects with compatible motherboards or controllers.

Stampa 1.1: Quddiem view of the GameMax Mirage fan with active Rainbow LED lighting.
2. Informazzjoni dwar is-Sigurtà
- Kun żgur li s-sistema tal-kompjuter tiegħek tkun mitfija u skonnettjata mis-sokit tal-ħajt qabel l-installazzjoni jew il-manutenzjoni.
- Handle components with care to avoid damage from static electricity. Consider using an anti-static wrist strap.
- Tisforzax il-konnetturi. Kun żgur li l-orjentazzjoni hija korretta qabel ma tgħaqqad il-kejbils.
- Żomm il-fann 'il bogħod minn likwidi u umdità eċċessiva.
- Tippruvax tiżżarma l-unità tal-fann lil hinn minn dak deskritt f'dan il-manwal.
3. Kontenut tal-Pakkett
Ivverifika li l-oġġetti kollha huma preżenti fil-pakkett tiegħek:
- 1 x GameMax Mirage 120mm PC Cooling Fan
- 4 x Viti tal-Immuntar
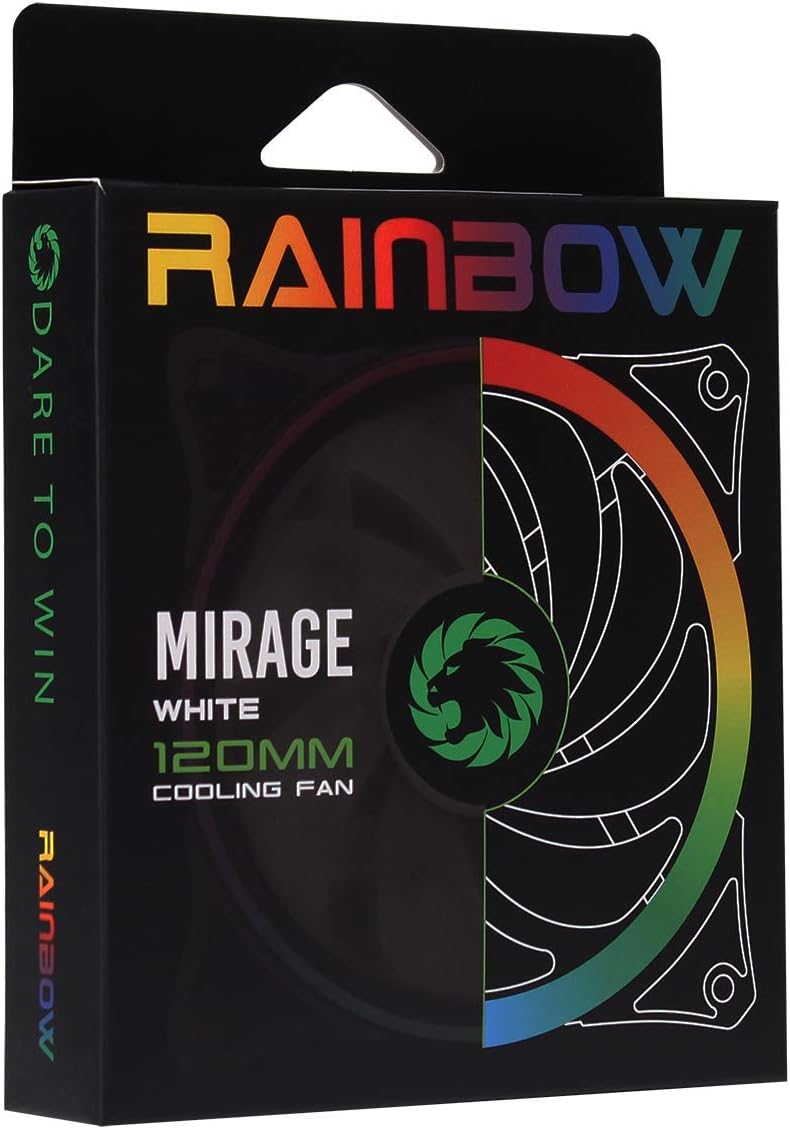
Image 3.1: Retail packaging for the GameMax Mirage fan.
4. Setup u Installazzjoni
Follow these steps to install your GameMax Mirage 120mm PC Cooling Fan:
- Ipprepara s-Sistema Tiegħek: Power off your computer and unplug it from the power outlet. Open your computer case to access the fan mounting locations.
- Immonta l-Fan: Position the fan in your desired location (e.g., case front, rear, top, or radiator). Ensure the airflow direction is correct for your cooling setup. Use the four included mounting screws to secure the fan to the chassis or radiator. The fan features rubber pads on the corners to help reduce vibration.
- Qabbad il-Qawwa tal-Fann: Locate the 3-pin power connector on the fan cable. Connect this cable to an available 3-pin fan header on your motherboard or a fan controller.
- Qabbad id-Dawl RGB: Locate the 5V addressable 3-pin Aura connector on the fan cable. Connect this to a compatible 5V ARGB header on your motherboard (often labeled 'VDG' or 'ARGB') or an external RGB controller/hub. Warning: Do not connect this to a 12V RGB header, as it will damage the LEDs.

Image 4.1: The 3-pin power connector (top) and 5V addressable 3-pin Aura connector (bottom).
The fan cables are braided for improved aesthetics and durability, helping to keep your build neat and tidy.
5. Istruzzjonijiet Operattivi
Once installed, the GameMax Mirage fan operates as follows:
- Kontroll tal-veloċità tal-fann: The fan speed is controlled via the 3-pin power connector. If connected to a motherboard fan header, the speed can typically be adjusted through your motherboard's BIOS/UEFI settings or dedicated software.
- Kontroll tad-Dawl RGB: The Rainbow LED lighting is controlled via the 5V addressable 3-pin Aura connector.
- If connected to a compatible motherboard (e.g., ASUS Aura Sync, MSI Mystic Light, Gigabyte RGB Fusion, ASRock Polychrome Sync), you can use the motherboard's software to customize lighting effects, colors, and synchronization with other ARGB components.
- If connected to an external RGB hub/controller, refer to the instructions provided with your specific hub/controller for lighting customization options.

Immaġni 5.1: Angolata view of the GameMax Mirage fan showcasing its dual-ring Rainbow LED lighting.
6. Manutenzjoni
Regular maintenance helps ensure optimal performance and longevity of your cooling fan:
- Tindif tat-Trab: Periodically inspect the fan blades and frame for dust accumulation. Use compressed air or a soft brush to gently remove dust. Ensure the fan is powered off and unplugged before cleaning.
- Spezzjoni tal-Cable: Occasionally check the power and RGB cables for any signs of wear or damage.
7 Issolvi l-problemi
- Il-Fann Mhux Idur:
- Ensure the 3-pin power connector is securely plugged into a functional fan header on the motherboard or controller.
- Check motherboard BIOS/UEFI settings to ensure the fan header is enabled and configured correctly.
- LEDs Not Lighting Up or Incorrect Colors:
- Verify the 5V addressable 3-pin Aura connector is securely connected to a compatible 5V ARGB header (not 12V RGB).
- Ensure your motherboard's RGB software or external controller is properly installed and configured.
- If using a splitter or hub, ensure it is powered and functioning correctly.
- Storbju Eċċessiv:
- Check for any cables or obstructions interfering with the fan blades.
- Ensure the fan is securely mounted and the rubber pads are properly seated to absorb vibrations.
- Dust accumulation can cause imbalance and noise; clean the fan as described in the Maintenance section.
8. Speċifikazzjonijiet
| Karatteristika | Speċifikazzjoni |
|---|---|
| Mudell | MIRAGEWHITE FINS |
| Daqs tal-fann | 120mm x 120mm x 25mm (0.98 x 4.72 x 4.72 pulzieri) |
| Tip ta 'Bearing | Bearing idrawliku |
| Xfafar tal-Fann | 7 Xfafar |
| Tip LED | Addressable Rainbow LED (Dual-Ring) |
| Konnettur tal-Enerġija tal-Fann | 3-Pin |
| Konnettur RGB | 5V Addressable 3-Pin Aura Connector |
| Vol Operattivtage | 5 Volts (for RGB) / 12 Volts (for fan motor, typical for 3-pin) |
| Ikklassifikat Wattage | 3 Watts |
| Veloċità ta' Rotazzjoni Massima | 1800 RPM |
| Livell ta' Storbju | Madwar 25 dB(A) |
| Materjal | Rubber (for vibration dampening) |

Immaġni 8.1: Wara view of the GameMax Mirage fan, displaying the product label with model and electrical specifications.
9. Garanzija u Appoġġ
Għal informazzjoni dwar il-garanzija u appoġġ tekniku, jekk jogħġbok irreferi għall-paġna uffiċjali ta' GAMEMAX webis-sit jew ikkuntattja lill-bejjiegħ tiegħek. Żomm il-prova tax-xiri tiegħek għal talbiet ta' garanzija.