
Introduzzjoni
This instruction manual provides detailed guidance for the installation, maintenance, and troubleshooting of the HYPRO 3430-0333 Seal Kit, designed specifically for HYPRO 9000 series pumps. Proper installation and maintenance of this seal kit are crucial for ensuring the optimal performance and longevity of your pump.
Informazzjoni dwar is-Sigurtà
TWISSIJA:
- Always disconnect power to the pump and relieve any system pressure before attempting installation or maintenance.
- Wear appropriate personal protective equipment (PPE), such as safety glasses and gloves, when handling pump components and seals.
- Ensure the pump and surrounding area are clean and free of debris before beginning work.
- Refer to your specific HYPRO 9000 pump manual for additional safety precautions and disassembly/assembly procedures.
Kontenut tal-Kit
The HYPRO 3430-0333 Seal Kit typically includes the necessary seals and components required for a complete seal replacement in a HYPRO 9000 pump. Verify all components are present and undamaged before proceeding with installation.

Image 1: HYPRO 3430-0333 Seal Kit in its original packaging. The label clearly displays the model number and quantity.

Immaġni 2: Close-up view of the product label on the HYPRO 3430-0333 Seal Kit, showing the part number, repair kit designation for 9000 series, and quantity.
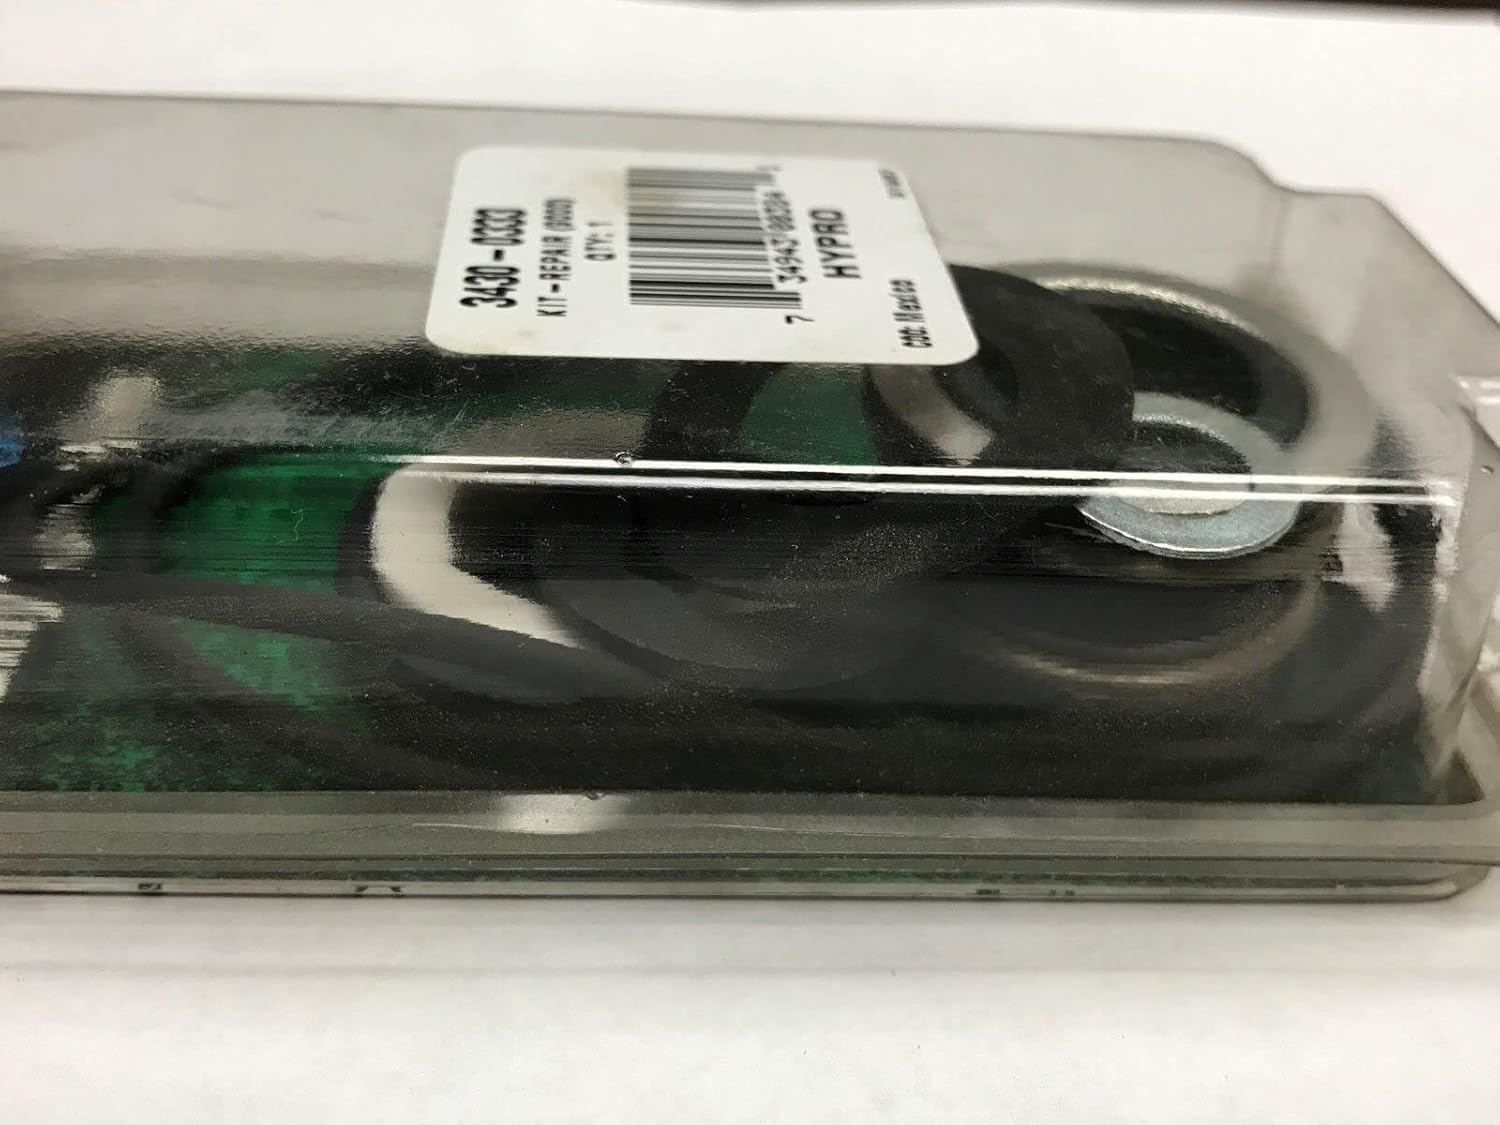
Immaġni 3: Ġenb view of the HYPRO 3430-0333 Seal Kit packaging, illustrating the compact nature of the kit.
Setup u Installazzjoni
Għodod Meħtieġa:
- Wrenches or sockets (sizes appropriate for your pump model)
- Tornaviti
- Tnalji
- Seal removal tool (if available) or small flat-head screwdriver
- Ċraret nodfa
- Lubricant (e.g., silicone grease, compatible with pump fluid)
Passi ta' Installazzjoni:
- Ipprepara l-Pompa: Ensure the pump is disconnected from power and all system pressure is relieved. Drain any fluid from the pump.
- Żarma l-Pompa: Carefully disassemble the pump components to access the old seals. Refer to your specific HYPRO 9000 pump service manual for detailed disassembly instructions. Note the orientation and position of all parts as you remove them.
- Neħħi s-Siġilli Qodma: Using a seal removal tool or a small flat-head screwdriver, carefully pry out the old seals. Be cautious not to scratch or damage the seal housing or shaft surfaces.
- Komponenti nodfa: Thoroughly clean all pump components, especially the seal housing and shaft, to remove any old lubricant, debris, or corrosion. Inspect for wear or damage. Replace any damaged components as necessary.
- Installa Siġilli Ġodda:
- Lightly lubricate the new seals with a compatible lubricant. This helps with installation and prevents damage.
- Carefully press the new seals into their respective housings. Ensure they are seated squarely and fully without twisting or crimping. Use a seal installation tool or a flat, blunt object to apply even pressure.
- Verify the correct orientation of each seal as per your pump's service manual.
- Erġa' arma l-Pompa: Reassemble the pump in reverse order of disassembly. Ensure all fasteners are tightened to the manufacturer's specified torque settings.
- Kontroll Inizjali: Before reconnecting power, manually rotate the pump shaft (if possible) to ensure smooth operation and no binding.
Post-Installation Check and Operation
After installing the seal kit and reassembling the pump, perform the following checks before returning the pump to full operation:
- Fill System: Slowly fill the pump and system with the appropriate fluid, allowing air to escape.
- Spezzjoni tat-tnixxija: Visually inspect all connections and seal areas for any signs of leaks.
- Ġirja Inizjali: Start the pump and run it at a low pressure or flow rate initially. Monitor for unusual noises, vibrations, or leaks.
- Test tal-Pressjoni: Gradually increase the pressure to the operating level, continuously checking for leaks around the newly installed seals.
- Monitora l-Prestazzjoni: Observe the pump's performance over the first few hours of operation to ensure stable pressure and flow, and no recurrence of leaks.
Manutenzjoni
Regular maintenance of your HYPRO 9000 pump, including periodic inspection of the seal kit, will extend its service life and prevent unexpected downtime.
- Spezzjoni ta' Rutina: Periodically inspect the pump for any signs of fluid leakage around the seals. Early detection of minor leaks can prevent major damage.
- Seal Replacement Interval: The lifespan of seals can vary depending on operating conditions, fluid type, and hours of use. It is recommended to replace seals as part of a preventative maintenance schedule or at the first sign of leakage.
- Kompatibbiltà tal-fluwidu: Ensure that the fluids being pumped are compatible with the seal materials to prevent premature wear or degradation.
- Ħażna: If the pump is to be stored for an extended period, follow the manufacturer's guidelines for proper storage, which may include flushing and lubricating the pump.
Issolvi l-problemi
| Problema | Kawża Possibbli | Soluzzjoni |
|---|---|---|
| Fluid leakage around seals after installation. |
|
|
| Premature seal wear or failure. |
|
|
Speċifikazzjonijiet
- Numru tal-Mudell: 3430-0333
- Ditta: HYPRO
- Kompatibilità: Designed for HYPRO 9000 Series Pumps
- Piż tal-oġġett: Madwar 8-il uqija (0.23 kg)
- Kwantità tal-Pakkett tal-Oġġett: 1 kit
- ASIN: B0796CPKG8
- UPC: 0734943003841
Informazzjoni dwar Garanzija
Specific warranty details for the HYPRO 3430-0333 Seal Kit are not provided in this manual. For information regarding product warranty, please refer to the original purchase documentation or contact HYPRO directly or your authorized dealer. Keep your proof of purchase for warranty claims.
Appoġġ għall-Klijent
For technical assistance, replacement parts, or further information regarding the HYPRO 3430-0333 Seal Kit or HYPRO 9000 series pumps, please contact HYPRO customer service or visit their official website. You can also reach out to your authorized HYPRO dealer.
HYPRO Official Websit: Visit the HYPRO Store on Amazon