
1. Pengenalan
This manual provides essential information for the safe and efficient operation, setup, and maintenance of your VEVOR CO2 Laser Engraver 40W, Model KH-3020. Please read this manual thoroughly before using the machine to ensure proper function and to prevent injury or damage.

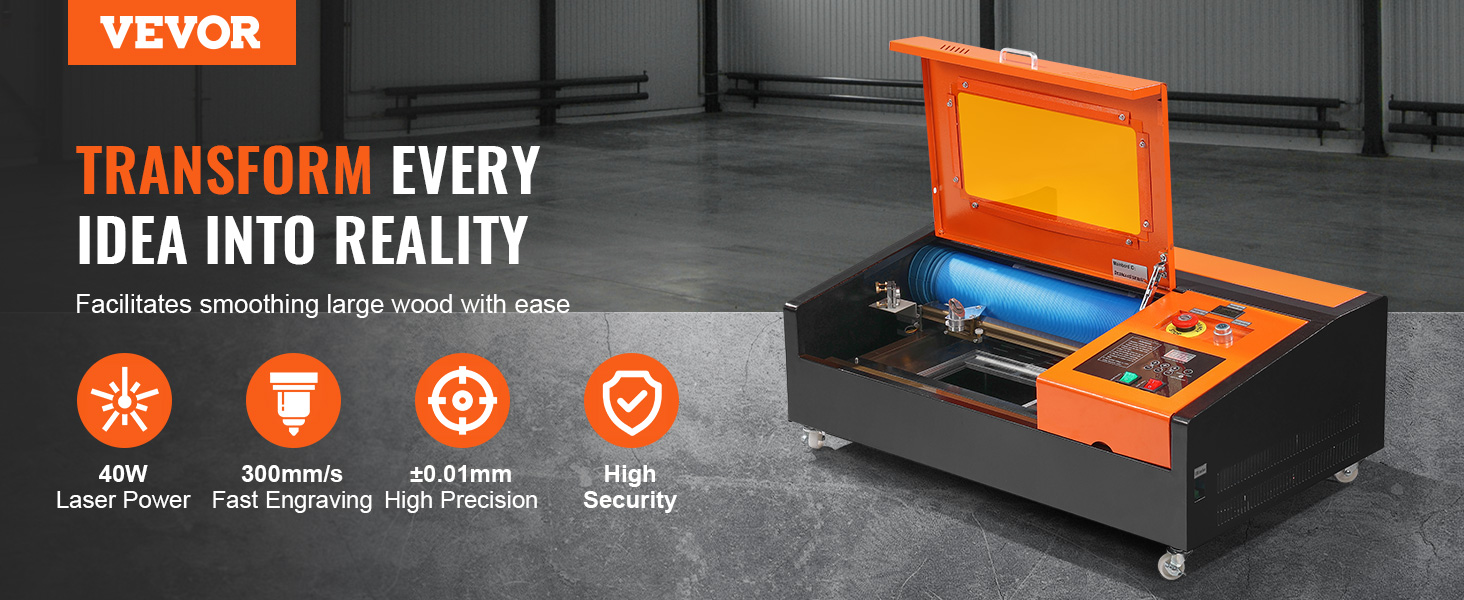
Image 1.1: The VEVOR 40W CO2 Laser Engraver, Model KH-3020, featuring a desktop design and compatibility with various graphic formats.
2. Arahan Keselamatan
WARNING: Laser radiation can cause severe injury. Always follow safety precautions.
- Always wear appropriate laser safety glasses when operating the machine.
- Ensure proper ventilation. The laser engraver produces smoke and fumes that must be exhausted outdoors.
- Jangan sekali-kali meninggalkan mesin tanpa pengawasan semasa operasi.
- Only engrave or cut materials compatible with CO2 lasers. Avoid materials that produce toxic fumes or catch fire easily.
- Simpan alat pemadam api berdekatan.
- Ensure the water cooling system is properly connected and functioning before activating the laser tube.
- Do not open the laser compartment during operation.
- Ensure the machine is properly grounded to prevent electrical hazards.
3. Apa yang ada dalam Kotak?
Carefully unpack all components and verify that all items listed below are present. If any items are missing or damaged, contact VEVOR customer support immediately.
- 1 x Laser Engraver Unit
- 1 x Workbench
- 1 x Data Cable (USB)
- 1 x USB Flash Drive (containing software and drivers)
- 1 x Pam Air
- 1 x Kabel Kuasa
- 1 x Installation Accessories (Screws/Double-sided Tape)
- 1 x Security Dongle
- 1 x Paip Ekzos
Imej 3.1: Selesaiview of the components included with the VEVOR CO2 Laser Engraver.
4. Persediaan
4.1 Membongkar dan Meletakkan
- Carefully remove the laser engraver from its packaging.
- Place the machine on a stable, level surface in a well-ventilated area, away from flammable materials.
4.2 Pemasangan Sistem Ekzos
- Connect the provided exhaust pipe to the smoke outlet on the rear of the machine.
- Route the exhaust pipe to an outdoor vent or a suitable air filtration system to safely remove fumes.

Image 4.1: The integrated exhaust fan, designed to vent smoke and odors during operation.
4.3 Water Cooling System Setup
- Fill a clean bucket or reservoir with distilled water.
- Place the water pump into the water reservoir.
- Connect the water inlet and outlet hoses from the laser engraver to the water pump, ensuring a secure, leak-free connection.
- Ensure water circulates freely through the laser tube before powering on the laser.
4.4 Electrical and Computer Connections
- Connect the power cable to the machine and a grounded electrical outlet.
- Connect the USB data cable from the laser engraver to your computer.
- Insert the provided USB flash drive into your computer to install the necessary software and drivers (e.g., CorelDRAW plugin).
- Enter the verification code found on the machine's control board into the software when prompted.
Video 4.1: Demonstrates connecting the laser engraver to a computer and entering the software verification code.
5. Arahan Operasi
5.1 Panel Kawalan Selesaiview
The intuitive digital control panel allows for precise laser power control and operational adjustments.
Imej 5.1: Terperinci view of the control panel, showing the LCD display, laser switch, power switch, and lighting switch.
- Skrin Paparan LCD: Shows current laser power and other settings.
- Suis Laser: Activates/deactivates the laser.
- Suis kuasa: Menghidupkan/mematikan mesin.
- Suis Pencahayaan: Controls internal workspace illumination.
- Laser Power Adjustment Buttons: Use '+' and '-' to fine-tune laser power.
- Laser Test Switch: For brief laser firing to check alignment (use with extreme caution).
5.2 Preparing for Engraving/Cutting
- Power on the machine using the Power Switch.
- Ensure the water pump is running and water is circulating.
- Place your material securely on the workbench.
- Adjust the focus of the laser head according to your material thickness.

Image 5.2: Close-up of the laser head performing high-speed engraving on a wooden surface.
5.3 Operasi Perisian
- Open your design software (e.g., CorelDRAW) and prepare your design.
- Use the installed plugin to send your design to the laser engraver.
- Set appropriate laser power and speed settings based on your material and desired outcome. Refer to material testing guidelines for optimal results.

Imej 5.3: Cthamples of designs engraved on various non-metal surfaces such as acrylic, glass, cardboard, leather, wood, and stone.
5.4 Starting the Engraving/Cutting Process
- Once settings are confirmed in the software, initiate the job.
- The laser will begin its operation. Monitor the process closely.
- In case of emergency, press the emergency stop button immediately.
6. Penyelenggaraan
Penyelenggaraan berkala memastikan prestasi optimum dan memanjangkan jangka hayat pengukir laser anda.
6.1 Cleaning the Laser Lens and Mirrors
- Periodically inspect the laser lens and mirrors for dust or debris.
- Use a specialized lens cleaning solution and cotton swabs or lens paper to gently clean optical components. Avoid touching with bare hands.
6.2 Water Cooling System Maintenance
- Regularly check the water level in the reservoir and refill with distilled water as needed.
- Change the water in the cooling system every 1-2 weeks, or more frequently with heavy use, to prevent algae growth and maintain cooling efficiency.
- Clean the water pump filter periodically.
6.3 Exhaust System Cleaning
- Inspect the exhaust pipe and fan for buildup of residue.
- Clean the exhaust fan and ducting as necessary to maintain efficient smoke extraction.
6.4 Laser Tube

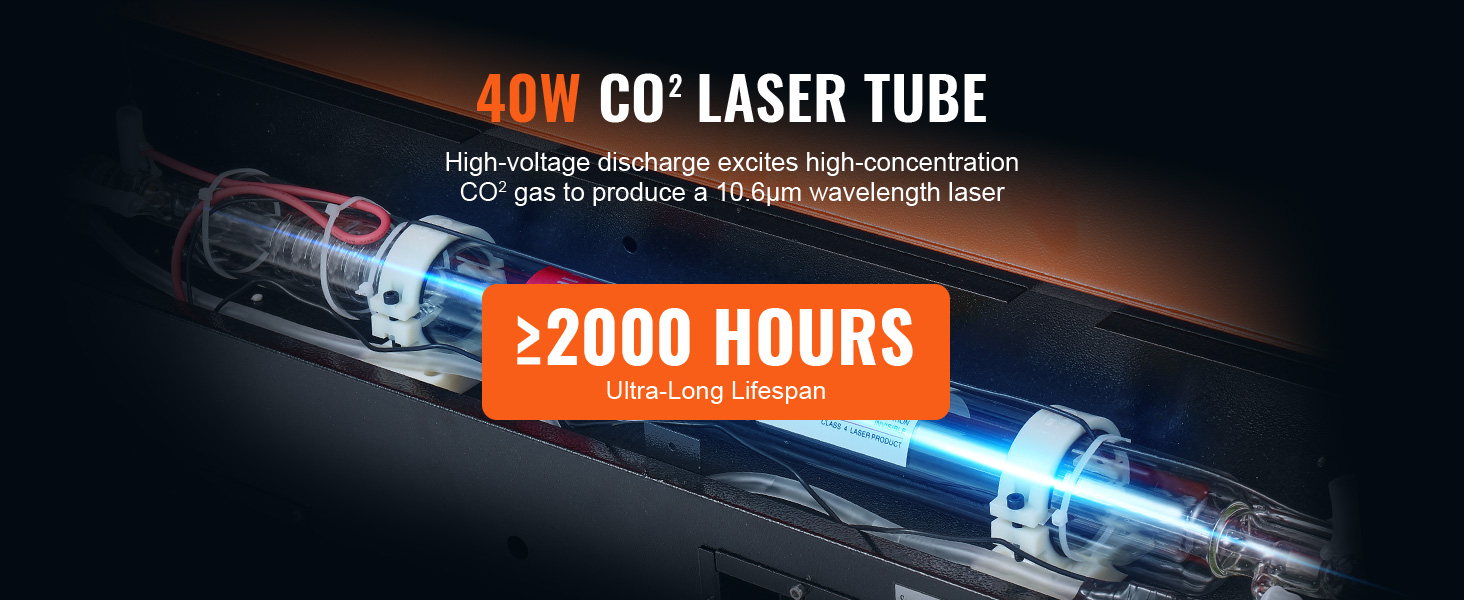
Image 6.1: The 40W CO2 laser tube, designed for an ultra-long lifespan of over 2000 hours.
7. Penyelesaian masalah
Bahagian ini menangani isu biasa yang mungkin anda hadapi. Untuk masalah yang tidak disenaraikan di sini, hubungi sokongan pelanggan.
| Masalah | Kemungkinan Punca | Penyelesaian |
|---|---|---|
| Laser tidak menyala atau output lemah | Water cooling issue, misaligned mirrors, low laser power setting, faulty laser tube. | Check water flow and temperature. Inspect and clean mirrors/lens. Increase laser power. Contact support if tube is suspected faulty. |
| Kualiti ukiran/pemotongan yang buruk | Incorrect focus, wrong power/speed settings, dirty lens/mirrors, material incompatibility. | Adjust focus. Optimize power/speed settings for the material. Clean optical components. Ensure material is suitable for CO2 laser. |
| Exhaust system ineffective | Blocked exhaust pipe, fan malfunction, improper sealing. | Check exhaust pipe for obstructions. Ensure fan is operating. Verify all connections are sealed. |
| Software connection issues | Incorrect drivers, USB cable problem, software not installed correctly, security dongle not recognized. | Reinstall drivers and software from the provided USB drive. Try a different USB port or cable. Ensure security dongle is properly inserted. |
8. Spesifikasi
Key technical specifications for the VEVOR CO2 Laser Engraver 40W, Model KH-3020.
| Ciri | Spesifikasi |
|---|---|
| Nombor Model Item | KH-3020 |
| Kuasa Laser Maksimum | 40W |
| Kawasan Kerja yang Berkesan | 12 x 8 inci (30 x 20 cm) |
| Kelajuan Ukiran | 11.8 IPS / 0-300 mm/s |
| Kelajuan Pemotongan | 3.9 IPS / 1-100 mm/s |
| Maximum Cutting Thickness (Acrylic) | ≤ 0.2 inches / 4 mm |
| Lembaga Kawalan | M2 |
| Dimensi Produk | 31.5 x 21.7 x 12 inci (800 x 550 x 305 mm) |
| Berat Barang | 60.2 paun (27.3 kg) |

Imej 8.1: Dimensi lebihview and key specifications of the VEVOR CO2 Laser Engraver.
9. Waranti dan Sokongan
Untuk maklumat waranti, sokongan teknikal atau pertanyaan perkhidmatan, sila rujuk kad waranti yang disertakan bersama produk anda atau lawati VEVOR rasmi website. You can also contact VEVOR customer support directly for assistance.
Sokongan Pelanggan VEVOR: Visit VEVOR Support Page


