
Artpuch 0808PJRC-05G-AP-JS
Artpuch Outdoor Roller Shade 96"W x 96"H Gray - Instruction Manual
Model: 0808PJRC-05G-AP-JS
Brand: Artpuch
pengenalan
This manual provides comprehensive instructions for the Artpuch Outdoor Roller Shade, designed to enhance your outdoor living space by providing sun protection and privacy. Please read these instructions carefully before assembly and installation to ensure safe and proper use.
Maklumat Keselamatan
- Sentiasa pakai peralatan keselamatan yang sesuai, seperti sarung tangan dan pelindung mata, semasa pemasangan.
- Ensure all mounting hardware is securely fastened to a stable surface.
- Jauhkan kanak-kanak dan haiwan peliharaan dari kawasan pemasangan.
- Do not attempt to modify the product in any way not described in this manual.
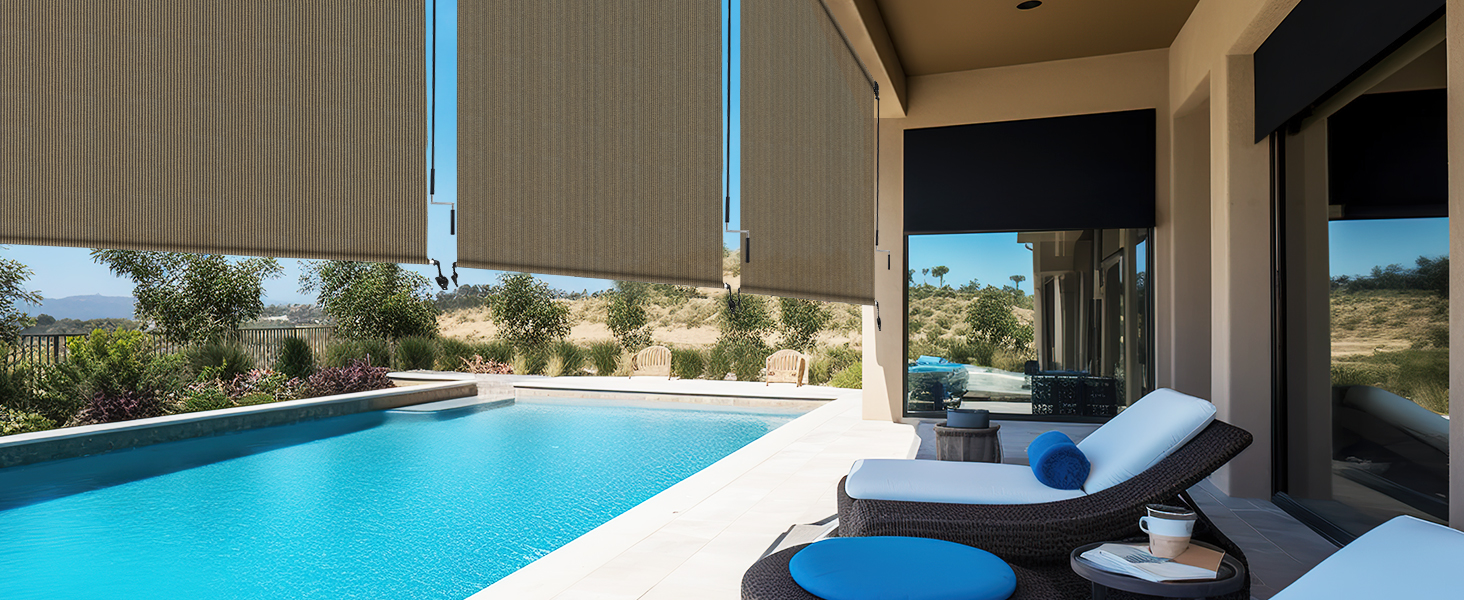
- In strong winds, it is recommended to roll up the shade to prevent damage.
Kandungan Pakej
Sahkan bahawa semua komponen hadir sebelum memulakan pemasangan:

Penerangan Imej: An illustration showing all components included in the Artpuch Outdoor Roller Shade package. These include screws, plastic anchors, a wand, installation template, aluminum tube plugs, roller brackets, bungee cords, bungee brackets, upper tubes, and below tubes. A note indicates that the spliced pole design reduces package length for shipping efficiency, and the fabric is a single seamless piece.
- Shade Fabric (One-piece)
- 2-Section Roller Blind Tube (Upper and Below Tubes with connector)
- Wand (for manual operation)
- Roller Brackets
- Tali Bungee
- Bungee Brackets
- Aluminum Tube Plugs
- Skru dan Sauh Plastik
- Templat Pemasangan
Persediaan dan Pemasangan
Follow these steps for proper assembly and installation of your Artpuch Outdoor Roller Shade. The spliced pole design ensures easy shipping and assembly, with the fabric being a single seamless piece.
1. Assemble the Tubes

Penerangan Imej: A three-step visual guide for installing the roller shade. Step 1 shows splicing the upper tube, then embedding the fabric into the tube's groove. Step 2 illustrates splicing the tube below and inserting plugs. Step 3 demonstrates installing the roller brackets onto the assembled tube.
- Splicing the Upper Tube: Connect the two sections of the upper tube using the provided connector. Ensure they are firmly joined.
- Embedding Fabric: Carefully slide the top edge of the shade fabric into the groove of the assembled upper tube.
- Splicing the Lower Tube: Connect the two sections of the lower tube. Insert the aluminum tube plugs into the ends of the lower tube.
- Attach Fabric to Lower Tube: Secure the bottom edge of the shade fabric to the lower tube.
2. Install Roller Brackets
- Menanda Lubang Gerudi: Use the provided installation template to mark the positions for the roller brackets on your desired mounting surface (ceiling or wall).
- Lubang gerudi: Drill pilot holes at the marked locations. Insert plastic anchors if mounting into drywall or masonry.
- Kurungan Selamat: Attach the roller brackets to the mounting surface using the provided screws. Ensure they are level and securely tightened.
3. Pasang Teduh
- Insert Shade: Carefully insert the assembled roller shade into the installed roller brackets. Ensure it clicks securely into place.
- Install Bungee Brackets: Install the bungee brackets on the lower part of your patio structure, aligning them with the bottom of the shade.
- Secure Bungees: Attach the bungee cords to the bottom tube of the shade and hook them into the bungee brackets to keep the shade taut and prevent flapping in the wind.
Panduan Video Pemasangan
Penerangan Video: A short video demonstrating the installation process of the Artpuch Outdoor Roller Shade. It shows how to assemble the tubes, mount the brackets, and secure the shade, providing a visual aid for users.
Arahan Operasi
The Artpuch Outdoor Roller Shade features a cordless, manual operation for ease of use.
Raising and Lowering the Shade
Penerangan Imej: Two panels illustrating the operation of the shade. The left panel shows the 'Lifting Crank' with a wand operated mechanism, highlighting no cords or chains. The right panel displays the 'Bungee Tie-down System' designed to prevent blinds from flapping in windy conditions or when the window is open.
- To raise or lower the shade, insert the provided wand into the designated crank mechanism on the side of the roller.
- Turn the wand clockwise to lower the shade and counter-clockwise to raise it.
- Adjust the shade to your desired height. The cordless design allows for smooth and precise positioning.
Bungee Tie-down System
- The bungee tie-down system at the bottom of the shade helps secure it against wind.
- Ensure the bungee cords are properly attached to the bottom bar of the shade and hooked into the bungee brackets on your patio structure.
- This system prevents the shade from flapping and provides stability.
Penyelenggaraan
Proper care will extend the life and appearance of your Artpuch Outdoor Roller Shade:
- Pembersihan: Clean the shade fabric with a soft cloth, sponge, or soft-bristle brush using mild detergent. Rinse thoroughly with water and allow to air-dry naturally.
- Jangan guna: Avoid using a washing machine or dryer for cleaning the shade fabric.
- Pemeriksaan: Periodically inspect all mounting hardware and components for wear or damage. Tighten any loose screws.
Menyelesaikan masalah
- Naungan Tidak Bergulung Lancar: Check for any obstructions in the roller mechanism or along the fabric path. Ensure the fabric is properly aligned within the tubes.
- Shade Flapping in Wind: Verify that the bungee tie-down system is correctly installed and taut. Ensure bungee cords are securely attached to both the shade and the bungee brackets.
- Difficulty with Wand Operation: Ensure the wand is fully inserted into the crank mechanism. If resistance is felt, do not force it; inspect the mechanism for any debris or misalignment.
Spesifikasi
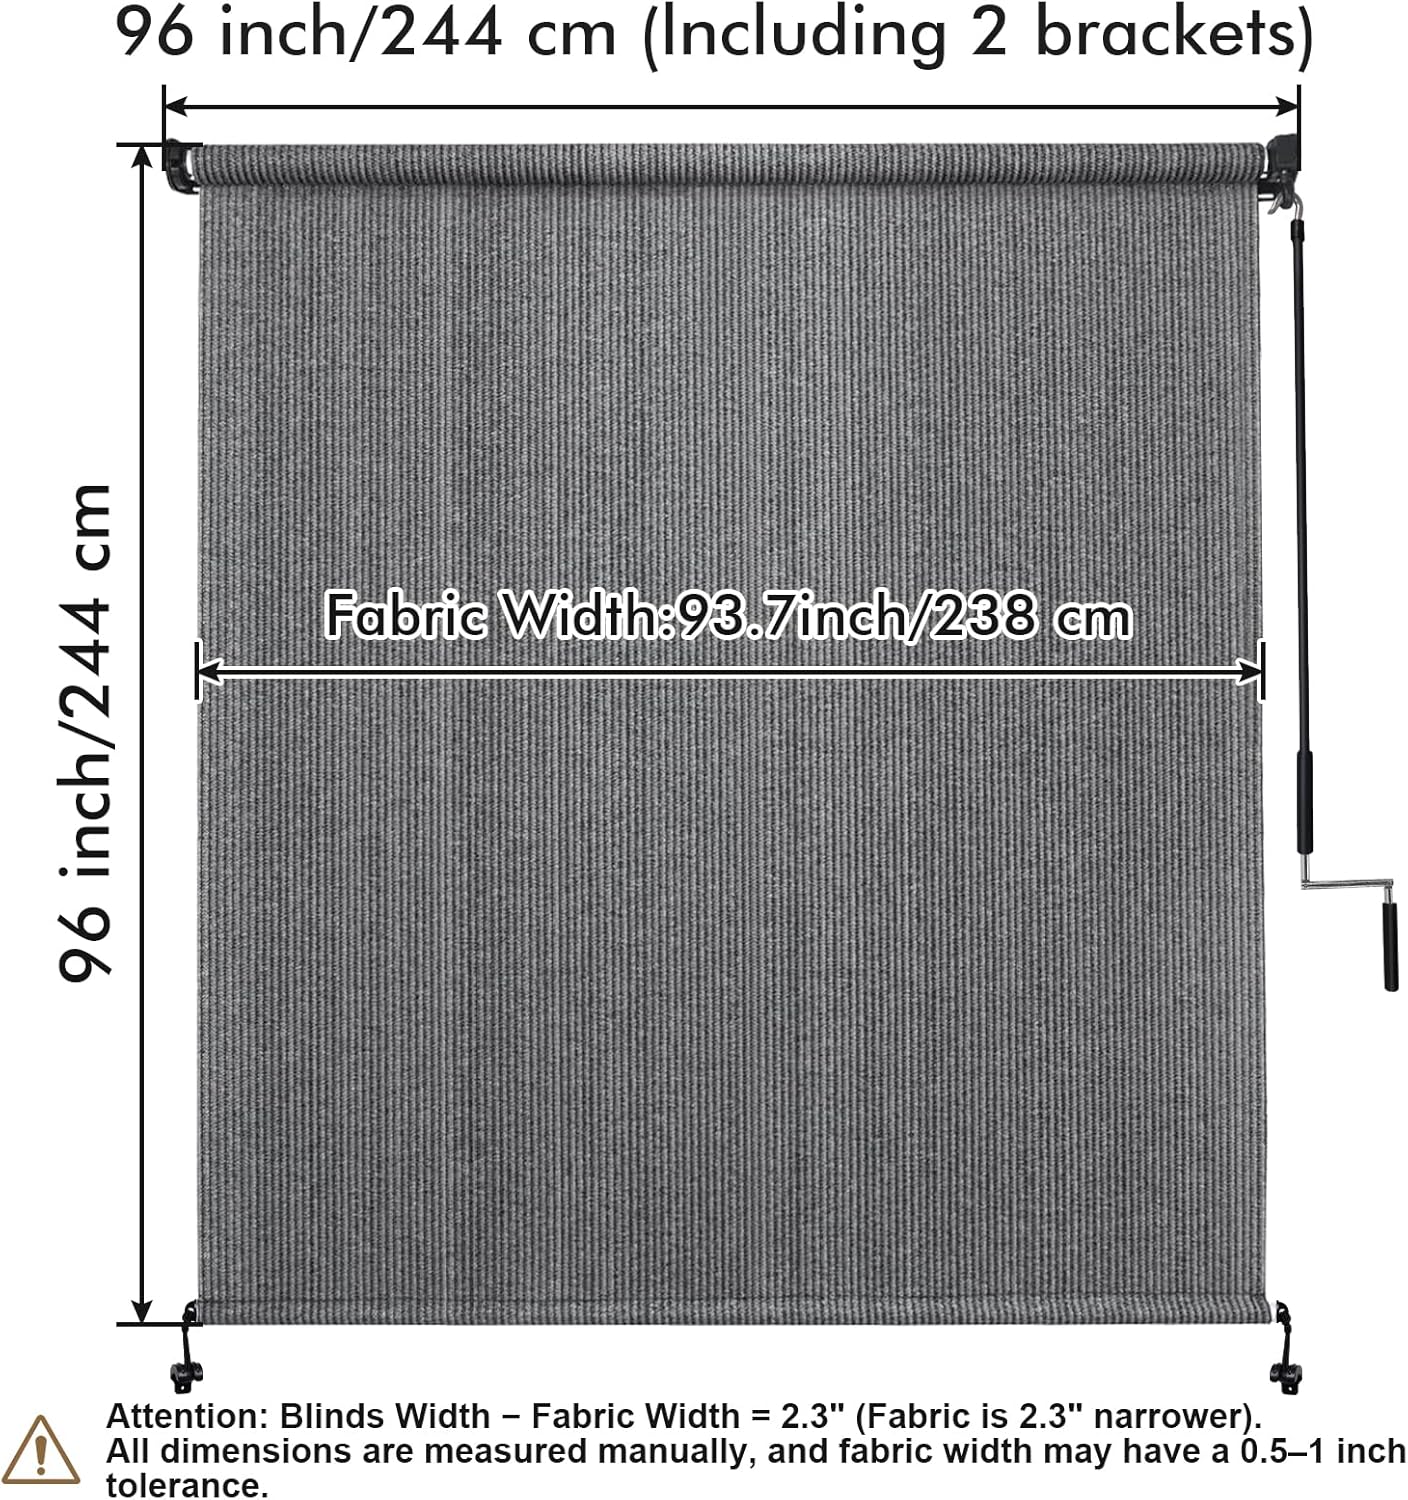
Penerangan Imej: A diagram illustrating the dimensions of the Artpuch Outdoor Roller Shade. It shows a total width of 96 inches (including 2 brackets) and a height of 96 inches. The fabric width is specified as 93.7 inches (238 cm), noting that the fabric is 2.3 inches narrower than the total blind width. A warning indicates that all dimensions are measured manually and may have a 0.5-1 inch tolerance.
| Ciri | Perincian |
|---|---|
| Jenama | Artpuch |
| Nombor Model | 0808PJRC-05G-AP-JS |
| Saiz | 96"W x 96"H |
| warna | Kelabu |
| bahan | Polietilena Ketumpatan Tinggi (HDPE) |
| Mod Operasi | Manual, Tanpa wayar |
| Perlindungan UV | Blocks up to 90% of harmful UV rays |
| Tahap Ketahanan Air | Tahan Air |
| Jenis Pemasangan | Outside Mount (can also be ceiling mounted) |
| Bilangan Panel | 1 |
| Kiraan Unit | 64.0 Kaki Persegi |
Waranti dan Sokongan
At Artpuch, your satisfaction is our priority. We are committed to providing high-quality products and excellent customer service.
Sokongan Selepas Jualan
If anything is missing or damaged upon arrival, or if you have any questions regarding installation or product functionality, please do not hesitate to contact us. We aim to resolve all inquiries and issues within 24 hours.
For support, please refer to the contact information provided with your purchase or visit the official Artpuch store online.
Ask a question about this manual
Ask about setup, troubleshooting, compatibility, parts, safety, or missing instructions. Manuals+ will review the question and use this page’s manual context to help answer it.