T300
Generic T300 LED Mini Projector User Manual
Model: T300
1. Pengenalan
Terima kasih kerana membeliasing the Generic T300 LED Mini Projector. This compact and portable projector is designed for home theater use, offering a clear viewing experience with its short-focus optical lens and diffuse reflection imaging technology, which helps reduce eye strain. This manual provides essential information for setting up, operating, maintaining, and troubleshooting your projector.
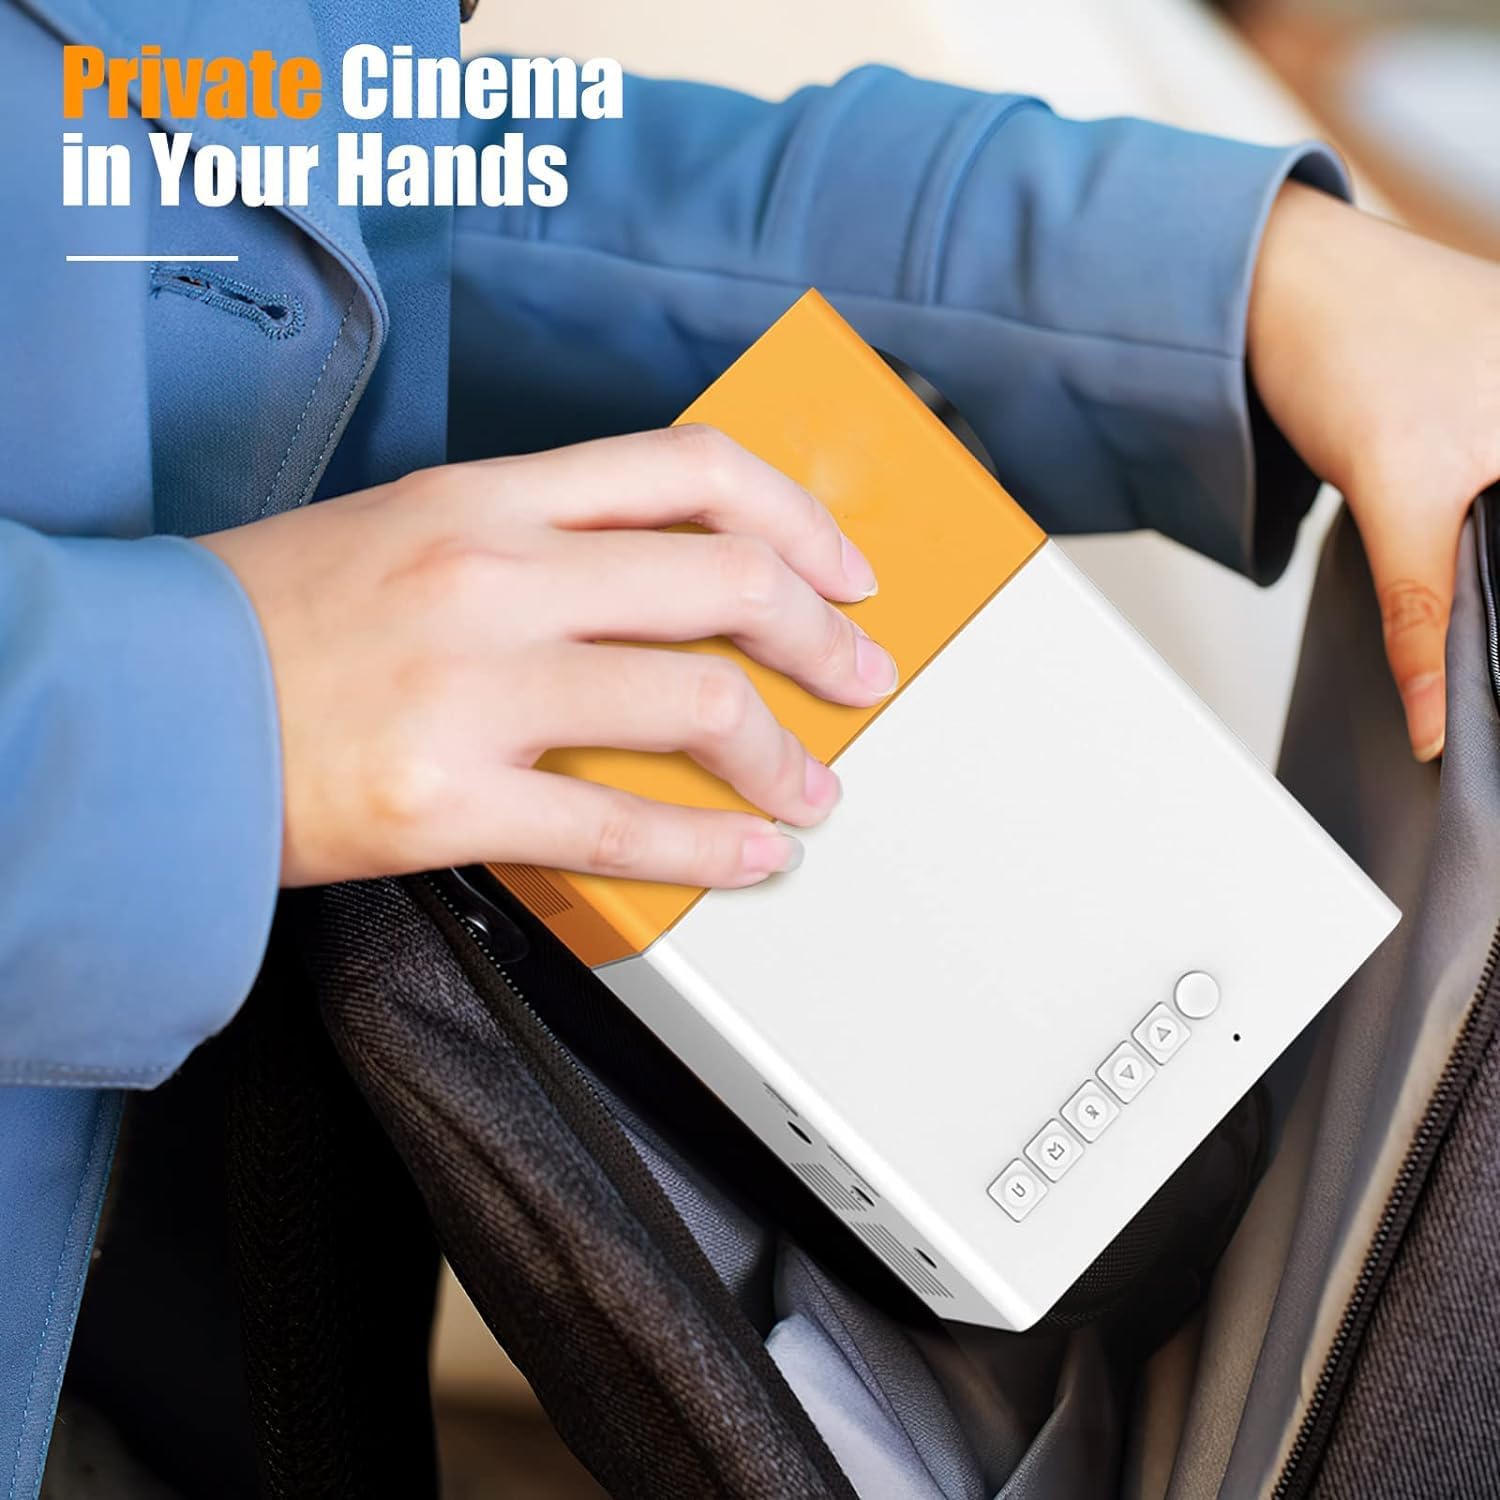
Rajah 1.1: The T300 Mini Projector's compact size allows for easy portability, fitting conveniently into a bag.
2. Kandungan Pakej
Sila semak kandungan pakej semasa membuka kotak untuk memastikan semua item ada:
- 1x T300 Projector
- 1x Power Adapter (EU Plug)
- 1x Alat Kawalan Jauh
- 1x Kabel AV
- 1x Manual Pengguna (dokumen ini)
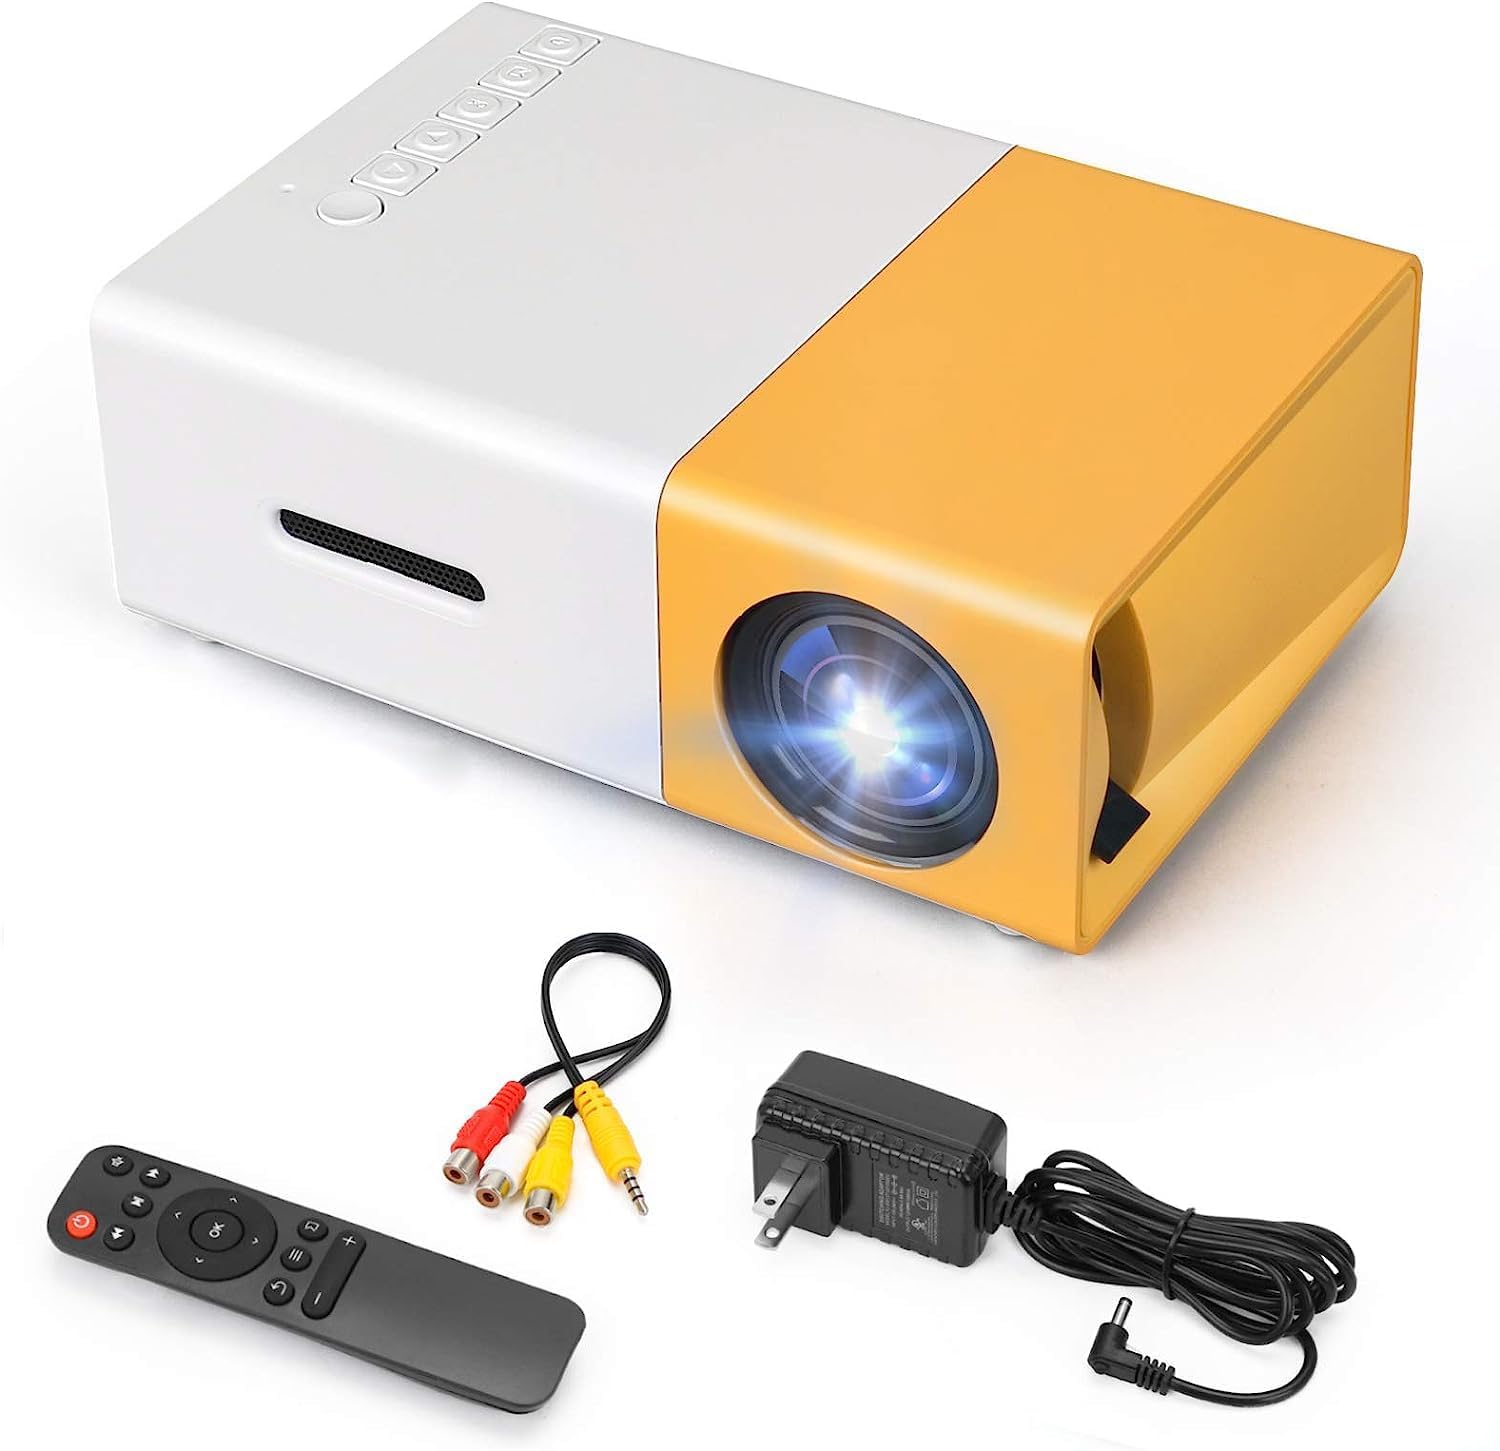
Rajah 2.1: The T300 Mini Projector and its included accessories.
3. Produk Lebihview
Familiarize yourself with the various ports and controls on your T300 Mini Projector:

Rajah 3.1: Depan dan belakang views of the T300 Mini Projector, detailing its input/output ports and control buttons.
3.1. Pelabuhan dan Antara Muka
- Input HDMI: Connect to laptops, TV boxes, gaming consoles, and other HDMI-enabled devices.
- Input USB: For playing media directly from USB drives.
- Slot Kad Mikro SD: For playing media directly from Micro SD cards.
- Input AV: Sambungkan ke peranti lama menggunakan kabel AV yang disertakan.
- Micro USB (5V/2A): Power input option, compatible with power banks or car chargers.
- Earphone Slot: Untuk menyambungkan fon kepala atau pembesar suara luaran.
- Input Kuasa DC: Main power input using the provided power adapter.
3.2. Kawalan
- Suis kuasa: Untuk menghidupkan atau mematikan projektor.
- Navigation Buttons (Left, Right, OK): Untuk navigasi dan pemilihan menu.
- Butang Input: Untuk memilih sumber input.
- Butang Kembali: Untuk kembali ke dalam menu.
4. Persediaan
4.1. Sambungan Kuasa
- Connect the provided power adapter to the DC Power Input port on the projector.
- Palamkan penyesuai kuasa ke salur keluar dinding.
- Alternatively, for portable use, connect a 5V/2A power bank or car charger to the Micro USB (5V/2A) port.
4.2. Sambungan Peranti
The T300 projector supports various input sources:
- HDMI: Connect your laptop, TV box, gaming console (PS4/PS3), or other HDMI devices using an HDMI cable (not included).
- USB: Masukkan pemacu kilat USB ke dalam port USB untuk memainkan media files secara langsung.
- Kad SD mikro: Insert a Micro SD card into the Micro SD card slot to play media files.
- DARI: Use the included AV cable to connect to devices with AV output (e.g., DVD players).

Rajah 4.1: Multimedia connectivity options for the T300 Mini Projector.
4.3. Penempatan dan Fokus
- Letakkan projektor di atas permukaan yang stabil dan rata.
- Position the projector at a distance between 2 to 5 meters from the projection surface to achieve an optimal image size of 60 to 150 inches.
- Adjust the focus ring on the projector lens until the image appears clear and sharp. The short-focus optical lens allows focusing at a distance of 50cm.
5. Arahan Operasi
5.1. Menghidupkan/Mematikan
Press the Power Switch on the projector or the power button on the remote control to turn the projector on or off.
5.2. Memilih Sumber Input
After powering on, use the 'Input' button on the projector or the remote control to cycle through available input sources (HDMI, USB, TF Card, AV) until your desired source is displayed.
5.3. Main Balik Multimedia
The projector supports multi-format video, audio, picture, and e-book playback. Navigate through your media files using the navigation buttons on the projector or remote control and press 'OK' to select.
5.4. Keluaran Audio
The projector has a built-in miniature speaker. For enhanced audio, connect external speakers or headphones to the Earphone Slot.

Rajah 5.1: Versatile applications of the T300 Mini Projector for entertainment.
6. Penyelenggaraan
6.1. Membersihkan Lensa
Use a soft, lint-free cloth or lens cleaning paper to gently wipe the projector lens. Avoid using abrasive materials or harsh chemicals that could scratch the lens.
6.2. Pengudaraan
Ensure the projector's ventilation openings are not blocked during operation to prevent overheating. Keep the projector in a well-ventilated area.
6.3. Penyimpanan
When not in use, store the projector in a cool, dry place, away from direct sunlight and excessive dust. It is recommended to use the original packaging or a protective case.
6.4. Lamp kehidupan
LED lamp in your T300 projector has an estimated life of 20,000 hours, providing long-term use without frequent lamp penggantian.
7. Penyelesaian masalah
Jika anda menghadapi masalah dengan projektor anda, rujuk kepada masalah dan penyelesaian biasa berikut:
- Tiada Imej Dipaparkan:
- Ensure the projector is powered on and the power adapter is securely connected.
- Verify the input source is correctly selected (HDMI, USB, AV, etc.).
- Periksa kabel sambungan antara projektor dan peranti sumber.
- Imej Kabur:
- Adjust the focus ring on the projector lens until the image is clear.
- Pastikan jarak unjuran berada dalam julat yang disyorkan (2-5 meter).
- Tiada Bunyi:
- Periksa tetapan kelantangan pada kedua-dua projektor dan peranti sumber.
- If using external speakers/headphones, ensure they are properly connected to the Earphone Slot.
- Sahkan tetapan output audio pada peranti sumber anda.
- Alat Kawalan Jauh Tidak Berfungsi:
- Pastikan tiada halangan antara alat kawalan jauh dan penerima IR projektor.
- Gantikan bateri dalam alat kawalan jauh jika perlu.
8. Spesifikasi
| Ciri | Spesifikasi |
|---|---|
| Model | T300 |
| Resolusi Sokongan | 1920 x 1080 (HD Penuh) |
| Resolusi Asli | 1920 x 1080 |
| Jenis Paparan | LCD, DLP |
| Antara muka | HDMI, USB, TF Card Slot, AV, Micro USB (5V-2A) |
| Pembesar Suara Terbina dalam | ya |
| Lamp kehidupan | 20,000 jam |
| Saiz Produk | 114 x 87 x 50 mm |
| Penggunaan yang Disyorkan | Pawagam Rumah |
| Ciri Khas | Mudah alih |
| Saiz Imej Maksimum | 150 Inci |
| Saiz Imej Minimum | 60 Inci |
| Jarak Lemparan Maksimum | 5 Meter |
| Jarak Balingan Minimum | 2 Meter |
| Input Kuasa | 5V/2A |
9. Waranti dan Sokongan
9.1. Maklumat Waranti
Produk ini biasanya disertakan dengan a 10-day replacement policy from the date of purchase. Please refer to your retailer's specific warranty terms and conditions for detailed information. The LED lamp is designed for a long life of 20,000 hours, which is not typically covered by short-term replacement policies.
9.2. Sokongan Pelanggan
For technical assistance, troubleshooting beyond this manual, or warranty claims, please contact your original retailer or the manufacturer, SHUBH LABH ENTERPRISES. Keep your purchase receipt or proof of purchase handy when contacting support.
Ask a question about this manual
Ask about setup, troubleshooting, compatibility, parts, safety, or missing instructions. Manuals+ will review the question and use this page’s manual context to help answer it.