1. Produk Lebihview
The SnapFresh Cordless Electric Scissor Charger (Model ECC0601) is designed exclusively for charging the SnapFresh 4V Electric Mini Cutter (Model EC0601). This compact and lightweight charger ensures your electric mini cutter is always ready for use, providing efficient and safe power delivery.

Image 1.1: The SnapFresh Cordless Electric Scissor Charger (Model ECC0601).
Keserasian: This charger is specifically designed for the SnapFresh 4V Electric Mini Cutter (EC0601). Using it with other devices may cause damage to the charger or the device.
2. Maklumat Keselamatan
Please read and understand all safety instructions before using the charger. Failure to follow these instructions may result in electric shock, fire, or serious injury.
- Use the charger only with the specified SnapFresh 4V Electric Mini Cutter (EC0601).
- Jangan dedahkan pengecas kepada hujan atau keadaan basah. Air yang memasuki pengecas akan meningkatkan risiko renjatan elektrik.
- Do not abuse the cord. Never use the cord for carrying, pulling, or unplugging the charger. Keep cord away from heat, oil, sharp edges, or moving parts.
- Do not operate the charger if it has received a sharp blow, been dropped, or otherwise damaged. Take it to an authorized service center for inspection.
- Cabut plag pengecas daripada sumber kuasa apabila tidak digunakan atau sebelum membersihkan.
- Jangan buka pengecas. Rujuk semua servis kepada kakitangan servis yang berkelayakan.
3. Setup and Charging Instructions
Follow these steps to properly set up and charge your SnapFresh 4V Electric Mini Cutter:
- Ensure the SnapFresh 4V Electric Mini Cutter (EC0601) is turned off before connecting the charger.
- Locate the charging port on the electric mini cutter.
- Insert the charger's output plug into the charging port of the electric mini cutter.
- Plug the charger's power adapter into a standard electrical outlet.

Image 3.1: The charger connected to the SnapFresh 4V Electric Mini Cutter, illustrating the charging process.
Lampu Penunjuk: The charger features a clear indicator light. When the battery is charging, the indicator light will illuminate merah. Once the battery is fully charged, the light will typically change color or turn off (refer to the electric mini cutter's manual for specific full charge indication).
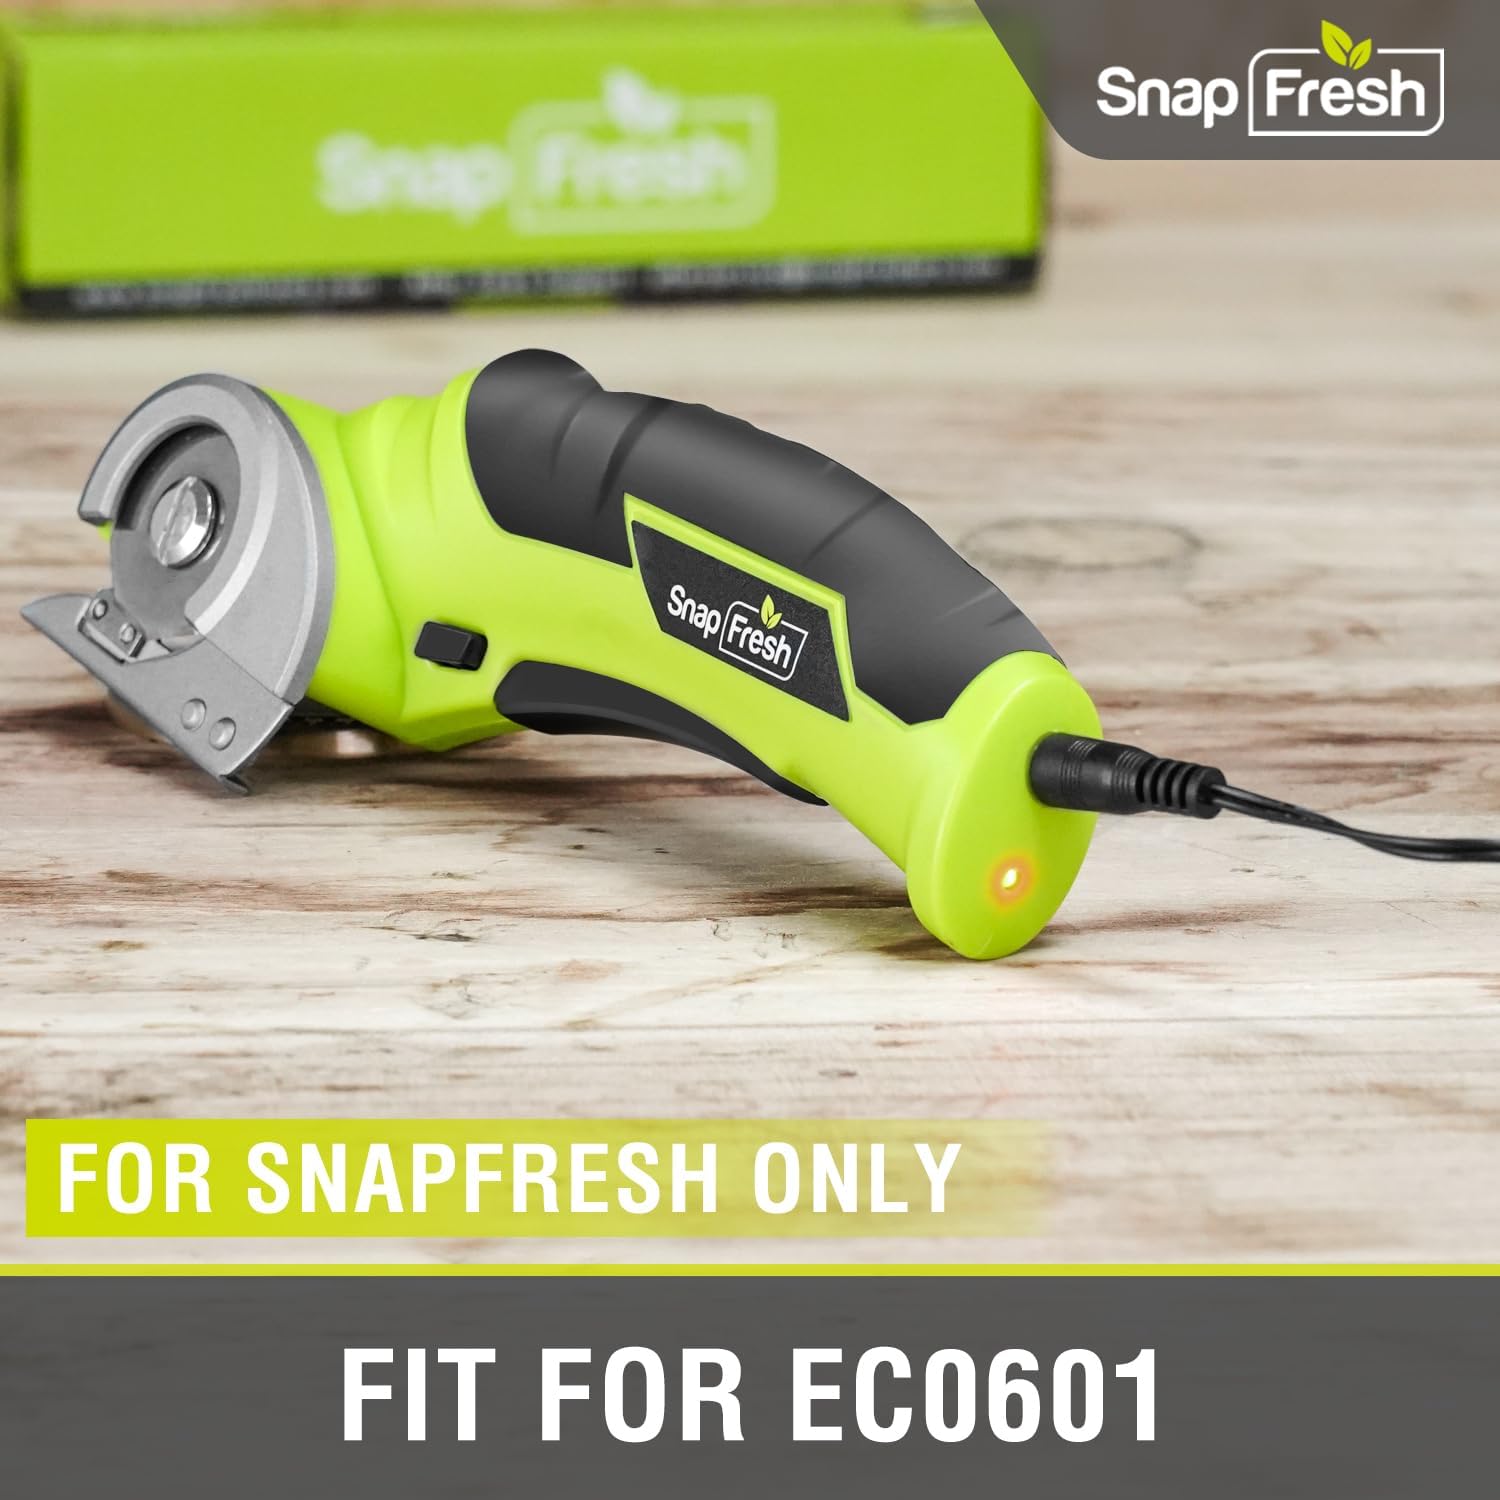
Image 3.2: Close-up of the charger connected to the SnapFresh EC0601, emphasizing exclusive compatibility.
The charger is designed for quick and safe charging, ensuring optimal performance and longevity of your electric mini cutter's battery.
4. Operating the Electric Mini Cutter (EC0601)
While this manual focuses on the charger, understanding the basic operation of the compatible tool is essential for proper use.
- Pastikan bateri dicas sepenuhnya sebelum beroperasi.
- The electric mini cutter is designed for cutting various materials up to 1/4 inch thick, including cardboard, carpet, rope, leather, and paper.
- Always engage the safety switch before operating the tool.
- Hold the tool firmly and guide it smoothly through the material.

Image 4.1: The SnapFresh 4V Electric Mini Cutter demonstrating its versatility in cutting different materials.
For detailed operating instructions, refer to the specific user manual for the SnapFresh 4V Electric Mini Cutter (EC0601).
5. Penyelenggaraan
Penyelenggaraan yang betul memastikan jangka hayat dan operasi pengecas anda yang selamat.
- Pastikan pengecas bersih dan kering. Lap dengan kain lembutamp cloth if necessary. Do not use harsh chemicals or abrasive cleaners.
- Simpan pengecas di tempat yang sejuk dan kering jauh dari cahaya matahari langsung dan suhu yang melampau.
- Regularly inspect the power cord and plug for any signs of damage. If damaged, discontinue use and replace the charger.
6. Penyelesaian masalah
Jika anda menghadapi masalah dengan pengecas anda, rujuk kepada masalah dan penyelesaian biasa berikut:
| Masalah | Kemungkinan Punca | Penyelesaian |
|---|---|---|
| Charger indicator light does not turn on. |
|
|
| Bateri tidak dicas. |
|
|
If the problem persists after attempting these solutions, please contact SnapFresh customer support for further assistance.
7. Spesifikasi
| Ciri | Perincian |
|---|---|
| Jenama | SnapFresh |
| Nombor Model | ECC0601 |
| Dimensi Produk | 3.07 x 3.35 x 1.85 inci |
| Berat Barang | 2.39 auns |
| Jenis Penyambung | 2-Pin |
| Peranti Serasi | SnapFresh 4V Electric Mini Cutter (EC0601) |
| Komponen yang Disertakan | Cordless Electric Scissors Charger |
| Ciri Khas | Reka Bentuk Ringan |
| warna | Hitam |
| Jumlah Port USB | 1 (Note: This refers to the charger's internal design, not an external USB port for user access) |
| Wattage | 20 watt |
| Arus Keluaran | 0.5 Amps |
8. Waranti dan Sokongan
For warranty information, product registration, or technical support, please visit the official SnapFresh webtapak atau hubungi bahagian perkhidmatan pelanggan mereka. Simpan resit pembelian anda sebagai bukti pembelian untuk sebarang tuntutan waranti.
SnapFresh Official Store: Visit the SnapFresh Store on Amazon