1. Pengenalan
This manual provides detailed instructions for the assembly, operation, maintenance, and troubleshooting of your LOAKEKEL HNS032WT LED Nightstand with Charging Station. This product is designed to offer convenient storage, ambient lighting, and device charging capabilities for your bedroom or living space.
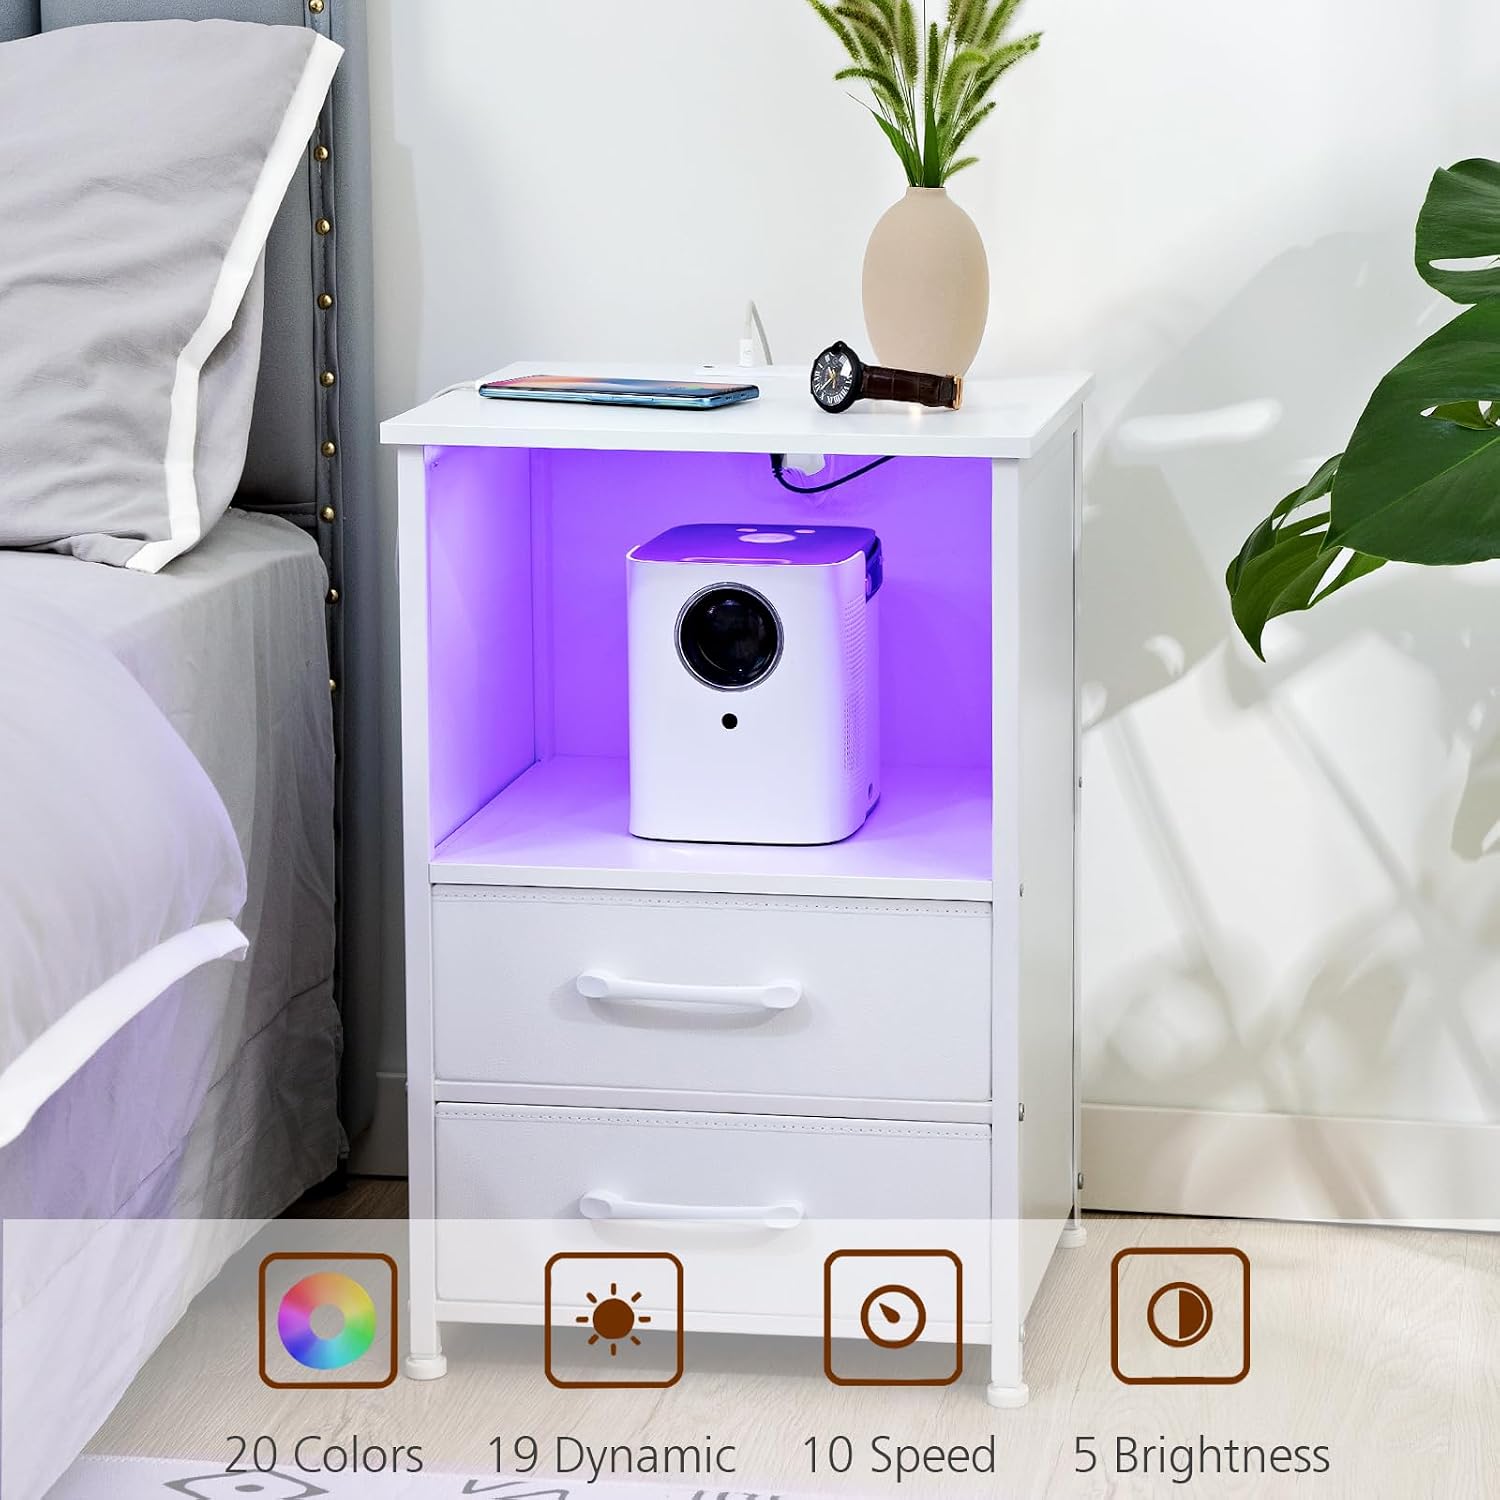
Image 1.1: LOAKEKEL HNS032WT LED Nightstand in a bedroom setting.
2. Maklumat Keselamatan
Please read and understand all safety warnings and instructions before assembling and using this product. Failure to follow these instructions may result in injury or product damage.
- Jauhkan semua bahagian kecil dan bahan pembungkusan daripada kanak-kanak dan haiwan peliharaan untuk mengelakkan bahaya tercekik.
- Do not exceed the maximum weight capacities for the top surface (110 lbs) and inner shelf (65 lbs).
- Ensure the nightstand is placed on a stable, level surface to prevent tipping.
- Only use the provided power adapter and LED light strip. Do not modify the electrical components.
- Avoid exposing the electrical components to water or excessive moisture.
- Unplug the nightstand from the power outlet before cleaning or moving.
3. Kandungan Pakej
Sahkan bahawa semua komponen yang disenaraikan di bawah ada sebelum memulakan pemasangan. Jika mana-mana bahagian hilang atau rosak, sila hubungi khidmat pelanggan.
- Panel Atas (1)
- Panel Sisi (2)
- Panel Bawah (1)
- Middle Shelf (1)
- Fabric Drawers (2)
- Metal Frame Components (various)
- Kaki Boleh Laras (4)
- Jalur Lampu LED (1)
- Power Adapter with USB/Type-C/AC Outlets (1)
- Assembly Hardware (screws, dowels, Allen wrench)
- Manual Arahan (1)
4. Arahan Persediaan dan Pemasangan
Assembly is required. All necessary tools are included. Follow these steps carefully:
- Buka bungkus dan Kenalpasti Bahagian: Carefully remove all components from the packaging. Lay them out on a clean, soft surface to prevent scratches. Refer to the parts list to ensure all items are present.
- Pasang Bingkai: Attach the metal frame components to the side panels using the provided screws and Allen wrench. Ensure all connections are secure.
- Pasang Panel dan Rak: Secure the bottom panel and the middle shelf between the assembled side frames.
- Lampirkan Panel Atas: Place the top panel onto the frame, ensuring the integrated charging station is correctly oriented. Secure it with screws.
- Masukkan Laci Fabrik: Fold and assemble the two fabric drawers. Slide them into their designated compartments.
- Pasang Jalur Lampu LED: Adhere the LED light strip to the interior of the open compartment. Connect the LED strip to the power adapter.
- Pasang Kaki Boleh Laras: Screw the adjustable feet into the bottom of the nightstand frame. Adjust them to level the nightstand on uneven floors.

Image 4.1: Diagram illustrating product dimensions and weight capacities.
5. Arahan Operasi
5.1. Operasi Lampu LED
The nightstand features an integrated LED light strip with multiple customization options:
- Hidupkan/Mati Kuasa: Use the control button on the LED strip or the remote control (if included) to turn the lights on or off.
- Pilihan Warna: Choose from 20 different static colors to match your mood or room decor.
- Mod Dinamik: Select from 19 dynamic modes, such as flash, strobe, fade, or smooth transitions.
- Pelarasan Kelajuan: Adjust the speed of dynamic modes with 10 available levels.
- Kawalan Kecerahan: Set the light intensity to one of 5 brightness levels.

Image 5.1: Visual representation of LED light features and controls.
5.2. Charging Station Usage
The integrated charging station provides convenient power access for your electronic devices:
- Sambung ke Kuasa: Plug the nightstand's main power cord into a standard 120V/12A AC wall outlet.
- Cawangan AC: Use the two 120V/12A AC outlets on the tabletop to power lampkomputer riba atau peralatan kecil yang lain.
- Port USB: Connect your devices to the 5V/2A USB-A port for charging.
- Pelabuhan Jenis-C: Connect compatible devices to the 5V/3A USB Type-C port for faster charging.
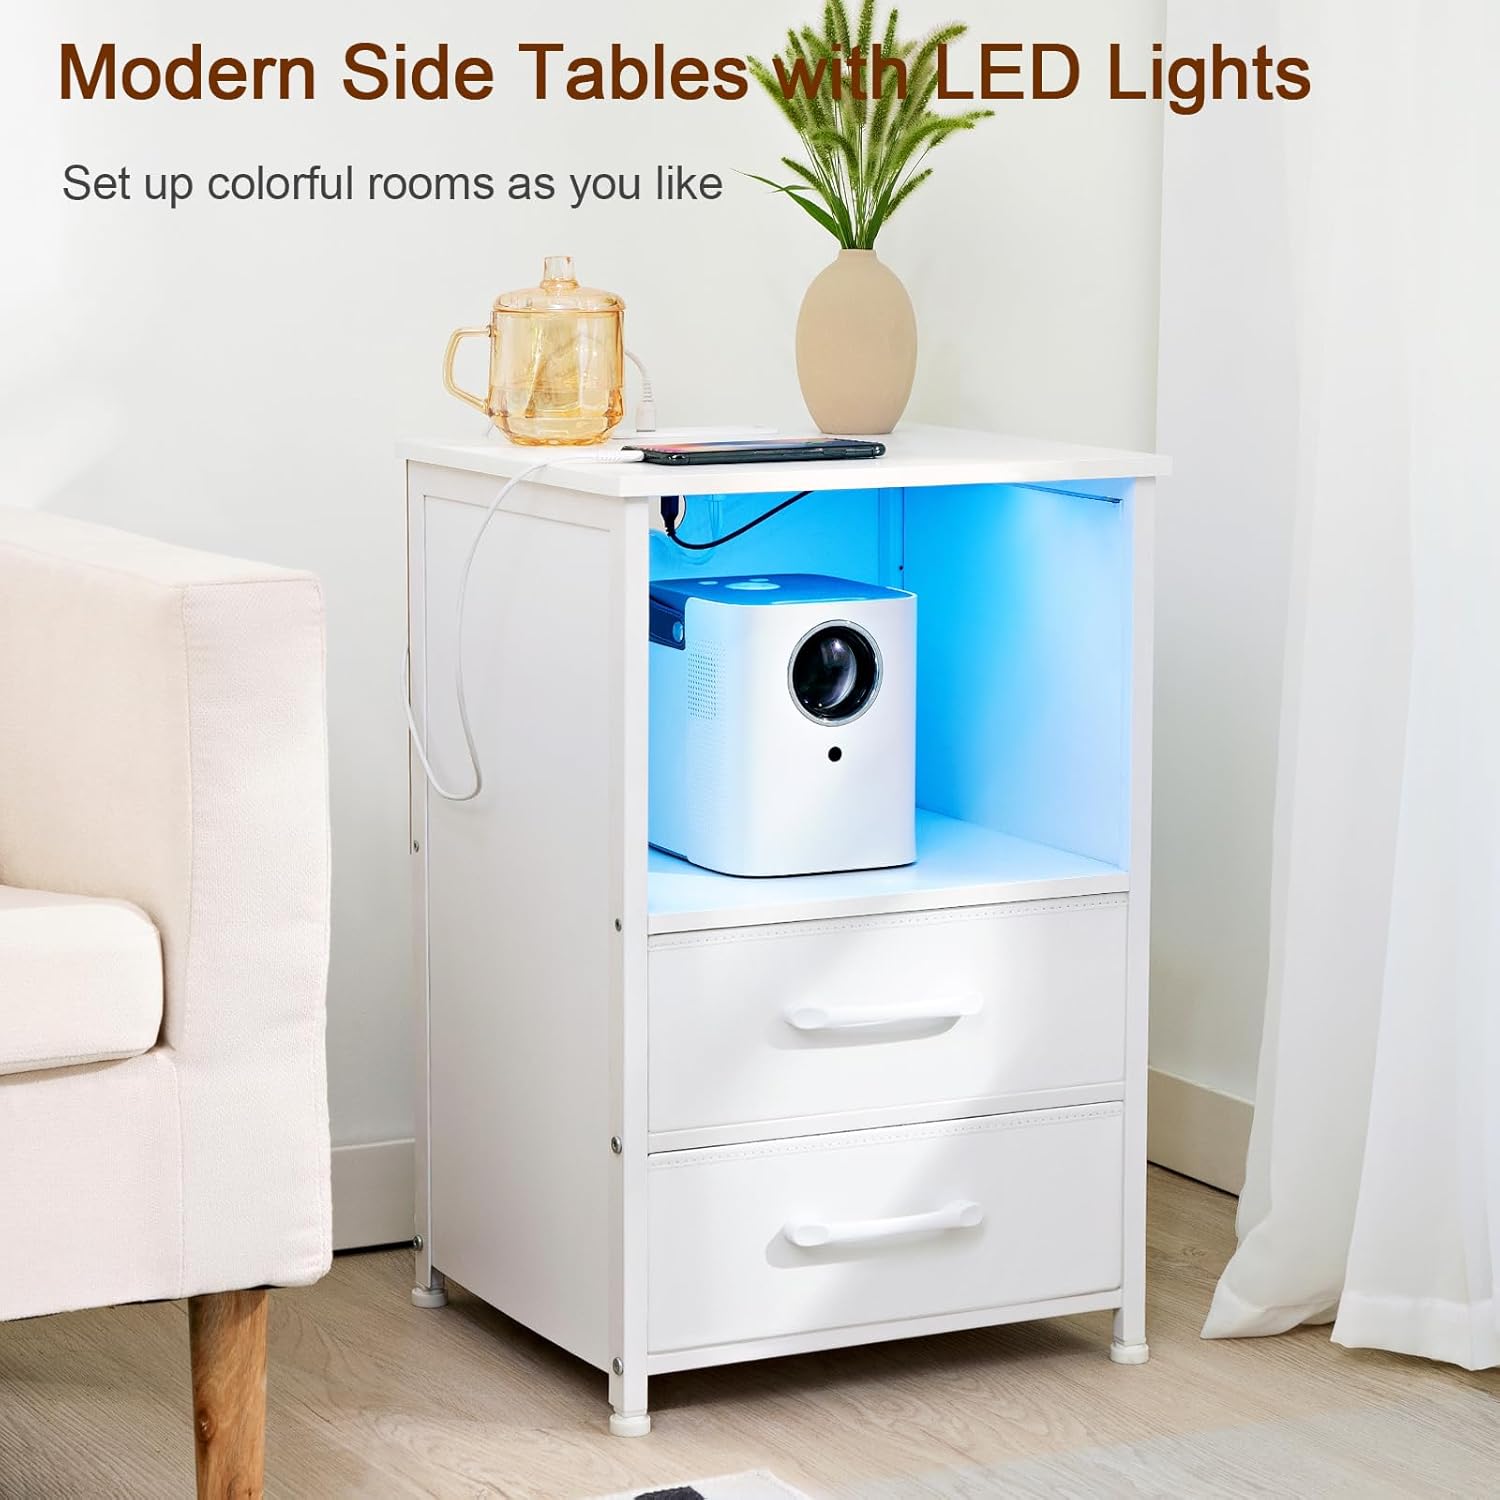
Image 5.2: Detail of the charging station with USB, Type-C, and AC outlets.
6. Penyelenggaraan
Proper care will extend the life and appearance of your nightstand:
- Pembersihan: Lap permukaan dengan lembut, damp kain. Elakkan menggunakan pembersih yang kasar, bahan kimia yang keras atau pelarut, kerana ini boleh merosakkan kemasan.
- Tumpahan: Lap sebarang tumpahan dengan segera untuk mengelakkan kotoran atau kerosakan pada papan partikel.
- Komponen Elektrik: Ensure all electrical components remain dry. Do not immerse the nightstand or its electrical parts in water.
- Penjagaan Laci: The fabric drawers can be spot cleaned with a mild detergent and water. Allow them to air dry completely before reinserting.
7. Penyelesaian masalah
If you encounter issues with your nightstand, refer to the following common problems and solutions:
| Masalah | Kemungkinan Punca | Penyelesaian |
|---|---|---|
| Lampu LED tidak menyala. | Power cord not plugged in; LED strip not connected; faulty outlet. | Ensure the nightstand's power cord is securely plugged into a working wall outlet. Check that the LED strip is properly connected to the power adapter. Try a different outlet. |
| Charging station (USB/Type-C/AC outlets) is not working. | Nightstand not powered; device incompatibility; faulty cable. | Verify the nightstand is plugged into a live power outlet. Ensure your device and charging cable are functional. Check device compatibility with the output specifications (USB 5V/2A, Type-C 5V/3A). |
| Nightstand is unstable or wobbly. | Uneven floor; loose assembly. | Adjust the leveling feet at the bottom of the nightstand until it is stable. Check all assembly screws and tighten if necessary. |
8. Spesifikasi
| Jenama | LOAKEKEL |
| Nombor Model | HNS032WT |
| Dimensi Produk (D x W x H) | 15.35" x 13.78" x 23.23" |
| Berat Barang | 16 paun |
| Max. Weight Capacity (Top) | 110 paun |
| Max. Weight Capacity (Shelf) | 65 paun |
| Bahan Bingkai | logam |
| Bahan Permukaan Atas | Particleboard with waterproof coating |
| Bilangan Laci | 2 (Fabrik) |
| Kedai AC | 2 (120V/12A) |
| Keluaran USB-A | 5V/2A |
| Output USB Jenis-C | 5V/3A |
| Panjang Kord Kuasa | 4.9 kaki |
| Ciri Lampu LED | 20 Colors, 19 Dynamic Modes, 10 Speed Levels, 5 Brightness Levels |
| Perhimpunan Diperlukan | ya |
| Alat Perhimpunan Termasuk | ya |
9. Waranti dan Sokongan
LOAKEKEL products are manufactured with quality and care. For warranty information, product support, or to report missing/damaged parts, please contact our customer service team. Keep your purchase receipt for warranty claims.
Contact information can typically be found on the product packaging or the LOAKEKEL official webtapak.