1. Pengenalan
This manual provides essential information for the safe and efficient use of your Alienware AW3418DW 34.1-inch Curved Gaming Monitor. This monitor features a WQHD (3440x1440) resolution, a 120Hz refresh rate (overclocked), and NVIDIA G-SYNC technology for an immersive gaming experience. Please read this manual thoroughly before operating the device.
2. Maklumat Keselamatan
- Always disconnect the power cable from the wall outlet before cleaning the monitor.
- Jangan dedahkan monitor kepada hujan atau kelembapan untuk mengelakkan bahaya kebakaran atau renjatan.
- Jangan buka monitor casing. Tiada bahagian yang boleh diservis pengguna di dalamnya. Rujuk semua servis kepada kakitangan perkhidmatan yang berkelayakan.
- Letakkan monitor pada permukaan yang stabil dan rata untuk mengelakkannya daripada jatuh.
- Pastikan pengudaraan yang betul di sekeliling monitor. Jangan sekat bukaan pengudaraan.
- Gunakan hanya penyesuai kuasa dan kabel yang dibekalkan bersama monitor.
3. Kandungan Pakej
Sahkan bahawa semua komponen terdapat dalam pakej:
- Alienware AW3418DW Monitor
- Penyangga Monitor (Tapak dan Penaik)
- Kabel Kuasa
- DisplayPort Cable
- Kabel HDMI
- Kabel Hulu USB 3.0
- Dokumentasi (Panduan Persediaan Pantas, Maklumat Keselamatan)
4. Persediaan
4.1 Persediaan Fizikal
Carefully remove the monitor and its components from the packaging. Place the monitor face down on a soft cloth or cushion to prevent scratches.
Memasang Pendirian
- Attach the stand riser to the monitor panel until it clicks into place.
- Attach the stand base to the stand riser and tighten the captive screw.

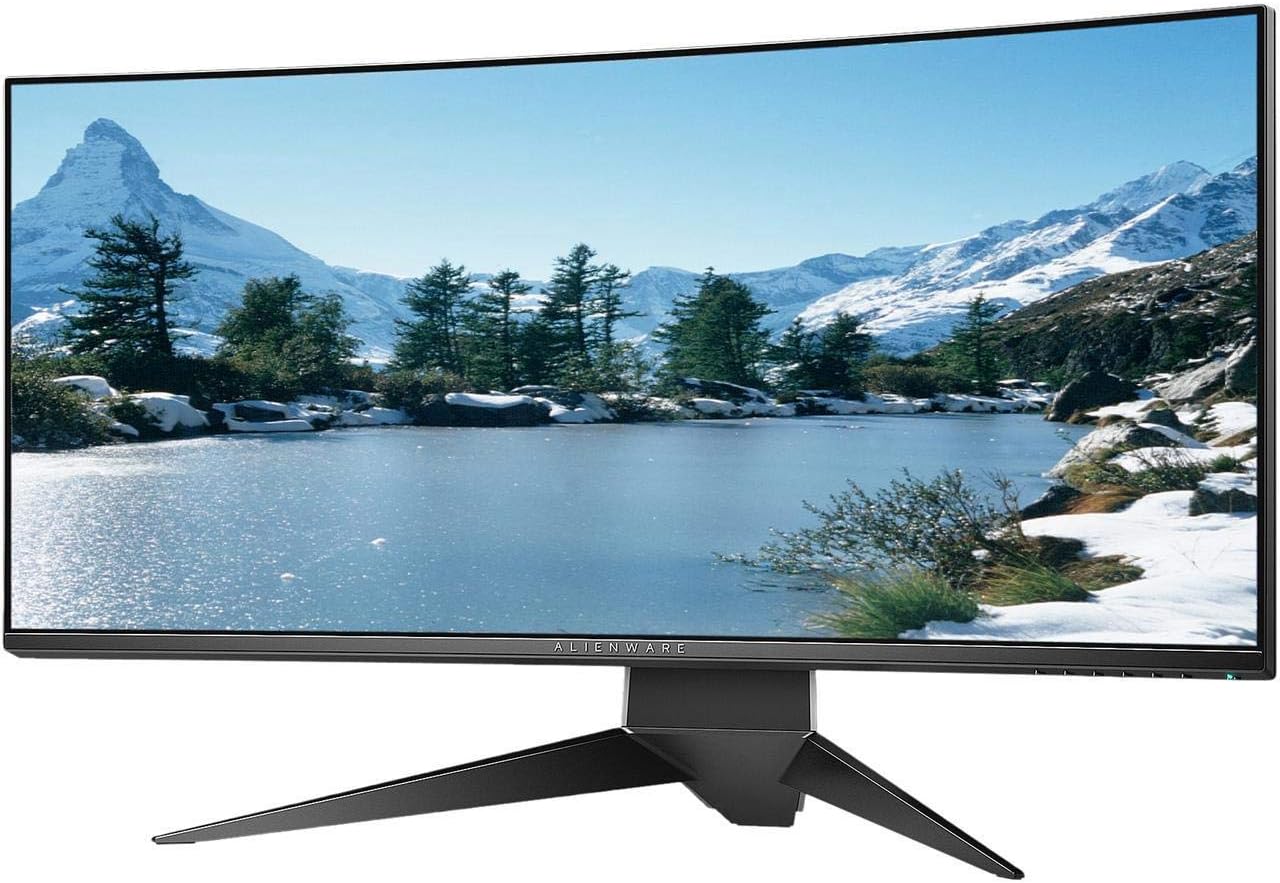
Rajah 4.1: Depan view of the Alienware AW3418DW monitor with its stand attached.

Rajah 4.2: Sisi view of the Alienware AW3418DW monitor with its stand.
Rajah 4.3: Belakang view of the Alienware AW3418DW monitor showing the stand and AlienFX lighting.
Pemasangan VESA
The monitor supports VESA mounting (100 x 100 mm). Remove the stand riser by pressing the release button and then attach the VESA-compatible mount to the monitor using appropriate screws. Ensure the mount can support the monitor's weight of 26.1 pounds (without stand).

Figure 4.4: Monitor dimensions for VESA mount compatibility.
4.2 Menyambung Kabel
Connect the necessary cables to your monitor and computer.
- Kabel kuasa: Connect the power cable to the monitor's power port and then to a wall outlet.
- Kabel Video: Connect either the DisplayPort cable or the HDMI cable from your computer's graphics card to the corresponding port on the monitor. For optimal performance, especially for 120Hz refresh rate and G-SYNC, use the DisplayPort connection.
- Kabel Huluan USB: Connect the USB 3.0 upstream cable from your computer to the monitor's upstream USB port to enable the monitor's USB hub functionality.
- Port Hilir USB: Connect your USB devices (e.g., keyboard, mouse, webcam) to the four USB 3.0 downstream ports on the monitor.
5. Arahan Operasi
5.1 Hidupkan/Mati Kuasa
Tekan butang kuasa yang terletak pada monitor untuk menghidupkan atau mematikannya. LED kuasa akan menunjukkan status monitor.
5.2 Navigasi Paparan Atas Skrin (OSD)
The On-Screen Display (OSD) menu allows you to adjust various monitor settings. Use the control buttons, typically located on the bottom right or rear of the monitor, to navigate the OSD.
- Press a control button to activate the OSD menu.
- Use the navigation buttons (up/down/left/right) to move through menu options.
- Press the select button to confirm a selection or enter a sub-menu.
- Gunakan butang kembali/keluar untuk kembali ke menu sebelumnya atau keluar dari OSD.
5.3 Tetapan Paparan
Laraskan tetapan paparan untuk optimum viewing and gaming performance.
- Resolusi: Set your computer's display resolution to 3440x1440 for the native WQHD experience.
- Kadar Segar Semula: The monitor supports up to 120Hz refresh rate (overclocked). Ensure your graphics card drivers are updated and the refresh rate is set in your operating system's display settings or graphics control panel.
- NVIDIA G-SYNC: For tear-free and smooth gameplay, enable G-SYNC in your NVIDIA Control Panel. This feature synchronizes the monitor's refresh rate with your GPU's frame rate.
- Kecerahan/Kontras: Adjust these settings in the OSD menu to suit your environment and preference.
5.4 Pencahayaan AlienFX
Customize the AlienFX lighting zones on your monitor through the OSD menu or Alienware Command Center software (if installed on your PC). You can select colors, effects, and synchronize lighting with other Alienware devices.
5.5 USB Hub Usage
The monitor acts as a USB 3.0 hub, providing convenient access to four downstream USB ports for connecting peripherals. Ensure the USB upstream cable is connected to your computer for this feature to function.
6. Penyelenggaraan
6.1 Membersihkan Monitor
- Always unplug the monitor from the electrical outlet before cleaning.
- Gunakan kain lembut yang tidak berbulu dampdisalut dengan air atau pembersih skrin yang tidak melelas.
- Jangan sembur pembersih terus ke skrin.
- Lap skrin dengan lembut untuk menghilangkan habuk dan kotoran.
- Bersihkan bahagian luar casing dengan kain lembut dan kering.
6.2 Penyimpanan
If storing the monitor for an extended period, disconnect all cables, carefully disassemble the stand (if applicable), and store it in its original packaging in a cool, dry place.
7. Penyelesaian masalah
Jika anda menghadapi masalah dengan monitor anda, rujuk langkah penyelesaian masalah biasa berikut:
- Tiada Paparan: Ensure all power and video cables are securely connected. Check if the monitor is powered on and the correct input source is selected in the OSD.
- Kelip-kelip/Gangguan: Verify that your graphics drivers are up to date. Ensure G-SYNC is properly configured in the NVIDIA Control Panel. Check for interference from other electronic devices.
- Resolusi/Kadar Segar Semula Salah: Adjust the display settings in your operating system or graphics control panel to the native resolution (3440x1440) and desired refresh rate (up to 120Hz).
- Piksel Mati: The Alienware AW3418DW comes with a Premium Panel Guarantee. Refer to the warranty information for details on pixel policy.
- Port USB Tidak Berfungsi: Ensure the USB 3.0 upstream cable is connected from the monitor to your computer.
8. Spesifikasi
| Ciri | Spesifikasi |
|---|---|
| Jenama | Perisian asing |
| Nombor Model | AW3418DW |
| Saiz Skrin | 34.1 Inci |
| Resolusi | WQHD (3440 x 1440 Pixels) |
| Nisbah Aspek | 21:9 |
| Kadar Segar Semula | 120 Hz (Overclocked) |
| Masa Tindak Balas | 4 milisaat |
| Teknologi Penyegerakan Adaptif | NVIDIA G-SYNC |
| Jenis Paparan | LED IPS |
| Kelengkungan | 1900R |
| Kecerahan | 300 cd/m² |
| Nisbah Kontras | 1000:1 |
| Viewsudut | 178 Darjah |
| Ketersambungan | 1x DisplayPort (1.2), 1x HDMI (1.4), 4x USB 3.0 Downstream, 1x USB 3.0 Upstream |
| Berat Barang | 26.1 Pounds (without stand) |
| Jenis Pemasangan | VESA Compatible (100 x 100 mm) |
9. Waranti dan Sokongan
Your Alienware AW3418DW monitor is covered by a 3 Years Limited Hardware Warranty dan 3 Years Advance Exchange Service, termasuk a Premium Panel Guarantee. The Premium Panel Guarantee ensures a free panel replacement during the limited hardware warranty period even if only one bright pixel is found.
For technical support, warranty claims, or additional information, please visit the official Alienware or Dell support website. You may also find updated drivers and firmware there.
Sokongan dalam talian: www.dell.com/support