परिचय
खरेदी केल्याबद्दल धन्यवाद.asing the Akai AR10 Alarm Clock. This manual provides important information regarding the setup, operation, and maintenance of your device. Please read these instructions carefully before use and retain them for future reference.
सुरक्षितता सूचना
- आग किंवा विजेचा धक्का टाळण्यासाठी युनिटला पाऊस किंवा ओलावा येऊ देऊ नका.
- युनिटला थेट सूर्यप्रकाश, उष्णता स्रोत किंवा जास्त धुळीच्या संपर्कात आणू नका.
- युनिटभोवती योग्य वायुवीजन असल्याची खात्री करा.
- फक्त निर्दिष्ट पॉवर अॅडॉप्टर वापरा.
- युनिट वेगळे करण्याचा किंवा बदलण्याचा प्रयत्न करू नका. सर्व सर्व्हिसिंग पात्र कर्मचाऱ्यांना पाठवा.
- मुलांच्या आवाक्याबाहेर ठेवा.
पॅकेज सामग्री
तुमच्या पॅकेजमध्ये खालील वस्तू समाविष्ट आहेत का ते तपासा:
- Akai AR10 Alarm Clock Unit
- पॉवर अडॅप्टर
- वापरकर्ता मॅन्युअल (हा दस्तऐवज)
उत्पादन संपलेview
Familiarize yourself with the components of your Akai AR10 Alarm Clock.
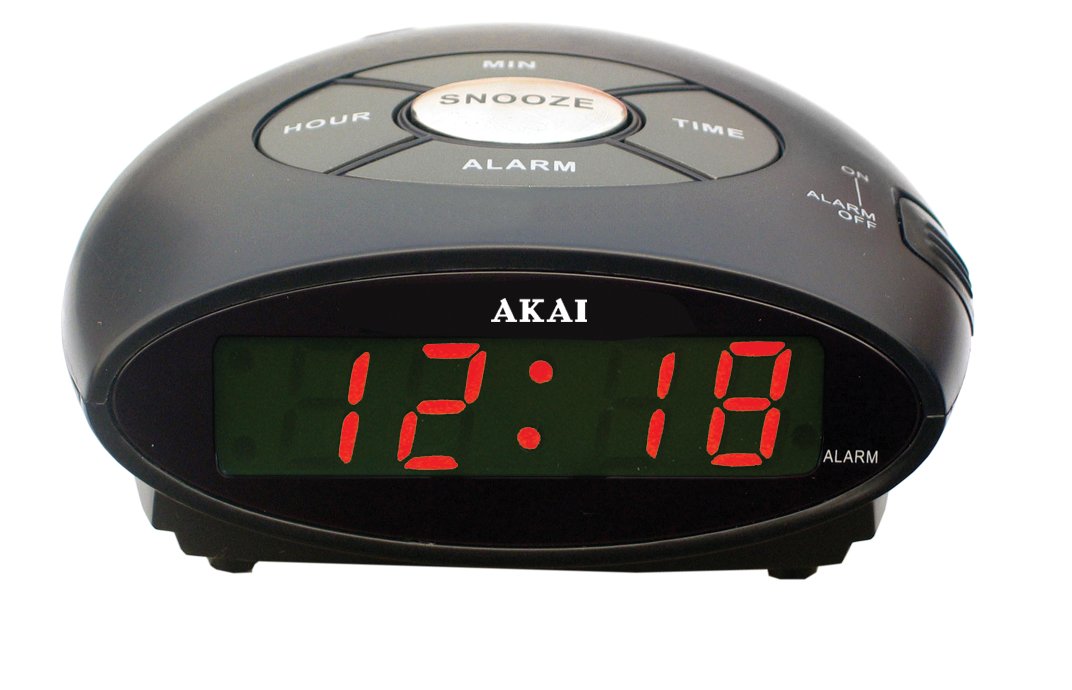
आकृती 1: समोर view of the Akai AR10 Alarm Clock. This image shows the digital time display and the primary control buttons located on the top or front panel of the device.
नियंत्रणे आणि निर्देशक:
- डिजिटल वेळ प्रदर्शन: वर्तमान वेळ दाखवते.
- वेळ सेट बटण: वेळ सेटिंग मोडमध्ये प्रवेश करण्यासाठी वापरले जाते.
- अलार्म सेट बटण: अलार्म सेटिंग मोडमध्ये प्रवेश करण्यासाठी वापरले जाते.
- Hour/Minute Adjustment Buttons: Used to adjust hour and minute values.
- स्नूझ बटण: Temporarily silences the alarm and activates snooze function.
- अलार्म चालू/बंद स्विच: अलार्म सक्रिय किंवा निष्क्रिय करते.
- बझर: The internal sound generator for the alarm.
- 9V Battery Compartment: Located on the bottom or rear for backup battery.
सेटअप
1. वीज जोडणी:
- Connect the power adapter to the DC input jack on the back of the alarm clock.
- Plug the power adapter into a standard wall outlet. The digital display will light up.
2. Battery Backup Installation (Optional but Recommended):
The Akai AR10 features a 9V battery backup system to maintain time settings during power outages
- Locate the battery compartment cover on the bottom or rear of the unit.
- Open the cover and insert a new 9V battery, observing the correct polarity (+/-).
- बॅटरी कंपार्टमेंट कव्हर सुरक्षितपणे बंद करा.
3. Setting the Current Time:
- दाबा आणि धरून ठेवा वेळ सेट button. The hour digits on the display will begin to flash.
- धारण करताना वेळ सेट बटण, दाबा तास समायोजन button repeatedly to set the correct hour.
- सोडा वेळ सेट button, then press and hold it again. The minute digits will flash.
- धारण करताना वेळ सेट बटण, दाबा मिनिट समायोजन button repeatedly to set the correct minutes.
- सोडा वेळ सेट वेळ वाचवण्यासाठी बटण.
ऑपरेटिंग सूचना
३. अलार्म सेट करणे:
- दाबा आणि धरून ठेवा अलार्म सेट button. The alarm hour digits on the display will begin to flash.
- धारण करताना अलार्म सेट बटण, दाबा तास समायोजन button repeatedly to set the desired alarm hour.
- सोडा अलार्म सेट button, then press and hold it again. The alarm minute digits will flash.
- धारण करताना अलार्म सेट बटण, दाबा मिनिट समायोजन button repeatedly to set the desired alarm minutes.
- सोडा अलार्म सेट अलार्मचा वेळ वाचवण्यासाठी बटण.
2. Activating/Deactivating the Alarm:
- अलार्म सक्रिय करण्यासाठी, स्लाइड करा अलार्म चालू/बंद switch to the "ON" position. An alarm indicator (e.g., a small light or icon) may appear on the display.
- अलार्म निष्क्रिय करण्यासाठी, स्लाइड करा अलार्म चालू/बंद switch to the "OFF" position. The alarm indicator will disappear.
3. Using the Snooze Function:
जेव्हा अलार्म वाजतो, तेव्हा दाबा स्नूझ करा button. The alarm will temporarily stop and sound again after a few minutes (typically 9 minutes). You can repeat this process multiple times.
4. Stopping the Alarm:
To stop the alarm completely after it sounds (without using snooze), slide the अलार्म चालू/बंद switch to the "OFF" position, or press any other button besides the Snooze button (this may vary by model, refer to specific button functions if available).
देखभाल
- स्वच्छता: मऊ, कोरड्या कापडाने युनिट पुसून टाका. अपघर्षक क्लीनर किंवा सॉल्व्हेंट्स वापरू नका.
- बॅटरी बदलणे: If using the battery backup, replace the 9V battery annually or if you notice time settings being lost during power interruptions.
- स्टोरेज: जर युनिट जास्त काळ साठवत असेल, तर ते पॉवरपासून डिस्कनेक्ट करा आणि बॅकअप बॅटरी काढून टाका.
समस्यानिवारण
| समस्या | संभाव्य कारण | उपाय |
|---|---|---|
| प्रदर्शन रिक्त आहे. | शक्ती नाही. | पॉवर अॅडॉप्टर युनिट आणि कार्यरत वॉल आउटलेटमध्ये सुरक्षितपणे प्लग इन केले आहे याची खात्री करा. |
| अलार्म वाजत नाही. | अलार्म सक्रिय केलेला नाही किंवा चुकीचा सेट केलेला नाही. | तपासा अलार्म चालू/बंद switch is in the "ON" position. Verify the alarm time is set correctly. |
| पॉवर ओयू केल्यानंतर वेळ/अलार्म सेटिंग्ज गमावल्या जातात.tage. | बॅकअप बॅटरी संपली आहे किंवा गहाळ आहे. | Install a new 9V backup battery or replace the existing one. |
तपशील
- मॉडेल: AR10
- पॉवर इनपुट: 9 Volts (via AC adapter)
- बॅटरी बॅकअप: 1 x 9V battery (not included)
- अलार्म प्रकार: बजर
- परिमाणे: २०८.९१ x १५६ x १०० सेमी (अंदाजे ८२.२ x ६१.४ x ३९.४ इंच)
- वजन: ८५७ ग्रॅम (अंदाजे १.८९ पौंड)
हमी आणि समर्थन
For warranty information and technical support, please refer to the warranty card included with your product or visit the official Akai webसाइट. खरेदीचा पुरावा म्हणून तुमची खरेदी पावती ठेवा.
Webसाइट: www.akai.com (टीप: हे एक प्लेसहोल्डर आहे. URL. Please refer to your product documentation for the correct support webसाइट)