
1. Introduction
This manual provides instructions for the safe and effective operation of the SMART SENSOR AS8906 Handheld NO2 Gas Leak Detector. This device is designed for detecting Nitrogen Dioxide (NO2) gas concentrations in various environments. Please read this manual thoroughly before using the product.
1.1 Safety Information
- Always operate the device in accordance with the instructions provided.
- Do not attempt to modify or repair the device yourself. Refer to qualified personnel for service.
- Ensure the device is charged using the provided charging adapter and USB cable.
- Avoid exposing the device to extreme temperatures or humidity outside the specified operating conditions.
- This device is intended for professional use and should be handled with care.
2. Product Overview
2.1 Package Contents
The standard package includes the following items:
- 1 x Nitrogen Dioxide Gas Monitor (AS8906)
- 1 x User Manual
- 1 x Charging Adapter
- 1 x USB Cable
- 1 x Hand Carry Case
- 1 x Calibration Certificate
- 1 x CNEX Certificate
- 1 x Gift Paper Box

Figure 2.1: Standard package contents.
2.2 Device Components
Familiarize yourself with the main components of the AS8906 detector:

Figure 2.2: Front view and labeled components of the AS8906 detector.
- High Sensitive Sensor: Detects NO2 gas concentration.
- Sampling Pump Connecting Port: For attaching the optional sampling pump.
- LCD Screen: Displays gas concentration, battery status, and other information.
- Down Button: Used for navigation and decreasing values.
- Up Button: Used for navigation and increasing values.
- Sound Alarm: Emits an audible alert when gas concentration exceeds set limits.
- Charging Port: For connecting the USB charging cable.
- Light Alarm: Visual alert (LED) when gas concentration exceeds set limits.
- Power On/Off Button: Controls device power.
- Enter Button: Confirms selections and settings.
2.3 Dimensions
The AS8906 detector features a compact design for portability.
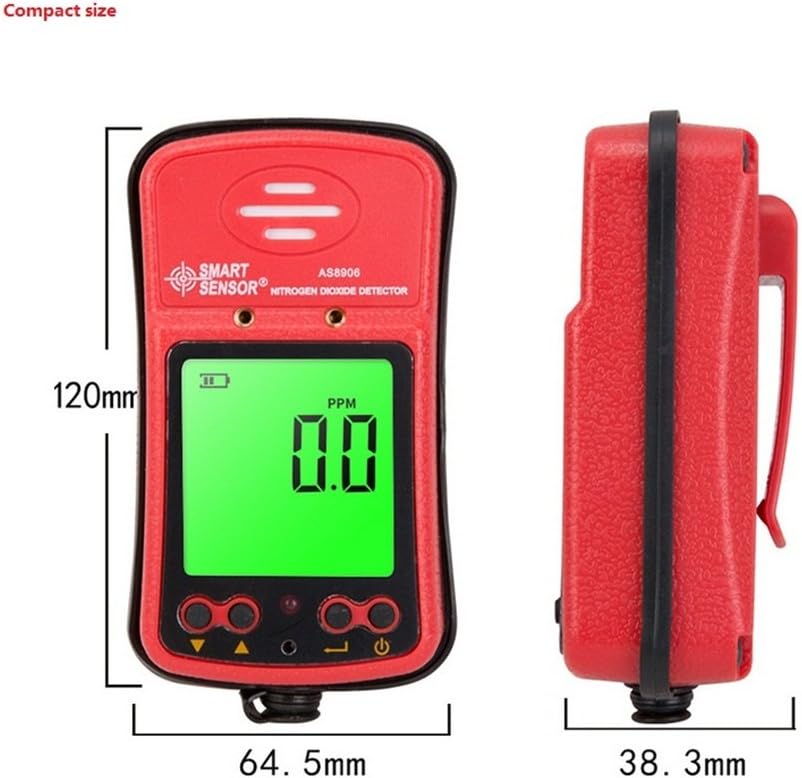
Figure 2.3: Device dimensions.
Dimensions: 120.2mm (Height) x 64.5mm (Width) x 38.3mm (Depth).

Figure 2.4: The compact size allows for easy portability.
3. Setup
3.1 Charging the Device
The AS8906 detector is powered by a built-in 3.7V Li-battery. Before first use, ensure the device is fully charged.
- Locate the charging port at the bottom of the device.
- Connect the provided USB cable to the charging port.
- Connect the other end of the USB cable to the charging adapter.
- Plug the charging adapter into a standard power outlet.
- The battery indicator on the LCD screen will show charging status. A full charge typically provides up to 12 hours of continuous operation.
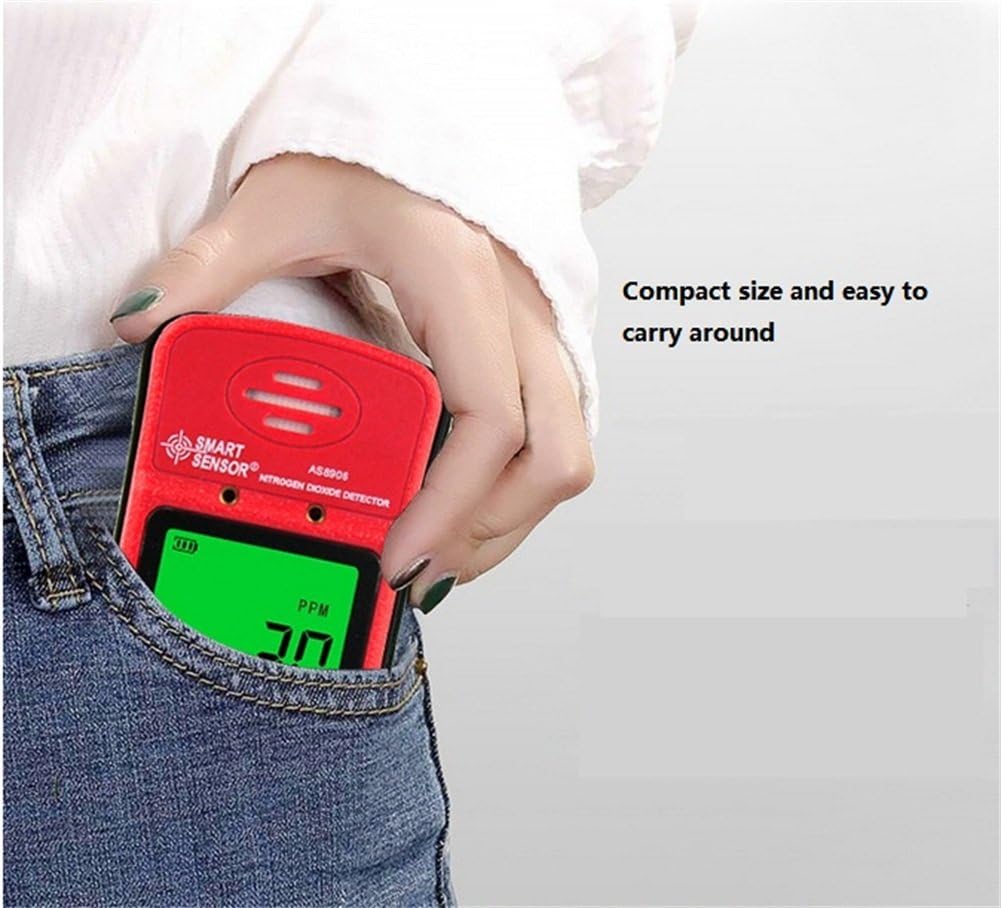
Figure 3.1: Charging port location.

Figure 3.2: Gas detector with recharge adapter.
3.2 Connecting the Sampling Pump (Optional)
The optional sampling pump (AS8930) is designed to assist the gas detector in environments with limited access or poor air circulation. It does not operate independently and requires power from the gas detector.
- Align the sampling pump with the gas detector's sampling pump connecting port.
- Securely attach the sampling pump to the gas detector using the two closed-type screws. Ensure a tight connection to avoid poor contact.
- Connect the soft rubber tube (500mm long) to the nozzle of the sampling pump.
- Important: Do not connect any other voltage power supply to the sampling pump to prevent damage.
Figure 3.3: Sampling pump and accessories.
4. Operation
4.1 Powering On/Off
- To Power On: Press and hold the Power On/Off button until the LCD screen illuminates. The device will perform a self-test.
- To Power Off: Press and hold the Power On/Off button until the screen turns off.
4.2 Understanding the Display
The high-density digital LCD screen displays real-time gas concentration values, battery status, and other operational indicators. The backlight function allows for use in dark areas.
- PPM: Indicates parts per million, the unit for gas concentration.
- Battery Icon: Shows the current battery charge level.
- Alarm Indicators: Visual cues for alarm status.
4.3 Alarm Functions
The device features high and low alarm functions with three alert methods: sound, light, and vibration. Alarm values are adjustable.
- When the gas concentration reaches a preset high or low alarm value, the device will activate its sound, light, and vibration alarms.
- The alarm sound can reach up to 80dB.
4.4 Adjusting Alarm Values
Refer to the on-screen menu for adjusting high and low alarm thresholds. Use the Up and Down buttons to navigate and change values, and the Enter button to confirm.
4.5 Using the Sampling Pump
When the sampling pump is connected, it will draw air into the detector, allowing for gas concentration measurement in remote or confined spaces. The air flow velocity is approximately 0.5 cubic inches per hour, with a maximum gas sample collecting distance of about 50 feet.
5. Maintenance
5.1 Battery Care
- Recharge the device when the battery indicator shows low power to ensure continuous operation.
- Avoid completely draining the battery frequently to prolong its lifespan.
- If storing the device for an extended period, charge it to approximately 50% and recharge every few months.
5.2 Cleaning
- Wipe the exterior of the device with a soft, damp cloth.
- Do not use abrasive cleaners or solvents, as these can damage the casing or screen.
- Ensure no liquids enter the sensor area or charging port.
5.3 Calibration
The device comes with a calibration certificate. For optimal accuracy and compliance, periodic professional calibration is recommended. Refer to the manufacturer or authorized service centers for calibration services.
6. Troubleshooting
If you encounter issues with your AS8906 detector, refer to the following common problems and solutions:
| Problem | Possible Cause | Solution |
|---|---|---|
| Device does not power on. | Low or depleted battery. | Charge the device using the provided adapter and USB cable. |
| Inaccurate readings. | Sensor contamination or need for calibration. | Ensure the sensor area is clean. Consider professional calibration if readings remain inconsistent. |
| Alarm not sounding/lighting/vibrating. | Alarm settings configured incorrectly or disabled. | Check alarm settings in the device menu. Ensure volume and vibration are enabled. |
| Sampling pump not working. | Poor connection to the detector or pump malfunction. | Ensure the sampling pump is securely attached with screws. Verify the detector is powered on. |
If the problem persists after attempting these solutions, contact customer support for further assistance.
7. Specifications
7.1 Detector Specifications
| Feature | Detail |
|---|---|
| Brand | SMART SENSOR |
| Model | AS8906 |
| Gas Type | Nitrogen Dioxide (NO2) |
| Measurement Range | 0~20 ppm |
| Resolution | 0.1 ppm |
| Working Principle | Electrochemical sensor |
| Alarm Type | Sound, Light, Vibration (adjustable values) |
| Alarm Sound Level | Up to 80dB |
| Operating Temperature | -10~50°C |
| Operating Humidity | 15~95% RH (standard) |
| Power Source | 3.7V Li-battery (Built-in) |
| Working Current | 16mA |
| Continuous Operation | Approx. 12 hours (full charge) |
| Material | ABS plastic |
| Net Weight | 200g (7.1 ounces) |
| Dimensions | 120.2 x 64.5 x 38.3 mm |
| Certifications | JJG693; JJG695: JJG915 and GB3836 series anti-explosion standard, CNEX |
7.2 Sampling Pump Specifications (Optional Accessory)
| Feature | Detail |
|---|---|
| Operating Voltage Range | DC 2.2V-3.2V |
| Working Current | <280mA |
| Nozzle Diameter | 2.5mm |
| Noise | <75 dB |
| Dimensions | 100.8 x 62.3 x 50 mm |
| Max Sample Distance | Approx. 50 feet |
| Air Flow Velocity | Approx. 0.5 cubic inches per hour |
8. Warranty and Support
8.1 Warranty Information
Your SMART SENSOR AS8906 Handheld NO2 Gas Leak Detector comes with a warranty. Please refer to the included Warranty Card in your package for specific terms and conditions, including warranty period and coverage details.
8.2 Customer Support
For technical assistance, troubleshooting beyond this manual, or warranty claims, please contact SMART SENSOR customer support. Contact information can typically be found on the product packaging, the warranty card, or the official SMART SENSOR website.