![]()
MIDLAND BT
INSTALLATI ON
MOUNTS
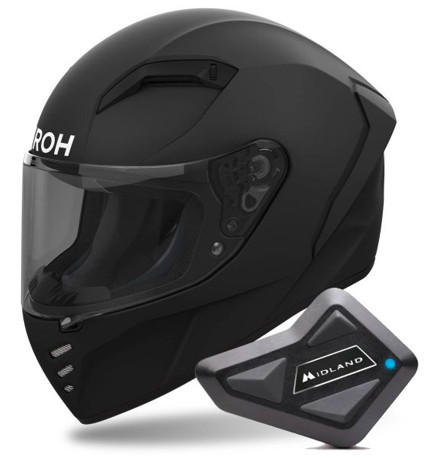
Place the MIDLAND BT on the left side of your helmet using the adhesive mount or the screw mount.

Adhesive mount
clean surface before apply

MICROPHONES

Full face helmets: place the wired microphone in front of your mouth.
Modular/jet helmets: fix the boom mike on the left side and keep the sponge as closely as possible to your mouth (white symbol in front of your mouth).
Attention: for jet helmets, it is also available a specific ext. boom microphone (optional, cod. C1253).
SPEAKERS
The position of the speakers is the most important point of the installation process.

Caution: for the best sound clarity, it is very important to place the speakers in line with the center of your ears and as close as possible (the speakers should reach almost to your ears). If necessary, use the supplied dividers to better fit the speakers in your ears. The recesses of the speakers designed into the helmets are not always placed in the best location for you. Be sure to adjust the speakers as indicated above.
ATTACH/DETACH
The MIDLAND BT can be easily fitted onto the helmet by sliding it downwards into the slot of the adhesive Mount.

To detach MIDLAND BT, simply press the fixing clip (A) and push the unit upwards.
![]()
Documents / Resources
 | MIDLAND BT Mini Bluetooth Intercom Helmet [pdf] Installation Guide 2022, BT Mini Bluetooth Intercom Helmet, BT, Mini Bluetooth Intercom Helmet, Bluetooth Intercom Helmet, Intercom Helmet, Helmet |