1. Hua Neke Atuview
This manual provides instructions for the Generic Nordic Walnut Wood LED Ceiling Chandelier, Model YCTUDEEYS-D40CM-WARM. This lighting fixture is designed for indoor use, providing warm LED illumination suitable for various rooms such as living rooms, dining areas, and bedrooms. It features a D40cm diameter and a walnut wood finish, crafted from high-quality materials for durability and aesthetic appeal.

Image: The D40cm Warm LED Ceiling Chandelier installed, showcasing tona hoahoa me te whakamarama.
2. Nga korero haumaru
- Haumaru Hiko: Always turn off the main power supply at the circuit breaker before beginning installation, maintenance, or cleaning.
- Kaihanga Hiko Tohu: Installation should be performed by a qualified electrician or a competent person familiar with electrical wiring.
- Voltage: Me whakarite te voltage supply matches the requirements of the fixture.
- Whakapiki: Me whakarite kia pakari te hanganga o te mata whakairi, ā, ka taea e ia te tautoko i te taumaha o te taputapu.
- Te whakahaere: Handle the fixture with care to avoid damage to components.
- Whakamahi Roto anake: This fixture is designed for indoor use only. Do not expose to moisture or outdoor elements.
3. He aha kei roto i te Pouaka
The package for your Generic Nordic Walnut Wood LED Ceiling Chandelier (Model YCTUDEEYS-D40CM-WARM) should contain the following items:
- Chandelier fixture with integrated LED bulbs
- Mounting hardware (screws, anchors, wire connectors)
- Pukapuka Tohutohu
4. Whakatakotoranga
Refer to the following table for detailed specifications of the D40cm Warm LED Ceiling Chandelier:
| Āhuahira | Taipitopito |
|---|---|
| Waitohu | Whakanuia |
| Ingoa Tauira | YCTUDEEYS-D40CM-WARM |
| Tae | D40cm Warm |
| Rauemi | Kiriaku, Rakau Walnut |
| Puna Maama | LED whakauru |
| Puna Mana | Hiko Hiko |
| Item Dimensions (D x H) | 40cm x 14cm (approx. 15.75" x 5.5") |
| Whakamahi Hiko | 24W |
| Rohe e Manakohia ana | 5-8 mita pūrua |
| Momo Tāuta | Mata Maunga |
| Huihuinga e hiahiatia ana | Kao |
| Mahinga o roto/waho | Roo-roto |
| Momo Whakatakotoranga | UL |
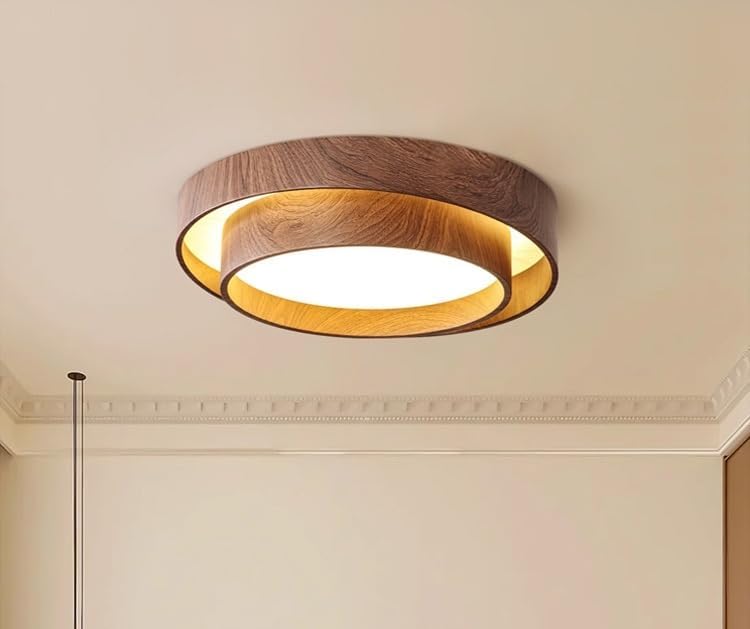
Image: Technical specifications and dimensions of the D40cm Warm LED Ceiling Chandelier.
5. Aratohu Whakauru
Follow these steps carefully to install your ceiling chandelier. It is recommended to have a second person assist during installation.
- Whakaritea mo te Tāuta:
- Turn off the power at the main circuit breaker to the junction box where the fixture will be installed.
- Ensure the power is off by testing with a voltage Kaiwhakamatautau.
- Gather necessary tools: screwdriver, wire strippers, electrical tape, ladder.
- Mount the Mounting Bracket:
- Attach the mounting bracket (usually included with the fixture) to the ceiling junction box using the provided screws. Ensure it is securely fastened.
- Waea i te Whakapiri:
- Carefully connect the wires from the fixture to the wires in the junction box.
- Honoa te pango wire (live/hot) from the fixture to the pango waea mai i te pouaka honohono.
- Honoa te ma wire (neutral) from the fixture to the ma waea mai i te pouaka honohono.
- Honoa te whenua waea (parahi tahanga, kakariki rānei) mai i te hononga ki te whenua waea mai i te pouaka honohono.
- Secure all connections with wire connectors and wrap with electrical tape for added safety.
- Attach the Fixture to the Mounting Bracket:
- Carefully lift the chandelier and align the fixture with the mounting bracket.
- Secure the fixture to the bracket using the provided screws or fasteners. Ensure it is flush against the ceiling and stable.
- Whakaora i te Mana:
- Once the fixture is securely installed, turn the power back on at the main circuit breaker.
- Whakamātauria te rama kia tika ai te mahi.
6. Nga Tohutohu Whakahaere
The Generic Nordic Walnut Wood LED Ceiling Chandelier is designed for simple operation.
- Whakakā/Weto: Operate the chandelier using a standard wall switch connected to the fixture's electrical circuit.
- Putanga Maama: This model provides a warm light output. It is not designed for dimming unless connected to a compatible dimming switch and the fixture explicitly states dimmable capabilities (this specific model is 'Warm', not 'Dimmable').
7. Tiaki
Proper maintenance will ensure the longevity and appearance of your chandelier.
- Te horoi:
- Whakawetohia te hiko hiko i mua i te horoi.
- Whakamahia he ngohengohe, maroke, paku ranei damp cloth to wipe the surface of the fixture.
- Do not use abrasive cleaners, solvents, or polishes as they may damage the finish or acrylic components.
- Whakakapi Purama: The LED bulbs in this fixture are integrated and not user-replaceable. If the LEDs fail, the entire fixture may need to be replaced.
8. Te Raru
Mena ka pa ki a koe nga take mo to rama, tirohia nga raru me nga otinga e whai ake nei:
| Raruraru | Take pea | Rongoā |
|---|---|---|
| Kare te rama e ka ana | No power supply; Loose wiring; Faulty wall switch | Check circuit breaker; Verify wire connections; Test wall switch. Consult a qualified electrician if issues persist. |
| Ka whiti marama | Loose wiring; Incompatible dimmer switch (if applicable); Power fluctuations | Check wire connections; Ensure dimmer switch compatibility (if used); Consult an electrician for power supply issues. |
| Fixture is unstable after installation | Improper mounting; Loose screws | Ensure mounting bracket is securely fastened to the junction box and the fixture is tightly attached to the bracket. |
9. Pūtāhui me te Tautoko
Pūtāhui: The manufacturer's warranty description for this product is listed as Karekau.
Tautoko Kiritaki: For any questions regarding installation, operation, or troubleshooting that are not covered in this manual, please contact the retailer or seller from whom you purchased the product for assistance.