1. Kupu Whakataki
This manual provides essential information for the proper installation, function, and maintenance of your new Generic Ignition Coil Module. This component is designed as a replacement part for Troy-Bilt 15010 Econo Horse Rear Tine Tillers. Please read these instructions thoroughly before attempting any installation or maintenance to ensure safe and correct operation.
2. Nga korero haumaru
WHAKATŪPATO: Always prioritize safety when working with engine components. Failure to follow these safety guidelines may result in serious injury or damage to equipment.
- Always disconnect the spark plug wire and, if applicable, the battery before performing any service or installation.
- Ensure the engine is cool before handling any parts to prevent burns.
- Mau taputapu tiaki whaiaro e tika ana, tae atu ki nga karaehe haumaru me nga karapu.
- Mena kāore koe i te tino mōhio ki tētahi o ngā mahi, whakapā atu ki tētahi tohunga ratonga whai tohu.
- Tiakina nga tamariki me nga kararehe mai i te waahi mahi.
3. Ihirangi mokete
Ina whakatuwherahia te kete, me manatoko kei reira katoa ngā taonga, ā, kāore he pakaru.
- 1 x Generic Ignition Coil Module (Model: MANHHOK7750)
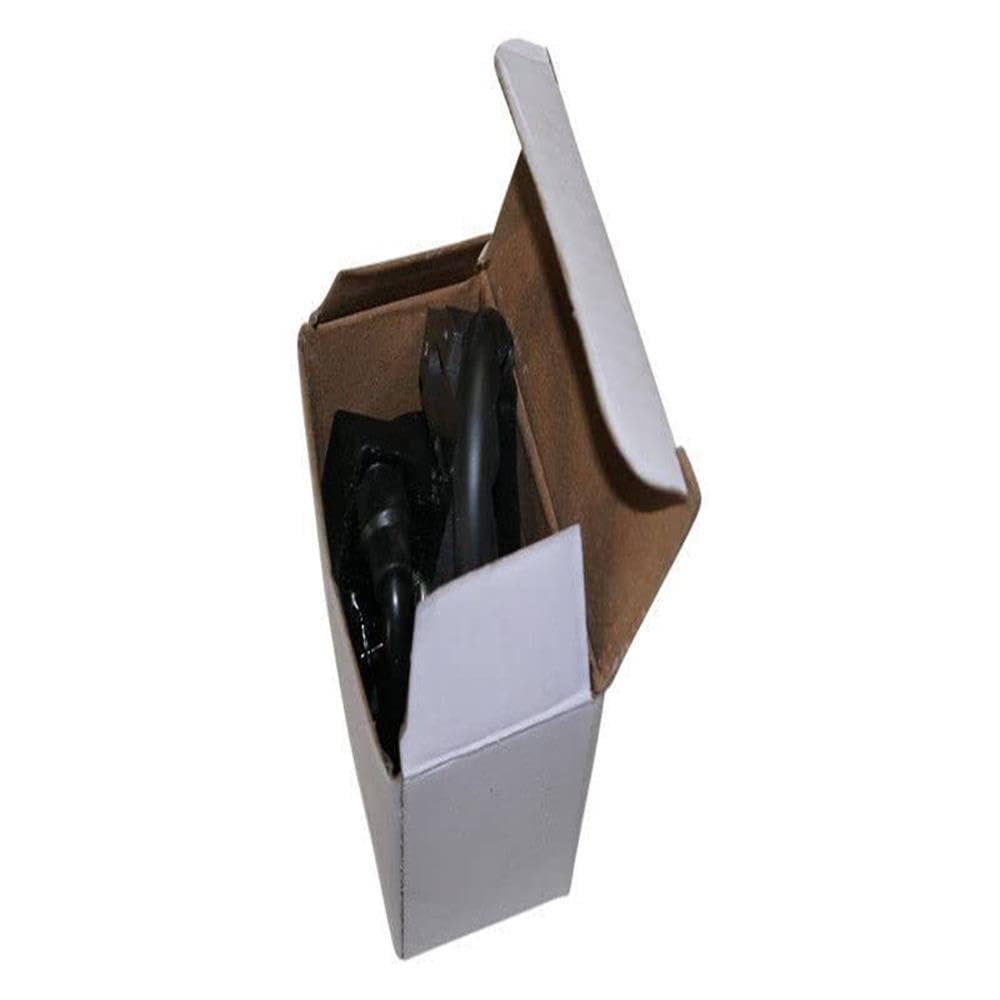
Figure 1: Generic Ignition Coil Module. This image displays the typical appearance of the ignition coil module, featuring its main body, electrical connections, and mounting points.
4. Tatūnga me te Tāuta
This section outlines the general steps for replacing an ignition coil module. Specific procedures may vary slightly depending on your tiller model. Refer to your Troy-Bilt tiller's service manual for detailed instructions if available.
4.1 Nga Utauta e Hiahia ana
- Huinga kī, huinga pūwero rānei
- tīwiri (mata papatahi me/ranei he tīwiri Phillips)
- Feeler gauge (for setting air gap)
- Kohikohi pereki
4.2 Nga Waahi Whakataunga
- Whakaritea te Tiller: Ensure the tiller engine is off and cool. Disconnect the spark plug wire from the spark plug to prevent accidental starting.
- Locate the Old Coil: Identify the existing ignition coil module, typically mounted near the flywheel.
- Momotu Waea: Carefully disconnect any electrical wires attached to the old ignition coil. Note their positions for reinstallation.
- Tangohia te koiri tawhito: Unscrew the mounting bolts or screws holding the old ignition coil in place and remove it.
- Tāutahia he Koiri Hou: Position the new Generic Ignition Coil Module in the same location. Loosely attach it with the mounting bolts/screws.
- Tautuhi Āputa Hau: This is a critical step. Insert a non-magnetic feeler gauge (typically 0.010-0.014 inches, refer to your tiller's manual for exact specification) between the coil's laminations and the flywheel magnets. Push the coil firmly against the feeler gauge and tighten the mounting bolts/screws securely. Remove the feeler gauge.
- Honoa Nga Waea: Reconnect all electrical wires to the new ignition coil module, ensuring they are secure.
- Hono anō i te Pūhiko Rama: Reattach the spark plug wire to the spark plug.
- Whakamātautau: Attempt to start the tiller to verify proper ignition.
5. Mahi
The ignition coil module is an internal engine component responsible for generating the high voltage required to create a spark at the spark plug, igniting the fuel-air mixture. Once correctly installed, its operation is automatic as part of the engine's ignition system. No user intervention is required for its direct operation.
If the engine fails to start or runs poorly after installation, refer to the Troubleshooting section.
6. Tiaki
The Generic Ignition Coil Module is designed for durability and typically requires minimal maintenance. However, regular inspection of related components can help ensure its longevity and reliable engine performance.
- Puru korakora: Regularly inspect and replace the spark plug according to your tiller's maintenance schedule. A worn or fouled spark plug can put undue stress on the ignition coil.
- Waea Korakora: Check the spark plug wire for cracks, fraying, or damage. Ensure it is securely connected to both the coil and the spark plug.
- Hononga: Periodically inspect all electrical connections to the ignition coil for corrosion or looseness. Clean and tighten as necessary.
- Te ma: Keep the area around the ignition coil free from dirt, debris, and oil buildup, which can affect its performance and heat dissipation.
7. Te Raru
If you experience issues after installing the ignition coil, consider the following common troubleshooting steps:
| Raruraru | Take pea | Rongoā |
|---|---|---|
| Engine will not start (no spark) | Incorrect air gap setting Ngā hononga hiko kua waikura, kua korekore rānei Korakora hapa Damaged spark plug wire | Re-check and adjust air gap Inspect and clean/tighten connections Test and replace spark plug Inspect and replace spark plug wire |
| Ka pohehe te miihini, ka rere kino ranei | Incorrect air gap setting Fouled or incorrect spark plug Hononga hiko wā-poto | Re-check and adjust air gap Tirotiro/whakakapi i te moko korakora Check all connections for security |
| Engine starts but dies quickly | Possible fuel delivery issue (not coil related) Incorrect air gap | Check fuel system (carburetor, fuel filter) Verify air gap setting |
If troubleshooting steps do not resolve the issue, it is recommended to consult a professional service technician.
8. Whakatakotoranga
- Tau Wāhanga: MANHHOK61750
- Tauira Tūemi: MANHHOK7750
- Rahi Hua: 1 x 1 x 1 inihi
- Puna Hiko: Hand-powered (refers to the tiller, not the coil itself)
- ASIN: B0GF3C78TP
- Kaihanga: MANHHOK
- Hototahi: Troy-Bilt 15010 Econo Horse Rear Tine Tiller
9. Pūtāhui me te Tautoko
No specific warranty information is provided for this product. For technical support or further assistance, please contact the retailer or manufacturer where the product was purchased.