Kupu Whakataki
Thank you for choosing the QNIGLO SW-66 Long-Range FRS Two-Way Radio. This manual provides essential information for the safe and efficient operation of your device. Please read it thoroughly before use and retain it for future reference.
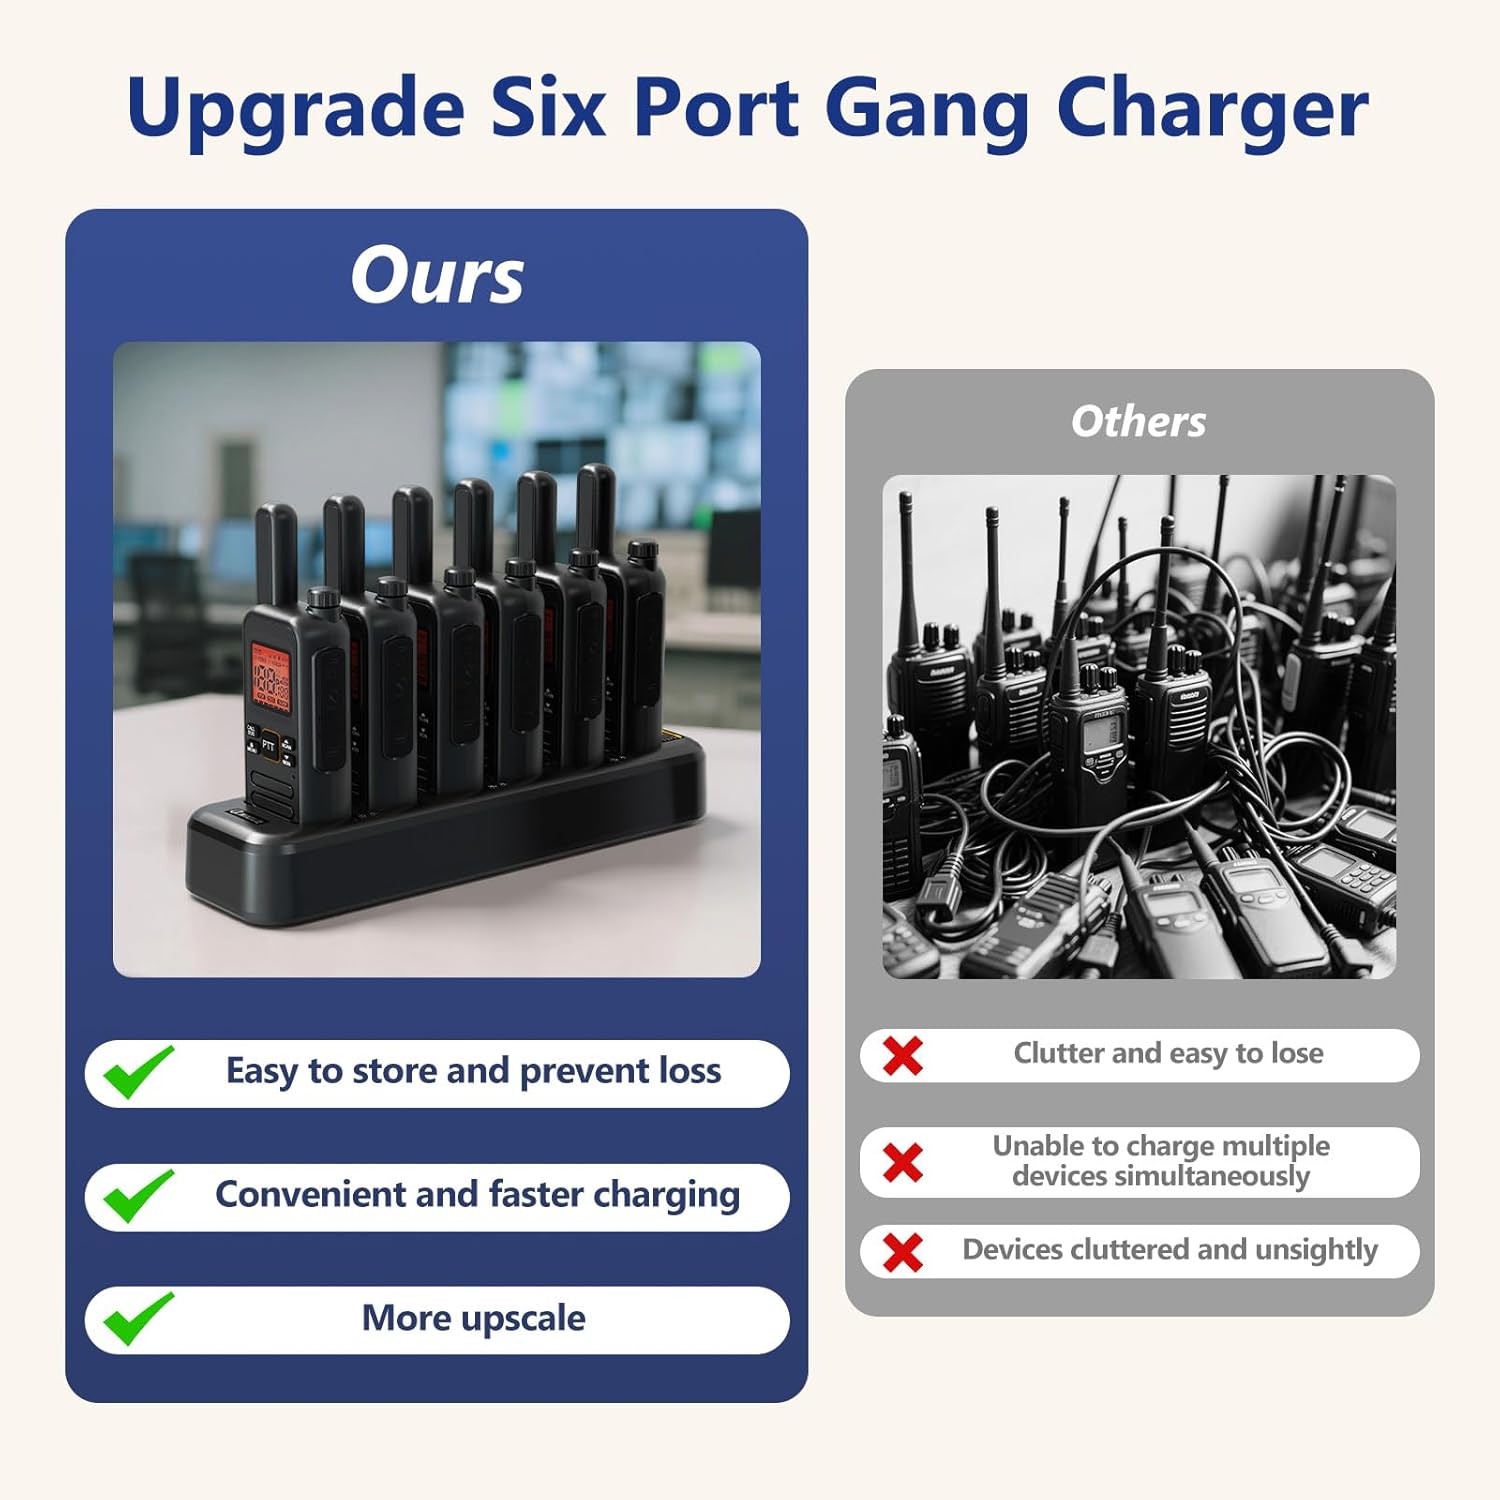
Figure 1: QNIGLO SW-66 Two-Way Radios
Ihirangi mokete
Manatokona kei roto katoa nga mea kei roto i to kete:
- QNIGLO SW-66 Two-Way Radios (quantity as purchased)
- Tauranga Whakatau
- USB-C Cables (quantity matching radios)
- Taakapa taura
- Walkie-Talkie Headsets (quantity matching radios)
- Belt Clips (quantity matching radios)
- Pukapuka Kaiwhakamahi (tenei tuhinga)
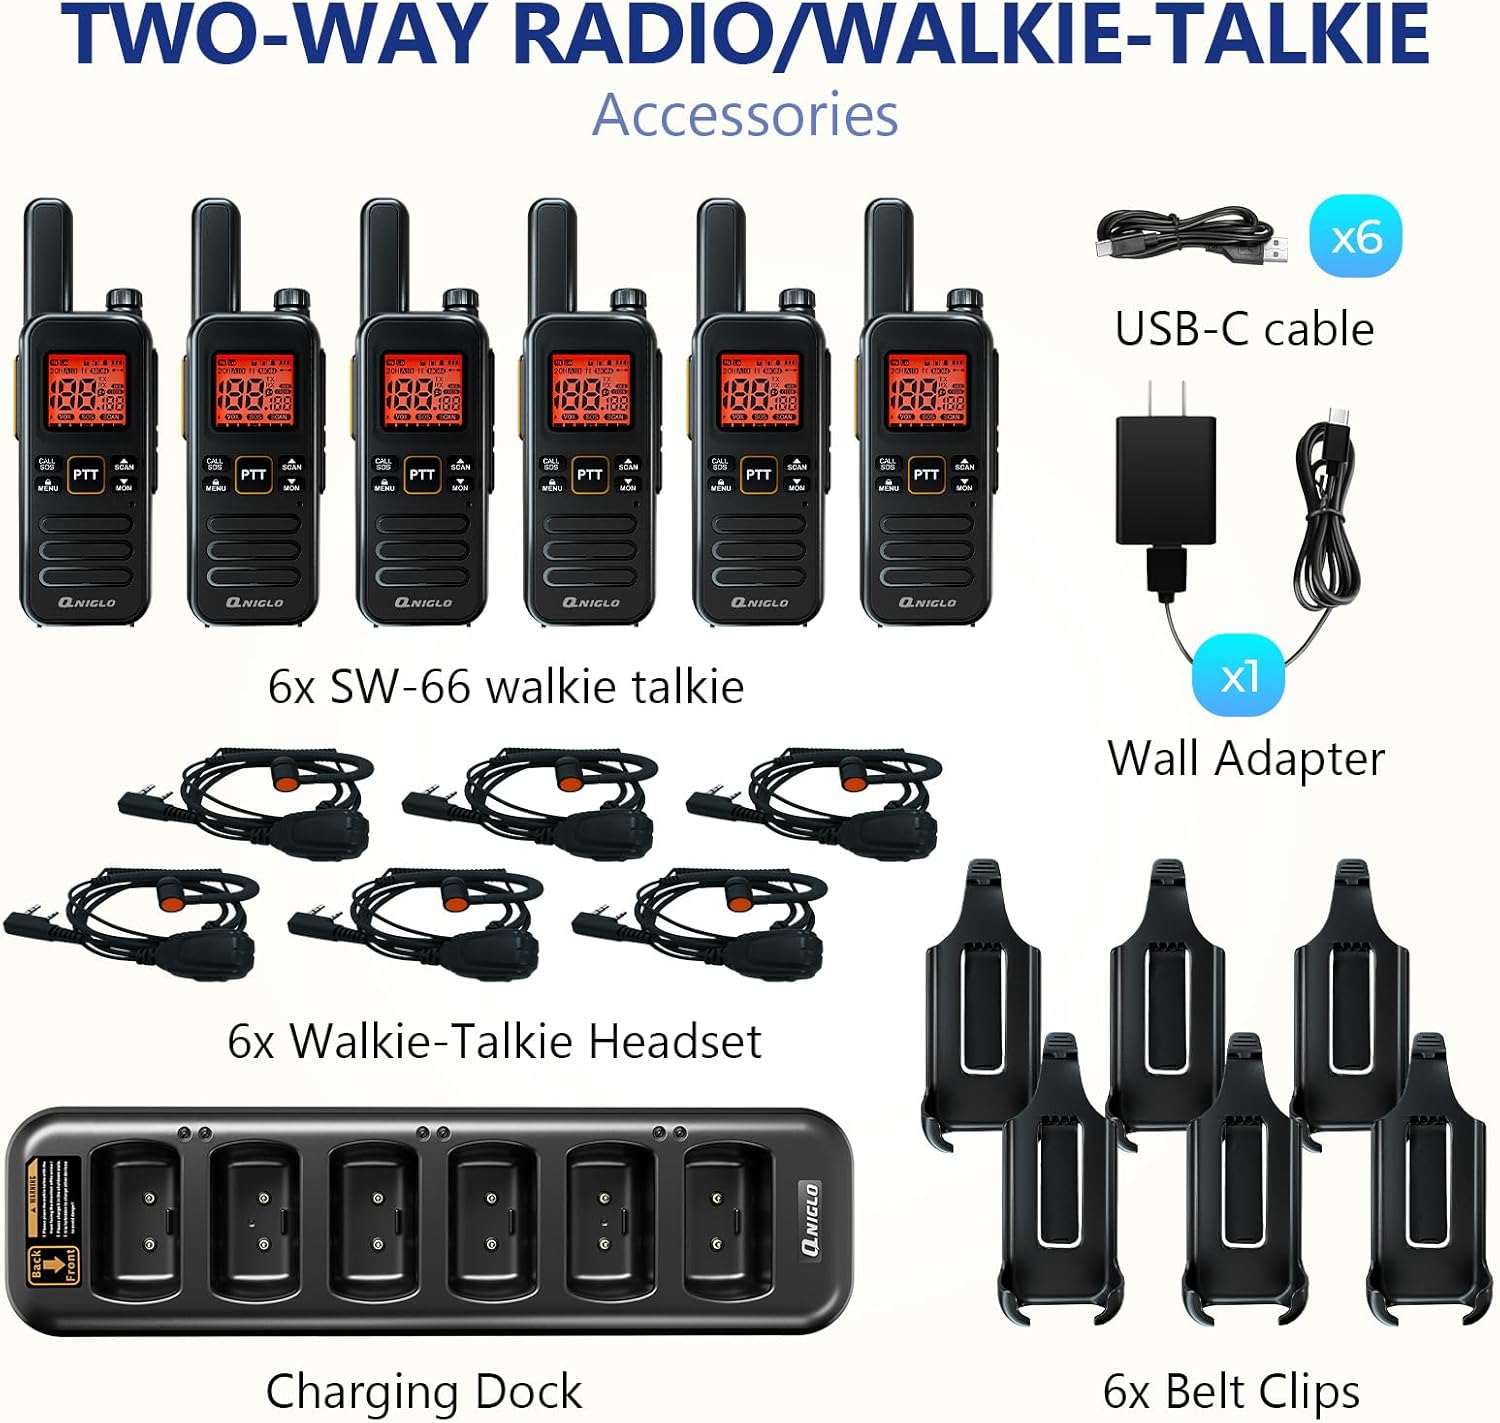
Pikitia 2: Ngā Taputapu me ngā Wāhanga kua Whakaurua
Ka mutu te huaview
Familiarize yourself with the radio's components and controls.

Figure 3: QNIGLO SW-66 Button Description
Wae matua:
- Antenna: For signal transmission and reception.
- Whakawhiti Rotary: Controls power ON/OFF and volume adjustment.
- PTT (Push-To-Talk) Buttons (PTT 1, PTT 2): Pēhia hei tuku, tukuna hei whiwhi.
- F-type Connector: For external antenna or accessories.
- Tauranga Whakatau Momo-C: Direct charging port.
- Bell Mouth / Microphone Hole: Mo te whakauru reo.
- Base Charging Port: For charging with the charging dock.
- CALL/SOS Button: Short press to send a call, long press for SOS emergency alarm.
- MENU Pātene: Short press for menu, long press for keypad lock.
- SCAN/UP Button: Short press for next option, long press to activate scan function.
- MON/DOWN Button: Short press for previous option, long press to activate monitor function.
Tatūnga
1. Te Whakataki i te Reo Irirangi
Before first use, fully charge the radio's battery. The radio can be charged using the included charging dock or directly via the USB-C port.
- Te whakamahi i te Tauranga Whakatau: Connect the charging dock to the wall adapter using the USB-C cable, then plug the adapter into a power outlet. Place the radio into a slot on the charging dock. The LED indicator on the dock will show charging status.
- Te Utu-C Tikanga: Connect a USB-C cable directly to the TYPE-C charging port on the side of the radio and to a USB power source.

Figure 4: Charging the Radios with the Dock
A full charge typically takes approximately 4 hours and provides about 22 hours of working time.
2. Te taapiri i nga taputapu
- Topenga whitiki: Align the belt clip with the designated grooves on the back of the radio and slide it down until it clicks into place.
- Tapeke: Plug the headset connector into the F-type connector port on the radio. Ensure it is securely inserted.
Nga Tohutohu Whakahaere
1. Te Hiko / Whakaweto me te Whakaritea Rōrahi
Rotate the top rotary switch clockwise to power on the radio. Continue rotating clockwise to increase volume. Rotate counter-clockwise to decrease volume. Rotate fully counter-clockwise until a click is heard to power off the radio.
2. Kōwhiringa Hongere
The QNIGLO SW-66 supports 22 FRS channels. To change channels, use the MENU button to enter channel selection mode, then use the SCAN/UP and MON/DOWN buttons to navigate through channels. Press MENU again to confirm your selection.
3. Te Tuku me te Whiwhi (PTT)
- To transmit, press and hold either PTT 1 or PTT 2 button. Speak clearly into the microphone.
- Tukua te paatene PTT kia mutu te tuku me te hoki ki te whiwhi aratau.
- Ensure all radios are on the same channel to communicate.
4. Mahi VOX (Te Whakawhitinga Reo)
The VOX function allows hands-free transmission. When activated, the radio will automatically transmit when it detects your voice. Refer to the on-screen menu for VOX activation and sensitivity adjustment.
5. Mahi Matawai
Long press the SCAN/UP button to activate the scan function. The radio will scan through active channels. Press the SCAN/UP button again to stop scanning.
6. Maukatakiriiri
Long press the MENU button to lock the keypad, preventing accidental button presses. Long press MENU again to unlock.
7. Emergency Alarm (SOS)
In an emergency, long press the CALL/SOS button to activate the SOS alarm. This will transmit an alert signal to other radios on the same channel.
8. Mahi Aroturuki
Long press the MON/DOWN button to temporarily disable squelch and listen for weak signals on the current channel. Release the button to return to normal operation.
9. NOAA Weather Channels
The radio supports NOAA weather channels for receiving weather alerts. Consult the on-screen menu to access and select NOAA channels.
Te tiaki
- Te horoi: Whakamahia he ngohengohe, damp he kakahu hei horoi i waho o te reo irirangi. Kaua e whakamahi i nga matū kino me nga horoi horoi.
- Tiaki Pūhiko: Hei whakaroa i te ora o te pākahiko, kaua e whakawetohia te pākahiko i ngā wā katoa. Whakakīia te reo irirangi i ia wā, ahakoa kāore e whakamahia ana mō ngā wā roa.
- Rokiroki: Store the radio in a cool, dry place away from direct sunlight and extreme temperatures. Remove the battery if storing for very long periods.
- Ātete wai: Note that this device is KĀORE ātete wai. A ape i te pa ki te wai, te makuku nui ranei.
Raparongoā
| Raruraru | Take pea | Rongoā |
|---|---|---|
| Kare te reo irirangi e kaha ana. | Kua pau te pākahiko, kāore rānei i te tika te whakaurunga. | Whakakīia te pākahiko. Kia tika te whakanoho o te pākahiko. |
| Kaore e taea te tuku, te tango ranei. | Incorrect channel, out of range, or low battery. | Verify radios are on the same channel. Move closer to other radios. Charge battery. |
| He kino te kounga ororongo. | Low battery, interference, or radio too far apart. | Charge battery. Move away from sources of interference. Reduce distance between radios. |
| Ko te papapātuhi kaore e aro. | Kei te hohe te maukati papapātuhi. | Long press the MENU button to unlock the keypad. |
Whakatakotoranga
| Waitohu | QNIGLO |
| Tau tauira | SW-66 |
| Te maha o nga hongere | 22 FRS Channels |
| Nga waahanga motuhake | Battery Saver Mode, Digital Display, Emergency Alarm (SOS), Keypad Lock, Lightweight, VOX, NOAA |
| Taumata Atete Wai | Ehara i te wai ātete |
| Nga Waahanga kei roto | Radio Unit, Belt Clip, Charging Dock, User Manual, Walkie-Talkie Headset |
| Momo utu | USB-C, Charging Dock |
| Typical Working Time | Approx. 22 haora (i muri i te 4 haora te utu) |
Pūtāhui me te Tautoko
The QNIGLO SW-66 Two-Way Radio comes with a 1-Tau Pūtāhui a te Kaihanga mai i te ra o te hokonga. Ka kapi tenei raihana i nga hapa o nga rawa me nga mahi i raro i te whakamahinga noa.
For technical support, warranty claims, or any questions regarding your QNIGLO product, please contact QNIGLO customer service through the retailer where the product was purchased or visit the official QNIGLO webpae mo nga korero whakapā.