Kupu Whakataki
This manual provides essential instructions for setting up, operating, and maintaining your Vamvo Mini Projector VF240. Please read this manual thoroughly before using the projector to ensure safe and optimal performance.
He aha kei roto i te Pouaka
- Vamvo Mini Projector VF240
- Whāurutau
- Tauera HDMI
- Mamao
- Pukapuka Kaiwhakamahi
- Kaari Raati
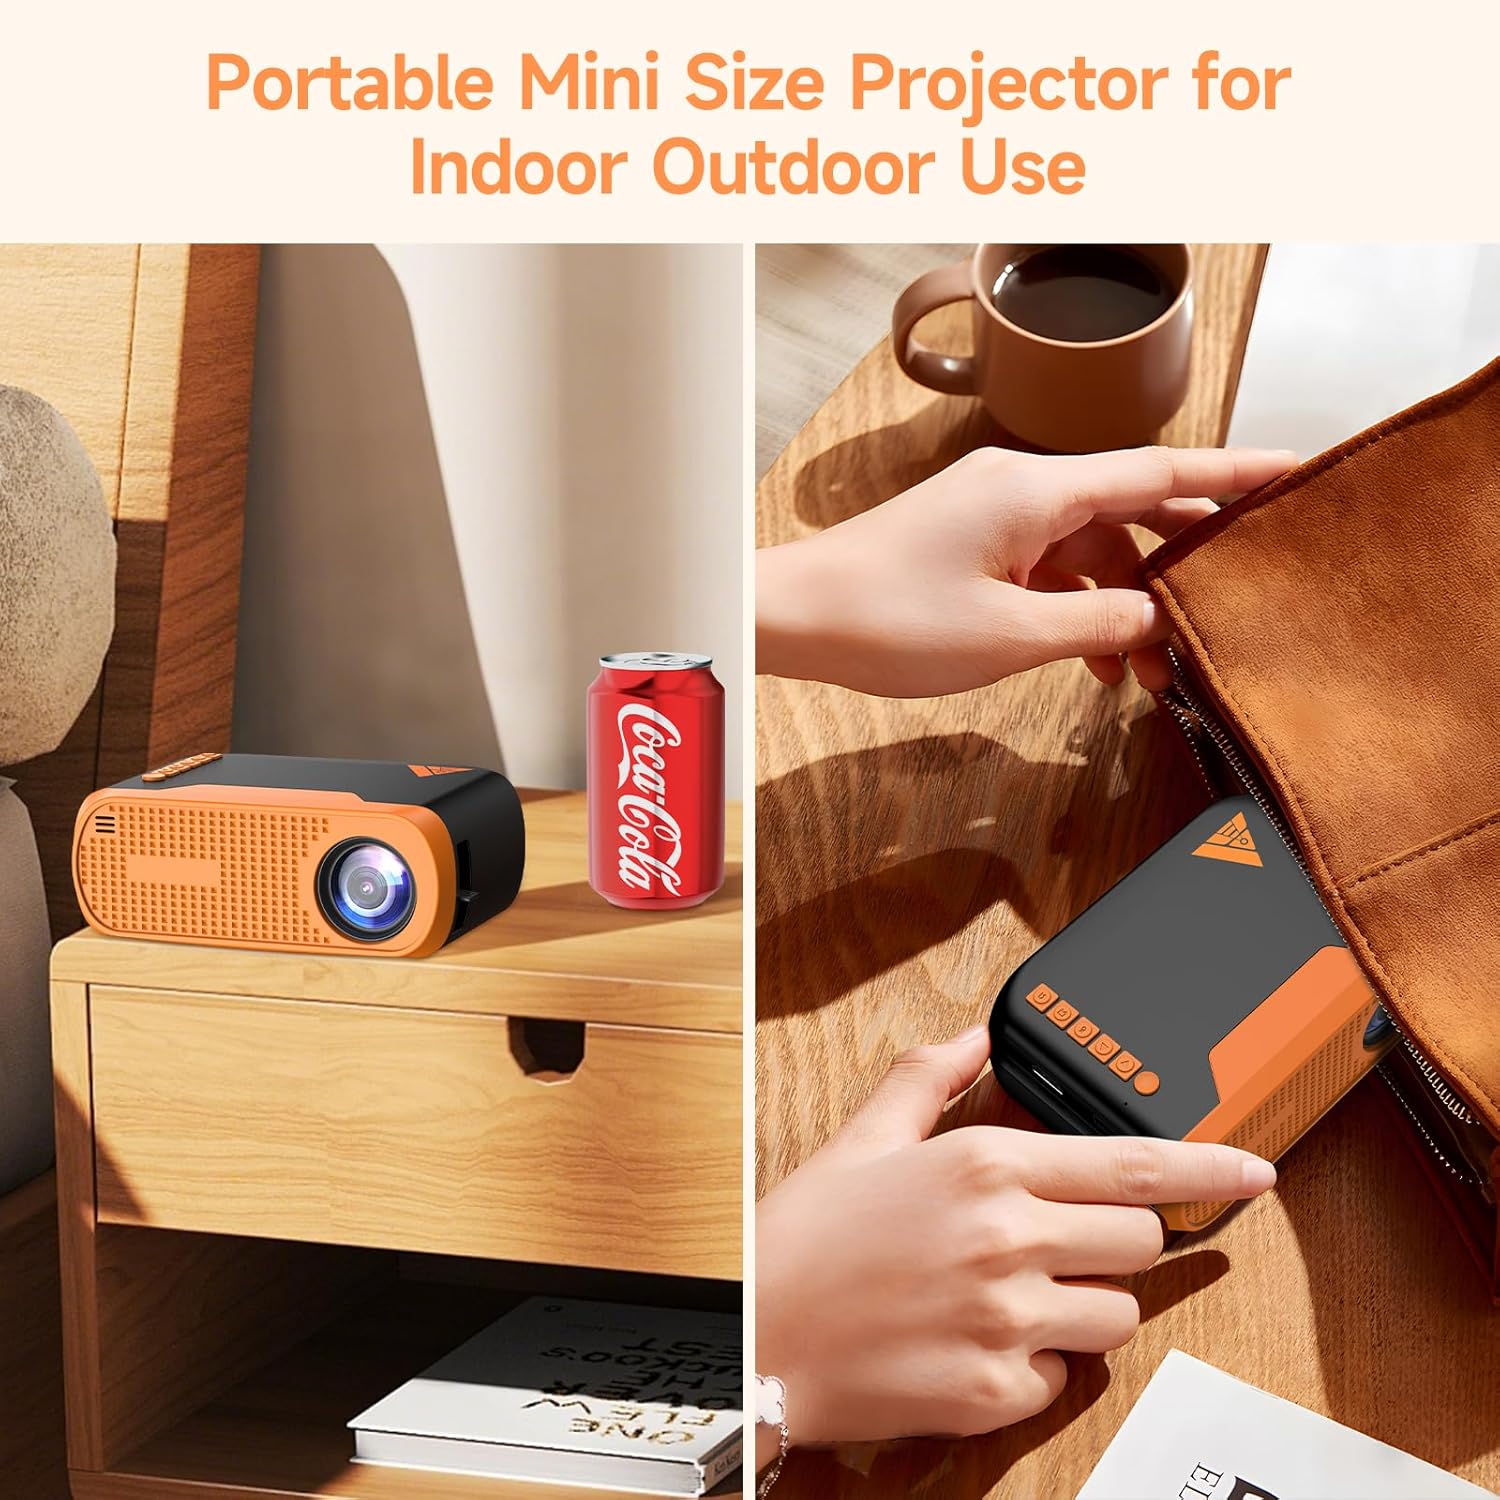
Image: The Vamvo Mini Projector is compact and portable, ideal for indoor and outdoor use.
Tatūnga
1. Hononga Mana
Connect the provided AC adapter to the projector's DC IN port and then plug it into a power outlet. The projector can also be powered via a Type-C cable (not included) for increased portability.

Image: Powering the Vamvo Mini Projector using either the AC adapter or a Type-C cable. Do not use both simultaneously.
2. Placement and Screen Adjustment
Place the projector on a stable surface. For optimal viewing, position the projector between 3.3 feet (60 inches screen) and 13 feet (170 inches screen) from the projection surface. Adjust the focus and keystone correction manually using the controls on the projector to achieve a clear, rectangular image.
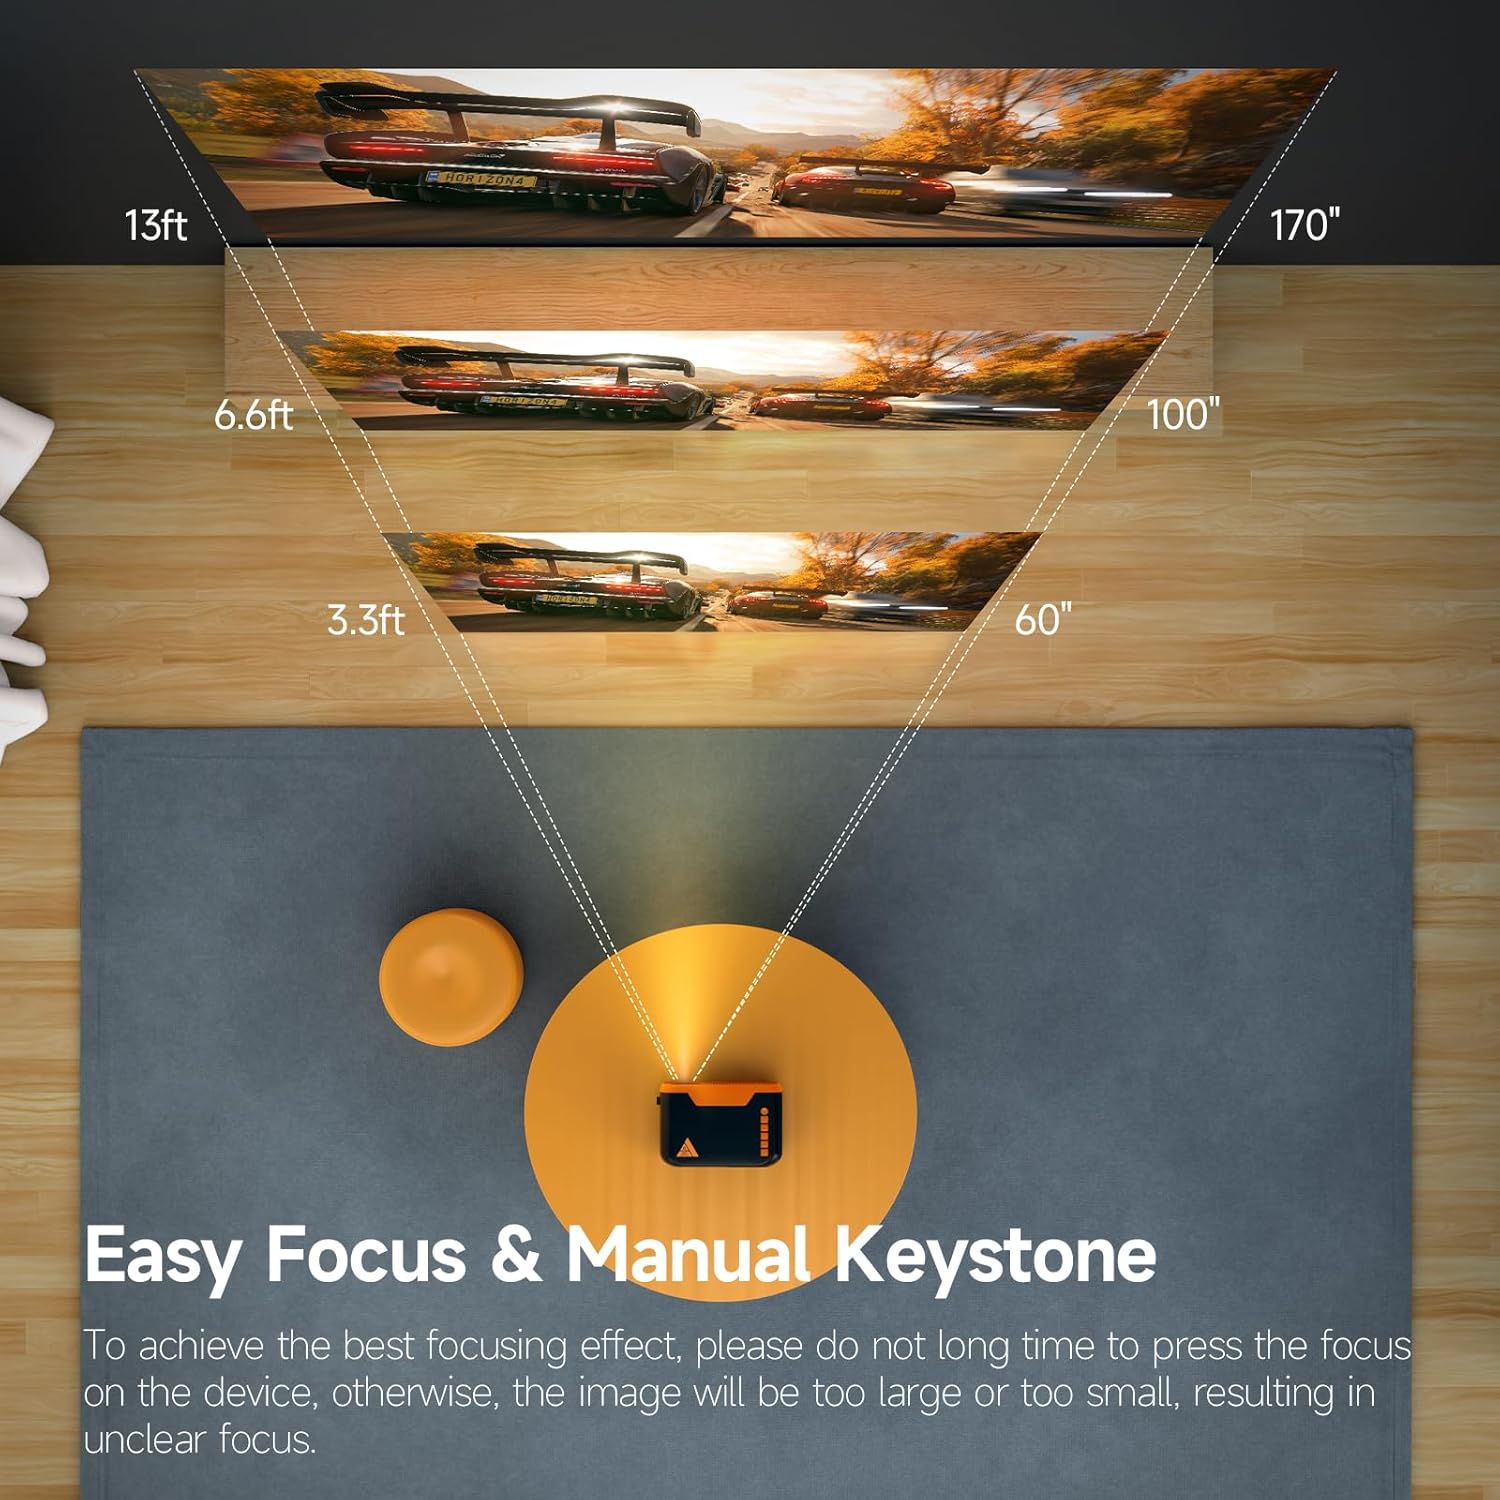
Image: Recommended projection distances for screen sizes from 60 to 170 inches.

Image: Manual focus and keystone adjustment controls on the projector.
The projector supports various installation methods: table placement, tripod installation, or ceiling mount.

Image: Different installation options for the projector.
Mahi
1. Te Hiko / Whakaweto
Pēhia te pātene mana i runga i te pūwhakaata, i te mana mamao rānei hei whakakā, hei whakaweto rānei i te pūrere.
2. Whakaterenga
Use the directional buttons (up, down, left, right) and the OK button on the projector's top panel or the remote control to navigate through the menu and select options. The top panel also includes a dedicated power button and a back button.
3. Kōwhiringa Pūtake Tāuru
Select the desired input source (HDMI, USB, Screen Mirroring) from the projector's menu.
Hononga
1. Hononga Waea
The projector features HDMI, USB, and Micro USB ports for connecting various devices such as laptops, gaming consoles (PS4, PS5), TV sticks, DVD players, and smartphones/tablets (with appropriate adapters). An earphone port is also available for wired audio output.
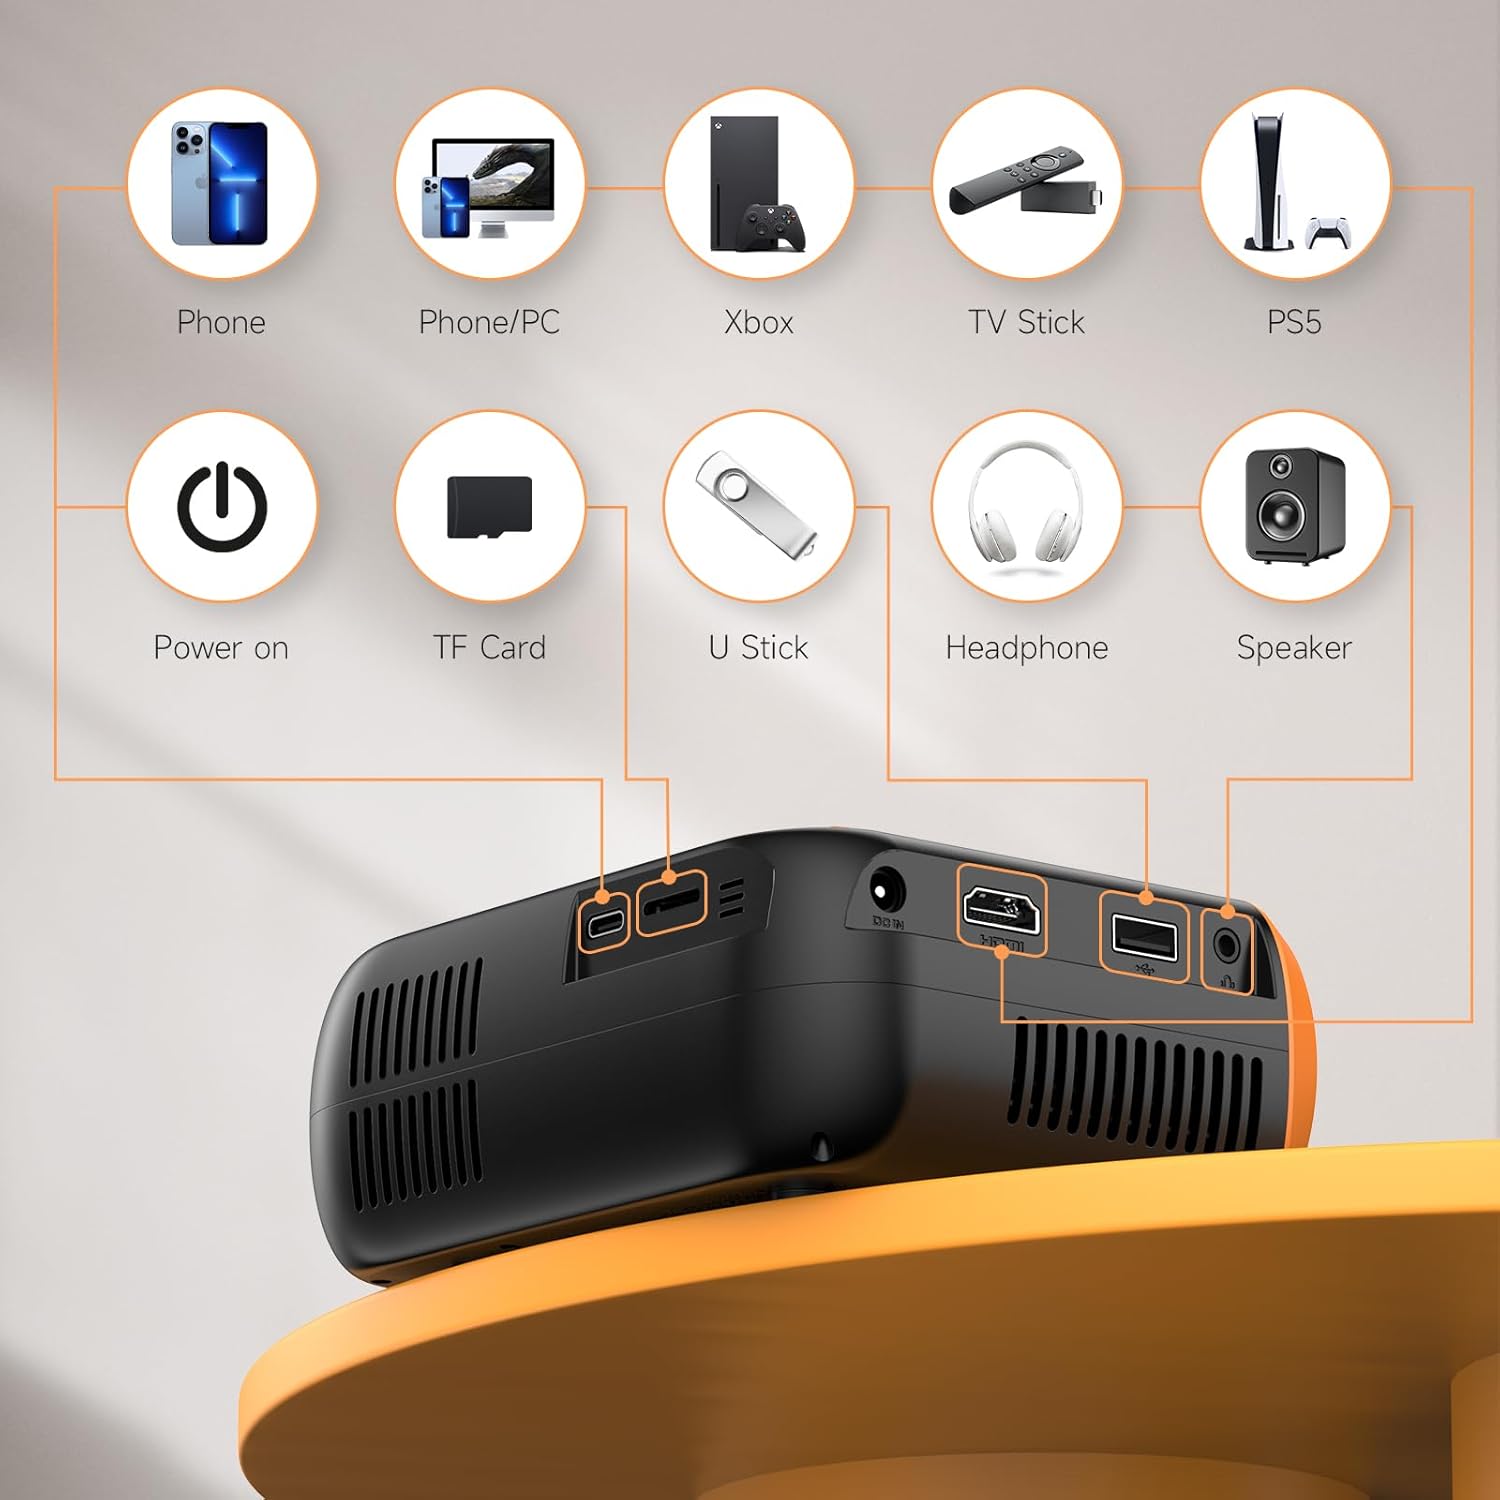
Whakaahua: Ka mutuview of the projector's input and output ports for wired connections.
2. Whakaata Mata Ahokore (WiFi)
The projector supports WiFi screen mirroring for Android and iOS devices. Connect your phone or tablet to the projector wirelessly to display content. Note that due to copyright restrictions, some streaming services like Netflix and Disney+ may not support wireless mirroring.

Image: Wireless screen mirroring setup with a smartphone and the projector.
3.Ororongo Nihokikorangi
Utilize Bluetooth 5.0 technology to connect external Bluetooth speakers or headphones for enhanced audio. The built-in Hi-Fi stereo speakers provide clear sound, but external audio devices can offer a richer experience.

Image: Connecting the projector to external Bluetooth speakers for improved sound.
Te tiaki
1. Te horoi i te Arotahi
Gently wipe the projector lens with a soft, lint-free cloth. Avoid using abrasive cleaners or excessive force, as this can damage the lens coating.
2. Tango Puehu
Regularly clean the ventilation openings to prevent dust buildup, which can affect performance and lead to overheating. Use a soft brush or compressed air.
3. Rokiroki
When not in use, store the projector in a cool, dry place away from direct sunlight and extreme temperatures. Use the original packaging or a protective case to prevent damage.
Raparongoā
No Image or Blurry Image
- Me whakarite kia honoa te taura hiko.
- Adjust the focus ring on the projector until the image is clear.
- Verify the keystone correction is properly set to ensure a rectangular image.
- Check the input source selection to match your connected device.
Kore Oro
- Increase the volume on both the projector and the connected device.
- Ki te whakamahi koe i ngā kaikorero o waho, me whakarite kei te hono tika, kei te whakakā hoki.
- Check Bluetooth connection for external audio devices.
Wireless Mirroring Issues
- Ensure both the projector and your device are connected to the same WiFi network.
- Restart both the projector and your device.
- Some apps (e.g., Netflix, Disney+) do not support wireless mirroring due to copyright protection.
Whakatakotoranga
| Waitohu | Vamvo |
| Tau tauira | VF240 |
| Whakaatu Whakatau | 1920 x 1080 (Tangata Taketake 1080P) |
| Hangarau Hononga | Bluetooth 5.0, WiFi, HDMI, USB, Micro USB |
| Rahi Matapae i Manakohia | 60 - 130 inches (Supports up to 200 inches) |
| Taumaha Tūemi | 1.57 pauna |
| Ahu mōkihi | 7.91 x 7.13 x 3.43 inihi |
| Āhuahira Motuhake | Nga Kai-korero Hanga-roto |
| Whakauru Mana | AC Adapter, Type-C |
Pūtāhui me te Tautoko
Vamvo provides comprehensive customer support for the VF240 Mini Projector:
- 24/7 Tautoko Kiritaki: Assistance is available around the clock for any inquiries or issues.
- 30-Ra Whakahoki Moni Moni: If you are not satisfied with your purchase, you can return it within 30 days for a full refund.
- 2-Year Repair Warranty: The projector is covered by a 2-year warranty for repairs.
- Tautoko Hangarau Ora: Receive ongoing technical assistance for the lifespan of your product.
For support, please refer to the contact information provided on your Warranty Card or visit the official Vamvo webpae.