
ICERIVER KS7 LITE 4.2TH
ICERIVER KS7 LITE 4.2TH Kaspa Miner Instruction Manual
Model: KS7 LITE 4.2TH
1. Kupu Whakataki
This manual provides essential instructions for the safe and efficient operation of your ICERIVER KS7 LITE 4.2TH Kaspa Miner. Please read this manual thoroughly before installation and use to ensure proper functionality and to prevent damage to the device or injury to personnel. This device is designed for Kaspa cryptocurrency mining.
2. Nga korero haumaru
- Haumaru Hiko: Ensure the power supply unit (PSU) is connected to a grounded outlet. Do not overload electrical circuits. Use only the provided power cables or certified replacements.
- Whakahau: The miner generates heat. Ensure adequate airflow around the device. Do not block ventilation openings. Maintain a clear space of at least 20 cm (8 inches) around all sides of the miner.
- Taiao Mahi: Operate the miner within the specified temperature range of 0°C to 40°C (32°F to 104°F). Avoid high humidity, dust, and corrosive environments.
- Te whakahaere: Kia tupato ki te hapai i te taputapu. A ape i te tuku, te tuku ranei ki nga paanga kaha.
- Whakakorea: Do not attempt to disassemble or modify the miner. This will void the warranty and may cause damage or injury.
3. Ihirangi mokete
Manatokona kei roto katoa nga mea kei roto i te kete:
- ICERIVER KS7 LITE 4.2TH Kaspa Miner Unit
- Wae Tuku Hiko (PSU)
- Taura Hiko (mō ia rohe)
- Tenei Pukapuka Tohutohu
4. Hua Neke Atuview
Familiarize yourself with the components of your ICERIVER KS7 LITE miner.
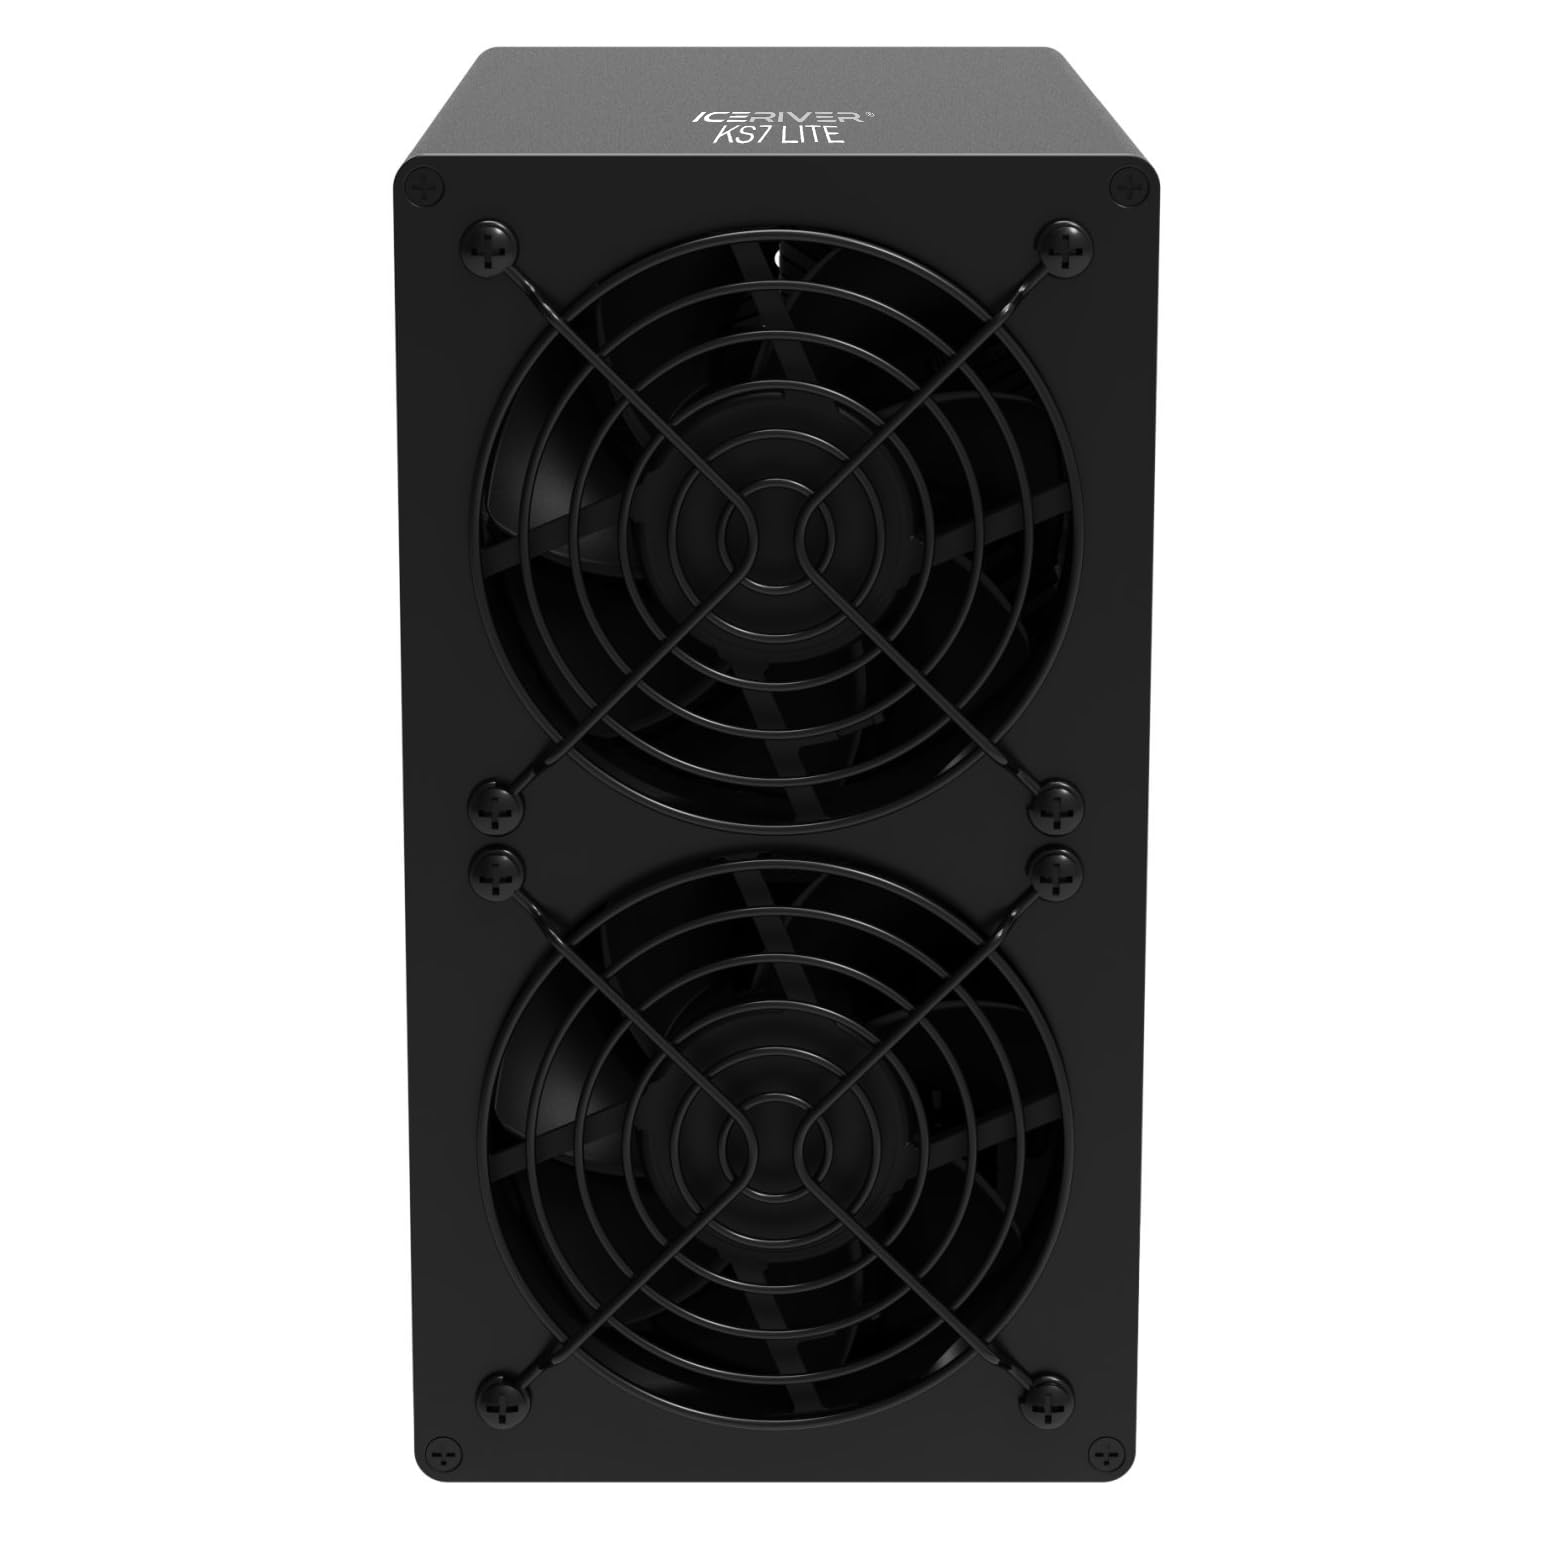
Whakaahua 4.1: Mua View - This image displays the front of the ICERIVER KS7 LITE Kaspa Miner, featuring two prominent cooling fans with protective grilles. The fans are crucial for dissipating heat generated during operation.
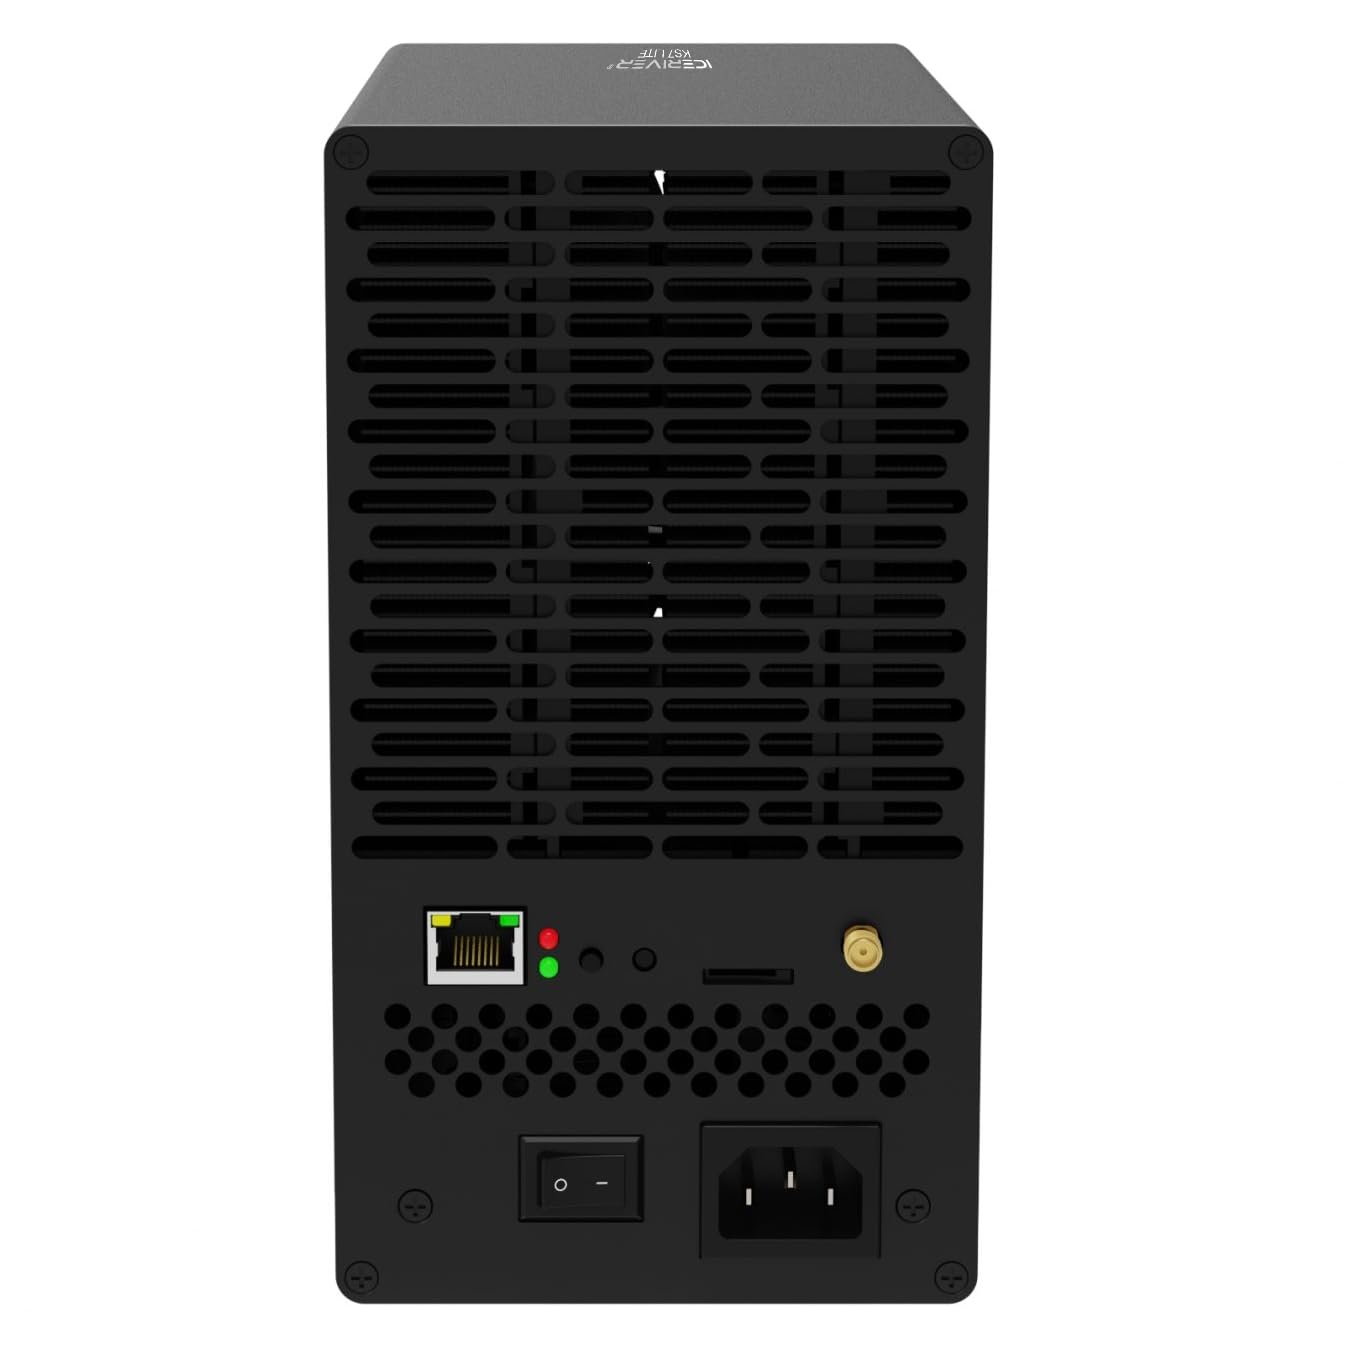
Whakaahua 4.2: Whakamuri View - The rear panel of the miner is shown, highlighting the Ethernet port for network connectivity, LED indicator lights for status, a power on/off switch, and the AC power input socket. Also visible are ventilation grilles and a small antenna connector, likely for Wi-Fi (if applicable).
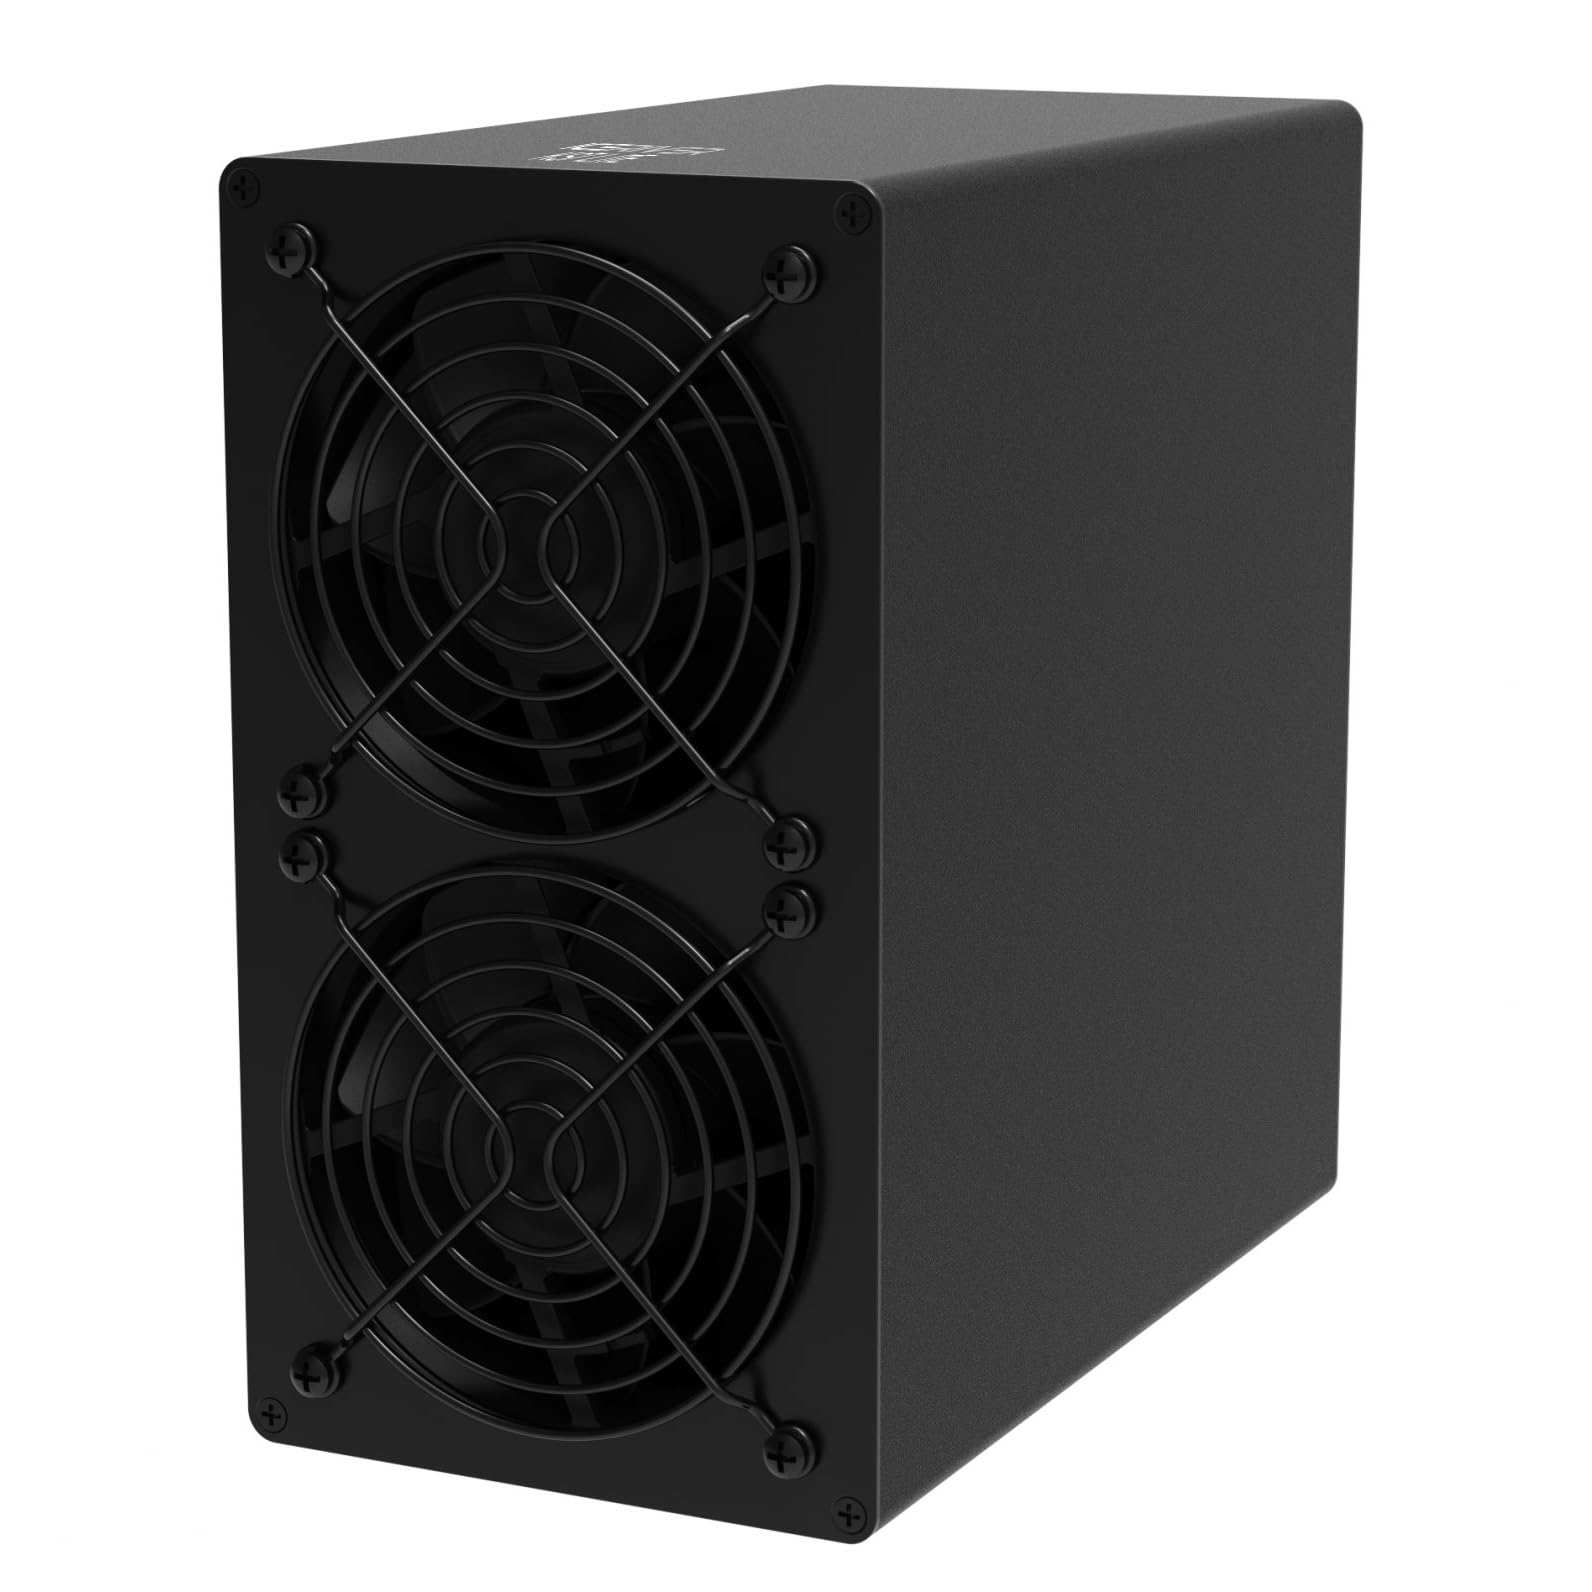
Figure 4.3: Side-Front View - This perspective shows the compact, black rectangular casing of the ICERIVER KS7 LITE miner, with a clear view of the two cooling fans on the front panel and the smooth side panel.
Wae matua:
- Pū whakamatao: Located at the front, these fans ensure optimal operating temperature.
- Tauranga Itarangi: For network connection to your router or switch.
- Rama Tohu: Provide status feedback (e.g., power, network activity).
- Whakawhiti Kaha: Hei whakakā, whakaweto rānei i te taputapu.
- Whakauru Hiko AC: Connects to the power supply unit.
5. Tatūnga
5.1 Whakanoho
- Choose a stable, flat surface in a well-ventilated area.
- Ensure the ambient temperature is within 0°C to 40°C.
- Keep the miner away from direct sunlight, heat sources, and excessive dust or moisture.
- Maintain at least 20 cm (8 inches) of clear space around all sides for proper airflow.
5.2 Te Mana Hononga
- Honoa te taura hiko ki te Pūnaha Pūnaha Hiko (PSU).
- Connect the PSU output cables to the corresponding power input ports on the miner. Ensure all connections are secure.
- Plug the power cable into a grounded electrical outlet (100-240V AC).
5.3 Hononga Whatunga
- Connect an Ethernet cable from your router or network switch to the Ethernet port on the rear of the miner.
- Ensure the network connection is active and stable.
5.4 Hiko-Whakaahua Tuatahi
- After connecting power and network, flip the power switch on the rear of the miner to the "ON" position.
- The indicator lights will illuminate, and the fans will start.
- Allow a few minutes for the miner to boot up and connect to the network.
6. Nga Tohutohu Whakahaere
6.1 Te uru atu ki te Web Atanga
- Once the miner is powered on and connected to the network, you will need to find its IP address. This can typically be done through your router's administration page or by using an IP scanner tool on your network.
- Tuwhera a web browser on a computer connected to the same network and enter the miner's IP address into the address bar.
- Log in using the default credentials (refer to manufacturer documentation or the device label for default username/password).
6.2 Configuration for Mining
- I roto i te web interface, navigate to the mining settings.
- Enter your Kaspa mining pool URL, worker name, and password (if required by your pool).
- Save the settings and restart the miner if prompted.
- Monitor the status page to confirm that the miner has started hashing and is submitting shares to the pool.
7. Tiaki
- Tango Puehu: Regularly inspect the cooling fans and ventilation grilles for dust accumulation. Use compressed air or a soft brush to gently clean them. Ensure the miner is powered off and unplugged before cleaning.
- Aroturuki Taiao: Periodically check the operating temperature and humidity of the environment to ensure it remains within the recommended range.
- Whakahōu Firmware: Tirohia te mana o te kaihanga website for any available firmware updates. Follow the provided instructions carefully for updating firmware to ensure stability and performance.
- Tirohanga taura: Periodically inspect all power and network cables for any signs of wear or damage. Replace damaged cables immediately.
8. Te Raru
| Raruraru | Take pea | Rongoā |
|---|---|---|
| Miner does not power on. | No power, faulty cable, power switch off. | Check power cable connections, ensure outlet is live, verify power switch is ON. |
| Kaore he hononga whatunga. | Loose Ethernet cable, router issue, incorrect network settings. | Ensure Ethernet cable is securely connected. Restart router. Check network settings in web atanga. |
| Low hashing rate or no shares. | Incorrect pool settings, network issues, overheating. | Verify mining pool URL, worker name, and password. Check network stability. Ensure adequate ventilation and operating temperature. |
| Te werawera. | Poor ventilation, high ambient temperature, dust accumulation. | Improve airflow around the miner. Reduce ambient temperature. Clean fans and grilles. |
9. Whakatakotoranga
| Āhuahira | Taipitopito |
|---|---|
| Ingoa Tauira | KS7 LITE 4.2TH |
| Hashrate | 4.2 TH/s (±5%) |
| Wall Power | 500 W/h (±10%) |
| Voltage Whakauru | 100-240V AC |
| Hononga | Itarangi |
| Te Waahi Mahi | 0°C ki te 40°C (32°F ki te 104°F) |
| Rahi Hua (L x W x H) | 4.33 x 7.95 x 8.07 inihi (205 x 110 x 202 mm) |
| Taumaha Kupenga | 4.02 KG (Approximately 8.86 lbs) |
| Tikanga whakamatao | Te Matao o te Hau |
| Kaihanga | ICERIVER |
10. Pūtāhui me te Tautoko
For warranty information, technical support, or service inquiries, please contact your original seller or the manufacturer, ICERIVER, directly. Retain your proof of purchase for warranty claims. Do not attempt to repair the device yourself, as this may void the warranty.
Ask a question about this manual
Ask about setup, troubleshooting, compatibility, parts, safety, or missing instructions. Manuals+ will review the question and use this page’s manual context to help answer it.