1. Kupu Whakataki
This manual provides detailed instructions for the installation, operation, and maintenance of your ESX Vision VMX900DAB Universal 1-DIN Multimedia Receiver. Please read this manual thoroughly before using the device to ensure proper functionality and to maximize your user experience.
The ESX Vision VMX900DAB is a versatile 1-DIN multimedia receiver featuring a 9-inch multi-angle touchscreen display. It integrates advanced connectivity options including wireless Apple CarPlay and Android Auto, DAB+ digital radio, Bluetooth hands-free calling and audio streaming, and a comprehensive media player. The unit is designed for universal compatibility and offers a removable monitor for enhanced security.
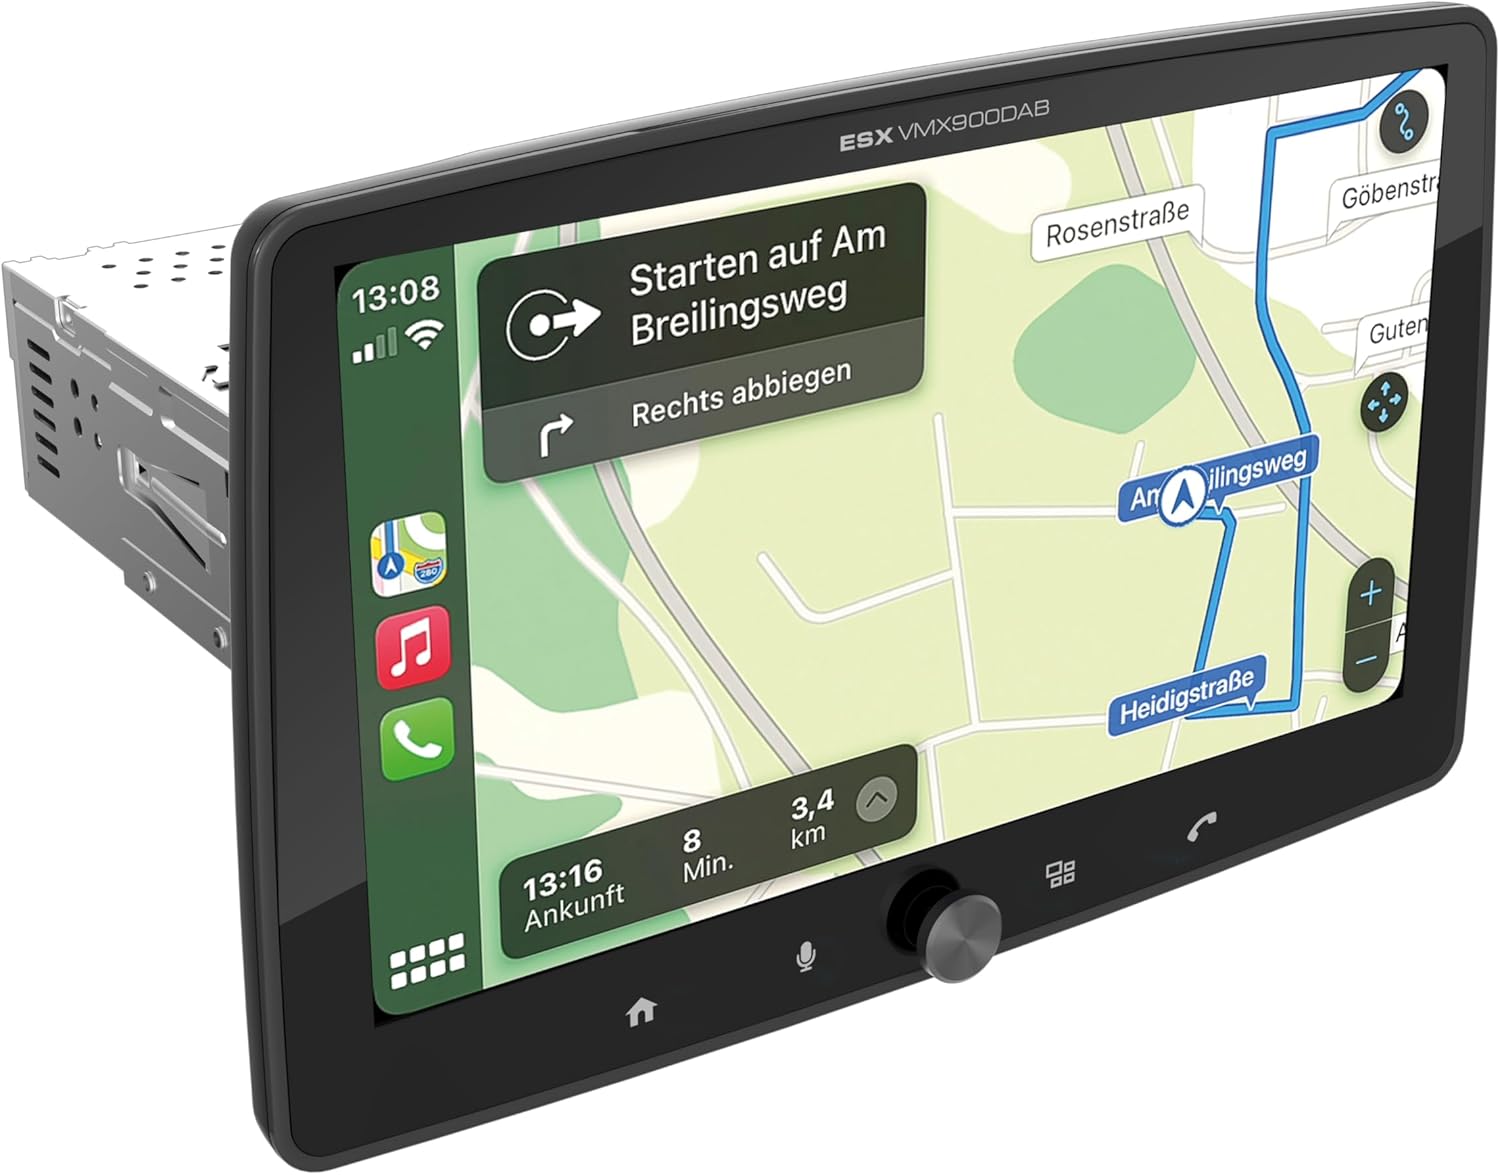
Figure 1.1: ESX Vision VMX900DAB with navigation interface.
2. Tatūnga me te Tāuta
2.1 Ihirangi mokete
I mua i te tāutanga, me whakarite kei te wātea ngā wāhanga katoa:
- ESX Vision VMX900DAB Main Unit
- Detachable 9-inch Touchscreen Monitor
- Te Waea Waea Mana/Kaikorero
- Puorooro o waho
- GPS Antenna
- DAB+ Antenna
- Ngā Taura Toronga USB
- Ngā taputapu whakapuru (ngā whāriki, ngā tīwiri)
- Pukapuka Kaiwhakamahi (tenei tuhinga)

Whakaahua 2.1: Nga taputapu me nga waahanga kua whakauruhia.
2.2 Te Whakamau i te Wāhanga Matua
- Me whakarite kia momotu te pākahiko o te waka i mua i te tīmatanga o te tāutanga.
- Insert the 1-DIN main unit into the vehicle's dashboard opening.
- Secure the main unit using the provided mounting brackets and screws.
2.3 Te hono i te Aroturuki
The 9-inch monitor is detachable and connects to the main unit via a click system.
- Align the monitor's connector with the slot on the main unit.
- Gently push the monitor until it clicks securely into place.
- To remove, press the release button (if applicable) and pull the monitor away.

Figure 2.2: Detachable monitor with click system.
2.4 Hononga Waea
Tirohia te hoahoa waea e whakaratohia ana me te waahanga mo nga hononga motuhake. Ko nga hononga matua ko:
- Power and Speakers: Connect the main wiring harness to the vehicle's power supply and speakers.
- Waeaoro Waho: Plug the external microphone into its dedicated input for optimal hands-free call quality.
- GPS Atene: Honoa te pūihi GPS ka whakamau ki tētahi wāhi mārama view o te rangi mo te tuunga tika.
- DAB+ Antenna: Connect the DAB+ antenna for digital radio reception.
- Tauranga USB: Two USB-A ports are available. One for media playback and charging (1.5A), and another specifically for Apple CarPlay/Android Auto and charging (1.5A).
- RCA mua-ampNga Putanga kua tohua: Six 4V RCA outputs (FL/FR/RL/RR/SUB1/SUB2) are available for connecting external ampkaikawe
- AUX RCA Inputs: Stereo audio and video inputs (L/R/VIDEO) for external audio/video sources.
- Camera RCA Inputs: Ko nga whakaurunga motuhake mo nga kamera o mua me muri.
- Mana urungi: Analog steering wheel remote control input (learnable) for integration with vehicle controls.
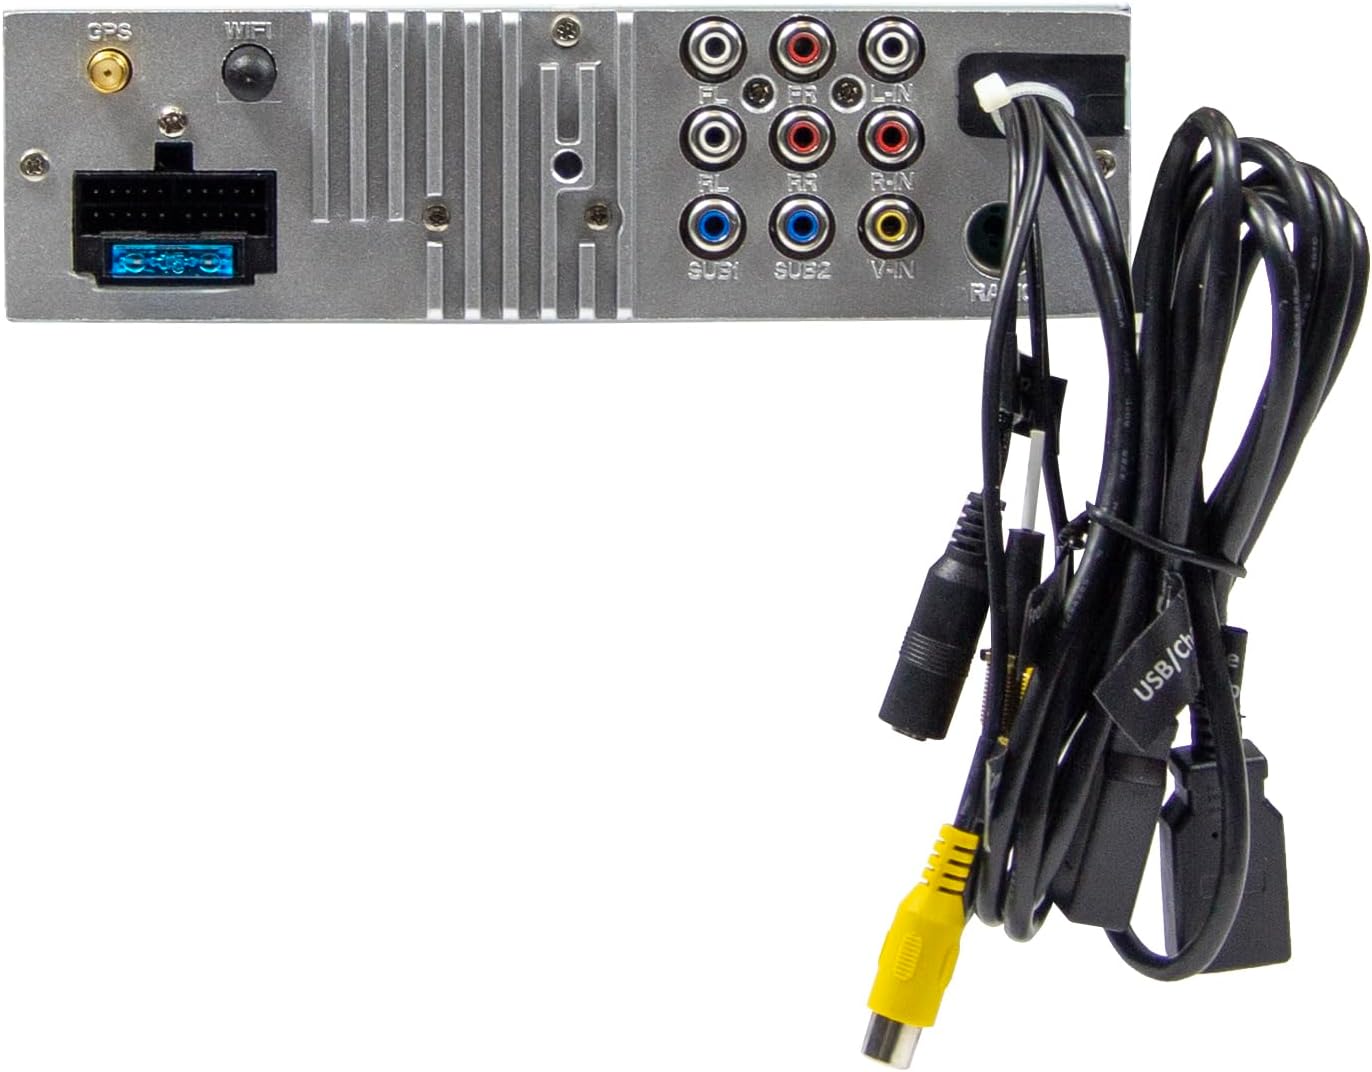
Figure 2.3: Rear connections of the main unit.
3. Nga Tohutohu Whakahaere
3.1 Te Hiko / Whakaweto me nga Mana Taketake
- Whakahiko: The unit will power on automatically with the vehicle's ignition.
- Weto Whakakore: The unit will power off automatically with the vehicle's ignition.
- Mana Rōrahi: Use the large rotary knob on the front panel to adjust the volume.
- Pātuhi Taumahi: Four function keys on the front panel provide quick access to common features.
- Mata pa: All primary functions are controlled via the 9-inch touchscreen.
3.2 Mata Kāinga me te Whakatere
The home screen provides access to all main functions and applications.

Figure 3.1: Main menu/home screen.
3.3 Apple CarPlay me te Android Auto
The VMX900DAB supports both wireless and wired (via USB) Apple CarPlay and Android Auto.
- Hononga Ahokore: Enable Bluetooth and Wi-Fi on your smartphone and follow the on-screen prompts to connect.
- Hononga Waea: Connect your smartphone to the dedicated USB-A port using a compatible USB cable.
- Once connected, your smartphone's compatible apps (navigation, music, calls, messages) will be mirrored on the receiver's display.

Figure 3.2: Apple CarPlay interface.
3.4 Radio Functions (DAB+/FM/AM)
- Reo Irirangi DAB+: Select the DAB+ icon from the home screen. The unit will scan for available digital radio stations.
- Reo Irirangi FM/AM: Select the Radio icon. Use the touchscreen to tune to stations, save presets, and access RDS functions.
3.5 Bluetooth Hands-Free and Audio Streaming
- Takirua: Enable Bluetooth on your smartphone and search for the VMX900DAB. Select the device and confirm pairing.
- Waea-a-ringa: Once paired, you can make and receive calls directly through the receiver. The external microphone ensures clear voice transmission. Your phonebook can be synchronized.
- Rere Ororongo: Stream music wirelessly from your smartphone to the receiver.
3.6 Whakahoki Whakahoki Media
The unit supports various audio, video, and photo formats via USB.
- Tautokohia File Hōputu: AVI, FLV, MOV, MKV, WMV, WMA, MP3, FLAC, JPEG, PNG, BMP.
- Insert a USB drive into the media USB-A port. Select the USB icon from the home screen to browse and play media files.
3.7 Monitor Adjustment
The monitor can be tilted and adjusted in height to achieve the optimal viewing angle and prevent obstruction of vehicle controls.

Figure 3.3: Adjustable monitor mechanism.
3.8 Whakaritenga
- Startup Logo: Customize the startup logo in the settings menu.
- RGB Key Illumination: Select from various RGB colors and animation effects for the key illumination.
- Tahua Reo: Supported languages include DEU, ENG, SWE, ITA.
4. Tiaki
4.1 Te Whakapai i te Waeine
- Use a soft, dry cloth to wipe the display and unit surfaces.
- For stubborn marks on the screen, use a screen cleaner specifically designed for electronic displays and a microfiber cloth.
- Do not use abrasive cleaners, solvents, or harsh chemicals, as these can damage the finish or screen.
4.2 Tiakitanga Whanui
- Āta tirohia te taputapu kia kore e tukua ki ngā pāmahana tino wera, ki te rā tika mō ngā wā roa, ki te haumākū nui rānei.
- Me whakarite kia tika te hau huri noa i te waahanga kia kore ai e wera rawa.
- When removing the monitor, handle it carefully to avoid damage to the connectors.
5. Te Raru
If you encounter issues with your VMX900DAB, refer to the following common problems and solutions:
| Raruraru | Take pea | Rongoā |
|---|---|---|
| Karekau he kaha | Waea hē; Pūhiko pupuhi; mura waka kua mate | Check power connections; Replace fuse; Turn on vehicle ignition |
| Karekau he tangi | He iti rawa te oro; Kua whakahohehia te whakangū; He raruraru waea kaikorero | Whakanuia te oro; Whakawetohia te whakangū; Tirohia ngā hononga kaikōrero |
| Nihokikorangi kore hono | Bluetooth off on phone/unit; Incorrect pairing process | Ensure Bluetooth is on; Re-attempt pairing process |
| Apple CarPlay/Android Auto not starting | Incorrect USB port; Faulty USB cable; Phone not compatible/configured | Use the dedicated USB port; Try a different USB cable; Check phone settings for CarPlay/Android Auto |
| He pai te powhiri reo irirangi | Antenna not connected; Poor antenna placement; Weak signal area | Check antenna connection; Adjust antenna position; Try in a different location |
| Monitor not displaying | Monitor not securely attached; Connector issue | Ensure monitor is fully clicked into place; Check for debris in connector |
If the problem persists after attempting these solutions, please contact ESX customer support or your authorized dealer.
6. Whakatakotoranga
| Āhuahira | Whakatakotoranga |
|---|---|
| Tau tauira | VMX900DAB |
| Whakaatu | 9-inch Multi-angle Touchscreen |
| Tauwehe Puka | 1-DIN Universal |
| Hononga | USB, Bluetooth, Auxiliary |
| Nga waahanga motuhake | Wireless Apple CarPlay, Wireless Android Auto, Detachable Monitor with Click System |
| Radio Tuner | DAB+ (Digital Radio), FM/AM with RDS |
| Nihokikorangi | Hands-free function, Audio Streaming |
| Tauranga USB | 2x USB-A (1.5A charging, one dedicated for CarPlay/Android Auto) |
| Max Music Power | 4 x 80 W |
| mua-ampNga Putanga kua whakaritea | 6x RCA (4V) (FL/FR/RL/RR/SUB1/SUB2) |
| Nga Whakauru AUX | RCA (L/R/VIDEO) |
| Ngā Tāuru Kāmera | RCA (Front/Rear) |
| Tautokohia File Hōputu | AVI, FLV, MOV, MKV, WMV, WMA, MP3, FLAC, JPEG, PNG, BMP |
| Puorooro o waho | Kei roto |
| Whakahaere Wira | Analog (learnable) |
| Kaiwhiwhi GPS | Kei roto |
| Tahua Reo | DEU, ENG, SWE, ITA |
| Te Mana Putanga Tapeke | 320 Watts |
| Whirihoranga Hongere oro a tawhio noa | 4.2 |
| Aratau Putanga Ororongo | Tirooro |
7. Pūtāhui me te Tautoko
For warranty information, please refer to the documentation provided at the time of purchase or contact your authorized ESX dealer. Warranty terms and conditions may vary by region and retailer.
For technical support or further assistance, please contact ESX customer service or visit the official ESX webpae mo nga rauemi tautoko.