HDWR videoCAR-L300
HDWR videoCAR-L300 Dash Cam User Manual
Model: videoCAR-L300
1. Kupu Whakataki
This user manual provides comprehensive instructions for the installation, operation, and maintenance of your HDWR videoCAR-L300 Dash Cam. Please read this manual thoroughly before using the device to ensure proper functionality and to maximize its lifespan. Keep this manual for future reference.
2. Hua Neke Atuview
The HDWR videoCAR-L300 is a versatile dash camera designed to enhance your driving safety and record your journeys. It functions as both a front and rear recording device, integrated into a rearview mirror with a touchscreen display.
Āhuatanga matua:
- Hopu Ataata HD Katoa: The front camera records in Full HD (1920x1080) resolution, providing clear and detailed video footage.
- Rear Camera Functionality: The rear camera offers VGA (640x480) recording resolution and can also serve as a reverse camera for parking assistance.
- Integrated 4.7-inch Touchscreen Display: The wide mirror, approximately 30 cm, features a built-in 4.7-inch touchscreen for easy operation and increased rear visibility.
- Arotahi Whānui-Koki 120-Tohu: The front camera's lens offers a 120-degree viewing angle, capturing a broad area in front of your vehicle.
- Mahi Aunoa: Features include automatic camera start and stop, motion detection, and adjustable sensitivity.
- G-Sensor for Impact Detection: Automatically protects recordings from being overwritten in the event of sudden braking or a collision.
- Tautoko Kaari MicroSD: Supports microSD memory cards up to 32GB for storing recorded video and audio files.

Whakaahua 2.1: Mua view of the HDWR videoCAR-L300 Dash Cam, showing the mirror display with a car image.
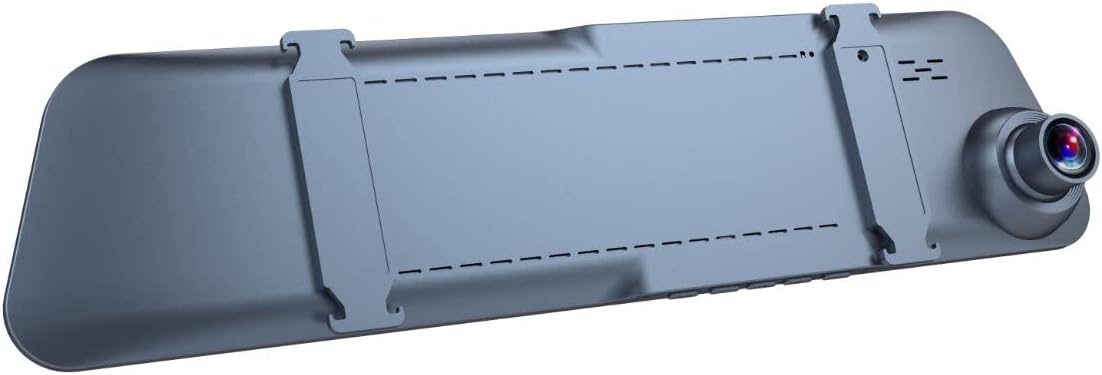
Whakaahua 2.2: Whakamuri view of the HDWR videoCAR-L300 Dash Cam, highlighting the mounting clips for installation.
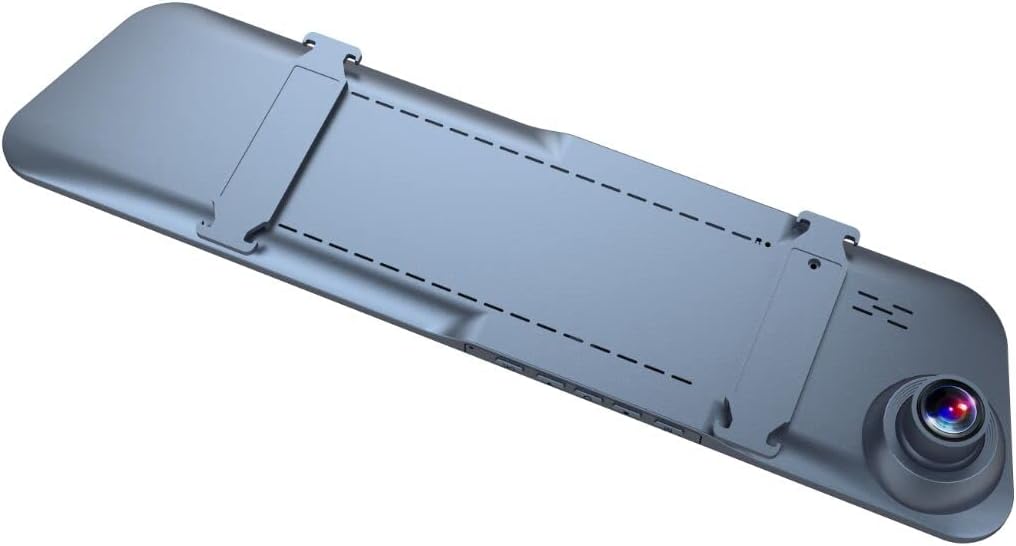
Whakaahua 2.3: Koki muri view of the HDWR videoCAR-L300 Dash Cam, showing the camera lens and mounting clips.

Whakaahua 2.4: Pahū view illustrating the various perspectives of the HDWR videoCAR-L300 Dash Cam.
3. Tatūnga me te Tāuta
3.1 He aha kei roto i te Pouaka
I mua i te tiimata o te whakaurunga, me mohio kei te noho nga waahanga katoa:
- HDWR videoCAR-L300 Dash Cam Unit
- Uera Whakatau
- Utauta Tāuta
- Pukapuka Kaiwhakamahi (tenei tuhinga)
3.2 Installation Steps (Windshield Mount)
The videoCAR-L300 is designed for windshield mounting, typically over your existing rearview whakaata.
- Whakapaia te Pūrere: Gently unbox the dash cam and ensure the protective film is removed from the screen and lens.
- Whakapiki: Securely attach the dash cam to your vehicle's rearview mirror using the integrated clips. Ensure it is firmly in place and does not obstruct your view.
- Hono Hono: Use the provided charging cable to connect the dash cam to your vehicle's 12V power outlet (cigarette lighter socket). Route the cable neatly to avoid interference with driving.
- Tāutahia te Kāmera Whakamuri (Whiringa): If using the rear camera, connect it to the main unit and route its cable to the rear of the vehicle. Mount the rear camera in a suitable location, typically near the license plate or inside the rear window, ensuring a clear view.
- Kōkuhu Kāri MicroSD: Insert a compatible microSD card (up to 32GB, not included) into the designated slot on the dash cam. Ensure it is inserted correctly until it clicks into place.
- Hiko Tuatahi: Start your vehicle. The dash cam should automatically power on. If not, press the power button.
- Whakarite Koki: Adjust the angle of the front camera lens to ensure it captures the road ahead clearly. Use the live view on the touchscreen display for precise alignment.

Figure 3.1: The dash cam installed on the vehicle's rearview mirror, showing its integration into the car's interior.
4. Nga Tohutohu Whakahaere
4.1 Hiko / Whakaweto
- Mahi Aunoa: The device is designed to automatically power on and begin recording when your vehicle's ignition is turned on, and power is supplied. It will automatically power off when the ignition is turned off.
- Mahi ā-ringa: Hei whakakā, whakaweto rānei ā-ringa, pēhia me te pupuri i te pātene mana kei runga i te pūrere.
4.2 Whakaterenga Mata Paa
The 4.7-inch touchscreen display allows for intuitive navigation through menus and settings.
- Atanga Matua: Ka whakaatu ora view from the front and/or rear cameras.
- Te Uru Tahua: Tap the screen to reveal menu icons. Swipe left/right or up/down to navigate through options.
- Kōwhiri Kōwhiringa: Patohia he ata, he whiringa ranei hei kowhiri.

Figure 4.1: The dash cam's screen showing a live road view, indicating active recording.
4.3 Aratau Tuhituhi
- Roopu Hopu: Ka hopu tonu te kāmera papaaho i ngā ataata i roto i ngā wāhanga (hei tauira, 1, 3, 5 meneti rānei). Ina kī te kāri mahara, ka wetekina te mea tawhito rawa atu. files kua tuhirua aunoatia.
- G-Sensor (Rekoata ohorere): In the event of sudden braking or a collision, the built-in G-Sensor detects the impact and automatically locks the current video segment, preventing it from being overwritten by loop recording.
- Kitenga Nekehanga: When enabled, the camera will automatically start recording if it detects movement in front of the vehicle while parked. This feature requires continuous power supply.
4.4 Whakahoki
Ki te review tuhia footage:
- From the main screen, tap to access the menu.
- Select the "Playback" or "Gallery" option.
- Browse through the recorded video and audio files. Kua maukati files (from G-Sensor events) will typically be in a separate folder.
- Paoa a file to play it back on the screen.
4.5 Te Whakatikatika i ngā Tautuhinga
Access the settings menu to customize various parameters:
- Taumira Ataata: Adjust recording quality (e.g., Full HD, VGA).
- Roopu Roopu Roopu: Set the length of video segments.
- G-Sensor Ritenga: Whakatikatikahia te aro o te kitenga pānga.
- Kitenga Nekehanga: Whakahohe, whakakorehia ranei tenei waahanga.
- Rā/Wā Stamp: Me whakarite te ra tika me te wa kua whakaritea mo te wa tuhi tikaamps.
- Hopu Ororongo: Enable or disable microphone recording.
- Matapihi Mata: Set the display to turn off after a period of inactivity to avoid distraction while driving.
5. Tiaki
Regular maintenance ensures optimal performance and longevity of your dash cam.
- Te horoi i te Arotahi: Use a soft, lint-free cloth to gently wipe the camera lenses. Avoid abrasive materials or harsh chemicals that could scratch the lens.
- Te horoi i te Mata: Wipe the touchscreen display with a soft, dry cloth. For stubborn smudges, slightly dampen te kakahu ki te wai.
- Te Tiaki Kāri MicroSD: Format the microSD card regularly (e.g., once a month) within the camera's settings to prevent data corruption and ensure smooth recording. Back up any important footage i mua i te whakahōputu.
- Te pāmahana: Avoid exposing the device to extreme temperatures (very hot or very cold) for extended periods, as this can affect battery life and component performance.
- Whakaeke Haumaru: Periodically check that the dash cam is securely mounted to prevent vibrations from affecting video quality or causing the device to fall.
6. Te Raru
If you encounter issues with your HDWR videoCAR-L300, refer to the following common problems and solutions:
| Raruraru | Take pea | Rongoā |
|---|---|---|
| Kaore te taputapu i te hiko. | No power supply; loose cable connection; faulty power adapter. | Check the charging cable connection to the device and the vehicle's power outlet. Ensure the vehicle's ignition is on. Try a different power outlet or cable if available. |
| Ka mutu te tuhi, ka whakatio ranei. | Full or corrupted microSD card; slow microSD card; G-Sensor triggered too often. | Format the microSD card (back up data first). Use a high-speed (Class 10 or U1/U3) microSD card. Adjust G-Sensor sensitivity in settings. |
| Ataata fotaghe pōuri, he mārama rānei te e. | Dirty lens; protective film still on lens; improper camera angle. | Clean the camera lens with a soft cloth. Remove any protective film. Adjust the camera angle to ensure a clear view o te huarahi. |
| Karekau te mata e aro. | Hapa rorohiko rangitahi. | Perform a soft reset by pressing and holding the power button until the device restarts. If unresponsive, disconnect power and reconnect. |
| Kāore te kāmera o muri e mahi. | He ngoikore te hononga; he hapa te taura, te kāmera rānei. | Tirohia te hononga o te taura kāmera o muri ki te wae matua. Kia tino mohio kāore te taura i pakaru. |
If the problem persists after trying these solutions, please contact HDWR customer support for further assistance.
7. Whakatakotoranga
| Āhuahira | Taipitopito |
|---|---|
| Waitohu | HDWR |
| Ingoa Tauira | videoCAR |
| Tauira Tuemi | L300 |
| Hunga Hua | 3.5D x 29.7W x 7H cm; 180 grams |
| Rahi Mata | 4.7 inihi |
| Video Resolution (Front) | HD Katoa (1920x1080p) |
| Video Resolution (Rear) | VGA (640x480) |
| Viewing Koki | 120 Waeine |
| Momo Mahara Kohiko | microSD (tae atu ki te 32GB) |
| Hangarau Hononga | AUX |
| Nga waahanga motuhake | Motion Sensor, G-Sensor |
| Tikanga Mana | Paa |
| Momo Whakaeke | Maunga Wharerangi |
| Kei roto nga pākahiko | Kao |
| Pūrere Hototahi | Waea atamai |
8. Pūtāhui me te Tautoko
For warranty information and technical support, please refer to the official HDWR webpae tukutuku, whakapā atu rānei ki tā rātou ratonga kiritaki. Ko ngā taipitopito e pā ana ki ngā wā whakamana me ngā tikanga ratonga ka tukuna i roto i tō tuhinga hoko, i runga rānei i te tuhinga a te kaihanga webpae.
Mo etahi atu awhina, tirohia: www.hdwr.eu