JEYI I9-Seal
JEYI I9-Seal M.2 NVMe SSD Enclosure User Manual
Model: I9-Seal
Kupu Whakataki
This manual provides comprehensive instructions for the installation, operation, and maintenance of your JEYI I9-Seal M.2 NVMe SSD Enclosure. This device converts an NVMe M.2 solid-state drive into a portable external storage solution with high-speed USB 3.2 Gen 2 connectivity.
Ihirangi mokete
Tirohia koa ko nga mea katoa kei raro nei kei roto i to kete:
- JEYI M.2 NVMe SSD Enclosure
- Papa Ngawha
- Kaihurihuri
- USB-A to USB-C Cable (10Gbps)
- USB-C to USB-C Cable (10Gbps)
- Lanyard

Tohutohu Tatūnga
Follow these steps to install your NVMe M.2 SSD into the JEYI I9-Seal enclosure:
- Whakapaia te Whakapiri: Gently slide open the enclosure to reveal the internal PCB.
- Hoatu Papa Ngaaahu: Peel off the protective films from both sides of a thermal pad and carefully place it onto the NVMe SSD chip area. This aids in heat dissipation.
- Insert NVMe SSD: Align your NVMe M.2 SSD (2280 form factor only) with the M-Key slot on the PCB. Insert the SSD firmly but gently into the slot at an angle.
- Whakapūmautia te SSD: Once inserted, gently push down the SSD and secure it with the provided screw using the included screwdriver. Ensure the SSD is flat and securely fastened.
- Katia te Whakapiri: Carefully slide the enclosure cover back into place until it clicks securely.


Nga Tohutohu Whakahaere
Once your NVMe SSD is securely installed, connect the enclosure to your device:
- Tūhono ki te Pūrere: Use either the provided USB-C to USB-C cable or the USB-A to USB-C cable to connect the enclosure to a compatible USB port on your computer, smartphone, tablet, or game console.
- Tohu Hiko: A small LED indicator on the enclosure will illuminate, signifying that the device is powered on and connected.
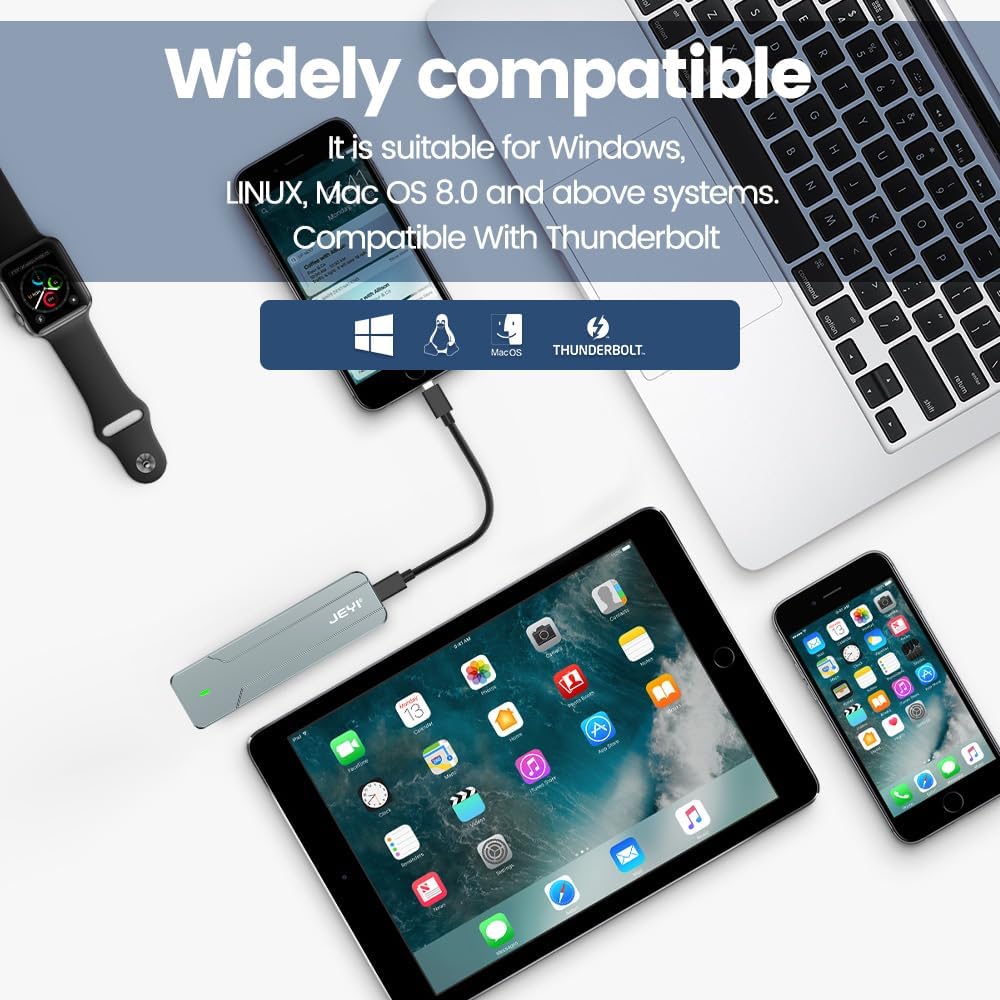
- Disk Recognition: Your operating system (Windows, macOS, Linux, Android, iOS) should automatically detect the new storage device. If it's a new SSD, you may need to initialize and format it through Disk Management (Windows) or Disk Utility (macOS) before use.
- Whakawhiti Raraunga: You can now perform data backup, file transfers, disk upgrades, data recovery, or use it for storage expansion. The enclosure supports USB 3.2 Gen 2 speeds up to 10Gbps.

Te tiaki
To ensure optimal performance and longevity of your JEYI I9-Seal enclosure:
- Whakahaere Wea: Ko te konumohe casing and thermal pads are designed for efficient heat dissipation. During prolonged high-speed data transfers, the enclosure may become warm to the touch. This is normal and indicates effective heat transfer from the SSD.
- Te horoi: Whakamahia he kakahu ngohengohe, maroke hei horoi i waho o te papa. A ape i te whakamahi i nga kai horoi wai, i nga whakarewa ranei.
- Rokiroki: Ki te kore e whakamahia, penapenahia te papa ki tetahi waahi makariri, maroke kia matara atu i te ra me te wera nui.
- Tiaki taura: Handle the USB cables carefully. Avoid sharp bends or excessive pulling to prevent damage.
Raparongoā
| Raruraru | Take pea | Rongoā |
|---|---|---|
| Kāore te āpitihanga i kitea e te rorohiko. |
|
|
| Nga tere whakawhiti raraunga puhoi. |
|
|
| Enclosure gets very hot. |
|
|
Whakatakotoranga
| Āhuahira | Taipitopito |
|---|---|
| Tauira | I9-Seal |
| Waitohu | HEI |
| Atanga Pūmārō | USB 3.2 Reanga 2 (USB-C) |
| Rere Whakawhiti Raraunga | Tae atu ki te 10 Gbps |
| Compatible SSD Type | NVMe M.2 (PCI-E M-Key) |
| Supported SSD Form Factor | 2280 (80mm) only |
| Max Rokiroki Raukaha | 4 TB |
| Tiwhikete | JMS583 A3 |
| Ngā āhuatanga | UASP Support, TRIM Support, Win to Go (WTG) Support |
| Rauemi | Aluminum Aluminum |
| Tae | Hiriwa |
| Hunga Hua | 4.06 x 1.02 x 0.39 inihi (103 x 26 x 10 mm) |
| Taumaha Tūemi | 0.317 hekere (9 karamu) |
| Pūnaha Whakahaere Hototahi | Windows, macOS, Linux, iOS, Android |

Pūtāhui me te Tautoko
For warranty information or technical support, please refer to the official JEYI webpaetukutuku, whakapā atu rānei ki tā rātou ratonga kiritaki. Ko ngā taipitopito e pā ana ki ngā wā pūtāhui motuhake me ngā hongere tautoko ka tukuna i roto i tō tuhinga hoko, i runga rānei i te tuhinga a te kaihanga webpae.
Kaihanga: HEI
Webpae: Visit the JEYI Store on Amazon
Ask a question about this manual
Ask about setup, troubleshooting, compatibility, parts, safety, or missing instructions. Manuals+ will review the question and use this page’s manual context to help answer it.