1. Hua Neke Atuview
The Beelink GK35 Mini PC is a compact and efficient computer designed for various applications, from office work to home entertainment. Its small form factor allows for a tidy desktop setup, while offering robust performance for daily tasks.
Ko nga ahuatanga matua ko:
- Hoahoa Kiato: Ultra-slim and lightweight (0.56 lbs) with dimensions of 4.53 x 4.02 x 1.69 inches, making it highly portable.
- Tukatuka: Equipped with an Intel Celeron J3455 Processor (1.50GHz up to 2.30GHz).
- Pūmahara me te Rokiroki: 8GB DDR3L RAM and 128GB SSD, with support for up to 2TB 2.5-inch SATA HDD/M.2 SATA SSD 2280 expansion.
- Graphics & Display: Intel HD Graphics 500 supporting 4K HD (3840 x 2160) content and dual HDMI output for connecting two monitors.
- Hononga: Features 802.11 b/g/n/ac WiFi 5, Bluetooth 4.0, and Gigabit Ethernet for reliable network connections.
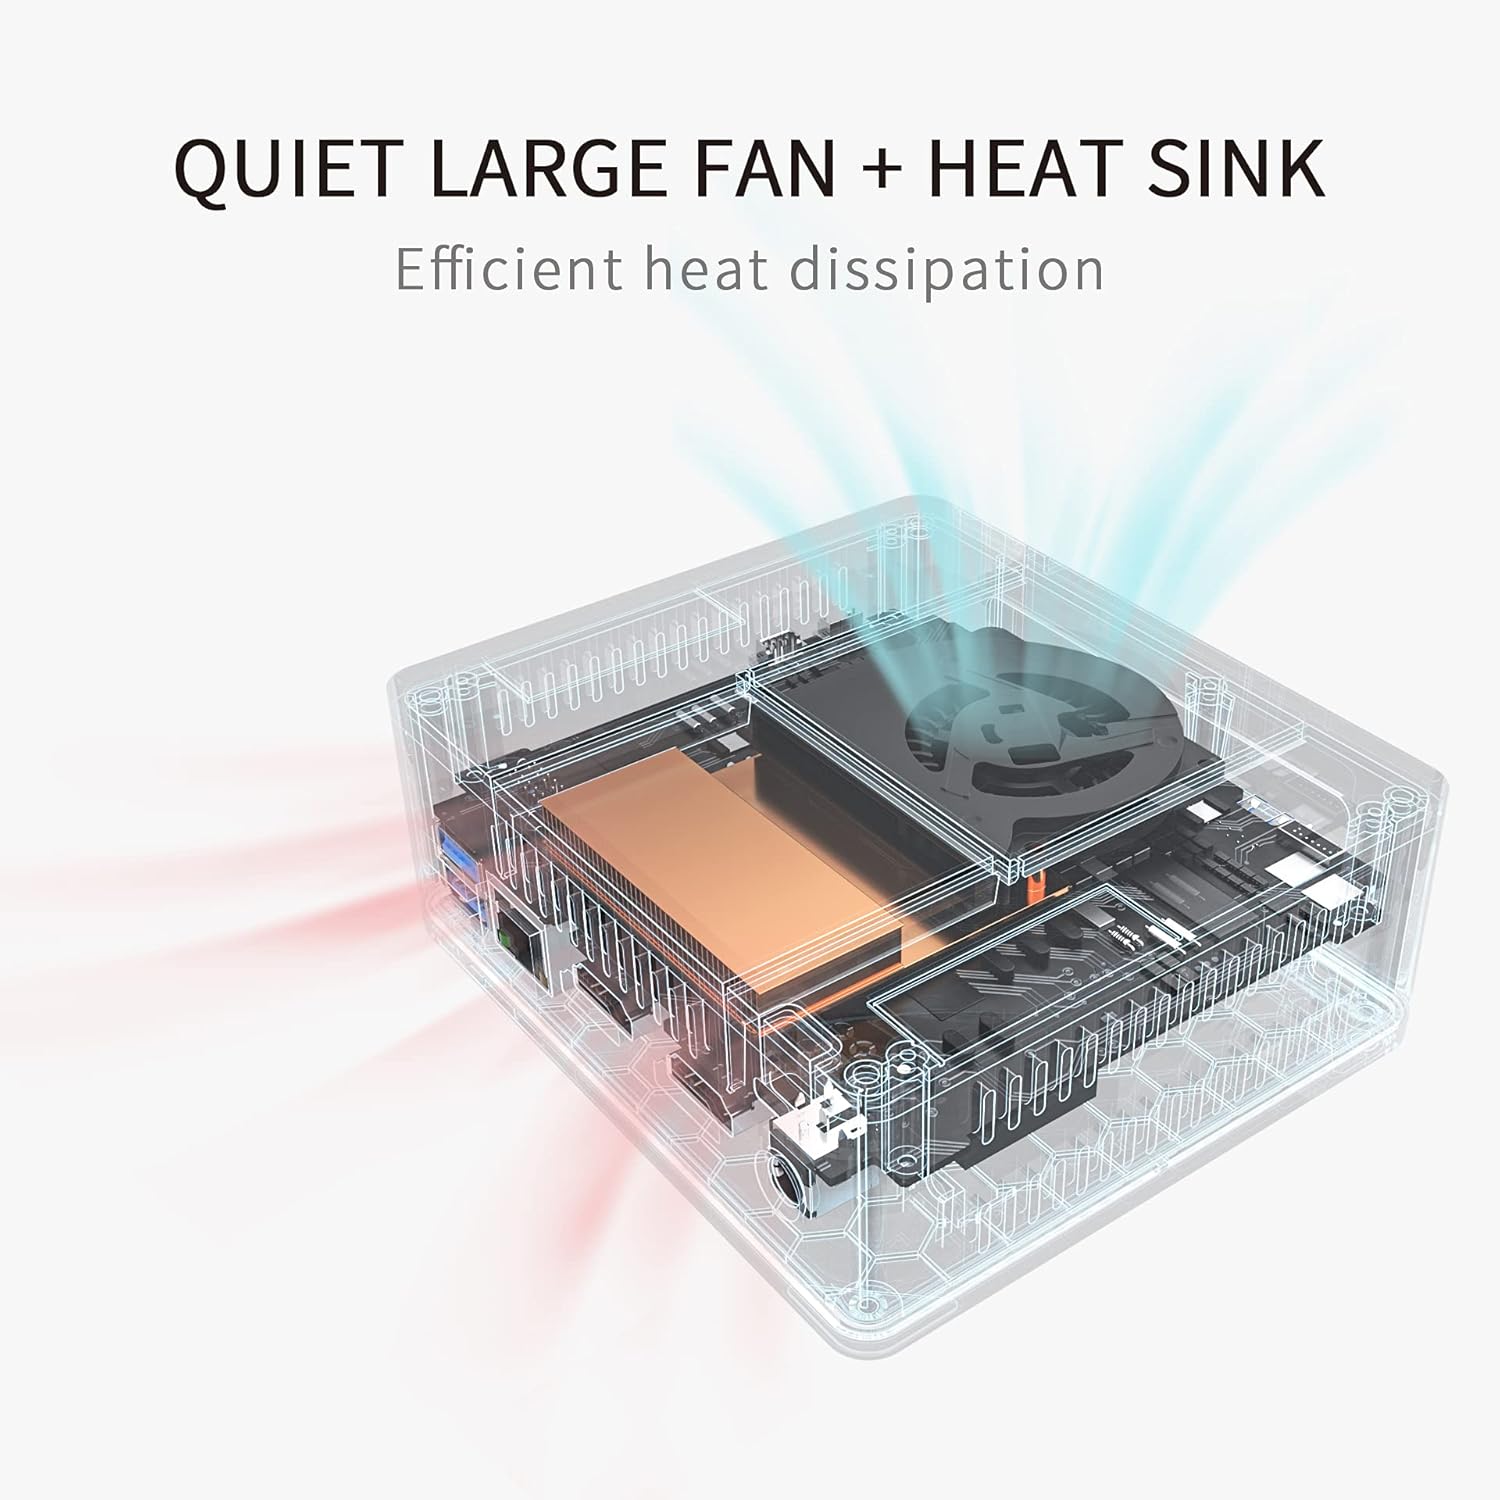
- Te whakamahana pai: Integrated quiet large fan and heat sink for effective heat dissipation and silent operation.
Ihirangi mokete
Manatokona kei roto katoa nga mea kei roto i te kete:
- Beelink GK35 Mini PC
- Pukapuka Kaiwhakamahi
- User Help Card
- Power Adapter (US / EU / UK optional)
- Tauera HDMI
- VESA Mount (for monitor attachment)

2. Aratohu Tatūnga
2.1 Te Hononga i tō PC Iti
- Hono atu ki tētahi Whakaaturanga: Use an HDMI cable to connect the Mini PC to your monitor or TV. The GK35 supports dual HDMI output for two displays.
- Tūhono Pikitia: Plug in your USB keyboard and mouse into the available USB 3.0 ports.
- Hononga Whatunga: Mō te hononga waea, honoa he taura Ethernet ki te tauranga LAN. Mō te hononga ahokore, kia mōhio kei te wātea tō whatunga WiFi i te wā whakatūnga tuatahi.
- Whakahiko: Connect the power adapter to the DC port on the Mini PC, then plug the adapter into a power outlet. Press the power button on the front of the device.

2.2 Te Whakaara Tuatahi me te Tatūnga Pūnaha Whakahaere
Upon first boot, the Mini PC will guide you through the operating system setup process. Follow the on-screen instructions to configure language, region, network, and user accounts.
3. Nga Tohutohu Whakahaere
3.1 Mahi Taketake
- Hiko Whakaka/Weto: Press the power button to turn the device on. To turn off, use the operating system's shutdown function or press and hold the power button for a few seconds for a forced shutdown (not recommended for regular use).
- Tīmata anō: Whakamahia te mahi tīmata anō o te pūnaha whakahaere.
- Aratau Moe: Use the operating system's sleep function to put the device into a low-power state.
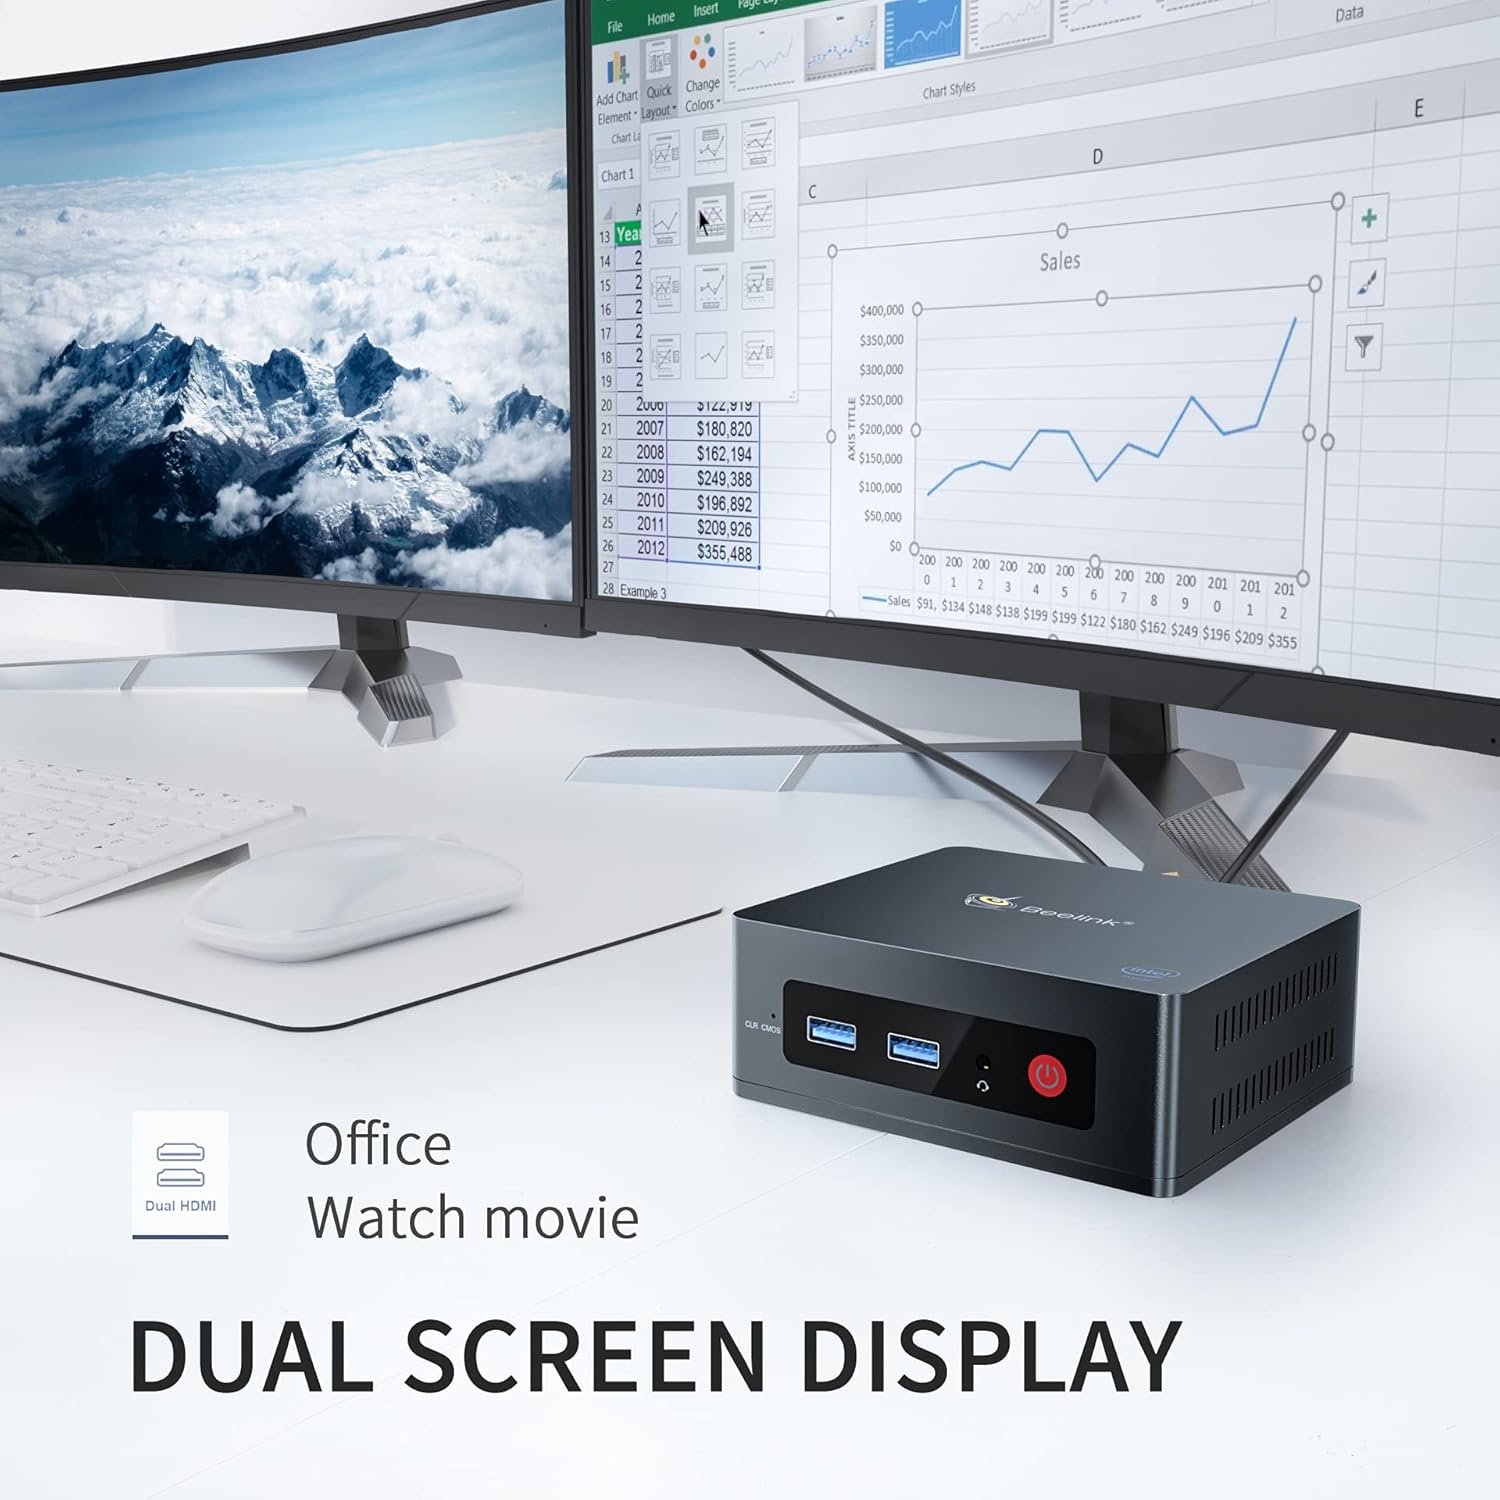
3.2 Tatūnga Whakaaturanga Takirua
The Beelink GK35 supports connecting two monitors simultaneously via its dual HDMI ports. This allows for extended desktop space, improving productivity for tasks like office work or providing an immersive experience for media consumption.
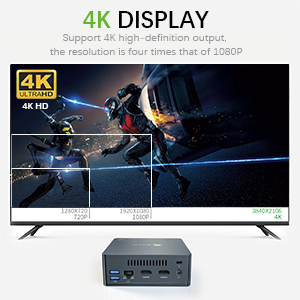
3.3 4K Display Output
The Mini PC supports 4K ultra-high-definition output (3840 x 2160 pixels), allowing for clear and detailed visuals on compatible 4K displays. This is ideal for high-resolution video playback, photo editing, and general media consumption.


4. Tiaki
4.1 Te werawera
The Beelink GK35 is designed with an efficient cooling system, including a quiet large fan and heat sink, to maintain optimal operating temperatures. To ensure proper heat dissipation:
- Ensure the ventilation holes on the sides of the Mini PC are not obstructed.
- Place the device on a flat, stable surface with adequate airflow.
- Avoid placing the Mini PC in enclosed spaces or near heat sources.
4.2 Te horoi
Regularly clean the exterior of the Mini PC with a soft, dry cloth. Use compressed air to gently clear dust from the ventilation holes.
4.3 Te Whanuitanga o te Rokiroki
The Beelink GK35 supports storage expansion up to 2TB via a 2.5-inch SATA HDD or M.2 SATA SSD 2280. Refer to the detailed instructions in the included User Help Card for installation procedures.

5. Te Raru
If you encounter issues with your Beelink GK35 Mini PC, please refer to the following common troubleshooting steps:
- Kore Mana:
- Me whakarite kei te hono tika te urutau hiko ki te Mini PC me te putanga hiko e mahi ana.
- Manatokohia kei te mahi te putanga hiko ma te hono ki tetahi atu taputapu.
- Kore Whakaatu:
- Check that the HDMI cable is firmly connected to both the Mini PC and the monitor.
- Me whakarite kei te whakakāhia te mata, ā, kua whakatakotoria ki te pūtake tāuru tika (HDMI 1, HDMI 2, me ētahi atu).
- Whakamātauria he taura HDMI rerekē, te aroturuki ranei ki te taea.
- Mahinga Puturi:
- Katia nga tono koretake e rere ana i te papamuri.
- Check for available operating system updates and install them.
- Me whakarite kia pai te hau kia kore e wera rawa.
- Consider upgrading storage to a faster SSD if you are using a slower drive.
- Nga Take Hononga Whatunga:
- Mō ngā hononga waea, tirohia te tūnga o te taura Ethernet me te pouara.
- For Wi-Fi, ensure the Wi-Fi adapter is enabled and you are connected to the correct network with the right password.
- Tīmata anō i tō pouara me te Mini PC.
6. Whakatakotoranga
| Āhuahira | Taipitopito |
|---|---|
| Waitohu | Beelink |
| Tau tauira | GK35 |
| Tukatuka | Intel Celeron J3455 (up to 2.3 GHz) |
| Whakairoiro | Intel HD Graphics 500 (Kua Whakakotahitia) |
| RAM | 8 GB DDR3L (1600MHz) |
| Rokiroki | 128 GB SSD (M.2 SATA3 2280), expandable up to 2TB (2.5-inch SATA HDD/M.2 SATA SSD 2280) |
| Pūnaha Mahi | OS (Pre-installed, Ubuntu system installable) |
| Putanga Ataata | Dual HDMI (4K @ 30Hz max resolution) |
| Tauranga USB | 4 x USB 3.0 |
| Whatunga | Gigabit Ethernet (1000M LAN), WiFi 5 (802.11 b/g/n/ac) |
| Nihokikorangi | Nihokikorangi 4.0 |
| Ororongo | MIC Headphone Jack |
| Ahu | 115 x 102 x 43 mm (4.53 x 4.02 x 1.69 inihi) |
| Taumaha | 0.56 lbs |
| Tuku Hiko | 12V-2A 24W |

7. Tautoko Hangarau me te Raihana
Beelink provides technical support for the GK35 Mini PC. If you require assistance with features such as Auto Power On or Wake on LAN (WOL), please contact customer support. You may be asked to provide the barcode located at the bottom of the machine to receive specific tutorial files or assistance.
For further support, visit the official Beelink website or refer to the contact information provided in your User Help Card.
