Kupu Whakataki
The VOX VFS3 is a dedicated 3-button footswitch designed to enhance the functionality and control of your VOX Mini Go series amplifier. This footswitch allows for hands-free operation of various amplifier features, such as program switching, effect on/off, or looper control, depending on your specific Mini Go amplifier model. This manual provides essential information for the proper setup, operation, and maintenance of your VFS3 footswitch.
Nga korero haumaru
- Kaua e tukuna te waeine ki te ua me te makuku.
- A ape i te whakanoho i te waeine ki te taha o nga puna wera, ki te ra tika ranei.
- Kaua e ngana ki te wetewete, ki te whakarereke ranei i te waahanga. Tukuna atu nga ratonga katoa ki nga kaimahi whai tohu.
- Use only with compatible VOX Mini Go ampkaikawe
- Kaua e taea e nga tamariki.
Ihirangi mokete
- VOX VFS3 3-Button Footswitch (with integrated cable)
- Pukapuka Kaiwhakamahi (tenei tuhinga)
Ka mutu te huaview
The VFS3 footswitch features three robust buttons, each with an associated LED indicator, and an integrated cable for connection to your ampkaikawe
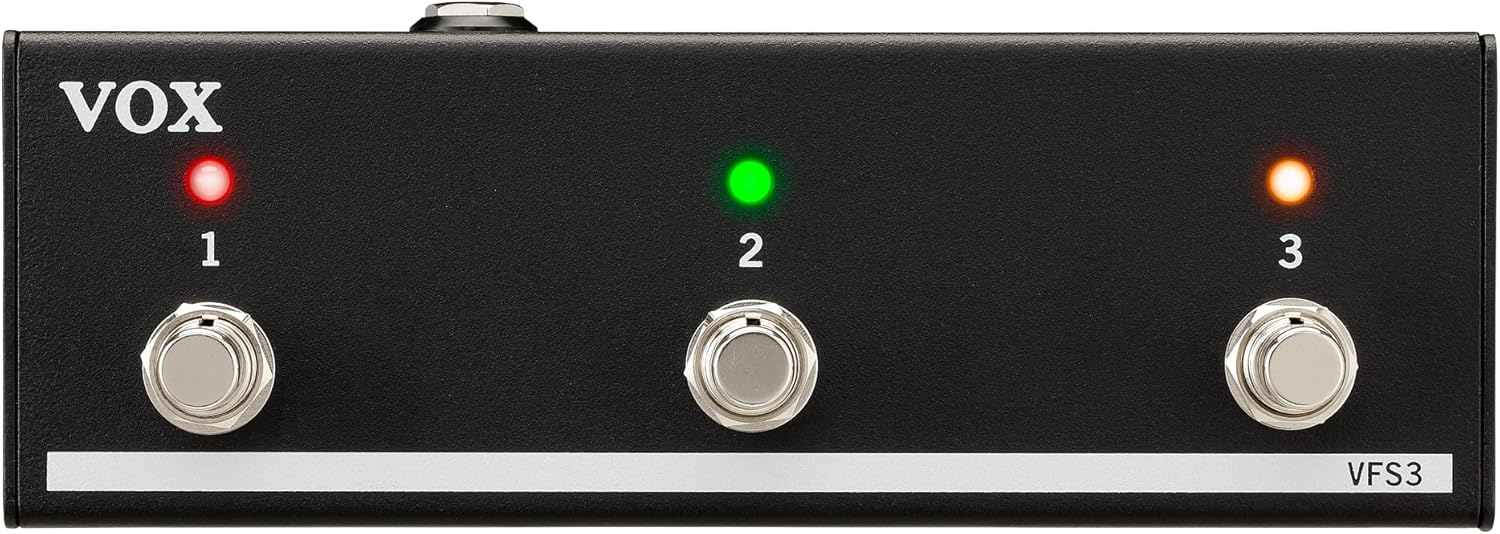
Mua view of the VOX VFS3 3-Button Footswitch. It features three silver footswitches labeled 1, 2, and 3, each with a corresponding LED indicator above it. The VOX logo is on the left, and 'VFS3' is on the bottom right.
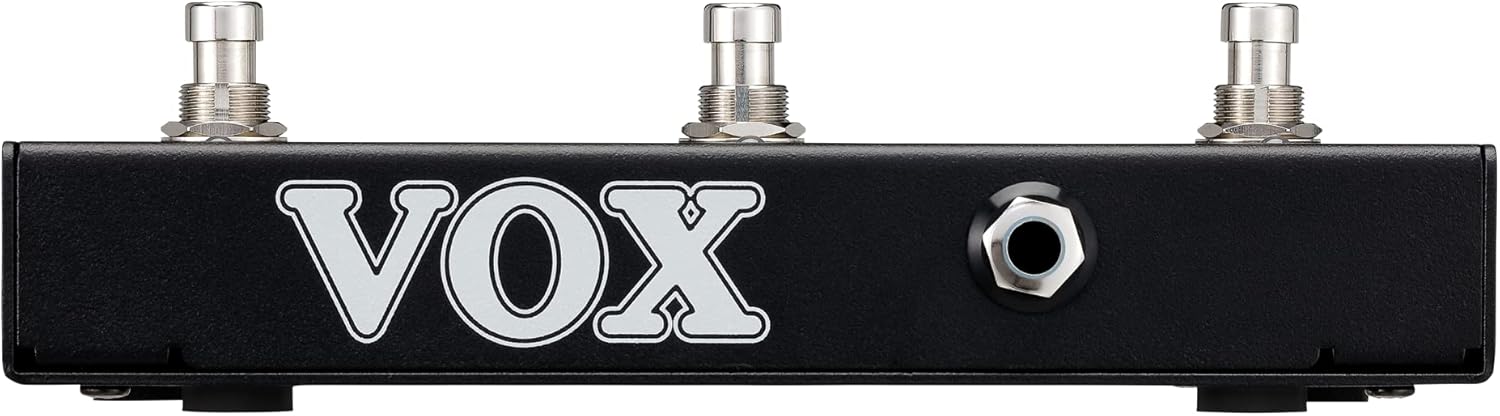
Te taha view of the VOX VFS3 footswitch, highlighting its compact and durable metal casing.

Whakamuri view of the VOX VFS3 footswitch, displaying the integrated cable that connects to the amplifier. The VOX logo is prominently featured.
Tatūnga
- Connect the Footswitch: Locate the footswitch input jack on your VOX Mini Go amplifier. This is typically a 3.5mm (1/8-inch) stereo jack.
- Whakauruhia te Taura: Firmly insert the integrated 3.5mm cable from the VFS3 footswitch into the footswitch input jack on your Mini Go ampkaikawe
- Whakahiko: Turn on your VOX Mini Go amplifier. The footswitch is powered by the amplifier, so no external power supply is needed for the VFS3.
- Manatokohia te Hononga: Ko te amplifier should recognize the footswitch. Refer to your Mini Go amplifier's manual for specific indications or settings related to footswitch connection.

The VOX VFS3 footswitch connected to a VOX Mini Go amplifier, illustrating the proper connection of the cable to the amplifier's input jack.
Nga Tohutohu Whakahaere
The specific functions controlled by the VFS3 footswitch buttons (1, 2, and 3) are determined by the connected VOX Mini Go amplifier model and its current settings. Please consult the user manual for your specific VOX Mini Go amplifier for detailed information on footswitch assignments and configuration.
Common Functions (May Vary by Amplifier Model):
- Program/Preset Switching: Buttons may be assigned to switch between amplifier programs or presets (e.g., Clean, Overdrive, Distortion).
- Pānga Whakakā/Whakaweto: Control individual effects (e.g., Reverb, Delay, Chorus) by toggling them on or off.
- Mana Looper: For Mini Go models with a built-in looper, the buttons often control looper functions such as:
- Pātene 1: Record/Play
- Pātene 2: Kati
- Pātene 3: Clear/Undo
- Tap Tempo: Ko etahi amplifiers may allow one of the buttons to be used for tap tempo functionality for time-based effects.
The LEDs above each button indicate the status of the assigned function (e.g., effect on/off, selected program). Refer to your amplifier's manual for the meaning of specific LED colors or states.
Te tiaki
- Te horoi: Horoia te waeine ki te kakahu ngohengohe, maroke. Kaua e whakamahi i ngā kaihoroi whakakoi, ngā ware pi, ngā whakarewa rānei.
- Rokiroki: When not in use for extended periods, store the footswitch in a clean, dry environment away from extreme temperatures.
- Tiaki taura: Avoid sharp bends or kinks in the integrated cable to prevent damage.
Raparongoā
| Raruraru | Take pea | Rongoā |
|---|---|---|
| Kāore te pana waewae e aro mai | Cable not fully inserted; Amplifier not powered on; Incorrect ampnga tautuhinga riipene. | Ensure the 3.5mm cable is securely connected to the amplifier. Verify the amplifier is powered on. Check your Mini Go amplifier's settings to ensure footswitch control is enabled and configured correctly. |
| Ko nga LED kaore e marama | No power from amplifier; Faulty connection. | Whakaūhia te amplifier is on and the cable is properly connected. The footswitch draws power from the ampkaikawe |
| Buttons perform unexpected functions | Footswitch assignments are incorrect on the ampkaikawe | Refer to your VOX Mini Go amplifier's manual to reconfigure the footswitch button assignments. |
Whakatakotoranga
- Tauira: VFS3
- Ngā Pūrere Hototahi: VOX Mini Go Ampkaikawe
- Momo Tuhono: 3.5mm Jack (integrated cable)
- Rauemi: Te anga whakarewa
- Ahu (L x W x H): Tata ki te 7.9 x 3 x 2.5 inihi (20.1 x 7.6 x 6.4 cm)
- Taumaha: Tata ki te 1.1 pauna (0.5 kg)
- Puna Hiko: Powered by connected ampkaikawe
Pūtāhui me te Tautoko
For warranty information and technical support, please refer to the documentation provided with your VOX Mini Go amplifier or visit the official VOX webpae. Puritia to riiki hoko hei tohu mo te hoko.