1. Nga Tohutohu Haumaru Nui
Tena panuihia nga tohutohu katoa i mua i te whakaurunga me te whakamahi. Puritia tenei pukapuka hei tohutoro a meake nei.
Haumaru Whānui
- Me whakarite kia momotu te pūnaha hiko i mua i te tāutanga, te tiaki, te horoi rānei.
- Ko tenei taputapu ehara i te mea mo te whakamahi ma te hunga (tae atu ki nga tamariki) he iti te kaha o te tinana, te tairongo, te hinengaro, te kore wheako me te mohiotanga, mena ka tukuna atu ki a raatau te tirotiro, te tohutohu ranei mo te whakamahi i te taputapu e te tangata whai mana mo to raatau haumaru.
- Me mataki nga tamariki kia kore ai ratou e takaro ki te taputapu.
Haumaru Hiko
- All electrical connections must be made by a qualified electrician and conform to local codes and regulations.
- Me whakarite te voltage and frequency of your power supply match the specifications of the fan.
- The fan must be properly grounded to prevent electric shock.
Haumaru Tāuta
- Mount the fan to a ceiling structure capable of supporting a minimum of 15 kg (33 lbs).
- Ensure there is adequate clearance between the fan blades and any obstacles (walls, furniture) and the floor. A minimum distance of 2.3 meters (7.5 feet) from the floor to the blades is recommended.
- Do not install the fan in a location where it can be easily reached by children or pets.
2. Hua Neke Atuview
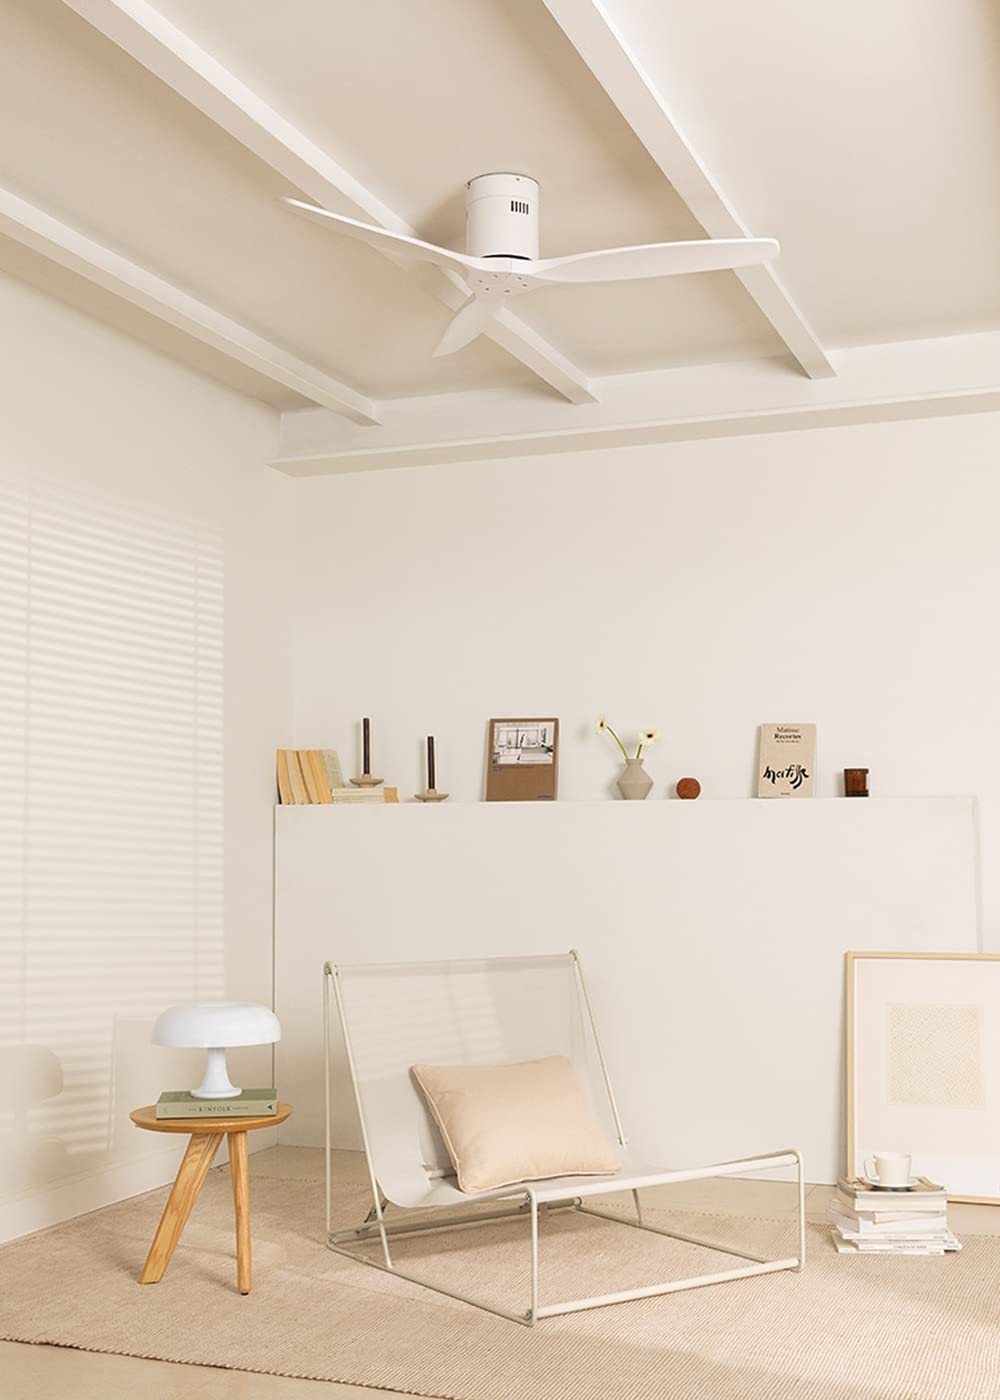
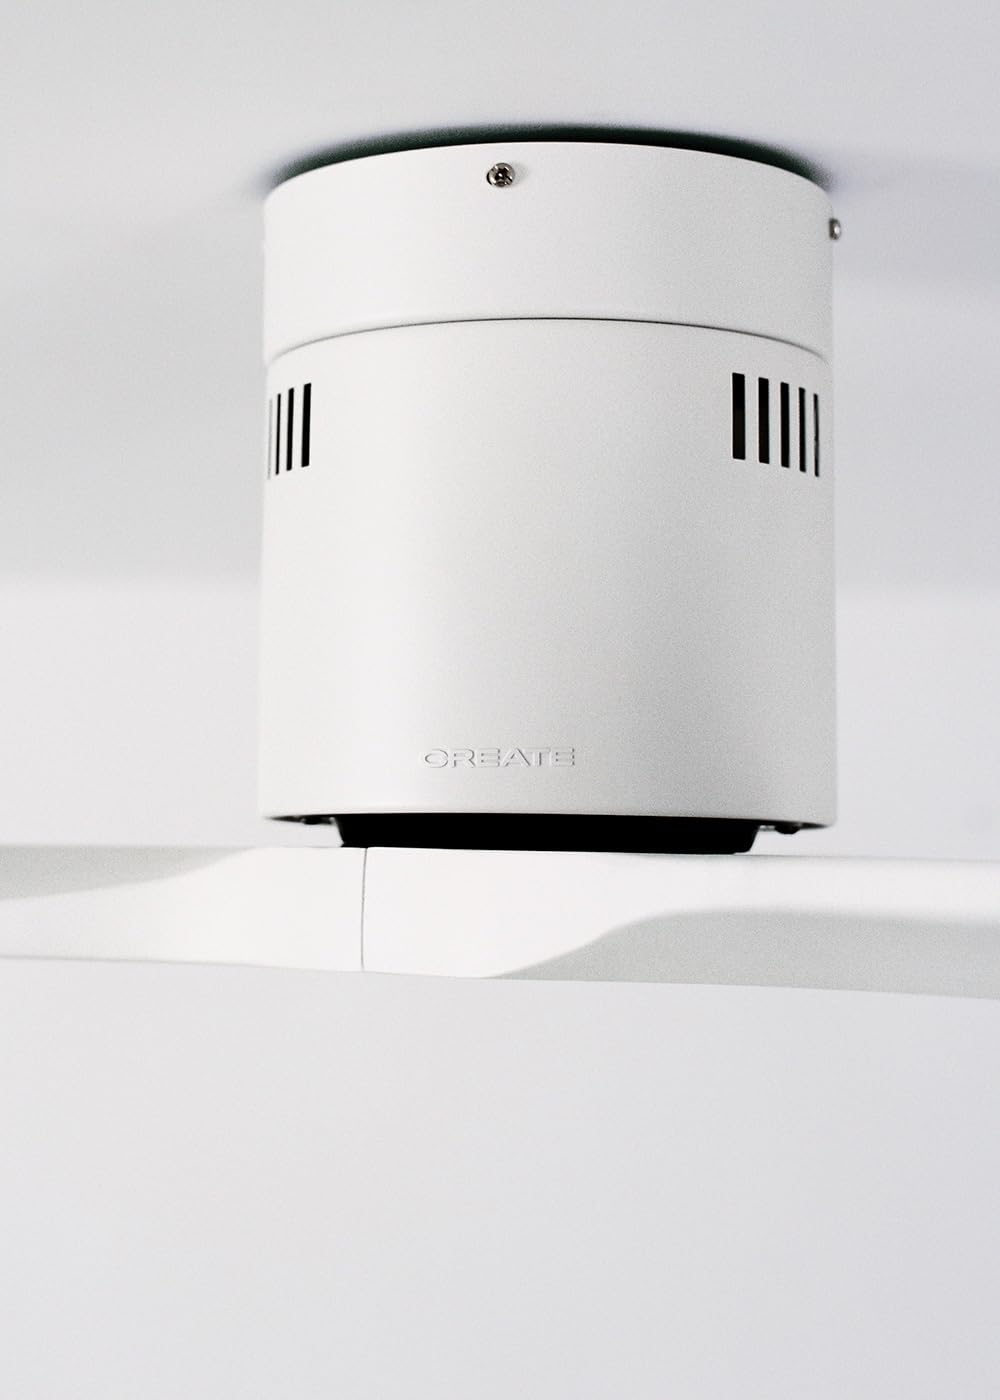
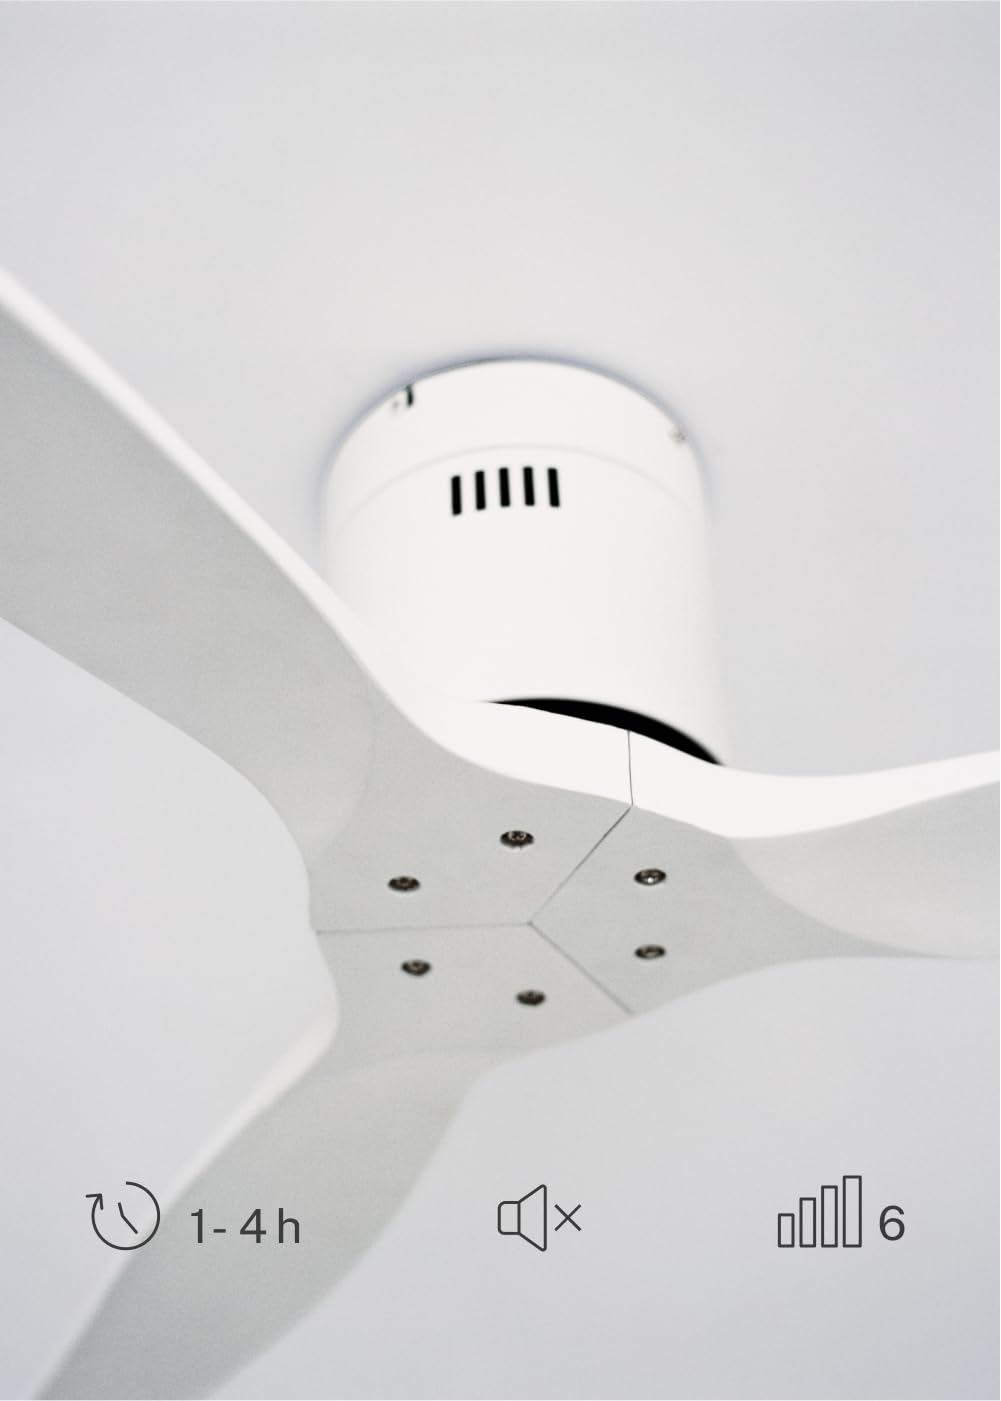
The CREATE WINDCALM DC Ceiling Fan is designed for efficient and quiet air circulation in various indoor spaces. It features a durable aluminum body, a silent DC motor, and three lightweight blades, ensuring minimal noise operation. The fan offers 6 adjustable speeds and a programmable timer for convenience.

3. Whakatakotoranga Hangarau
| Āhuahira | Whakatakotoranga |
|---|---|
| Waitohu | HANGA |
| Tau tauira | 43479_88375 |
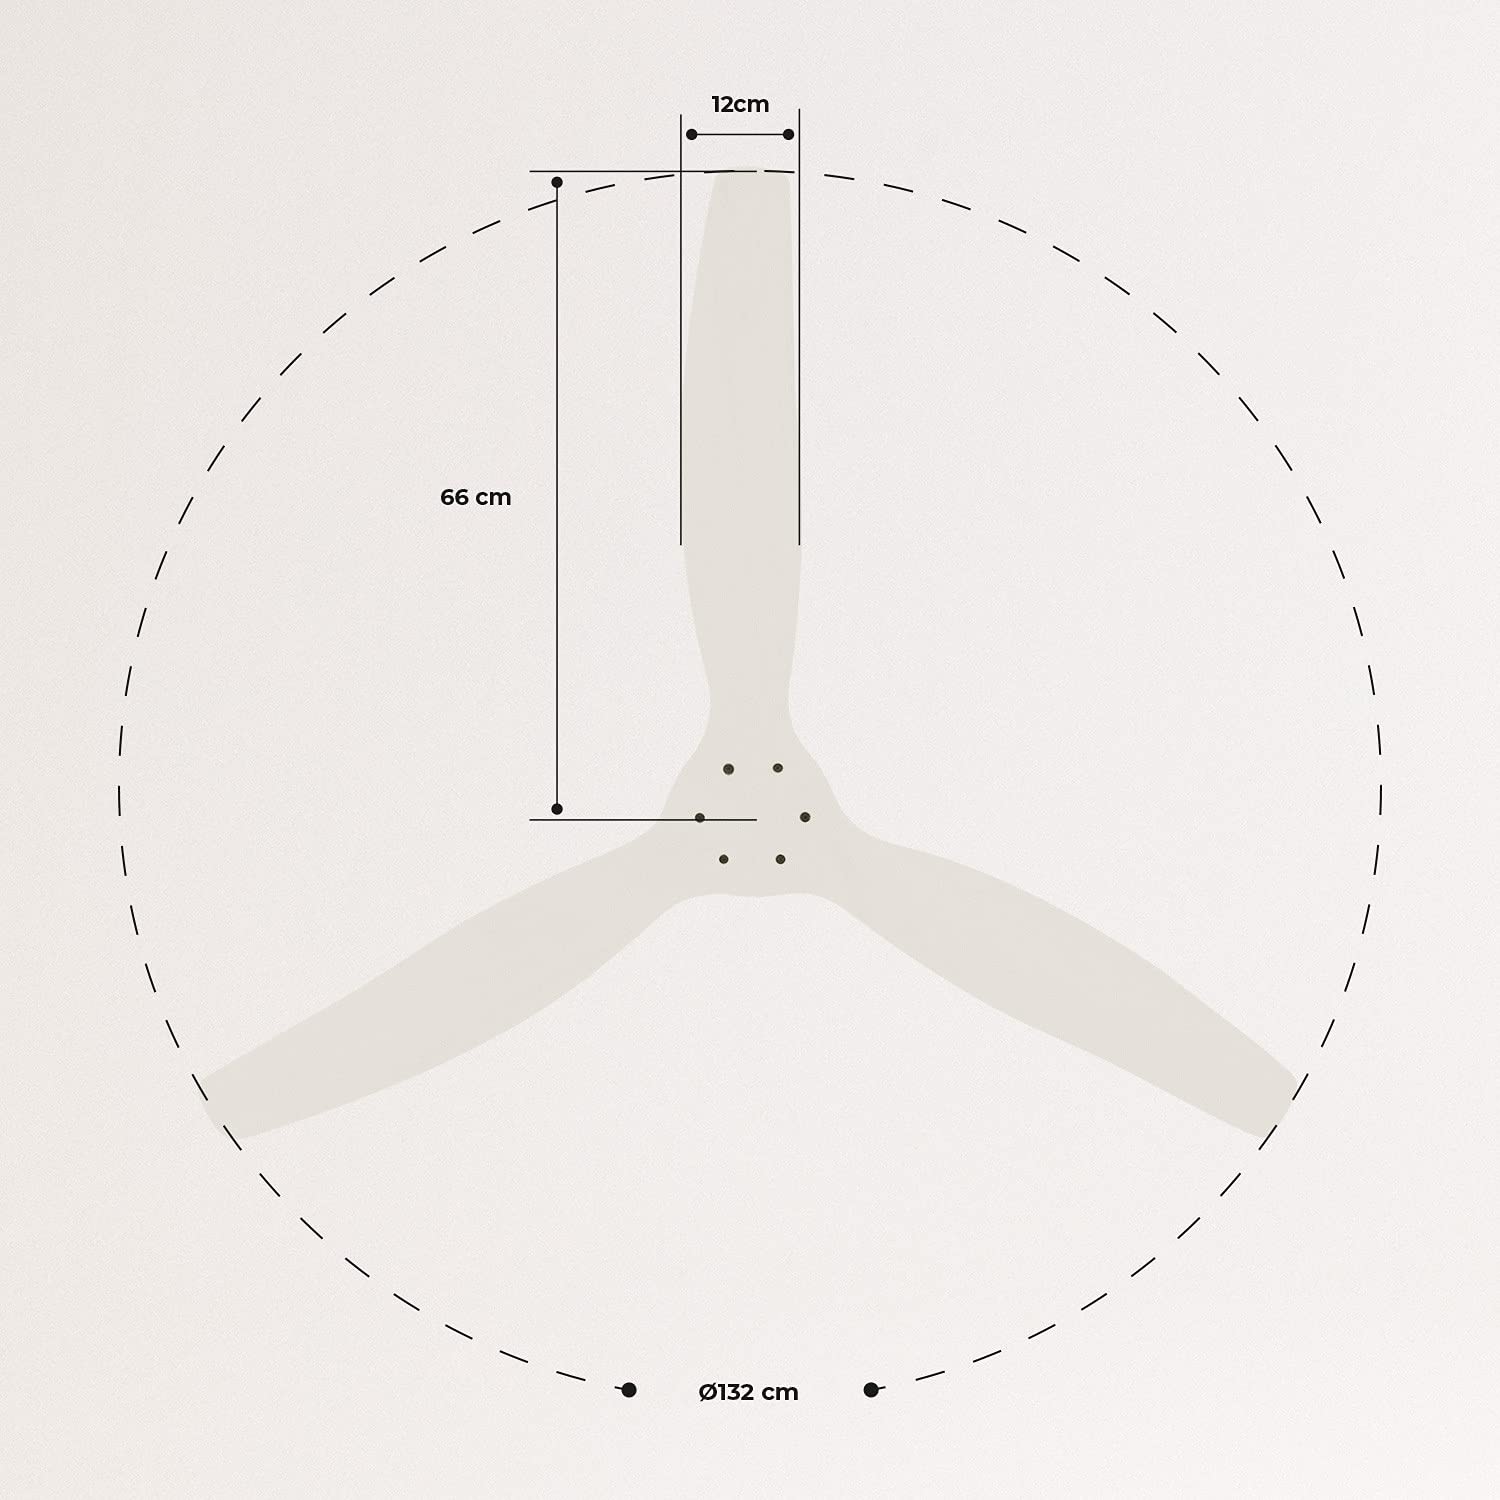
| Ahu (L x W x H) | 132 x 132 x 29 cm |
| Taumaha | 6.38 kg |
| Hoahoa Kaiwhaiwhai | Te Peera Taapiri |
| Puna Mana | Tauera Hiko |
| Āhuahira Motuhake | High Speed, Silent DC Motor, Timer, Summer/Winter Function |
| Whakamahi Manakohia | Whakahau |
| Momo Rūma | Living Room (suitable for 13m² to 25m² rooms) |
| Tae | White Blades |

4. Aratohu Whakauru
Proper installation is crucial for the safe and efficient operation of your ceiling fan. It is highly recommended that installation be performed by a qualified electrician.
Nga Tirohanga i mua i te whakaurunga
- Wewetehia nga waahanga katoa me te manatoko ki te rarangi whakarakei.
- Ensure the ceiling joist or support structure is strong enough to hold the fan's weight.
- Whakawetohia te hiko i te pūwāhi hiko matua i mua i te tīmatanga o tētahi mahi hiko.
Te Whakaekenga i te Kaiwhaiwhai
- Secure the mounting bracket to the ceiling outlet box using appropriate screws and washers.
- Āta hikitia te huihuinga mōtini pā, ka tāpiri atu ki te whāriki whakairi.
Hononga Waea
Connect the electrical wires according to the wiring diagram provided in the separate detailed installation manual (not included in this general overview). Ensure all connections are secure and insulated.
Attaching Blades
Attach the fan blades to the motor hub using the provided screws. Ensure all screws are tightened securely.

5. Nga Tohutohu Whakahaere
Your CREATE WINDCALM DC Ceiling Fan comes with a remote control for convenient operation of all its functions.
Nga Mahi Mana Mamao
Ko te mana mamao ka taea e koe te:
- Hiko Whakaka/Weto: Whakakāhia, whakawetohia rānei te pā.
- Whakatikatika Tere: Select from 6 different fan speeds to control airflow intensity.
- Tautuhinga Matama: Program the fan to automatically turn off after 1, 2, or 4 hours.
- Aratau Raumati/Hotoke: Change the direction of blade rotation to optimize air circulation for different seasons.
Aratau Raumati
In summer mode, the fan blades rotate counter-clockwise, pushing air downwards. This creates a cooling breeze effect, helping to dissipate heat and refresh the room.

Aratau Takurua
In winter mode, the fan blades rotate clockwise, drawing air upwards. This helps to circulate warm air that accumulates near the ceiling, distributing it evenly throughout the room and improving heating efficiency.
6. Tiaki me te Tiaki
Ko te tiaki i nga wa katoa ka whakarite i te roa me te mahi tino pai o to mea powhiriwhiri tuanui.
Te horoi
- Me whakaweto te hiko o te pā hau i te pūwāhi ara iahiko i mua i te horoinga.
- Whakamahia he ngohengohe, damp cloth to wipe down the fan blades and motor housing. Do not use abrasive cleaners or solvents, as they may damage the finish.
- Me whakarite kua maroke katoa te powhiri i mua i te whakahoki mai i te hiko.
Tirowhai auau
- Periodically check all screws and fasteners on the mounting bracket and blade attachments to ensure they are secure. Tighten if necessary.
- Listen for any unusual noises during operation, which may indicate a loose part or an issue with the motor.
7. Te Raru
If you encounter any issues with your fan, refer to the following common problems and their solutions:
| Raruraru | Take pea | Rongoā |
|---|---|---|
| Kare e huri te Fan | Karekau he hiko Hononga waea matara He iti te pākahiko mana mamao | Tirohia te kaiwhati ara iahiko me te pana pakitara Verify all wiring connections are secure (consult electrician) Whakakapihia nga pākahiko mana mamao |
| Ka haruru nui te Fan | Loose screws on blades or mounting Mata piko Te take motopaika | Whakapaia nga wiri katoa Check blades for damage and replace if necessary Whakapā atu ki te tautoko kiritaki |
| Ko te mana mamao kaore e mahi | Pau te puhiko Te aukati i waenga i te mamao me te kaikawe Remote not paired (if applicable) | Whakakapihia nga pākahiko Me whakarite kia marama te rarangi tirohanga Refer to detailed manual for pairing instructions |
| Ka wiri te Fan | Te awhi whakapuru wetewete Matatahi kore taurite | Ensure mounting bracket is securely fastened Check blade balance and use balancing kit if needed |
8. Pūtāhui me te Tautoko
For warranty information, technical support, or replacement parts, please contact CREATE customer service. Keep your purchase receipt as proof of purchase.
You can find more information and contact details on the official CREATE webpae: www.create-store.com