1. Kupu Whakataki
The AXIS T8351 Mk II Microphone 3.5 mm is a high-performance analog microphone designed for integration into video surveillance systems. It provides superior audio monitoring and recording capabilities, particularly in environments with low ambient noise. This manual provides essential information for the proper installation, operation, and maintenance of your AXIS T8351 Mk II Microphone.
2. Nga korero haumaru
- Me ata panui nga tohutohu katoa i mua i te whakaurunga me te whakamahi.
- Do not expose the microphone to extreme temperatures, humidity, or corrosive environments.
- Ensure the microphone is securely mounted to prevent accidental falls.
- Only use accessories and power sources specified by Axis Communications.
- Momotuhia te hiko i mua i te horoi, te mahi tiaki ranei.
3. Ihirangi mokete
Manatokona kei roto katoa nga mea kei roto i te kete:
- AXIS T8351 Mk II Microphone 3.5 mm
- Installation Guide (if separate)
Note: Additional mounting accessories may be sold separately.
4. Tatūnga me te Tāuta
4.1 Te Whakamau i te Hopuoro
The AXIS T8351 Mk II Microphone offers flexible mounting options for walls, ceilings, or covert areas. Choose a location that allows optimal sound capture for your surveillance needs.
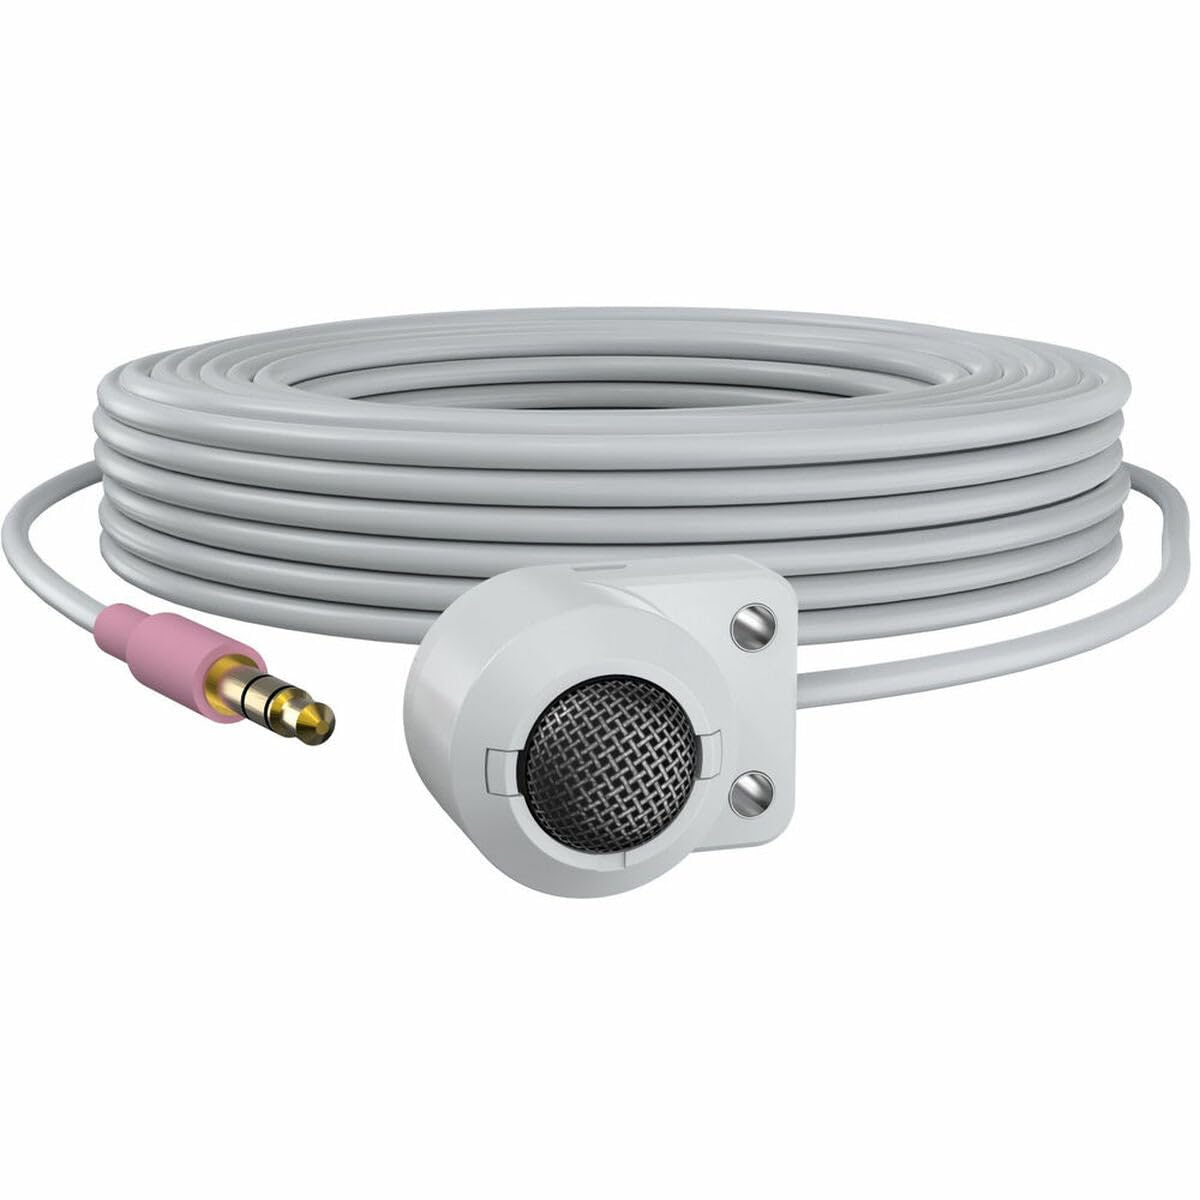
Figure 1: The AXIS T8351 Mk II Microphone, illustrating its compact design and the 3.5 mm connector for integration into surveillance systems. This image highlights the microphone's small form factor, making it suitable for discreet placement.
Consider the following when selecting a mounting location:
- Tata ki te Puna oro: For best results, position the microphone close to the intended sound source.
- Haruru Ambient: While designed for low ambient noise environments, avoid placing the microphone near sources of constant noise (e.g., air conditioning vents, loud machinery).
- Whakaaroaro: The compact size allows for subtle concealment if required.
4.2 Te hono i te hopuoro
The AXIS T8351 Mk II Microphone connects to compatible network products via a 3.5 mm microphone input jack or a 4-pin audio connector.
- Locate the 3.5 mm microphone input jack or 4-pin audio connector on your network product (e.g., IP camera, audio encoder).
- Insert the microphone's connector firmly into the corresponding port.
- Ensure a secure connection. The microphone is powered directly by the network product, eliminating the need for additional power cables.
5. Te whakahaere i te hopuoro
5.1 Audio Capture
The AXIS T8351 Mk II is a hemispherical, omni-directional microphone, meaning it captures sound from all directions. This characteristic makes it effective for monitoring general ambient sound within a room.
- Once connected, the microphone will begin capturing audio as configured by your network product's settings.
- Adjust audio input levels and sensitivity through the interface of your connected network device to achieve optimal sound quality and prevent distortion.
5.2 Integration with Surveillance Systems
The microphone is designed to complement video surveillance by providing synchronized audio. Refer to your network product's documentation for specific instructions on:
- Enabling audio recording.
- Configuring audio triggers or events.
- Live audio monitoring.
6. Tiaki
6.1 Te horoi
Hei pupuri i te mahi tino pai me te ahua:
- Gently wipe the exterior of the microphone with a soft, dry cloth.
- Kaua e whakamahi i nga matū kino, nga whakarewa, me nga horoi horoi.
- Ensure no moisture enters the microphone's openings.
6.2 Nga Whakaaro Taiao
The microphone is designed for indoor use. Protect it from:
- Direct sunlight or extreme heat.
- Excessive dust or dirt.
- Ngā wiri kaha, ngā pānga rānei.
7. Te Raru
7.1 Kaore he Putanga Ororongo
- Taki Hononga: Ensure the 3.5 mm connector is fully inserted into the network product's audio input.
- Verify Network Product Settings: Confirm that audio input is enabled and configured correctly in your network product's software interface. Check volume levels.
- Mana: Since the microphone is powered by the network product, ensure the network product itself is powered on and functioning correctly.
- Hototahi: Confirm your network product supports a 3.5 mm microphone input or 4-pin audio connector.
7.2 Poor Audio Quality (Distortion, Low Volume, Noise)
- Whakatakotoranga hopuoro: Reposition the microphone closer to the sound source or away from sources of ambient noise.
- Taumata Whakauru: Adjust the audio input sensitivity and gain settings on your network product. Too high a gain can cause distortion; too low can result in faint audio.
- Haruru Taiao: Identify and mitigate external noise sources in the environment.
- Tikanga taura: Inspect the cable for any damage or kinks.
8. Whakatakotoranga
| Āhuahira | Taipitopito |
|---|---|
| Ingoa Tauira | T8351 Mk II Microphone 3.5 mm |
| Waea Puka Whakaoho | Mini |
| Tauira Poara | Hemispherical, Omni-directional |
| Momo Tuhono | Audio Line Out (3.5mm jack) |
| Hangarau Hononga | XLR (Note: Product description mentions 3.5mm, please verify specific model variant if XLR is primary) |
| Puna Mana | Corded Electric (powered by network product) |
| Whakautu auau | 16 KHz |
| Tohu Waitohu-ki-Toi | 76 dB |
| Rongorongo ororongo | 22 Decibels |
| Rahi Tūemi (L x W x H) | 1.1 x 0.8 x 0.8 inihi |
| Taumaha Tūemi | 3.2 hekere |
| Pūrere Hototahi | Camera (with 3.5mm mic input or 4-pin audio connector) |
9. Pūtāhui me te Tautoko
For information regarding the product warranty, technical support, and additional resources, please visit the official Axis Communications webpaetukutuku, whakapā atu rānei ki tō kaihoko whai mana. Puritia tō rīhiti hoko mō ngā kereme pūtāhui.
Āpiha Whakawhitiwhiti Kōrero a Axis Webpae: www.axis.com