1. Hua Neke Atuview
The MOOER Micro Preamp 18 Custom 100 (MMPA18) is a compact digital preamp pedal designed to accurately recreate the sound, dynamics, and response of popular tube amplifiers. Utilizing advanced digital technology, this pedal offers a versatile solution for guitarists seeking high-quality amplifier tones in a miniature form factor.
Key features include dual channels for diverse tonal options, an integrated speaker cabinet simulation for direct recording or PA connection, and dual operating modes to adapt to various performance and recording setups.
2. Nga ahuatanga
- Sonically accurate digital recreations of classic tube ampkaiwhakarewa muaamp nga wahanga.
- Dual channels for versatile clean and gain tones.
- Integrated speaker cabinet simulation for direct output.
- Dual operating modes to suit various user needs.
- Hoahoa kiato me te roa.
3. Nga Mana me nga Hononga
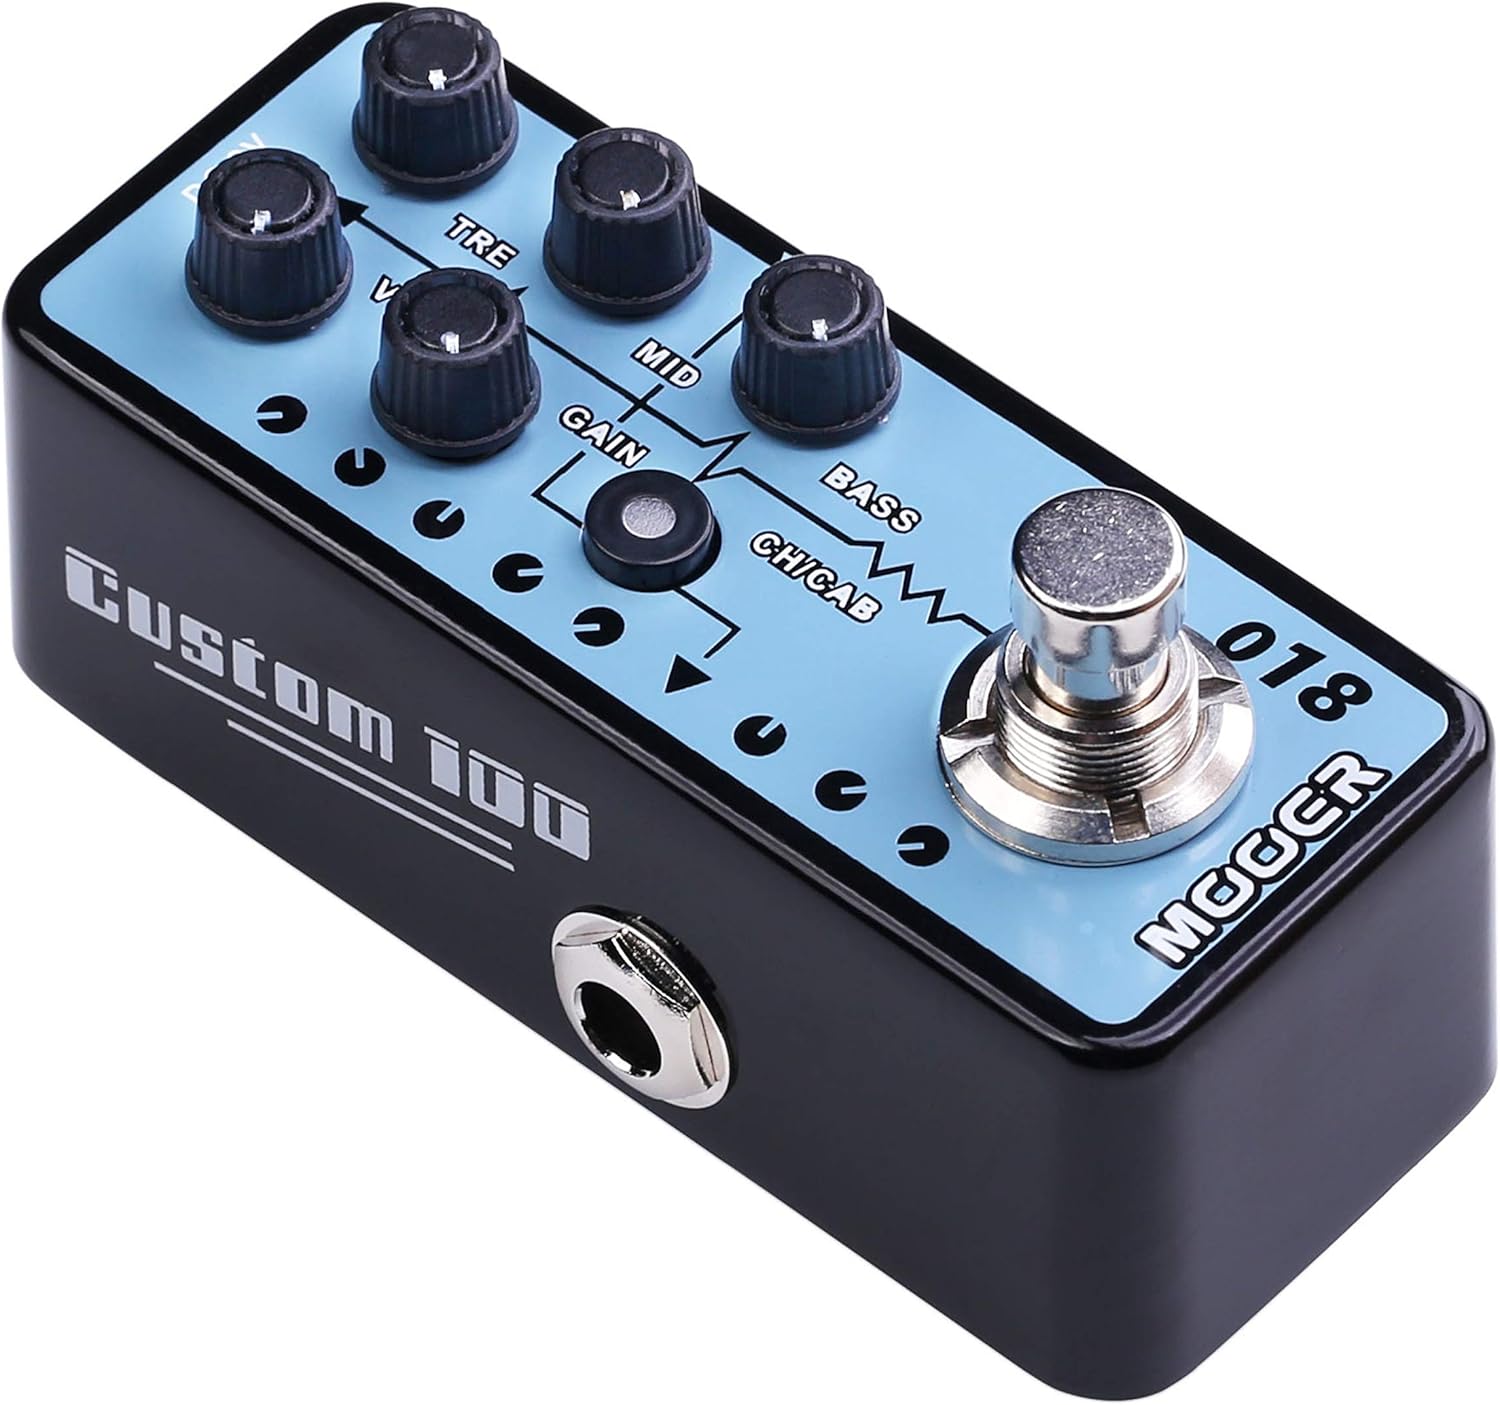
Whakaahua 1: Runga view of the MOOER Micro Preamp 18 Custom 100, highlighting the control knobs and footswitch.
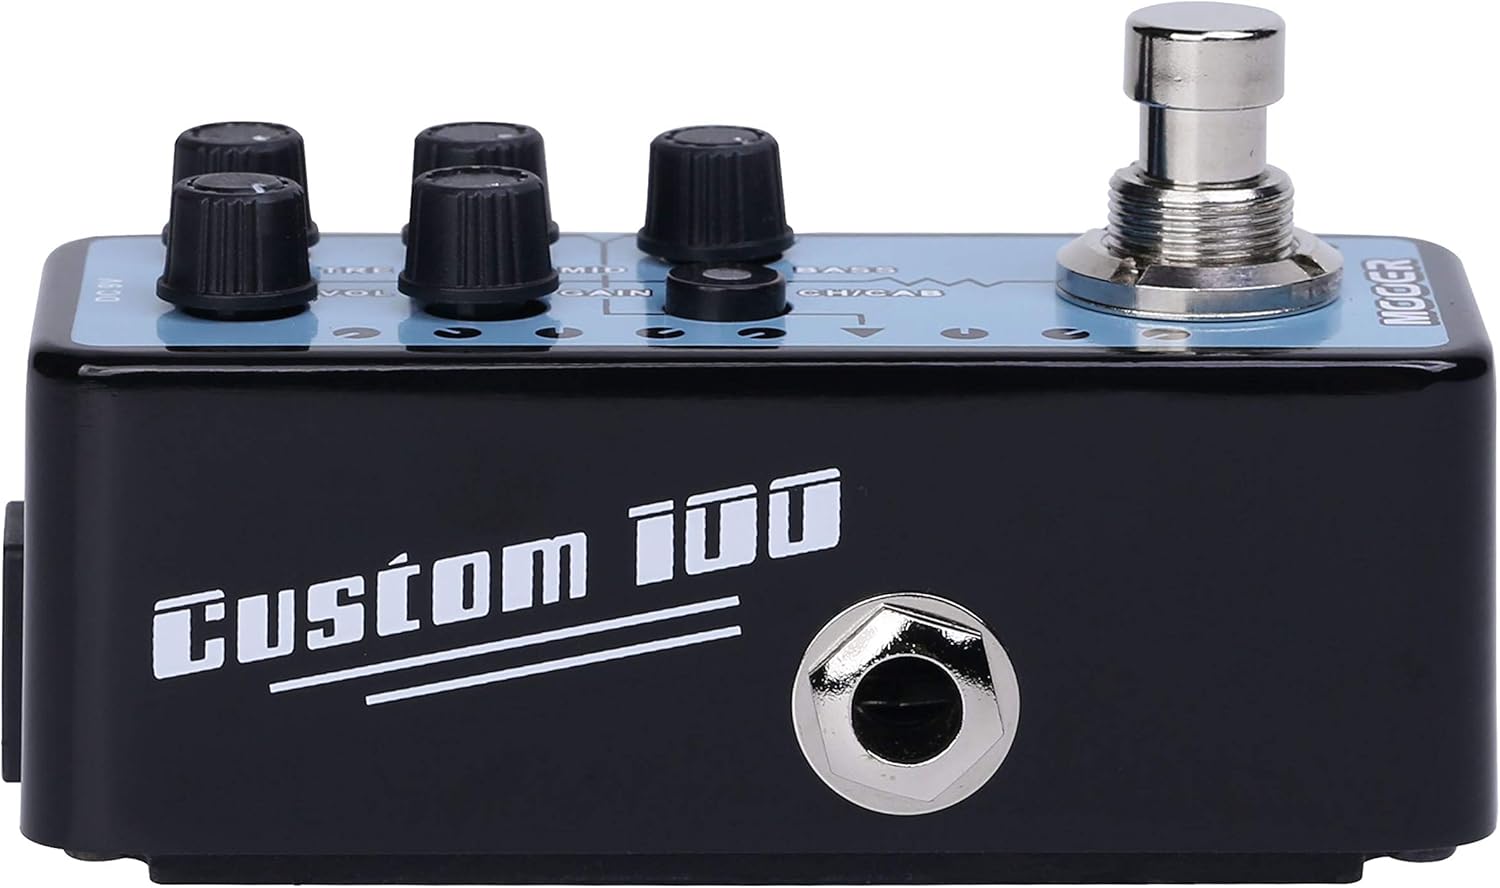
Whakaahua 2: Taha view of the MOOER Micro Preamp 18 Custom 100, illustrating the 1/4" input and output jacks.
Mana:
- VOL (Rōrahi): Ka whakatika i te taumata whakaputa katoa o muaamp.
- TRE (Treble): Ka whakahaere i te whakautu auau teitei.
- MID (Middle): Ka whakarerekē i te urupare auau awhe-waenga.
- MAU: Whakahaere ana i te nui o te taraiwa nui rawa/whakapēhanga.
- BASS: Whakaritea te whakautu auau iti.
- CH/CAB (Channel/Cabinet Simulation Switch): This switch serves two functions:
- In normal operation, it switches between the two available channels (e.g., Clean and Gain).
- When held down, it toggles the integrated speaker cabinet simulation on or off.
- Takawaenga: Engages or bypasses the pedal.
Hononga:
- Input Jack (1/4" / 6.35mm): Tuhonohia to kitara, tetahi atu taputapu ranei ki konei.
- Output Jack (1/4" / 6.35mm): Hono atu ki to amplifier, audio interface, or other effects pedals.
- DC 9V Whakauru: Connect a 9V DC power adapter (center negative, 300mA minimum).
- USB 2.0 (Hardware Interface): For firmware updates or potential software integration.
4. Tatūnga me te Mahi
Tatūnga Tuatahi:
- Whakaritehia to amplifier and other audio equipment are turned off.
- Honoa to kita ki te Jack Whakauru of the MMPA18.
- Honoa te Jack Panui of the MMPA18 to the input of your ampkaiwhakarewa atanga ororongo ranei.
- Connect a 9V DC power adapter (center negative, 300mA minimum) to the Whakauru DC 9V.
- Hurihia to amplifier and other audio equipment.
Mahi Taketake:
- Engaging/Bypassing: Press the footswitch to turn the preamp effect on or off. The LED indicator will illuminate when the effect is active.
- Whakawhiti Hongere: Patohia poto te CH/CAB switch to toggle between the two channels (e.g., a clean channel and a gain channel). The LED color or state may change to indicate the active channel.
- Whakataunga rūnanga: Patohia me te pupuri i te CH/CAB switch for a few seconds to activate or deactivate the integrated speaker cabinet simulation. This is particularly useful when connecting directly to a mixing console, audio interface, or headphones, providing a more natural, mic'd cabinet sound.
- Whakatika oro: Whakamahia te VOL, TRE, MID, GAIN, a Bass knobs to sculpt your desired tone. Experiment with different settings for each channel.
5. Tiaki
- Te horoi: Whakamahia he kakahu ngohengohe, maroke hei horoi i te pētera. Āta karohia ngā kaihoroi whakakoi, ngā whakarewa rānei.
- Rokiroki: Whakaorangia te hikoi ki te waahi makariri, maroke atu i te ra tika me te wera nui.
- Tuku Hiko: Always use a compatible 9V DC (center negative) power supply with a minimum of 300mA. Using an incorrect power supply can damage the unit and void the warranty.
- Hononga: Tirotirohia nga hononga taura katoa mo te kakahu me te pakaru. Me whakarite kia noho kore he puehu me te para o nga koo.
6. Te Raru
- Kore Oro:
- Tirohia ngā hononga taura katoa (kitā, pētara, amplifier, power supply).
- Ensure the power supply is correctly connected and providing power.
- Verify the pedal is engaged (LED illuminated).
- Check the volume settings on the pedal and your ampkaikawe
- Poor Sound Quality / Excessive Noise:
- Me whakarite kei te pai te āhua o ngā taura katoa, ā, kei te tiakina hoki.
- Try a different power supply to rule out power-related noise.
- Adjust the GAIN knob; very high gain settings can introduce noise.
- If using the cabinet simulation, ensure it is appropriate for your output device.
- Ensure the pedal is not placed too close to power transformers or other sources of electromagnetic interference.
- Kāore te Pātara e Urupare:
- Momotuhia ka hono ano i te hiko hiko.
- If issues persist, contact MOOER support.
- Te wera nui: While normal operation may cause some warmth, excessive heat could indicate an issue. Ensure proper ventilation and use the correct power supply. If the pedal becomes unusually hot, discontinue use and contact support.
7. Whakatakotoranga
| Whakatakotoranga | Uara |
|---|---|
| Tau tauira | MMPA18 |
| Taumaha Tūemi | 5.8 hekere (165 Karamu) |
| Hunga Hua | 3.54 x 3.54 x 3.54 inihi |
| Pūrere Hototahi | Musical Instrument(s) |
| Momo Tuhono | 1/4" (6.35mm) Jack, 1/8" (3.5mm) Jack |
| Atanga Pūmārō | USB 2.0 |
| Hōputu Tohu | Mamati |
| Wat Putangatage | 100 Watts |
| Puna Mana | urutau AC |
| Voltage | 9 Volts |
| Waitohu | NGARO |
| Tae | Mehrfarbig |
8. Pūtāhui me te Tautoko
MOOER products are designed for reliability and performance. For specific warranty information, please refer to the warranty card included with your product or visit the official MOOER website. In case of any issues or technical support needs, please contact MOOER customer service through their official channels.
Mo etahi atu awhina, ka toro atu koe ki te Toa MOOER i runga i a Amazon.