1. Kupu Whakataki
This manual provides essential instructions for the proper setup, operation, and maintenance of your Brondi Adara Cordless Phone. Please read this guide thoroughly before using the device to ensure optimal performance and safety. The Brondi Adara is a DECT GAP compatible cordless telephone featuring a large backlit alphanumeric display, high-sensitivity hands-free function, and caller ID.
2. Nga korero haumaru
- Do not expose the phone or base unit to water or moisture.
- Āta karohia te tino pāmahana, te rā tika, me ngā taiao puehu.
- Use only the provided power adapter and batteries. Using unauthorized accessories may damage the device and void the warranty.
- Kaua e ngana ki te whakatuwhera, ki te whakatika ranei i te taputapu. Tukuna atu nga ratonga katoa ki nga kaimahi whai tohu.
- Keep the phone away from medical devices such as pacemakers, as it may cause interference.
- Makahia nga pākahiko kia rite ki nga ture o te rohe.
3. Ihirangi mokete
Manatokona kei roto katoa nga mea kei roto i te kete:
- Brondi Adara Handset
- Brondi Adara Base Unit
- Pūurutau Mana mō te Wāhanga Tūāpapa
- Waea Waea Waea
- Rechargeable Batteries (NiMH)
- Pukapuka Kaiwhakamahi (tenei tuhinga)
4. Hua Neke Atuview
Familiarize yourself with the main components of your Brondi Adara cordless phone.
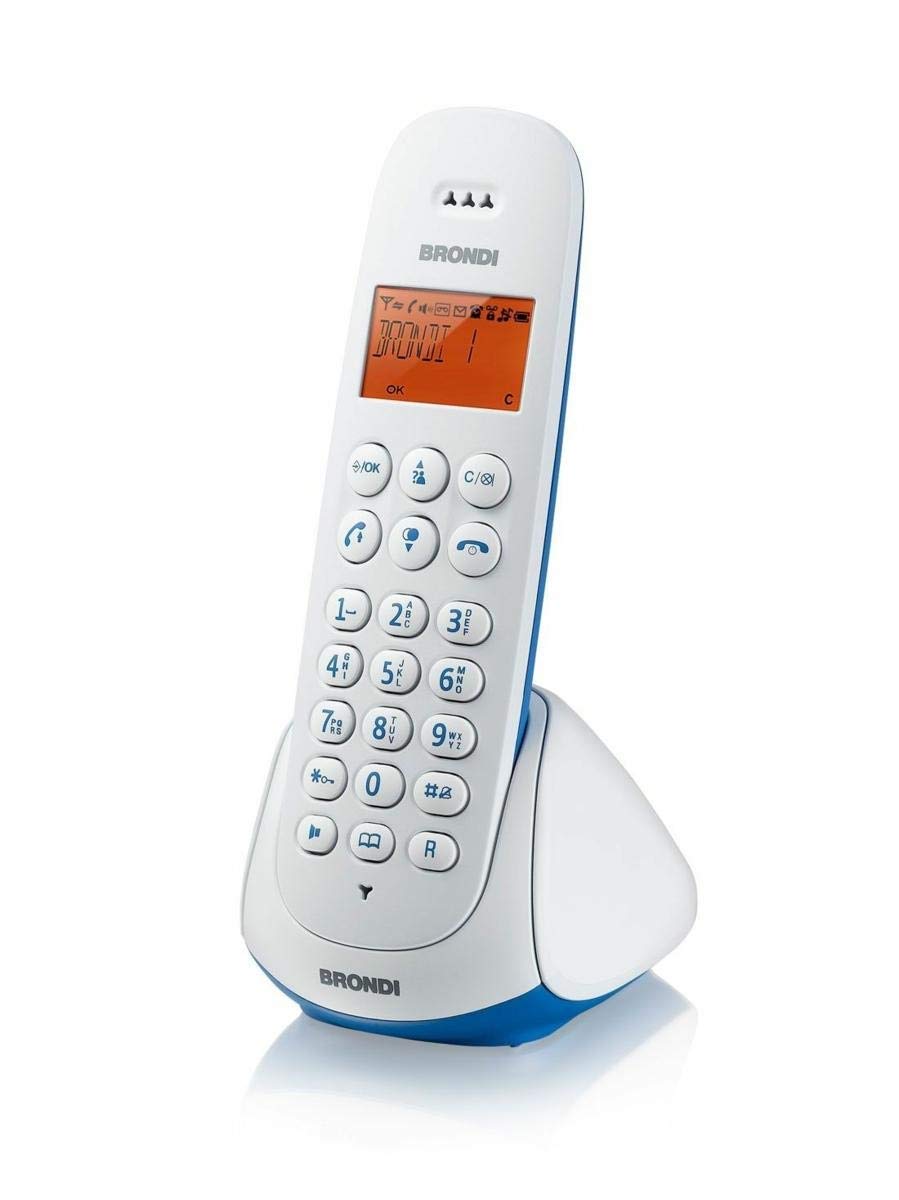
Image 1: Brondi Adara Cordless Phone, showing the handset and base unit.
4.1 Ringa
- Whakaatu: Large alphanumeric backlit screen for menu navigation and call information.
- Papapātuhi: Standard numeric keys (0-9), *, #, and function keys.
- Patene Waea (Kakariki): Hei waea atu, hei whakautu rānei i tētahi waea.
- End Call Button (Red): To end a call or return to standby.
- Kī Whakaterenga: For scrolling through menus and options.
- Pātene Ringaringa-Kore: To activate or deactivate the speakerphone during a call.
- Kī Rōrahi: To adjust earpiece or speaker volume.
4.2 Waeine turanga
- Kei te Tiaki Pouraka: For charging the handset batteries.
- Pātene WHARANGI: To locate a misplaced handset.
- Hiko Hiko: Mo te hono i te urutau hiko.
- Telephone Line Socket: For connecting to the telephone wall outlet.

Image 2: Brondi Adara Cordless Phone, illustrating key features and components.
5. Tatūnga
Follow these steps to set up your Brondi Adara cordless phone:
- Whakauruhia nga Pataha: Open the battery compartment on the back of the handset. Insert the supplied rechargeable batteries, ensuring correct polarity. Close the compartment.
- Connect Base Unit Power: Plug the small end of the power adapter into the 'DC IN' socket on the base unit. Plug the other end into a standard electrical wall outlet.
- Connect Telephone Line: Plug one end of the telephone line cord into the 'LINE' socket on the base unit. Plug the other end into your telephone wall outlet.
- Charge Handset: Place the handset on the base unit's charging cradle. The display will indicate charging. Allow the handset to charge for at least 12-15 hours before initial use, even if the display shows a full battery. This ensures optimal battery performance.
- Handset Registration (if necessary): Your handset is usually pre-registered to the base. If not, or if you are adding additional handsets (up to 5 total), refer to the 'DECT GAP Pairing' section in Operating Instructions.
6. Nga Tohutohu Whakahaere
6.1 Te Waea
- Pick up the handset from the base or press the Karanga pātene.
- Waeahia te tau waea e hiahiatia ana ma te whakamahi i te papapātuhi.
- Pehia te Karanga button again if you dialed before picking up, or wait for the call to connect.
6.2 Te Whiwhinga Waea
Ka tangi te waea:
- Pehia te Karanga pātene hei whakautu.
- Alternatively, if the auto-answer feature is enabled, simply lift the handset from the base.
6.3 Mahi Kore-Ringa
I te wa e piihia ana, paatohia te Ringa-Kore button to activate the speakerphone. Press it again to switch back to the earpiece.
6.4 Kaiwaea ID
If you subscribe to Caller ID service from your telephone provider, the caller's number (and name, if available) will be displayed on the handset screen before you answer the call. You can review past calls in the call log menu.
6.5 DECT GAP Pairing (Registering Additional Handsets)
Your Brondi Adara base unit supports up to 5 DECT GAP compatible handsets. To register a new handset:
- I runga i te waeine turanga, pehia me te pupuri i te PAGE button for approximately 5 seconds until the registration indicator on the base starts flashing.
- On the handset you wish to register, navigate to the 'Registration' or 'Add Handset' option in the menu.
- Follow the on-screen prompts to enter the PIN (usually '0000' by default).
- Once registered, the handset display will confirm successful pairing.
7. Tiaki
7.1 Te horoi
Wipe the handset and base unit with a soft, dry, lint-free cloth. Do not use cleaning sprays, waxes, or solvents.
7.2 Tiaki Pūhiko
- Whakamahia i nga wa katoa nga pākahiko ka taea te whakakii.
- For optimal battery life, fully charge the handset for 12-15 hours before first use.
- Ki te kore te ringaringa e whakamahia mo te wa roa, tangohia nga pākahiko kia kore ai e pakaru.
- Replace batteries when their performance significantly degrades (e.g., shorter talk time).
8. Te Raru
If you encounter issues with your Brondi Adara phone, refer to the following common problems and solutions:
| Raruraru | Take pea | Rongoā |
|---|---|---|
| Karekau he oro waea | Base unit not powered or telephone line disconnected. | Check power adapter connection to base and wall outlet. Ensure telephone line cord is securely connected to base and wall jack. |
| Kāore e taea te waea/whiwhi waea | Handset out of range, low battery, or line issue. | Move closer to the base unit. Place handset on base to charge. Check if other phones on the same line are working. |
| He kino te kounga oro / Static | Interference from other electronic devices, handset too far from base. | Move base unit away from other electrical appliances (TVs, computers). Move handset closer to the base. |
| Karekau te ringaringa e utu ana | Handset not properly seated, dirty charging contacts, or faulty batteries. | Ensure handset is correctly placed on the base. Clean charging contacts on both handset and base with a dry cloth. Replace old batteries. |
| Kāore i whakaaturia te ID Kaikaranga | No Caller ID subscription or service issue. | Whakapā atu ki tō kaiwhakarato ratonga waea kia mōhio ai kei te whakahohehia te ratonga Caller ID. |
9. Whakatakotoranga
| Āhuahira | Taipitopito |
|---|---|
| Waitohu | BRONDI |
| Tau tauira | 10273841 |
| Momo Waea | Ahokore |
| Tae | Kahurangi/Ma |
| Rauemi | Acrylonitrile Butadiene Styrene (ABS) |
| Puna Mana | Pūhiko Powered |
| Momo Waea | Papatuhi Kotahi |
| Momo Pūnaha Whakautu | Mamati |
| Pūrere Hototahi | PSTN, ISDN |
| Multi-line Operation | Single-line Operation |
| ID Kaiwaea | Ae |
| Te Wa Korero | 7 haora |
10. Pūtāhui me te Tautoko
For warranty information, technical support, or service inquiries, please refer to the warranty card included with your product or visit the official BRONDI webpae. Puritia to tohu hoko mo nga kereme whakamana.