Kanapa 35832/56
BRILLIANT Luca 4-Flame Spot Tube Light
Tauira: 35832/56
Kupu Whakataki
This manual provides essential information for the safe and efficient installation, operation, and maintenance of your BRILLIANT Luca 4-Flame Spot Tube Light. Please read these instructions carefully before installation and retain them for future reference.
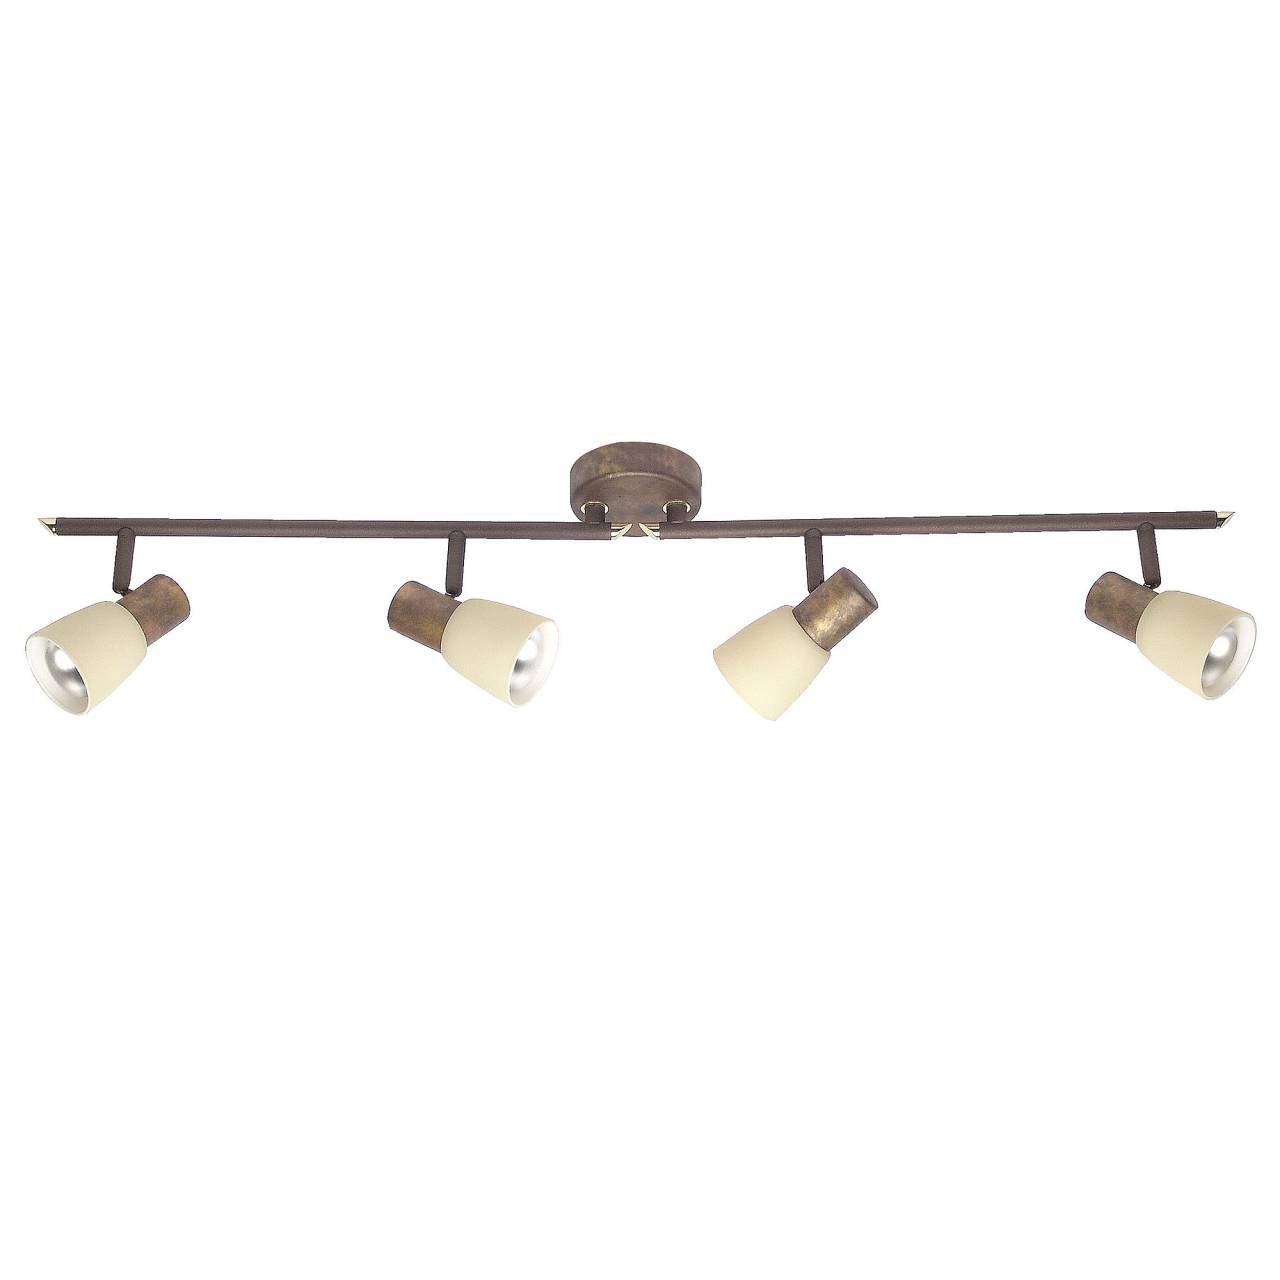
Image 1: The BRILLIANT Luca 4-Flame Spot Tube Light. This image displays the complete light fixture, featuring a long, brown metal bar with four individual spot heads. Each spot head is adjustable and includes a beige glass shade, designed to direct light. The central mounting plate is also visible.
Nga Tohutohu Haumaru
- Me momotu te hiko i te fiusi matua, i te whati ara iahiko rānei i mua i te tāutanga, te tiaki, te whakakapinga rānei i te pūrama.
- Me mahi te tāutanga e te tohunga hiko whai tohu, e te tangata whai mātauranga rānei.
- Me whakarite ka taea e te mata whakairi te tautoko i te taumaha o te taputapu.
- Kaua e neke ake i te wat teiteitage specified for the bulbs (40W per bulb).
- He mea hanga tēnei hua mō te whakamahinga o roto anake (whakatauranga IP20). Kaua e tukua kia pāngia e te makuku, e te pāmahana tino kino rānei.
- Allow bulbs to cool before touching or replacing them.
- Kaua e taea e nga tamariki nga taonga takai.
Ihirangi mokete
Manatokona kei te noho nga waahanga katoa i mua i te tiimata o te whakaurunga:
- 1x BRILLIANT Luca 4-Flame Spot Tube Light fixture
- Mounting material (screws, wall plugs, etc.)
- Pukapuka Tohutohu
Note: Light bulbs (E14, R50 reflector type, max 40W) are not included and must be purchased separately. LED bulbs are compatible.
Whakatakotoranga
| Waitohu | He kanapa |
| Tau tauira | 35832/56 |
| Ahu (L x W x H) | 85 x 23.2 x 23.2 cm |
| Taumaha | 1.22 kg |
| Rauemi | Metara, Karaehe |
| Tae | Brown (fixture), Beige (shade) |
| Te maha o nga Topuku | 4 |
| Momo turanga Pupu | E14 |
| Max Wattage ia Pupura | 40 Watts |
| Voltage | 240 Volts |
| Whakatauranga IP | IP20 (Whakamahia Roto anake) |
| Nga waahanga motuhake | Dimmable (with appropriate bulbs and external dimmer), Adjustable Spot Heads |
| Momo Tāuta | Maunga Pouaka |
Tatūnga me te Tāuta
Hiranga: Before starting installation, ensure the power supply is switched off at the main circuit breaker to prevent electric shock.
- Whakapaia te Mata Maunga: Choose a suitable location on your ceiling or wall. Ensure the surface is clean, dry, and structurally sound to support the light fixture.
- Tohua nga Tohu Keri: Hold the mounting bracket of the fixture against the desired installation spot. Use a pencil to mark the positions for drilling holes.
- Rua rua: Drill holes at the marked positions using an appropriate drill bit for your ceiling/wall material. Insert the provided wall plugs into the drilled holes.
- Taiapa Whakaeke Haumaru: Attach the mounting bracket to the ceiling/wall using the provided screws. Ensure it is firmly secured.
- Hononga Hiko: Connect the household electrical wires to the terminal block on the fixture. Follow standard wiring color codes (e.g., Live to Live, Neutral to Neutral, Earth to Earth). Ensure all connections are secure.
- Whakapirihia te Whakapiri ki te Taiapa: Carefully align the light fixture with the secured mounting bracket and attach it using the remaining screws or fastening mechanism.
- Tāuta Topuku: Insert four E14 R50 reflector bulbs (not included) into the lamp holders. Do not exceed 40 Watts per bulb. LED bulbs are recommended for energy efficiency.
- Whakaora i te Mana: Kia oti te whakaurunga me te haumaru katoa o nga hononga, whakahokia te hiko ki te waahi ara iahiko matua.
Me korero ki tetahi tohunga hiko ki te kore koe e tino mohio mo tetahi waahanga o te tukanga whakauru.
Nga Tohutohu Whakahaere
- Whakawhiti Ana / Weto Ana: Whakahaerehia te rama mā te whakamahi i tō pana pakitara paerewa.
- Adjusting Spot Heads: The individual spot heads are pivotable and the arms are rotatable. Gently adjust each spot head and arm to direct the light to your desired area.
- Taumahi Ngahuru: If you are using dimmable E14 bulbs and have an external dimmer switch installed, you can adjust the light intensity by operating the dimmer. Ensure your bulbs are compatible with your dimmer type.
Te tiaki
- Te horoi: Disconnect power before cleaning. Wipe the fixture with a soft, dry cloth. Do not use abrasive cleaners or solvents, as these can damage the finish.
- Whakakapi Purama:
- Ensure the light is switched off and has cooled down completely.
- Carefully unscrew the old E14 bulb from its socket.
- Screw in a new E14 R50 reflector bulb, ensuring it is no more than 40 Watts.
- Whakahokia te mana me te whakamatautau i te marama.
- Takitaki auau: Periodically check all connections and mounting screws to ensure they remain tight and secure.
Raparongoā
| Raruraru | Take pea | Rongoā |
|---|---|---|
| Kaore e marama te rama. |
|
|
| Ka whiti marama. |
|
|
| Kāore e mahi te whakaiti i te kanapa. |
|
|
Mena ka mau tonu ngā raruraru, whakapā atu ki te ratonga kiritaki, ki tētahi tohunga hiko rānei.
Pūtāhui me te Tautoko
Information regarding warranty and spare parts availability is not provided in the product details. For support, please refer to the retailer or manufacturer's official webpae.
Kaihanga: He kanapa
Ask a question about this manual
Ask about setup, troubleshooting, compatibility, parts, safety, or missing instructions. Manuals+ will review the question and use this page’s manual context to help answer it.