1. Kupu Whakataki me Nekeview
The Dynamat DynaBox is an innovative ceiling speaker enclosure system designed to enhance your home theater surround sound experience. It effectively reduces sound vibration and projects clearer audio into your room by minimizing noise transmission through floors and ceilings. Its ultra-flexible design allows for easy installation in both new constructions and existing speaker openings, providing a crucial moisture barrier and improving overall acoustic quality.

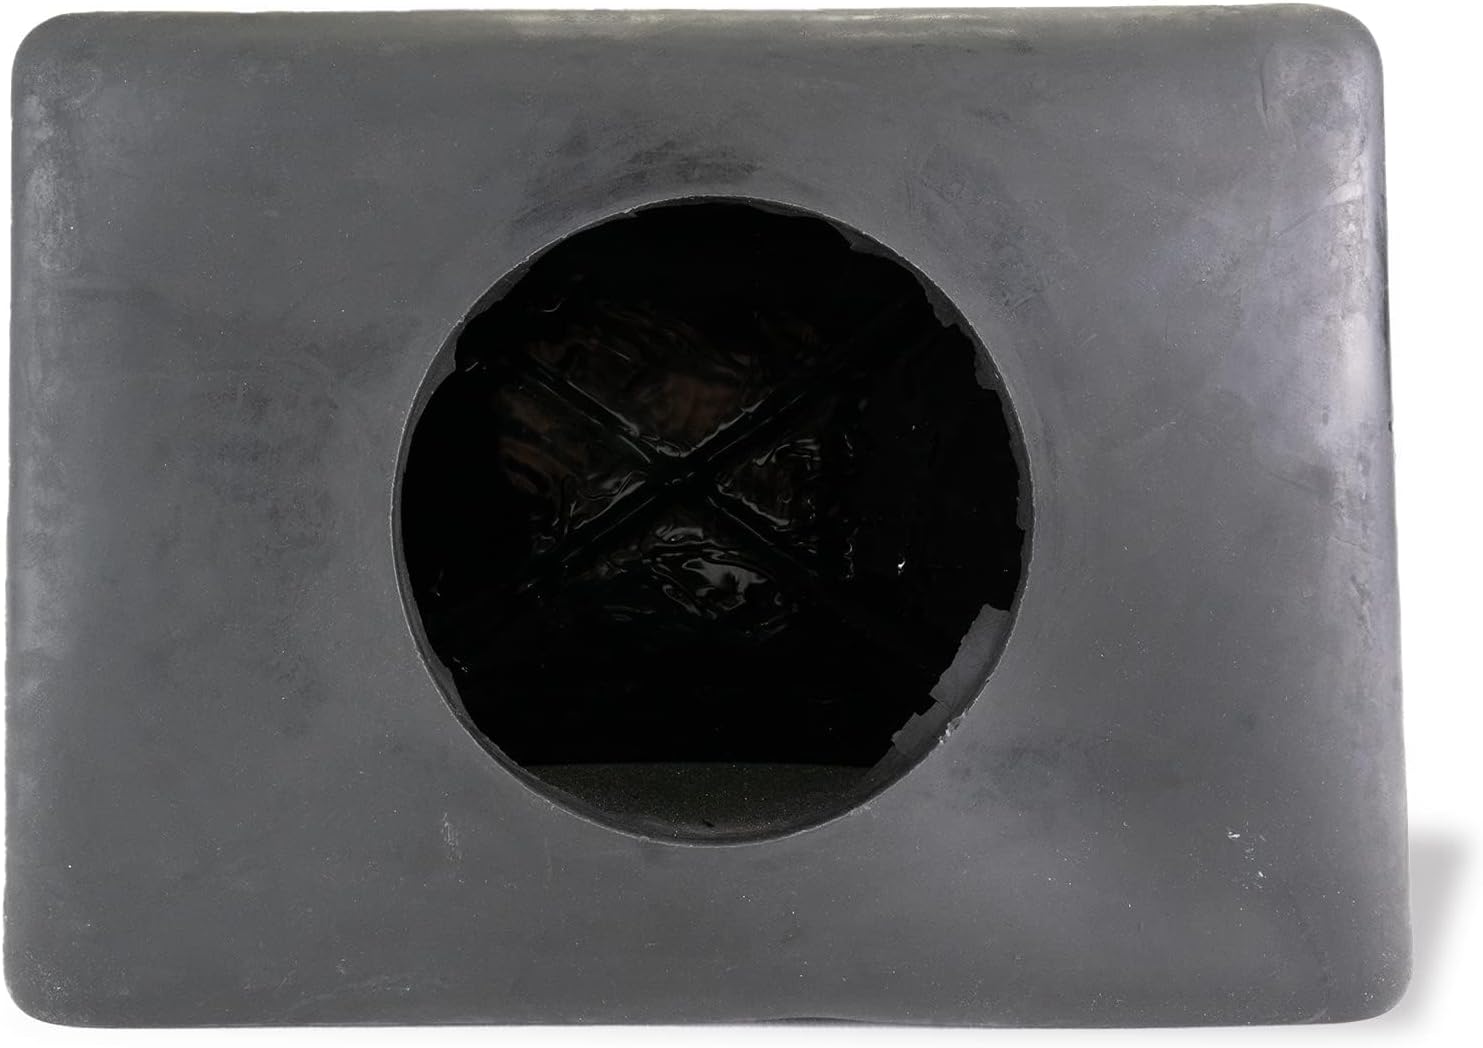
Image 1: Dynamat DynaBox Ceiling Speaker Enclosure System, showing the main enclosure, foam inserts, and product packaging.
2. Waenga Hua
Each Dynamat DynaBox ceiling kit contains the following essential components:
- One (1) DynaBox: A 17 inch x 12 inch x 6.5 inch flexible rubber enclosure.
- One (1) SoundSnake: A 1.5 inch x 5.5 inch x 54 inch roll of sound-absorbing foam.
- One (1) Back-Wave Foam: A 13.5 inch x 9 inch x 1 inch piece of egg-crate style foam.
- Tohutohu Tāuta: Detailed guide for proper setup.

Image 2: All components of the Dynamat DynaBox kit, including the main enclosure, SoundSnake, and Back-Wave Foam.
3. Tohutohu Tāuta
Follow these steps for proper installation of your Dynamat DynaBox to ensure optimal performance and sound quality.
- Whakapaia te whakatuwhera i te tuanui: Ensure you have a pre-cut opening in your ceiling for the speaker. The DynaBox is designed to fit through standard speaker openings.
- Cut the DynaBox Opening: Using a utility knife, carefully cut the circular opening in the DynaBox to match the size of your ceiling speaker. Ensure the cut is clean and precise.
Whakaahua 3: He runga-iho view of the DynaBox, highlighting the pre-marked circular area for speaker integration.
- Insert DynaBox into Ceiling: Due to its flexible material, the DynaBox can be collapsed and inserted through the speaker opening. Carefully maneuver it into the ceiling cavity until it is properly positioned above the opening.
- Install SoundSnake: Roll the SoundSnake foam and insert it into the DynaBox through the speaker opening. Position it to line the interior of the enclosure, providing sound absorption.
- Install Back-Wave Foam: Insert the Back-Wave Foam into the DynaBox, ensuring it sits snugly against the back of the enclosure. This further aids in sound diffusion and absorption.
- Whakamau Kaikōrero: Once the DynaBox and foam inserts are in place, proceed to install your ceiling speaker according to its manufacturer's instructions. Ensure the speaker is securely fastened and sealed to the ceiling.

Image 4: A visual guide illustrating the sequence of installing the DynaBox and speaker into a ceiling.
Ataata Whakauru
Video 1: A short demonstration of the sound difference with and without the DynaBox speaker enclosure.
Video 2: A detailed video demonstrating the installation process of the Dynamat DynaBox Ceiling Speaker Enclosure System.
4. Nga Tohutohu Whakahaere
The Dynamat DynaBox is a passive acoustic treatment system. Once properly installed, it functions automatically to improve the performance of your ceiling speakers. No active operation or adjustments are required for the enclosure itself. The operation of your speakers will follow their respective manufacturer's guidelines.
5. Tiaki
The Dynamat DynaBox requires minimal maintenance. As it is installed within the ceiling cavity, it is generally protected from wear and tear. Periodically, during any ceiling or speaker maintenance, you may inspect the enclosure for any signs of damage or displacement. Ensure the speaker remains securely mounted within the DynaBox.
6. Te Raru
If you experience issues with sound quality or excessive noise transmission after installing the DynaBox, consider the following:
- Reduced Sound Clarity: Verify that the speaker is correctly seated within the DynaBox and that the foam inserts are properly positioned. Ensure no obstructions are present.
- Continued Noise Transmission: Confirm that the DynaBox is fully sealed around the speaker opening and that there are no gaps between the enclosure and the ceiling material. Proper sealing is crucial for noise reduction.
- Kaikorero Karere: Check that your speaker is securely mounted and tightened according to its manufacturer's specifications. Ensure the DynaBox itself is not vibrating against any structural elements.
Mo etahi atu awhina, tirohia nga korero whakapā kei te waahanga Tautoko.
7. Whakatakotoranga
| Rauemi | Neoprene, Rupa |
| Matotoru Tuemi | 6.5 Inihi |
| Rahi Hua (L x W) | 17"L x 12"W |
| Taumaha Tūemi | 7 Pauna |
| Te hipoki | 9 putu tapawha |
| Nga Waahanga kei roto | DynaBox, SoundSnake, Back-Wave Foam, Installation Instructions |
8. Pūtāhui me te Tautoko
Dynamat products are manufactured in the USA since 1989 and are known for their quality and effectiveness in soundproofing and heat control. For specific warranty information or technical support, please visit the official Dynamat website or contact their customer service directly. Always ensure installation complies with local building codes and safety requirements.