
1. Fampidirana
This manual provides essential information for the installation, operation, and maintenance of your Visonic Powermax Pro Advanced Home Security System. Please read these instructions carefully before attempting to install or operate the system. Proper installation and understanding of the system's functions are crucial for optimal performance and security.
2. Information momba ny fiarovana
- Fiarovana herinaratra: Ensure the system is connected to a grounded power outlet. Do not expose the unit to water or excessive moisture. Disconnect power before servicing.
- Fiarovana ny bateria: Use only specified battery types. Dispose of batteries according to local regulations. Do not short-circuit or incinerate batteries.
- Fametrahana: Install the control panel and sensors in locations that are not easily accessible to unauthorized individuals but allow for effective detection. Avoid placing near heat sources or in direct sunlight.
- Serivisy: Refer all servicing to qualified personnel. Unauthorized modifications may void your warranty and compromise system safety.
3. Ny votoatin'ny fonosana
Hamarino fa misy ny singa rehetra ao amin'ny fonosanao:
- Visonic Powermax Pro Control Panel (Model PPROKTE)
- AC Power Adapter
- Rechargeable Backup Battery
- Torolàlana momba ny fampiasana sy ny fametrahana
- Fametrahana Hardware (screws, vatofantsika)
- Note: Additional sensors, keyfobs, and modules are sold separately and may not be included in the base package.
4. Fametrahana
4.1. Initial Power-up and Battery Installation
- Open the control panel casing amin'ny fampiasana tournevis.
- Connect the rechargeable backup battery to the designated connector inside the panel.
- Connect the AC power adapter to the control panel and plug it into a standard 120V electrical outlet. The system will power on.
- Close the control panel casing azo antoka.
The backup battery will begin charging. Allow several hours for a full charge. The system can operate on AC power while the battery charges.
4.2. Fametrahana ny Takelaka Fanaraha-maso
Select a central, secure location for the control panel, away from direct sunlight and moisture. Use the provided mounting hardware to secure the panel to a wall. Ensure the location allows for easy access to power and communication lines (if applicable).
4.3. Connecting Peripherals (Sensors, Keyfobs, etc.)
The Powermax Pro system supports various wireless peripherals. Refer to the individual peripheral's manual for specific pairing instructions. Generally, the process involves:
- Entering the system's installer programming mode.
- Selecting the option to add a new device or zone.
- Activating the peripheral (e.g., pressing a button, triggering a sensor) to allow the control panel to detect it.
- Assigning a zone number and defining the device type (e.g., motion detector, door/window contact).
4.4. GSM, Powerlink, and X-10 Module Setup
If your system includes integrated GSM, Powerlink, or X-10 modules, additional setup is required:
- GSM Module: Requires a compatible GSM SIM card (e.g., T-Mobile or AT&T pay-as-you-go). Insert the SIM card into the designated slot. Configure the system to dial desired phone numbers for alerts. Ensure good cellular reception at the panel's location.
- Powerlink Module: Connect the control panel to your home network via an Ethernet cable. Configure network settings (IP address, port forwarding) as required by your router. This enables remote monitoring and control via a web interface tsara.
- X-10 Module: Requires an external X-10 Powerline Interface (e.g., PSC05) and a specific RJ11 data cable to connect to the control panel. Ensure the internal jumper setting for the X-10 module is set to two-way communication if desired.
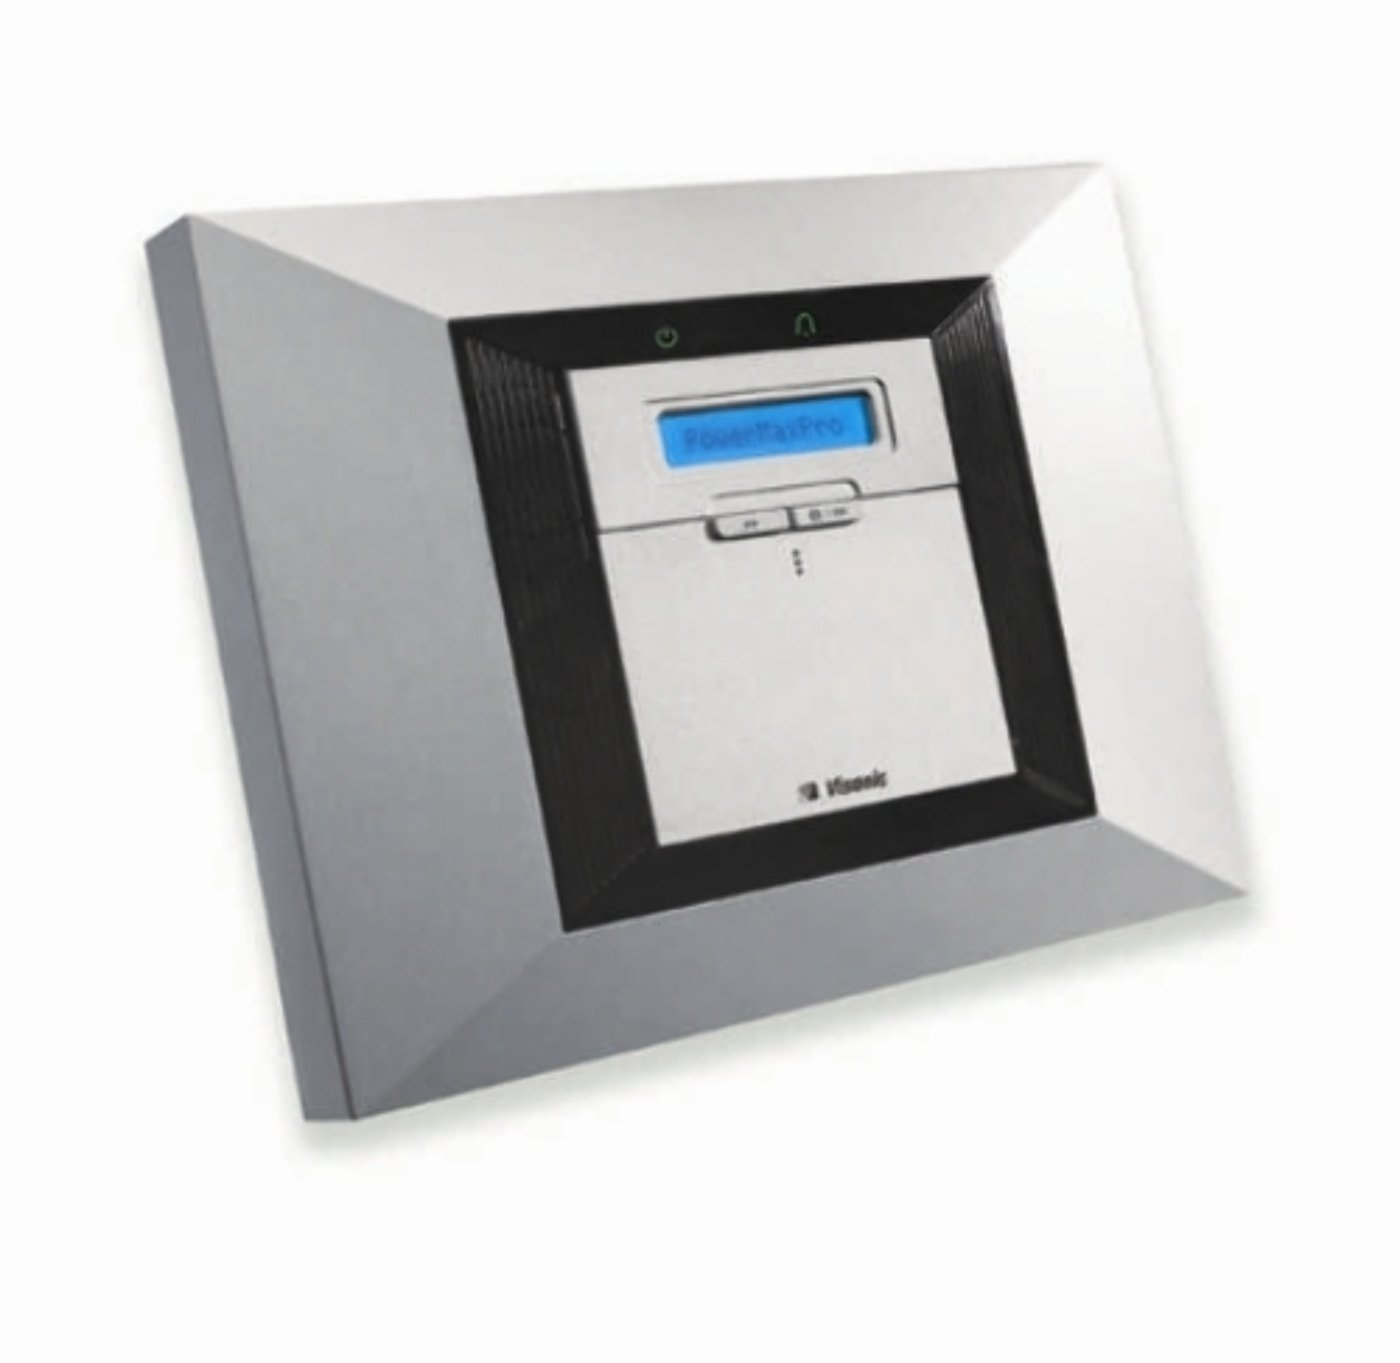
Image: Visonic Powermax Pro Advanced Home Security System Control Panel. This image shows the main unit of the security system, typically mounted on a wall, which serves as the central hub for all connected sensors and communication modules.
5. Fampandehanana ny Rafitra
5.1. Fanomezana fitaovam-piadiana sy fanesorana fitaovam-piadiana
The system can be armed or disarmed using the keypad, a wireless keyfob, or remotely via the Powerlink module.
- To Arm (Away Mode): Enter your user code on the keypad and press the 'Arm' button, or press the 'Arm' button on your keyfob. The system will provide an exit delay countdown.
- To Arm (Home Mode): Enter your user code and press the 'Home' or 'Stay' button. This arms perimeter sensors while allowing movement within the property.
- To Disarm: Enter your user code on the keypad and press the 'Disarm' button, or press the 'Disarm' button on your keyfob.
5.2. Event Monitoring and Alerts
The control panel displays system status and alerts. In case of an alarm, the system will activate sirens, dial pre-programmed numbers (via GSM or landline), and send notifications (via Powerlink).
5.3. Remote Access (Powerlink)
If the Powerlink module is configured, you can access and control your system remotely via a web browser or a dedicated mobile application. This allows for arming/disarming, checking system status, and viewing event logs.
6. Fikojakojana
6.1. Fanoloana bateria
- Control Panel Backup Battery: The system will indicate a low battery warning. Disconnect AC power, open the panel, disconnect the old battery, and connect a new, compatible rechargeable battery. Reconnect AC power.
- Battery Sensor Wireless: Each wireless sensor (e.g., motion detectors, door/window contacts) is powered by its own battery. The system will alert you when a sensor's battery is low. Replace batteries promptly with the specified type and size.
6.2. Fanamarinana ny rafitra
Perform regular system tests (e.g., weekly or monthly) to ensure all sensors are communicating correctly and the alarm functions are operational. Refer to the system's menu for test modes.
6.3. Fanadiovana
Wipe the control panel and sensors with a soft, dry cloth. Do not use abrasive cleaners or solvents, as these can damage the unit's finish or internal components.
7. Famahana olana
| OLANA | Antony mety hitranga | vahaolana |
|---|---|---|
| Tsy mandeha ny rafitra | No AC power; disconnected backup battery | Check AC adapter connection and outlet. Ensure backup battery is properly connected. |
| Hafatra bateria ambany | Control panel or sensor battery is low | For control panel: Ensure AC power is connected and functioning. For sensors: Identify the specific sensor and replace its battery. |
| False Alarms | Improper sensor placement; environmental factors (pets, drafts); faulty sensor | Review sensor placement (e.g., motion detectors away from curtains, vents). Test individual sensors. Clean sensors. |
| GSM Module not communicating | No SIM card; poor cellular reception; incorrect SIM card type | Ensure SIM card is correctly inserted and active. Check cellular signal strength. Verify SIM card compatibility. |
| Powerlink remote access not working | Network connectivity issues; incorrect router settings (port forwarding) | Verify Ethernet cable connection. Check router settings and ensure necessary ports are forwarded. Consult your network administrator if needed. |
If you encounter persistent issues, consult the detailed troubleshooting section in the full installation manual or contact Visonic technical support.
8. Famaritana
- marika: Visonic
- Modely: PPROKTE
- Loharano herinaratra: Jiro elektrika (120 Volts)
- Teknolojia fifandraisana: Wired (for main panel) / Wireless (for sensors)
- Karazana fametrahana: Self-Adhesive (for some sensors)
- Karazana fanairana: Motion (and other sensor types)
- UPC: 780245998293
- ASIN: B00282ME16
- Daty misy voalohany: 5 Jolay 2011
9. Warranty sy fanohanana
The Visonic Powermax Pro Advanced Home Security System is covered by a limited manufacturer's warranty. Please refer to the warranty card included with your product for specific terms and conditions, including warranty period and coverage details.
For technical assistance, troubleshooting beyond this manual, or warranty claims, please contact Visonic customer support. Contact information can typically be found on the manufacturer's official webtoerana na eo amin'ny fonosan'ny vokatrao.