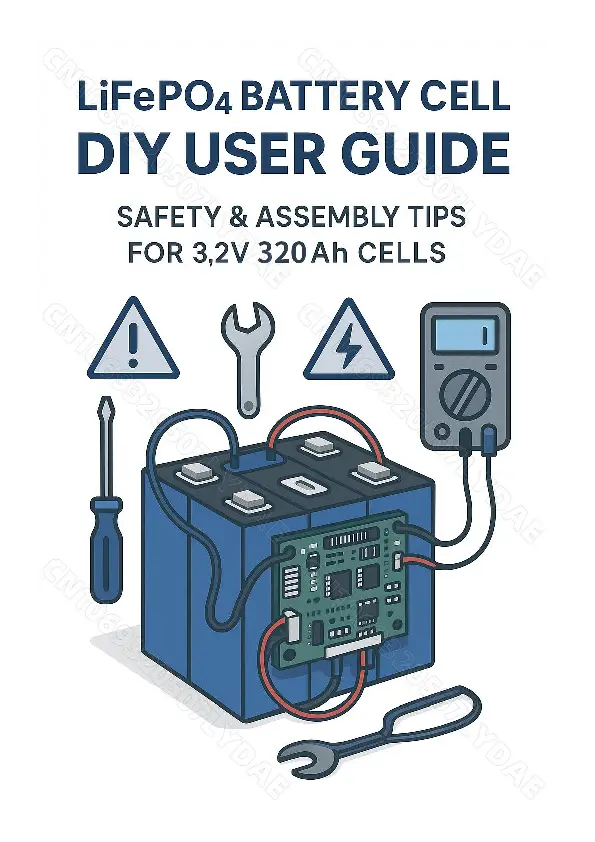
LiFePO4 Battery Cell DIY User Guide
Safety & Assembly Tips for 3.2V 320Ah Cells
General Safety Precautions
When working with LiFePO4 battery cells, safety is paramount. Always follow recommended procedures to prevent hazards.
Visual indicators for safety:
- ⚠️ General Warning
- ⚡ Electrical Hazard / High Power
Tools commonly used in assembly include:
- ? Screwdriver
- ? Wrench
A multimeter (?) is essential for checking voltages.
Safety First
Visuals: Icons representing safety gear: ? (gloves), ? (safety goggles), [book/manual], ? (flammable materials). A person is depicted wearing gloves and goggles while handling a LiFePO4 battery cell.
- Always wear insulated gloves and safety goggles when working with LiFePO4 cells.
- Work in a dry, ventilated area away from flammable materials.
- Ensure no conductive tools or jewelry are near the battery terminals.
LiFePO4 Prismatic Cells and Required BMS
Diagram: Four LiFePO4 prismatic cells are shown connected in series. Each cell has positive (+) and negative (-) terminals. These are connected to a Battery Management System (BMS) unit, indicated by text labels and connection points.
The BMS provides crucial protection functions:
- ⚡ Prevents overcharge
- ⚡ Prevents over-discharge
- ⚡ Prevents overcurrent
- ❌ Prevents short circuit
- ⚙️ Balances cell voltage
Why Choose LiFePO4?
Comparison: A visual comparison is presented between a LiFePO4 battery and a Lead-Acid battery.
LiFePO4 batteries offer several advantages:
- Compact & Lightweight
- High Usable Capacity (80-90%)
- Long Lifespan (4,000-10,000 Cycles)
- ⚡ Fast Charging & Efficient
- Stable Voltage & High Discharge
- Easy Assembly & Low Maintenance
Usage Notes:
- ? Safe Installation
- [BMS] Required
- LiFePO4 Charger Needed
Proper Insulation Is Essential
Diagram: A DIY battery pack is shown, illustrating multiple cells housed together. Arrows indicate areas where pressure should be applied, and a warning symbol is displayed.
DO NOT PRESS DIRECTLY ON TERMINALS.
Proper compression is vital and prevents swelling during charge/discharge cycles.
Visuals: Icons for safety gear (?, ?) and a [BMS] unit are shown.
Insulation Details
Diagram: A single LiFePO4 cell with its terminals is depicted.
Key insulation practices:
- Use insulation tape or [insulation material] between cells.
- ? Inspect the blue PVC film for any damage.
- ❌ Avoid loose [busbars] or connections.
Use a Proper LiFePO4 Charger
Diagram: Two charging scenarios are illustrated:
- A LiFePO4 charger correctly connected to a LiFePO4 battery, marked with a ✔️ (checkmark).
- A Lead-Acid charger incorrectly connected to a LiFePO4 battery, marked with a ❌ (cross mark).
Important charging guidelines:
- Do not use lead-acid chargers.
- Use a LiFePO4-compatible charger only.
- Follow correct voltage and current settings.
LiFePO4 Prismatic Cell Misoperations to Avoid
Diagrams: Several diagrams illustrate common misoperations, each marked with a ❌ (cross mark):
- No reverse polarity: Depicts a battery with positive and negative terminals reversed.
- No short circuit: Shows a battery with its terminals directly connected, causing a short.
- No bending or piercing: Illustrates a battery being bent or pierced.
- No dropping or hitting: Shows a hammer striking a battery.
- No dropping or hitting the cell: Depicts a tool striking battery cell terminals.
Summary of misoperations to avoid:
- No reverse polarity.
- No short circuit.
- No bending or piercing.
- No dropping or hitting the cell.
Maintenance Tips
Visuals: Icons representing tools and scheduling: ? (wrench), ? (calendar), and a multimeter (?).
Regular maintenance ensures longevity and performance:
- Check bolts monthly.
- Monitor cell voltages.
- Charge to 50% for long storage.
- Store in a dry, ventilated place.
- Recharge every 3-6 months.
For further DIY-related questions or detailed information, consult the product supplier or manufacturer.

