
1. Ievads
This manual provides detailed instructions for the installation, operation, and maintenance of your new ATA 43 Inch Full HD LED Smart TV, Model 43S1. Please read this manual thoroughly before using the television to ensure proper functionality and to maximize your viewpieredzi. Saglabājiet šo rokasgrāmatu turpmākai uzziņai.
2. Svarīga drošības informācija
- Barošanas avots: Pārliecinieties, vai televizors ir pievienots strāvas avotam norādītajā sprieguma diapazonā.tage diapazons.
- Ventilācija: Neaizbloķējiet ventilācijas atveres. Nodrošiniet pietiekamu vietu ap televizoru, lai nodrošinātu atbilstošu gaisa cirkulāciju.
- Ūdens un mitrums: Nepakļaujiet televizoru lietum vai mitrumam. Nenovietojiet uz televizora priekšmetus, kas pildīti ar šķidrumu, piemēram, vāzes.
- Tīrīšana: Pirms tīrīšanas atvienojiet televizoru no strāvas. Izmantojiet mīkstu, sausu drānu. Nelietojiet šķidrus tīrīšanas līdzekļus vai aerosolu tīrīšanas līdzekļus.
- Izvietojums: Novietojiet televizoru uz stabilas, līdzenas virsmas. Nenovietojiet to tiešos saules staros vai siltuma avotu tuvumā.
- Apkope: Nemēģiniet apkalpot šo produktu pats. Visu apkopi uzticiet kvalificētam servisa personālam.
3. Iepakojuma saturs
Lūdzu, atzīmējiet izvēles rūtiņu pie šādiem vienumiem:
- ATA 43 Inch Full HD LED Smart TV (Model 43S1)
- Tālvadības pults
- TV statīvs (2 gab.)
- Strāvas vads
- Lietotāja rokasgrāmata (šis dokuments)
- TV statīva skrūves
4. Produkts beidziesview
4.1. Priekšpuse View
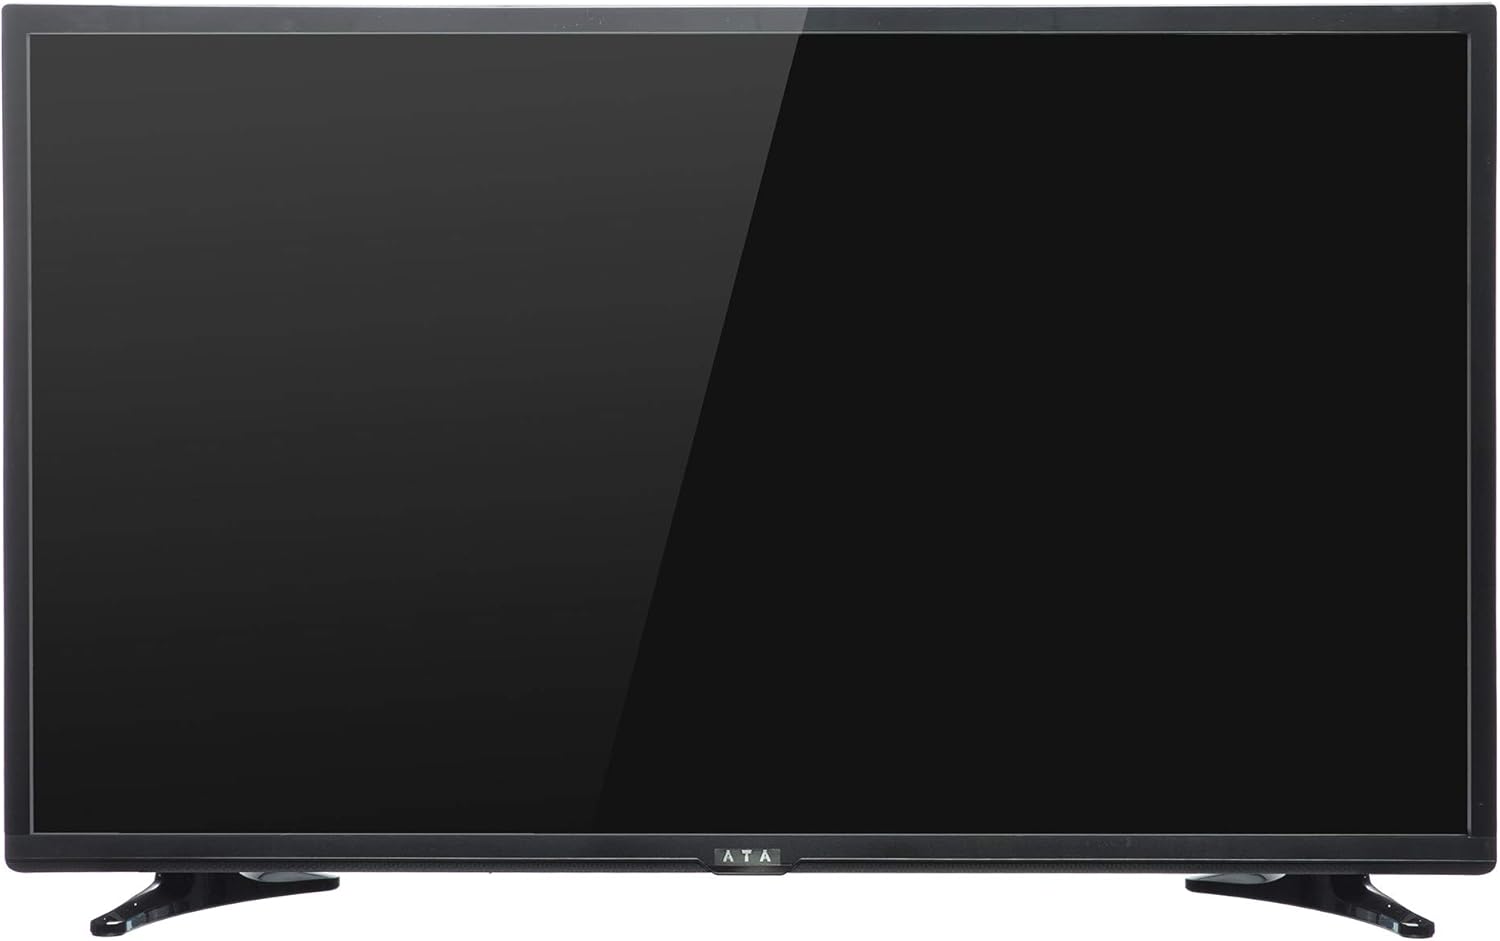
1. attēls: priekšpuse view of the ATA 43 Inch Smart TV. The screen is black, indicating it is powered off or in standby mode. The ATA logo is visible at the bottom center.
The front of the ATA 43S1 TV features a sleek design with a narrow bezel, maximizing the screen area. The ATA brand logo is centrally located at the bottom of the frame. An indicator light (not visible in image) and IR receiver for the remote control are typically located near the logo.
4.2. Aizmugure View

2. attēls: aizmugurē view of the ATA 43 Inch Smart TV. This image displays the back panel, including VESA mounting holes for wall installation and designated areas for input/output ports.
The rear panel of the TV includes VESA mounting points for wall installation (wall mount bracket sold separately). Various input and output ports are located on the side and bottom sections of the back panel for easy access.
4.3. Ievades/izvades porti
Your ATA Smart TV is equipped with a variety of ports to connect external devices.

Image 3: Close-up of the side-facing ports, showing three HDMI ports (HDMI1, HDMI2, HDMI3) and two USB ports (USB2.0, USB2.0).
- HDMI porti (x3): For connecting high-definition devices such as Blu-ray players, gaming consoles, and set-top boxes.
- USB porti (x2): USB atmiņas ierīču pievienošanai multivides atskaņošanai filevai programmatūras atjauninājumiem.

Image 4: Close-up of the bottom-facing ports, including Earphone, RJ45 (Ethernet), PC Audio, PC(VGA), Mini YPbPr, Video, L/R Audio (AV In), and Coaxial.
- RJ45 (Ethernet) ports: Vadu interneta pieslēgumam.
- PC(VGA) Port: Datora pieslēgšanai.
- PC audio ieeja: Audio ieeja VGA savienojumam.
- AV In (Video, L/R Audio): Vecāku ierīču pievienošanai ar kompozītvideo un stereoaudio izejām.
- Mini YPbPr: Komponentu video ieeja.
- Koaksiāls: Antenas vai kabeļtelevīzijas pievienošanai.
- Austiņu ligzda: Austiņu pievienošanai.
4.4. Tālvadības pults

Image 5: The remote control for the ATA Smart TV. It features standard TV controls, navigation buttons, and dedicated function keys.
The remote control allows you to operate all functions of your TV. It includes buttons for power, input source selection, volume control, channel navigation, menu access, smart TV functions, and media playback controls.
- STANDBY (Red Button): Ieslēgšana / izslēgšana.
- AVOTS: Select input source (HDMI, AV, TV, etc.).
- Ciparu pogas (0-9): Tieša kanāla izvēle.
- VOL +/-: Pielāgojiet skaļumu.
- CH +/-: Mainiet kanālus.
- Izslēgt skaņu Izslēgt/ieslēgt skaņu.
- IZVĒLNE: Piekļūstiet galvenajai izvēlnei.
- IEVADIET: Apstipriniet izvēli.
- Navigācijas pogas (augšup/lejup/pa kreisi/pa labi): Pārvietošanās izvēlnēs.
- IZEJA: Iziet no pašreizējās izvēlnes vai funkcijas.
- MĀJAS: Piekļūstiet viedtelevizora sākuma ekrānam.
- P.REŽĪMS / S.REŽĪMS: Picture Mode / Sound Mode.
- SUBTITLE / AUDIO / REFRESH: Specific function buttons.
- PLAY/PAUSE, STOP, FF, FB, PREV, NEXT: Multivides atskaņošanas vadīklas.
5. Iestatīšana
5.1. TV statīva piestiprināšana
- Uzmanīgi novietojiet televizoru ar ekrānu uz leju uz mīkstas, tīras virsmas, lai novērstu ekrāna bojājumus.
- Novietojiet statīva daļas pret atbilstošajām atverēm televizora apakšpusē.
- Nostipriniet statīva daļas, izmantojot komplektā iekļautās skrūves. Pārliecinieties, vai tās ir cieši pievilktas.
- Uzmanīgi paceliet televizoru un novietojiet to uz stabilas, līdzenas virsmas.
Alternatively, you can use a VESA-compatible wall mount (not included) to mount the TV on a wall. Refer to the wall mount's instructions for installation.
5.2. Strāvas pieslēgšana
Pievienojiet strāvas vadu televizora barošanas ieejai un pēc tam otru galu iespraudiet sienas kontaktligzdā. Televizors pārslēgsies gaidstāves režīmā.
5.3. Sākotnējās iestatīšanas vednis
The first time you power on the TV, an initial setup wizard will guide you through basic settings.
- Nospiediet pogu STĀVĒT pogu uz tālvadības pults, lai ieslēgtu televizoru.
- Follow the on-screen prompts to select your preferred language, country/region, and time zone.
- Tīkla savienojums:
- Wi-Fi: Sarakstā atlasiet savu Wi-Fi tīklu un ievadiet paroli.
- Ethernet: If you connected an Ethernet cable to the RJ45 port, the TV should automatically detect the wired connection.
- Complete any remaining steps in the setup wizard, such as channel scanning (if connecting an antenna/cable).
6. Lietošanas instrukcijas
6.1. Ieslēgšana/izslēgšana
- To turn on the TV from standby, press the STĀVĒT pogu uz tālvadības pults.
- Lai televizoru ieslēgtu gaidstāves režīmā, nospiediet STĀVĒT pogu vēlreiz.
6.2. Ievades avota izvēle
To switch between connected devices (e.g., HDMI, AV, TV tuner):
- Nospiediet pogu AVOTS pogu uz tālvadības pults.
- Use the Navigation buttons (Uz augšu/Uz leju) to highlight the desired input source.
- Nospiediet ENTER lai apstiprinātu savu izvēli.
6.3. Skaļuma un kanālu vadība
- Nospiediet VOL+ lai palielinātu apjomu, SKAĻUMS - lai samazinātu skaļumu.
- Nospiediet CH+ to go to the next channel, CH - lai pārietu uz iepriekšējo kanālu.
- Use the Number buttons to directly enter a channel number.
- Nospiediet Klusināt to temporarily turn off the sound. Press again to restore.
6.4. Smart TV Features (Android 4.4.2)
Your TV runs on Android 4.4.2, providing access to various smart features and applications.
- Nospiediet pogu MĀJAS button on the remote to access the Smart TV home screen.
- From the home screen, you can navigate to pre-installed applications or access settings.
- Ensure your TV is connected to the internet via Wi-Fi or Ethernet to utilize online features.
- Use the Navigation buttons and ENTER to select and launch applications.
7. Apkope
- Ekrāna tīrīšana: Viegli noslaukiet ekrānu ar mīkstu, nepūkošu drānu. Noturīgu traipu gadījumā nedaudz noslaukietampNoslaukiet drānu ar ūdeni vai specializētu ekrāna tīrīšanas līdzekli (nesmidziniet tieši uz ekrāna).
- Skapja tīrīšana: Televizora korpusa noslaukšanai izmantojiet mīkstu, sausu drānu. Nelietojiet abrazīvus tīrīšanas līdzekļus vai šķīdinātājus.
- Putekļu noņemšana: Regularly dust the ventilation openings on the back of the TV to prevent overheating.
- Strāvas vads: Periodically check the power cord for any damage. If damaged, contact service personnel for replacement.
8. Traucējummeklēšana
| Problēma | Iespējamais cēlonis | Risinājums |
|---|---|---|
| Nav jaudas | Strāvas vads nav pievienots; strāvas kontaktligzda nedarbojas. | Pārliecinieties, vai strāvas vads ir droši pievienots. Pārbaudiet kontaktligzdu ar citu ierīci. |
| Nav attēla, bet ir skaņa | Izvēlēts nepareizs ievades avots; Problēma ar fona apgaismojumu. | Nospiediet pogu AVOTS button to select the correct input. Check picture settings. |
| Nav skaņas, bet attēls ir | Skaļums ir izslēgts vai pārāk zems; Audio kabeļi nav pareizi pievienoti. | Nospiediet Klusināt or increase volume. Check audio cable connections. |
| Tālvadības pults nedarbojas | Baterijas ir izlādējušās vai nepareizi ievietotas; šķērslis starp tālvadības pulti un televizoru. | Replace batteries. Ensure line of sight to the TV's IR receiver. |
| Nevar izveidot savienojumu ar Wi-Fi | Nepareiza parole; problēma ar maršrutētāju; televizors atrodas pārāk tālu no maršrutētāja. | Verify Wi-Fi password. Restart router. Move TV closer or use Ethernet. |
9. Specifikācijas
| Funkcija | Detaļas |
|---|---|
| Zīmols | ATA |
| Modeļa numurs | 43S1 (ATA43FOS) |
| Ekrāna izmērs | 43 collas |
| Displeja veids | LED FHD |
| Izšķirtspēja | 1920 x 1080 (Full HD) |
| Atsvaidzināšanas biežums | 60 Hz |
| Operētājsistēma | Android 4.4.2 |
| Savienojamības tehnoloģija | HDMI (x3), USB (x2), VGA, Ethernet (RJ45) |
| Īpašas funkcijas | Smart TV functionality, Flat Screen |
| Produkta izmēri (D x P x A) | 9 x 96.5 x 56 cm |
| Preces svars | 6.01 kg |
| Iekļautie komponenti | Televizors, Statīvs |
10. Garantija un atbalsts
For warranty information, please refer to the warranty card included with your product or contact your local ATA authorized dealer or service center. Keep your purchase receipt as proof of purchase for warranty claims.
For technical support or service inquiries, please contact ATA customer service through their official webvietni vai kontaktinformāciju, kas sniegta jūsu produkta dokumentācijā.