
JEYI I9-Seal
„JEYI I9-Seal M.2 NVMe SSD“ korpuso naudotojo vadovas
Model: I9-Seal
Įvadas
This manual provides comprehensive instructions for the installation, operation, and maintenance of your JEYI I9-Seal M.2 NVMe SSD Enclosure. This device converts an NVMe M.2 solid-state drive into a portable external storage solution with high-speed USB 3.2 Gen 2 connectivity.
Pakuotės turinys
Patikrinkite, ar jūsų siuntinyje yra visi toliau išvardyti daiktai:
- JEYI M.2 NVMe SSD Enclosure
- Terminiai įklotai
- Atsuktuvas
- USB-A to USB-C Cable (10Gbps)
- USB-C to USB-C Cable (10Gbps)
- Virvelė

Sąrankos instrukcijos
Follow these steps to install your NVMe M.2 SSD into the JEYI I9-Seal enclosure:
- Paruoškite korpusą: Gently slide open the enclosure to reveal the internal PCB.
- Užtepkite terminį padėklą: Peel off the protective films from both sides of a thermal pad and carefully place it onto the NVMe SSD chip area. This aids in heat dissipation.
- Insert NVMe SSD: Align your NVMe M.2 SSD (2280 form factor only) with the M-Key slot on the PCB. Insert the SSD firmly but gently into the slot at an angle.
- Apsaugokite SSD diską: Once inserted, gently push down the SSD and secure it with the provided screw using the included screwdriver. Ensure the SSD is flat and securely fastened.
- Uždarykite korpusą: Carefully slide the enclosure cover back into place until it clicks securely.


Naudojimo instrukcijos
Once your NVMe SSD is securely installed, connect the enclosure to your device:
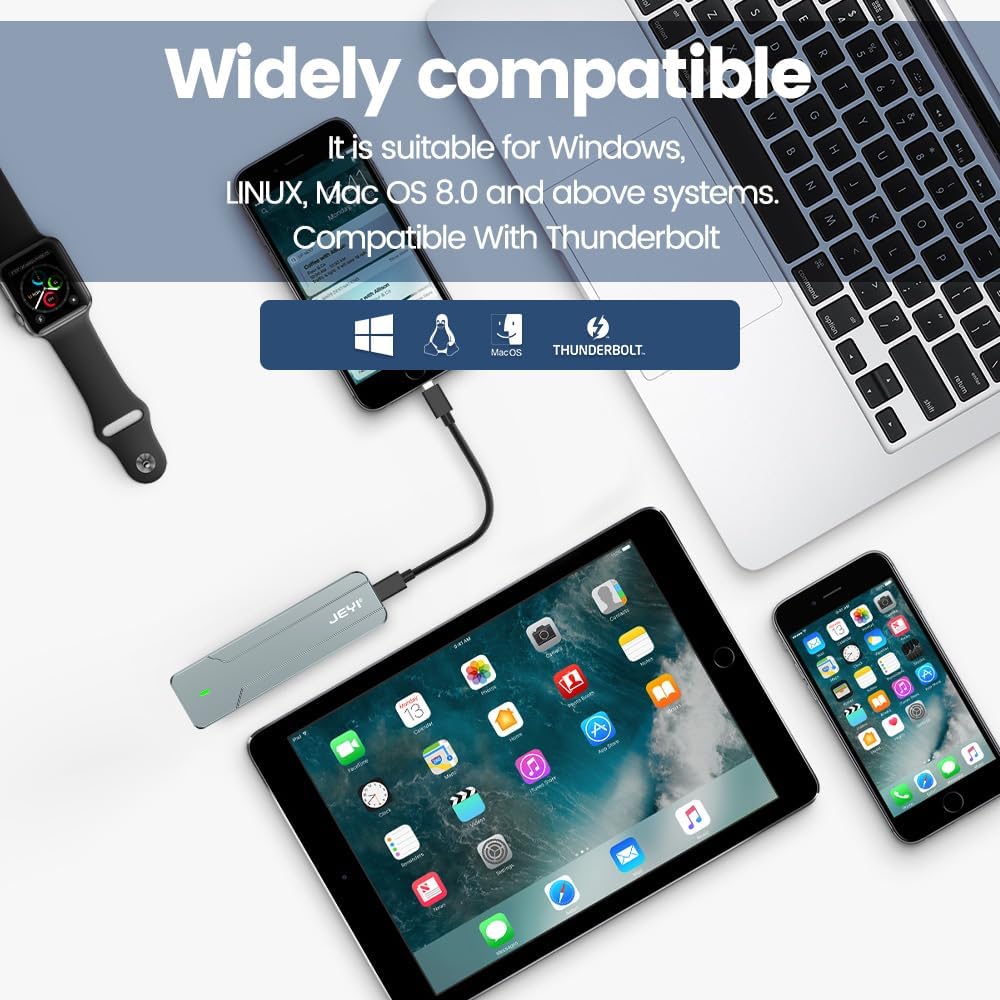
- Prisijunkite prie įrenginio: Use either the provided USB-C to USB-C cable or the USB-A to USB-C cable to connect the enclosure to a compatible USB port on your computer, smartphone, tablet, or game console.
- Maitinimo indikatorius: A small LED indicator on the enclosure will illuminate, signifying that the device is powered on and connected.
- Disk Recognition: Your operating system (Windows, macOS, Linux, Android, iOS) should automatically detect the new storage device. If it's a new SSD, you may need to initialize and format it through Disk Management (Windows) or Disk Utility (macOS) before use.
- Duomenų perdavimas: You can now perform data backup, file transfers, disk upgrades, data recovery, or use it for storage expansion. The enclosure supports USB 3.2 Gen 2 speeds up to 10Gbps.

Priežiūra
To ensure optimal performance and longevity of your JEYI I9-Seal enclosure:
- Šilumos valdymas: Aliuminio casing and thermal pads are designed for efficient heat dissipation. During prolonged high-speed data transfers, the enclosure may become warm to the touch. This is normal and indicates effective heat transfer from the SSD.
- Valymas: Korpuso išorę valykite minkšta, sausa šluoste. Venkite naudoti skystus valiklius ar tirpiklius.
- Saugykla: Kai nenaudojate, laikykite korpusą vėsioje, sausoje vietoje, apsaugotoje nuo tiesioginių saulės spindulių ir ekstremalių temperatūrų.
- Kabelio priežiūra: Handle the USB cables carefully. Avoid sharp bends or excessive pulling to prevent damage.
Trikčių šalinimas
| Problema | Galima priežastis | Sprendimas |
|---|---|---|
| Kompiuteris neaptiko korpuso. |
|
|
| Lėtas duomenų perdavimo greitis. |
|
|
| Enclosure gets very hot. |
|
|
Specifikacijos
| Funkcija | Detalė |
|---|---|
| Modelis | I9-Seal |
| Prekės ženklas | JEYI |
| Techninės įrangos sąsaja | USB 3.2 Gen 2 (USB-C) |
| Duomenų perdavimo sparta | Iki 10 Gbps |
| Suderinamas SSD tipas | NVMe M.2 (PCI-E M-Key) |
| Supported SSD Form Factor | 2280 (80mm) only |
| Maksimali saugojimo talpa | 4 TB |
| Lustų rinkinys | JMS583 A3 |
| Savybės | UASP Support, TRIM Support, Win to Go (WTG) Support |
| Medžiaga | Aliuminio lydinys |
| Spalva | Sidabras |
| Gaminio matmenys | 4.06 x 1.02 x 0.39 colio (103 x 26 x 10 mm) |
| Prekės svoris | 0.317 uncijos (9 gramų) |
| Suderinamos operacinės sistemos | „Windows“, „MacOS“, „Linux“, „iOS“, „Android“. |

Garantija ir palaikymas
For warranty information or technical support, please refer to the official JEYI websvetainėje arba susisiekite tiesiogiai su jų klientų aptarnavimo tarnyba. Išsami informacija apie konkrečius garantinius laikotarpius ir pagalbos kanalus paprastai pateikiama kartu su pirkimo dokumentais arba gamintojo websvetainę.
Gamintojas: JEYI
Websvetainė: Visit the JEYI Store on Amazon
Ask a question about this manual
Ask about setup, troubleshooting, compatibility, parts, safety, or missing instructions. Manuals+ will review the question and use this page’s manual context to help answer it.