Įvadas
This manual provides essential information for the safe and efficient operation, maintenance, and troubleshooting of your Sealey SAC5020A 50L Direct Drive Air Compressor. The compressor features an aluminium cylinder head with a cast iron cylinder for enhanced wear resistance, making it suitable for general-purpose workshop applications. Its pump head is directly coupled to a heavy-duty induction motor, ensuring reliable and quiet operation. The precision-welded receiver tank complies with the Pressure Vessel Directive. It is equipped with a fully automatic pressure cut-out switch and twin gauges to display both tank and working pressures. The unit is supplied with a 3-pin plug.
Saugos informacija
Visada laikykitės šių saugos priemonių, kad išvengtumėte sužalojimų ar įrangos sugadinimo:
- Prieš naudodami kompresorių, perskaitykite ir supraskite visas instrukcijas.
- Ensure the compressor is placed on a level, stable surface in a well-ventilated area.
- Dėvėkite tinkamas asmenines apsaugos priemones (AAP), įskaitant akių ir klausos apsaugos priemones.
- Nenaudokite kompresoriaus damp arba drėgnomis sąlygomis, arba esant degiems skysčiams ar dujoms.
- Always disconnect the compressor from the power supply before performing any maintenance or adjustments.
- Niekada nenukreipkite suslėgto oro į žmones ar gyvūnus.
- Regularly inspect the air tank for signs of corrosion or damage. Do not use a damaged tank.
- Prieš naudodami įsitikinkite, kad visos jungtys yra tvirtos ir be nuotėkių.
- Do not modify the compressor or its safety devices.
Išpakavimas ir sąranka
Carefully remove the compressor from its packaging. Inspect the unit for any signs of shipping damage. If damage is found, contact your supplier immediately.
Component Identification and Dimensions

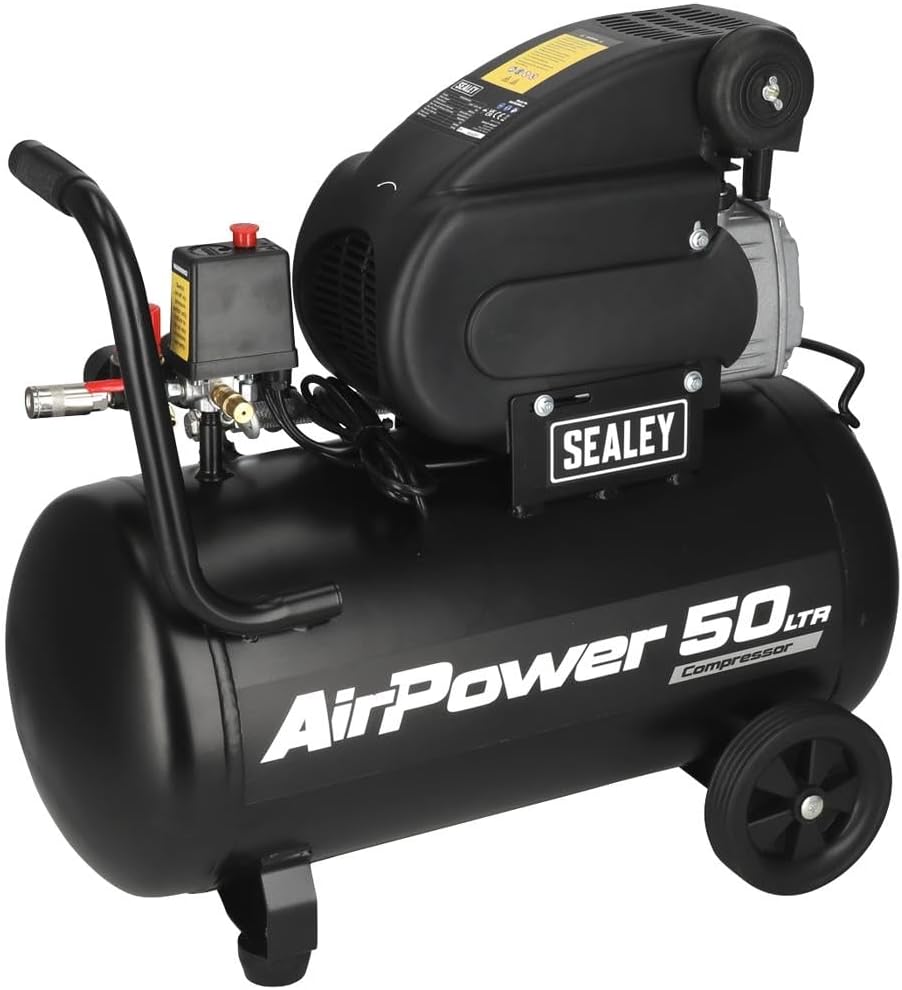
1 paveikslas: Overall dimensions of the Sealey SAC5020A 50L Direct Drive Air Compressor. The image shows the compressor with its tank, motor, handle, wheels, and control panel, indicating a width of 705mm, a height of 600mm, and a depth of 300mm.
Familiarize yourself with the main components of your compressor. Refer to Figure 1 for an overview of the unit's dimensions and general layout.
Surinkimas
- Pritvirtinkite ratus: Securely attach the wheels to the compressor base using the provided hardware.
- Pritvirtinkite rankeną: Mount the transport handle to the designated points on the compressor body.
- Padėties nustatymas: Place the compressor on a firm, level surface. Ensure there is adequate space around the unit for ventilation.
Elektrinis sujungimas
Connect the compressor to a suitable grounded power outlet. Ensure the power supply matches the voltage and frequency specifications of the compressor (typically 230V, 50Hz for this model). The unit is fitted with a 3-pin plug.
Initial Run-in Procedure
Before first use, or after extended storage, perform a brief run-in:
- Open the air outlet valve completely to allow air to escape freely.
- Switch on the compressor and let it run for approximately 15-20 minutes without building pressure. This helps to lubricate internal components.
- Switch off the compressor and close the air outlet valve.
Naudojimo instrukcijos
Controls and Gauges

2 paveikslas: Iš arti view of the twin pressure gauges. One gauge displays the tank pressure, and the other displays the regulated working pressure.
3 paveikslas: The pressure cut-out switch (black box with yellow warning label) and the red pressure regulator knob, along with the quick-connect air outlet.
- Slėgio jungiklis: The black box (Figure 3) automatically turns the compressor on and off to maintain tank pressure.
- Bako slėgio matuoklis: Displays the current pressure inside the air tank (Figure 2).
- Working Pressure Gauge: Displays the pressure of the air being supplied to your tools, adjustable via the regulator (Figure 2).
- Slėgio reguliatorius: The red knob (Figure 3) allows you to adjust the working pressure. Turn clockwise to increase pressure, counter-clockwise to decrease.
- Quick-Connect Air Outlet: For attaching air hoses and tools (Figure 3).
Kompresoriaus paleidimas
- Įsitikinkite, kad išleidimo vožtuvas bako apačioje yra uždarytas.
- Plug the compressor into a suitable power outlet.
- Turn the main power switch to the "ON" position. The compressor will start to build pressure.
- Once the tank reaches its maximum pressure, the compressor will automatically shut off.
Connecting and Using Air Tools
- Connect your air hose to the quick-connect air outlet.
- Attach your air tool to the other end of the hose.
- Adjust the working pressure using the red regulator knob to suit the requirements of your air tool. Monitor the working pressure gauge.
- Begin using your air tool. The compressor will cycle on and off automatically to maintain pressure as needed.
Išsijungia
- Pasukite pagrindinį maitinimo jungiklį į padėtį „IŠJUNGTA“.
- Atjunkite oro žarną ir įrankius.
- Slowly open the drain valve at the bottom of the tank to release any condensed moisture and residual air pressure. Close the valve once the tank is empty.
Priežiūra
Reguliarus techninis aptarnavimas užtikrina jūsų oro kompresoriaus ilgaamžiškumą ir saugų veikimą.
Kasdien/po kiekvieno naudojimo
- Kondensato išleidimas: After each use, or daily if used frequently, open the drain valve at the bottom of the air tank to release accumulated moisture. This prevents rust and corrosion inside the tank.
Weekly/Monthly
- Patikrinkite oro filtrą: Check the air filter for dirt and debris. Clean or replace if necessary to ensure proper airflow to the pump.
- Patikrinkite, ar nėra nuotėkių: Listen for any air leaks around fittings, hoses, and valves. Tighten connections as needed. A soapy water solution can help identify small leaks.
- Patikrinkite žarnas ir jungiamąsias detales: Examine air hoses for cracks, cuts, or wear. Replace damaged hoses immediately. Ensure all quick-connect fittings are functioning correctly.
- Patikrinkite maitinimo laidą: Check the power cord for any damage, fraying, or exposed wires.
Kasmet
- Cisternos apžiūra: Visually inspect the air tank for any signs of external corrosion, dents, or damage. If any damage is found, do not use the compressor and seek professional inspection.
- Apsauginio vožtuvo patikrinimas: Briefly pull the ring on the safety relief valve to ensure it operates freely and reseats properly.
For any maintenance beyond these basic steps, it is recommended to consult a qualified service technician.
Trikčių šalinimas
This section provides solutions to common issues you may encounter with your air compressor.
| Problema | Galima priežastis | Sprendimas |
|---|---|---|
| Kompresorius neįsijungia. |
|
|
| Kompresorius veikia nuolat arba per dažnai cikliškai. |
|
|
| Low air pressure at outlet. |
|
|
| Per didelis triukšmas ar vibracija. |
|
|
Specifikacijos
| Funkcija | Detalė |
|---|---|
| Prekės ženklas | Sealey |
| Modelio numeris | SAC5020A |
| Maitinimo šaltinis | AC |
| Didžiausia galia | 2 arklio galių |
| Variklio arklio galia | 2 arklio galių |
| Bako tūris | 50 litrai |
| Oro srauto talpa | 6.8 kubinių pėdų per minutę (CFM) |
| Prekės svoris | 32980 gramai (apie 33 kg) |
| Ypatinga funkcija | Tylus veikimas |
| Įtraukti komponentai | 50ltr Direct Drive Compressor 2hp |
| Rekomenduojami naudojimo būdai | Bolting, Drilling, Spraying, Sanding, Grinding, Tire Inflation |
Informacija apie garantiją
This Sealey product is covered by a manufacturer's warranty against defects in materials and workmanship. The specific terms and duration of the warranty may vary by region and purchase date. Please retain your proof of purchase for warranty claims.
For detailed warranty information, please refer to the warranty card included with your product or visit the official Sealey websvetainę.
Palaikymas ir kontaktai
Should you require technical assistance, spare parts, or have any questions regarding your Sealey SAC5020A air compressor, please contact Sealey customer support or your authorized dealer.
Sealey oficialus Websvetainė: www.sealey.co.uk
Please have your model number (SAC5020A) and serial number (if applicable) ready when contacting support.