
Įvadas
Thank you for choosing the VonHaus Electric HVLP Spray Gun. This manual provides essential information for the safe and effective use, maintenance, and troubleshooting of your new paint sprayer. Please read these instructions thoroughly before initial use and retain them for future reference.

The VonHaus Electric HVLP Spray Gun, including the main unit, spray gun attachment, air hose, and cleaning tools.
Saugos informacija
ĮSPĖJIMAS: Naudodami elektros prietaisus, visada laikykitės pagrindinių saugos priemonių, kad sumažintumėte gaisro, elektros smūgio ir sužalojimo riziką.
- Perskaitykite visas instrukcijas: Susipažinkite su įrangos valdikliais ir tinkamu naudojimu.
- Dėvėkite tinkamas asmenines apsaugos priemones (AAP): This includes safety glasses, a respirator mask, gloves, and protective clothing.
- Užtikrinkite tinkamą vėdinimą: Use the spray gun in a well-ventilated area to avoid inhaling fumes.
- Degios medžiagos: Nepurkškite degių medžiagų šalia atviros liepsnos, uždegimo liepsnų ar kitų uždegimo šaltinių.
- Elektros sauga: Ensure the power cord is undamaged and connected to a grounded outlet. Do not expose the unit to rain or wet conditions.
- Laikykite vaikus ir pašalinius asmenis atokiai: Neleiskite vaikams ar neapmokytiems asmenims naudoti purškimo pistoleto.
- Tvirtas ruošinys: Always ensure the item being sprayed is stable and secure.
- Valymas: Visada atjunkite maitinimą prieš valydami arba atlikdami techninę priežiūrą.
Produkto komponentai
The VonHaus Electric HVLP Spray Gun consists of several key parts:
- Variklio blokas: The main power unit that generates airflow.
- Purkštuvas: The handheld component where paint is atomized and sprayed.
- Oro žarna: Connects the motor unit to the spray gun.
- Dažų konteineris: Attaches to the spray gun to hold the paint material.
- Nozzle/Air Cap: Controls the spray pattern.
- Srauto valdymo rankenėlė: Adjusts the volume of paint sprayed.
- Viscosity Cup: Used for measuring paint viscosity.
- Cleaning Brush & Needle: For maintenance and cleaning.

Iš arti view of the spray gun's trigger, flow control knob, and adjustable valve, which allow for precise control over paint application.
Sąranka
1. Material Preparation (Thinning & Straining)
Proper material preparation is crucial for optimal spray performance and to prevent clogging. Always refer to the paint manufacturer's instructions for thinning recommendations.
- Stir thoroughly: Always stir the spraying material thoroughly before measuring viscosity.
- Measure viscosity: Use the provided viscosity cup. Dip the cup completely into the material and measure the time in seconds until the cup empties. This is the 'Runout Time'.
- Retinimas: If the runout time is too long, thin the material with the appropriate solvent (e.g., water for latex, mineral spirits for oil-based paints) until the desired viscosity is achieved. Do not use materials with a flashpoint below 102°F (39°C). Maximum viscosity: 60 DIN-S.
- Strain material: Always strain the prepared material to remove any impurities or lumps that could clog the nozzle.

Diagram illustrating the use of the viscosity cup and a thinning chart providing recommended runout times for various materials like oil enamel, oil-based primer, oil stain, clear sealer, polyurethane, and varnish.
2. Surinkimas
- Connect the air hose to both the motor unit and the spray gun securely.
- Fill the paint container with your prepared and strained material.
- Attach the filled paint container to the spray gun, ensuring it is tightly sealed.
- Select the desired spray pattern by rotating the air cap.
Operacija
1. Purškimo schemų reguliavimas
The spray gun offers three adjustable spray patterns: horizontal, vertical, and circular. To change the pattern, rotate the air cap to align the 'ears' with the desired orientation:
- Horizontalus: For spraying up and down motions.
- Vertikalus: For spraying side-to-side motions.
- Aplinkraštis: Mažiems plotams arba detaliam darbui.
2. Srauto valdymas
The flow control knob on the spray gun allows you to adjust the volume of paint being sprayed. Turn the knob clockwise to decrease flow and counter-clockwise to increase flow. Always test on a scrap piece of material to find the optimal setting.
3. Purškimo technika
- Atstumas: Laikykite purškimo pistoletą maždaug 15–30 cm (6–12 colių) atstumu nuo paviršiaus.
- Judėjimas: Move the gun in smooth, even strokes, keeping it perpendicular to the surface. Overlap each pass by about 50% to ensure even coverage.
- Trigger control: Press the trigger fully to start spraying and release it at the end of each stroke.
- Praktika: Always practice on a piece of scrap material to get a feel for the spray pattern and flow before starting your project.

A user demonstrating the VonHaus Electric HVLP Spray Gun in action, applying paint to a wooden surface, showcasing its use for outdoor projects.
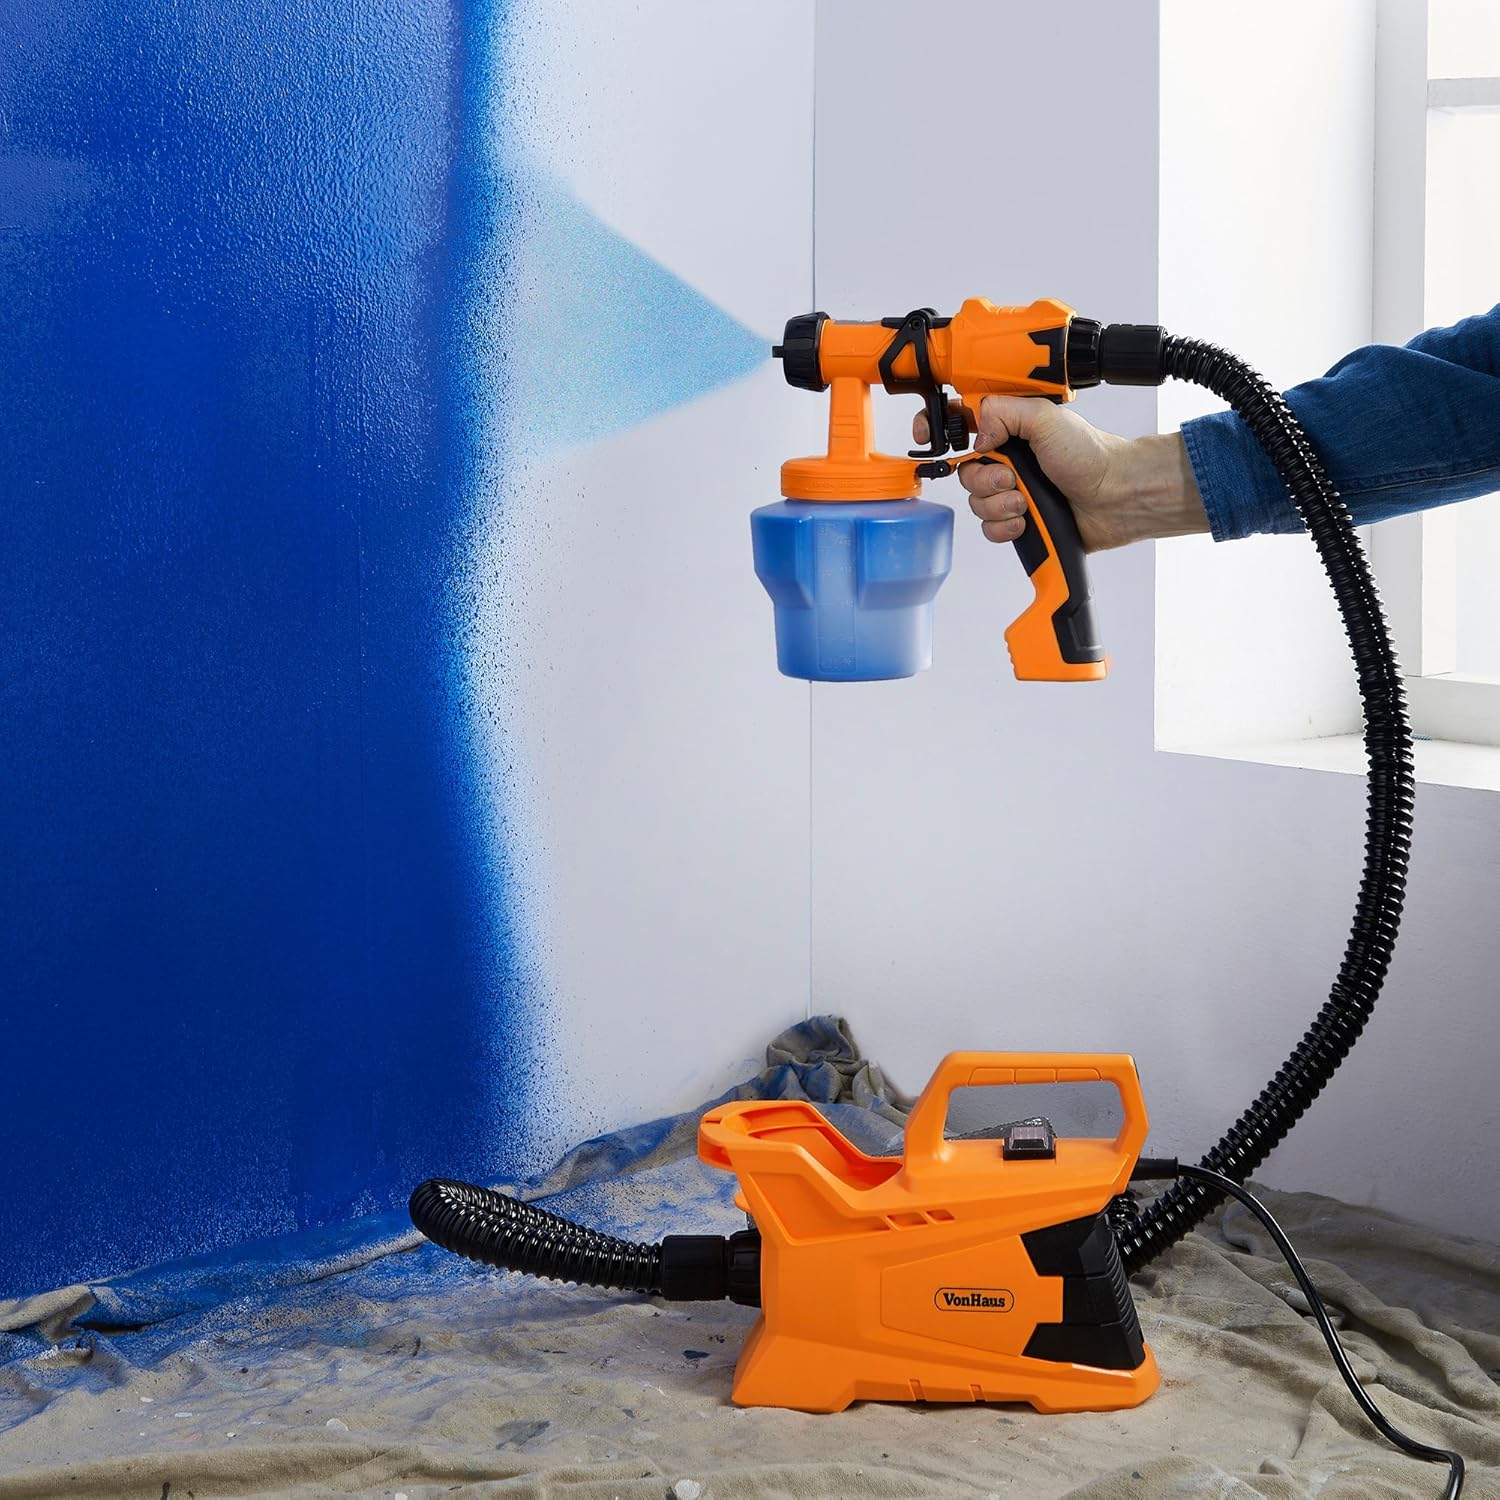
The VonHaus Electric HVLP Spray Gun being used to paint an indoor wall, illustrating its versatility for various painting tasks.
Priežiūra
Thorough cleaning after each use is essential to prolong the life of your spray gun and ensure consistent performance.
1. Valymo procedūra
- Atjungti maitinimą: Prieš valydami, visada atjunkite įrenginį nuo maitinimo šaltinio.
- Empty container: Empty any remaining paint from the container back into its original can.
- Rinse container: Fill the container with the appropriate cleaning solution (water for latex, solvent for oil-based paints) and spray it through the gun into a waste container until clear.
- Išardyti: Unscrew the paint container, remove the air cap, nozzle, and needle.
- Švarūs komponentai: Use the provided cleaning brush and needle to thoroughly clean all disassembled parts, including the container, air cap, nozzle, and fluid tip. Pay special attention to small holes and crevices.
- Wipe down: Wipe the exterior of the spray gun and motor unit with a damp audinys.
- Dry and reassemble: Ensure all parts are completely dry before reassembling the spray gun.

A user cleaning the paint container and spray gun components under running water in a sink, demonstrating the ease of post-project cleanup.
2. Sandėliavimas
Store the cleaned and reassembled spray gun in a dry, cool place, away from direct sunlight and out of reach of children.
Trikčių šalinimas
| Problema | Galima priežastis | Sprendimas |
|---|---|---|
| Nepurškiama arba purškiama silpnai | Clogged nozzle/fluid tip; Insufficient material; Air hose disconnected; Motor unit not running. | Clean nozzle/fluid tip; Refill container; Check air hose connection; Ensure power is on and motor is running. |
| Netolygus purškimo raštas | Incorrect air cap setting; Material too thick; Partially clogged nozzle. | Adjust air cap; Thin material further; Clean nozzle thoroughly. |
| Dažų taškymasis arba lašėjimas | Material too thin; Nozzle loose; Air cap not seated correctly; Low material level. | Thicken material slightly; Tighten nozzle; Re-seat air cap; Refill container. |
| Motor unit overheating | Prolonged continuous use; Blocked air vents. | Allow unit to cool down; Clear any obstructions from air vents. |
Specifikacijos
- Prekinis ženklas: VonHaus
- Modelis: B079TYFFZY
- Stiliaus pavadinimas: Pistoletas
- Purškimo raštai: 3 (Horizontal, Vertical, Circular)
- Srauto valdymas: Reguliuojamas
- Maksimalus klampumas: 60 DIN-S (approximate, refer to thinning chart)
Garantija ir palaikymas
For warranty information or technical support, please refer to the documentation provided at the time of purchase or contact VonHaus customer service directly. Keep your proof of purchase for any warranty claims.
For further assistance, visit the official VonHaus websvetainėje arba susisiekite su klientų aptarnavimo komanda.