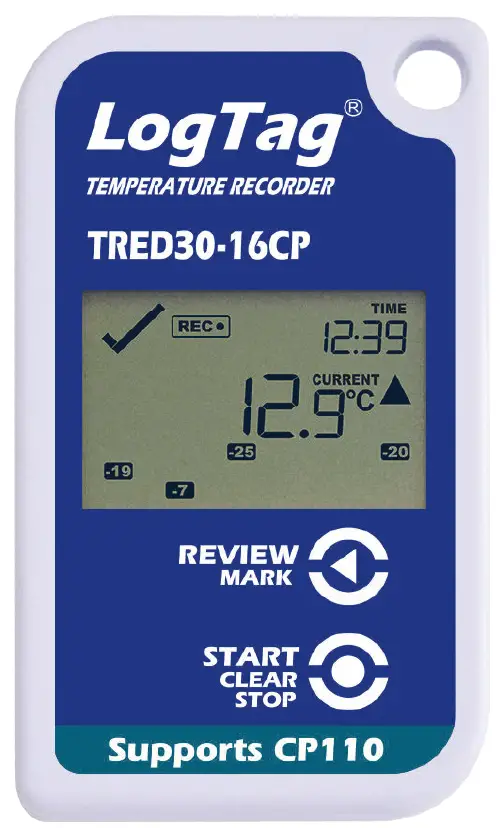
LogTag TRED30-16CP External Probe LCD Temperature Data Logger
Product Information
Specifications
- Model: TRED30-16CP
- Quick Start Guide Version: A
- Website: www.logtagrecorders.com
Downloading LogTag Analyzer
To download the latest LogTag Analyzer, open your browser and navigate to:
https://logtagrecorders.com/software/LTA3/
- Click ‘Go to downloads page’ to take you to the download page.
- Click ‘Download Now’ to start the download.
- Click ‘Run’ or ‘Save File’, then double-click the downloaded file to open the LogTag Analyzer Setup Wizard.
Warning: Please ensure no other LogTag software is currently running on your computer before running the Analyzer software
During Recording
To reset Min/Max temperatures, refer to the Product User Guide.
Downloading LogTag Analyzer continued.
- Follow the on-screen prompts to install LogTag Analyzer.
- Click ‘Finish’ to exit the LogTag Analyzer Setup Wizard.
Note: If you already have LogTag Analyzer installed, please see whether you need to update to the latest version by clicking ‘Check Internet for updates’ from the ‘Help’ menu.
Configuring your TRED30-16CP
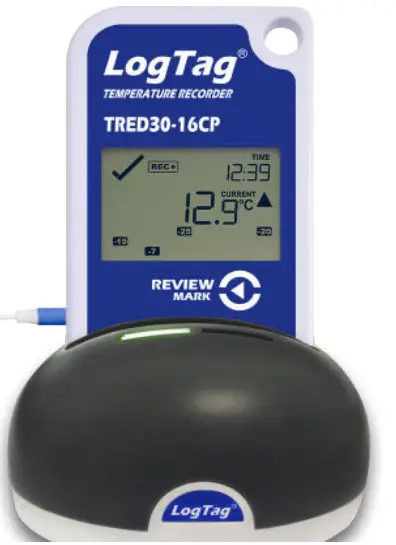
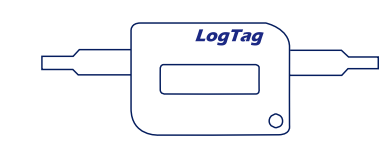
Dock your TRED30-16CP into a LogTag interface cradle then connect your interface cradle to your computer via the provided USB cable. The USB socket on the interface is located at the back of the interface cradle.
- Open LogTag Analyzer.
- Click ‘Configure’ from the ‘LogTag’ menu or click the ‘Wizard’ icon.
- Adjust your logger configuration settings as required. For more information on configuration settings, please refer to Configuring TRED30-16CP in the Product User Guide or press ‘F1’ for help from your keyboard. (Smart Probe: To enable smart probe logging, navigate to the ‘Additional Features’ tab, then select ‘Enable Smart Probe’)
- Click ‘Configure’ to upload the configuration settings to the logger.
- Click ‘Close’ to exit the configuration page.
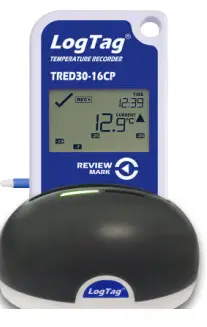
Starting your TRED30-16CP
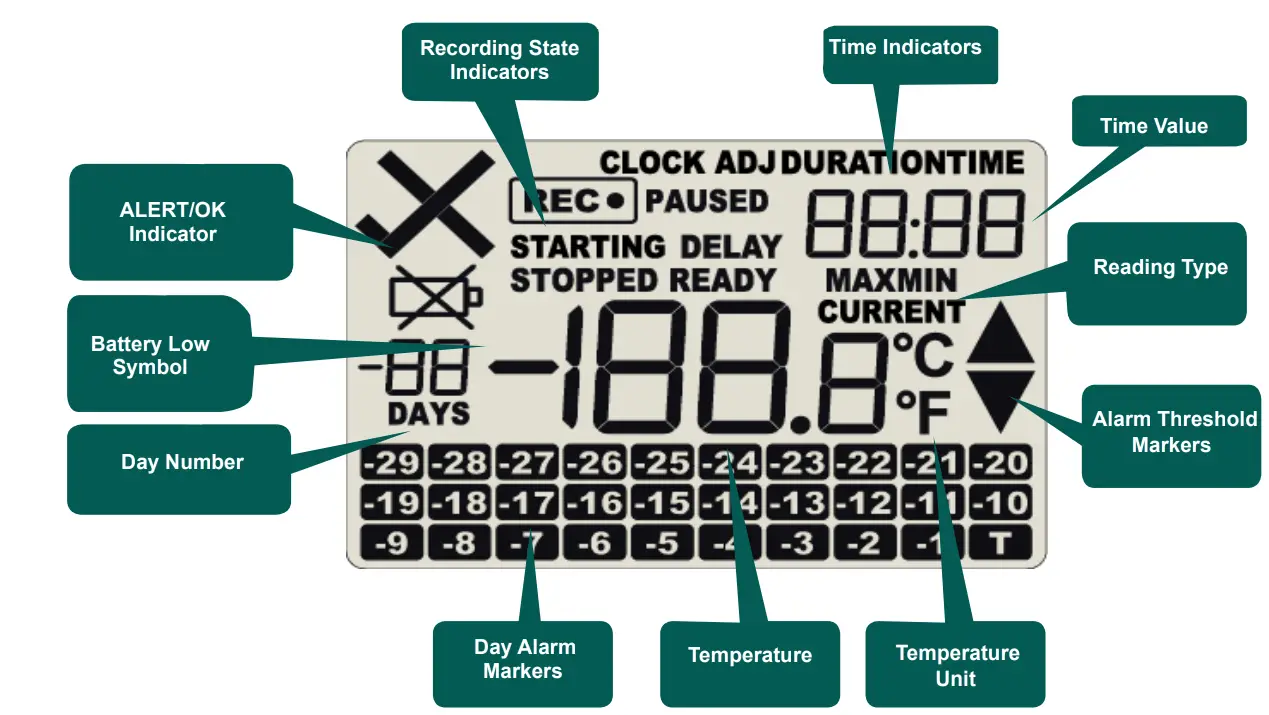
Display overview
 Please ensure the sensor is connected before starting your TRED30-16CP.
- Press and hold the START/CLEAR/STOP button.
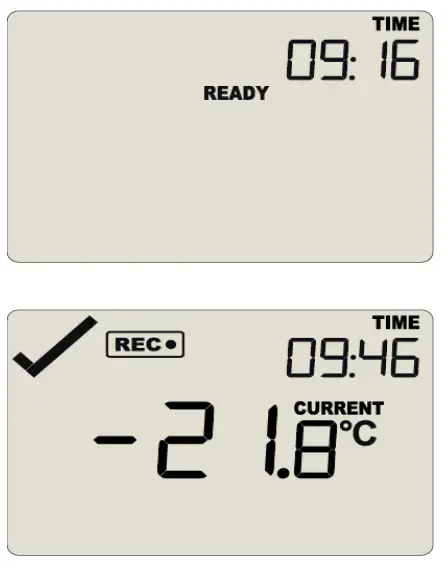
- Continue to hold while
- ‘STARTING’ is shown. Release the button when ‘READY’ disappears.
- The TRED30-16CP now records temperature data.
During Recording
Reset Trip Min/Max Temperatures
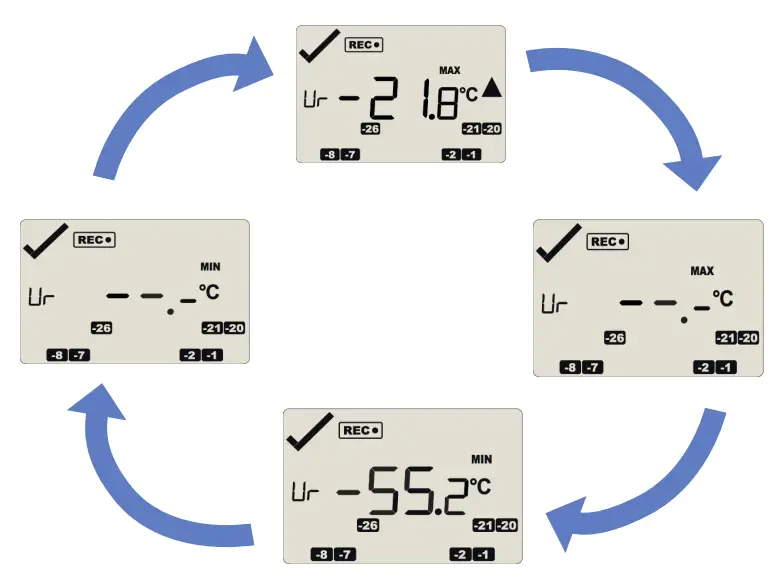
- The currently stored Min/Max temperature values can be reset at any time while the unit is recording, but not once the unit has been stopped. To reset the values, please refer to the Product User Guide.
- To view other information about clearing alarms and reviewing Min/Max trip temperatures, please also refer to the Product User Guide.
Downloading Results
- Dock your TRED30-16CP into any LogTag interface cradle. Connect your interface cradle to your computer via the USB cable. The USB socket on the interface is located at the back of the interface cradle.
- Open LogTag Analyzer.
- Click ‘Download’ from the ‘LogTag’ menu or press F4. After a few seconds, the downloaded data will appear. Data can be displayed in Report-, Chart-, Data-, Summary-, or Day Summary formats by clicking the tabs at the bottom of the chart dialog. Data can also be saved in several formats, including TXT, PDF, HTML, and CSV for import.
- Click ‘Close’ to exit the download page.
- By default, auto-download is enabled in LogTag Analyze, so when you open the program, data results will be displayed after connecting to the computer.
Accessories
Required
The TRED30-16CP requires these items for proper functioning
- CP110 Smart Probe (Recommended)
- Or ST10 External Probe

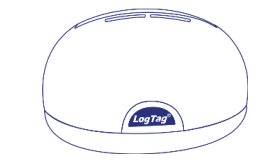
- LTI Interface
Optional
The TRED30-16CP requires these items for proper functioning
- Buffer assembly (Not included)
- Wall mount (Not included)
FAQs
Q: How do I enable smart probe logging?
A: Navigate to the ‘Additional Features’ tab in the configuration settings, then select ‘Enable Smart Probe’.
Documents / Resources
 | LogTag TRED30-16CP External Probe LCD Temperature Data Logger [pdf] User Guide TRED30-16CP External Probe LCD Temperature Data Logger, TRED30-16CP, External Probe LCD Temperature Data Logger, Probe LCD Temperature Data Logger, Temperature Data Logger, Data Logger |