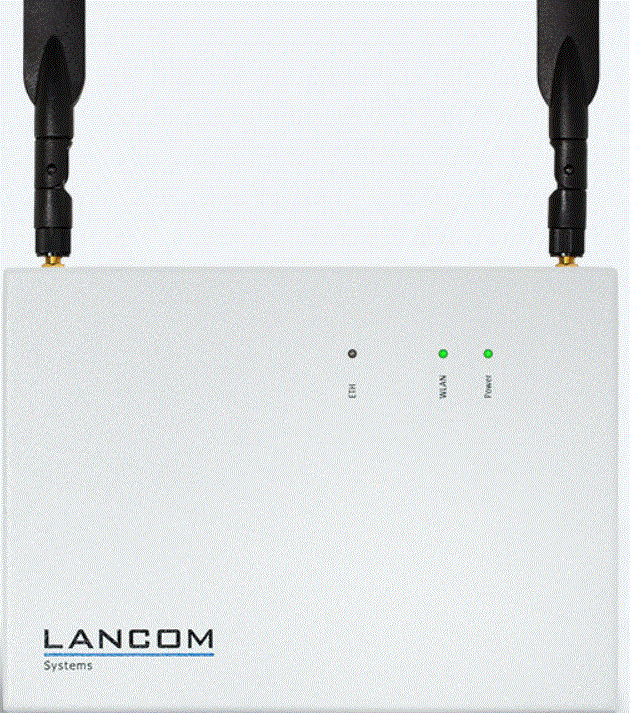
LANCOM Systems IAP-822 WiFi Access Point
Wall mounting
Use the supplied screws to fix the back plate to the wall using the holes .6 and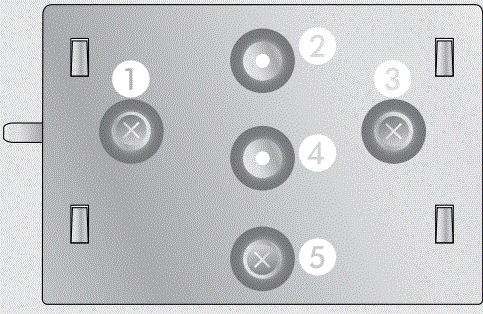
Top-hat rail mounting
Using the supplied screws, attach the two top-hat rail clips to the holes 1 and3. Do not yet tighten the screws completely; leave some play to adjust the alignment of the clips.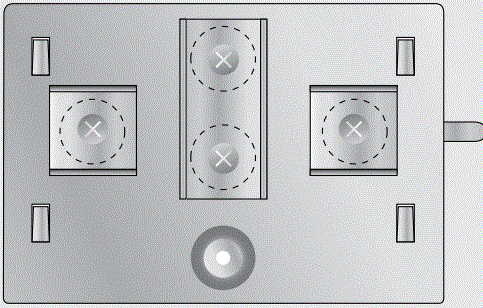 Pole mounting
For mast mounting, use the supplied screws to fix the clamp profile through the holes2 and.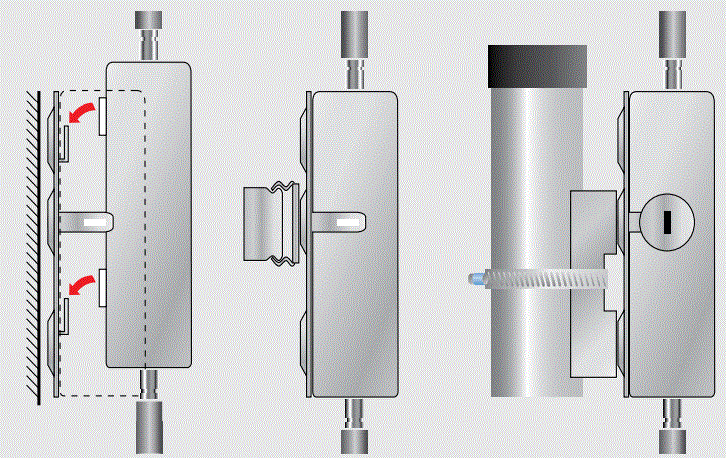
Top-hat rail mounting only
Snap the two top-hat rail clips onto the required position on the top-hat rail.
Mast mounting only
Insert the supplied worm-drive clip (or one suitable for your pole diameter) around the mounting clamp profile. Finally, adjust the worm-drive clip to fix the device in the desired position on the mast.
Optional: Secure with a Kensington lock
The left side of the device features a slot for a Kensington lock. The Kensington lock securely fixes the device to the mounting plate. With the IAP mount (item no. 61647) available separately
PANEL
REAR PANEL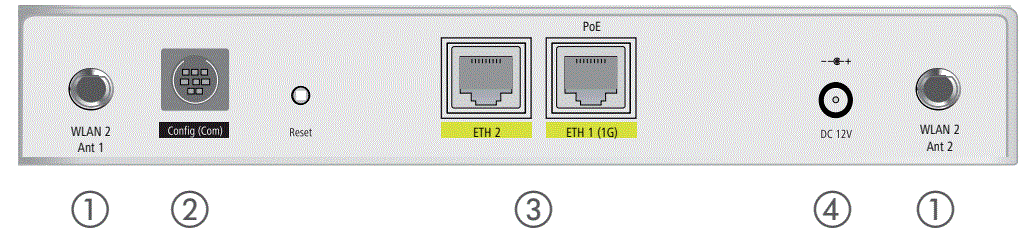
- WLAN antennas
- Screw the supplied WLAN antennas onto the terminals WLAN 1 Ant 1, WLAN 1 Ant 2, WLAN 2 Ant 1, and WLAN 2 Ant 2. Depending on the antenna ports, you may have to configure the ‘Antenna grouping’ parameter.

- Screw the supplied WLAN antennas onto the terminals WLAN 1 Ant 1, WLAN 1 Ant 2, WLAN 2 Ant 1, and WLAN 2 Ant 2. Depending on the antenna ports, you may have to configure the ‘Antenna grouping’ parameter.
- Serial configuration interface
- Configuring the device via the serial interface requires a serial configuration cable (available as an accessory
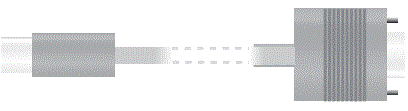
- Configuring the device via the serial interface requires a serial configuration cable (available as an accessory
- TP Ethernet interfaces
- Use the Ethernet cable to connect one of the interfaces ETH 1 or ETH 2 to other network components. Alternatively, you can connect one of the ETH interfaces to the PoE Injector’s ‘Power Out’ connector.

- Use the Ethernet cable to connect one of the interfaces ETH 1 or ETH 2 to other network components. Alternatively, you can connect one of the ETH interfaces to the PoE Injector’s ‘Power Out’ connector.
- Power
- When connecting the cable to the device, turn the bayonet connector 90° clockwise until it clicks into place. Use only the supplied power adapter
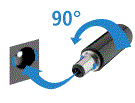
- When connecting the cable to the device, turn the bayonet connector 90° clockwise until it clicks into place. Use only the supplied power adapter
INFORMATION
- If you operate separately purchased antennas, please ensure that you do not exceed the maximum allowed transmission power for your system. The system operator is responsible for adhering to the threshold values. For information about calculating the correct antenna setup, please refer to www.lancom-systems.com
- If you intend to operate both WLAN modules in the same frequency band, we recommend that you
- Connect the antennas Via extension cables. In this way they can be positioned further away from one another, which reduces the effects of interference.
- Antennas are only to be attached or exchanged when the device is switched off. Mounting or de-mounting antennas, while the device is switched on, may cause the destruction of the WLAN module!
- Before initial startup, please make sure to take notice of the information regarding the intended use under www.lancom-systems.com/safety
- Operate the device only with a professionally installed power supply at a nearby power socket that is freely accessible at all times.
LANCOM IAP-822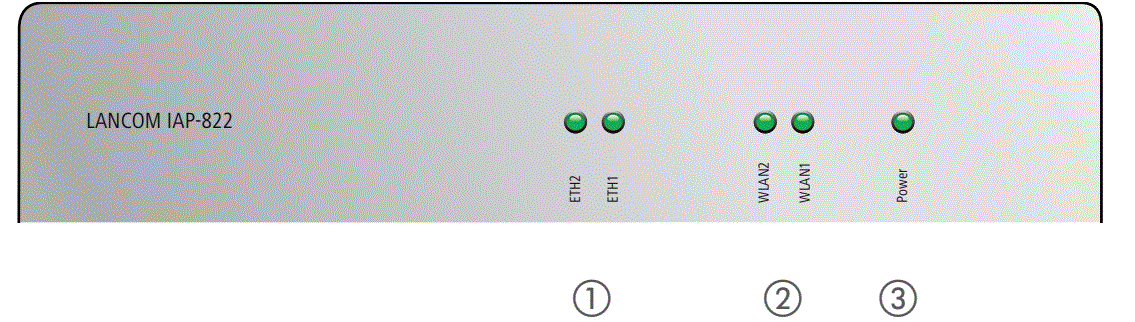
Documents / Resources
 | LANCOM Systems IAP-822 WiFi Access Point [pdf] User Guide IAP-822, WiFi Access Point, Access Point, IAP-822, WiFi Access |


