
1. 중요한 안전 정보
Please read and understand all safety instructions before installing or operating this solar battery charger maintainer. Failure to follow these instructions may result in electric shock, fire, or serious injury.
- Do not attempt to disassemble, modify, or repair the solar panel or controller. Refer all servicing to qualified personnel.
- Ensure all connections are secure and correct before applying power. Loose connections can cause sparks and damage.
- Avoid touching the exposed ends of wires or terminals when the panel is exposed to sunlight, as it can generate voltage.
- 설치 작업 중에는 안전 고글과 장갑을 포함한 적절한 개인 보호 장비(PPE)를 착용하십시오.
- Keep the solar panel and controller away from flammable materials and explosive gases.
- The controller is not waterproof. Protect it from rain, snow, and excessive moisture.
- 컨트롤러 주변의 환기가 잘 되도록 하여 과열을 방지하십시오.
- 본 제품은 12V 배터리 시스템 전용으로 설계되었습니다. 다른 전압의 시스템에 연결하지 마십시오.tag전자 시스템.
2. 제품 오버view
The VEVOR 50W 12V Solar Battery Charger Maintainer is designed to efficiently charge and maintain 12V batteries using solar energy. It features high-efficiency monocrystalline cells and an intelligent MPPT controller to prevent overcharge and over-discharge, extending battery lifespan. The panel is IP65 waterproof for outdoor use.
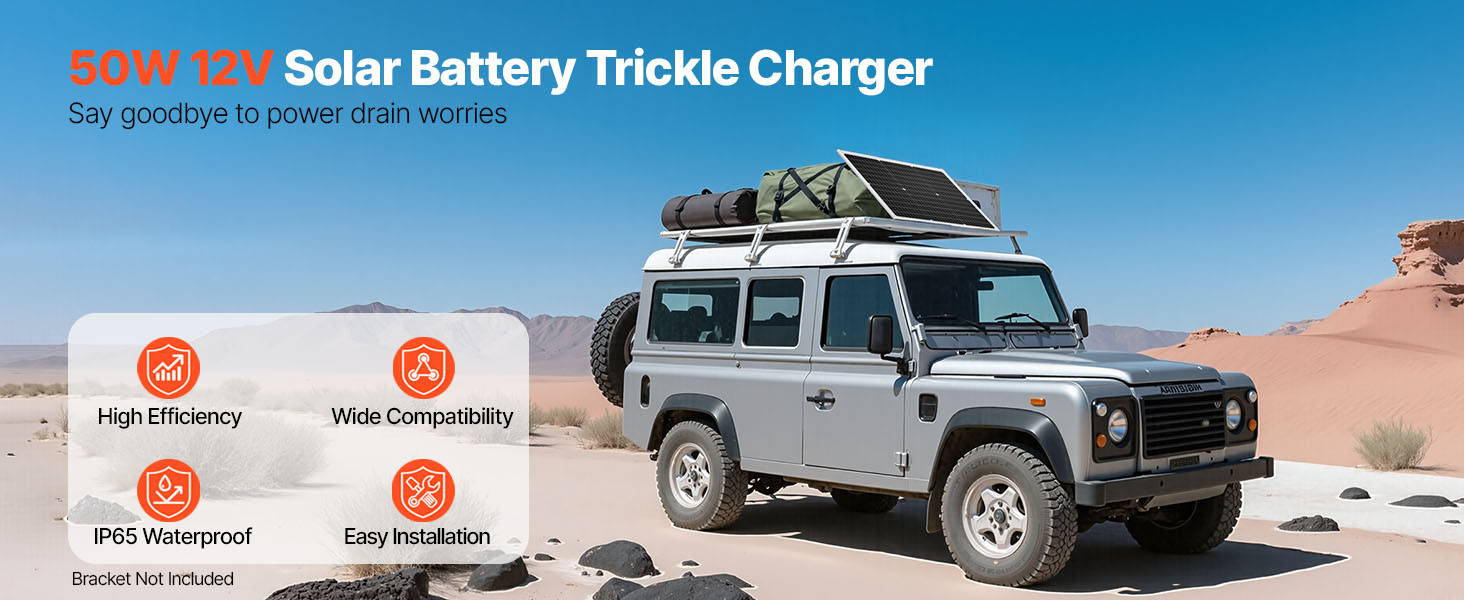
Figure 2.1: High-Efficiency Monocrystalline Solar Panel Construction
3. 상자 안에 무엇이 들어있나요?
포장을 풀 때 모든 구성 요소가 들어 있고 손상되지 않았는지 확인하세요.
- 50W 단결정 태양광 패널 1개
- 1 x MPPT Solar Charge Controller
- 1 x Alligator Clip Cable (43.3 inch / 1100 mm)
- 1 x O-Ring Terminal Cable (43.3 inch / 1100 mm)
- 1 x Extension Cable (122 inch / 3100 mm)
- 사용자 설명서
4. 사양
| 특징 | 사양 |
|---|---|
| 품목 모델 번호 | 50와트 |
| 최대 전력 | 50 와트 |
| 출력 볼륨tage | 12V 직류 |
| 최대 전력 볼륨tage | 20V |
| 호환 배터리 용량tage | 12V |
| 태양 전지 유형 | 단결정 실리콘 |
| 표면 소재 | High-Transparency Tempered Glass |
| 컨트롤러 유형 | External MPPT Controller |
| Waterproof Rating (Panel) | IP65 |
| 작동 온도 | -40°C ~ 185°F(-40°C ~ 85°C) |
| 제품 크기(L x W x H) | 23인치 x 29.5인치 x 0.98인치(585 x 495 x 25mm) |
| 품목 무게 | 6.4파운드(2.9kg) |
| 커넥터 유형 | MC4 |
5. 설정 및 설치
5.1 배치
Select a location for the solar panel that receives maximum direct sunlight throughout the day, unobstructed by shadows from trees, buildings, or other objects. The panel is designed for flat placement on surfaces such as rooftops, RVs, boats, or in open yards.
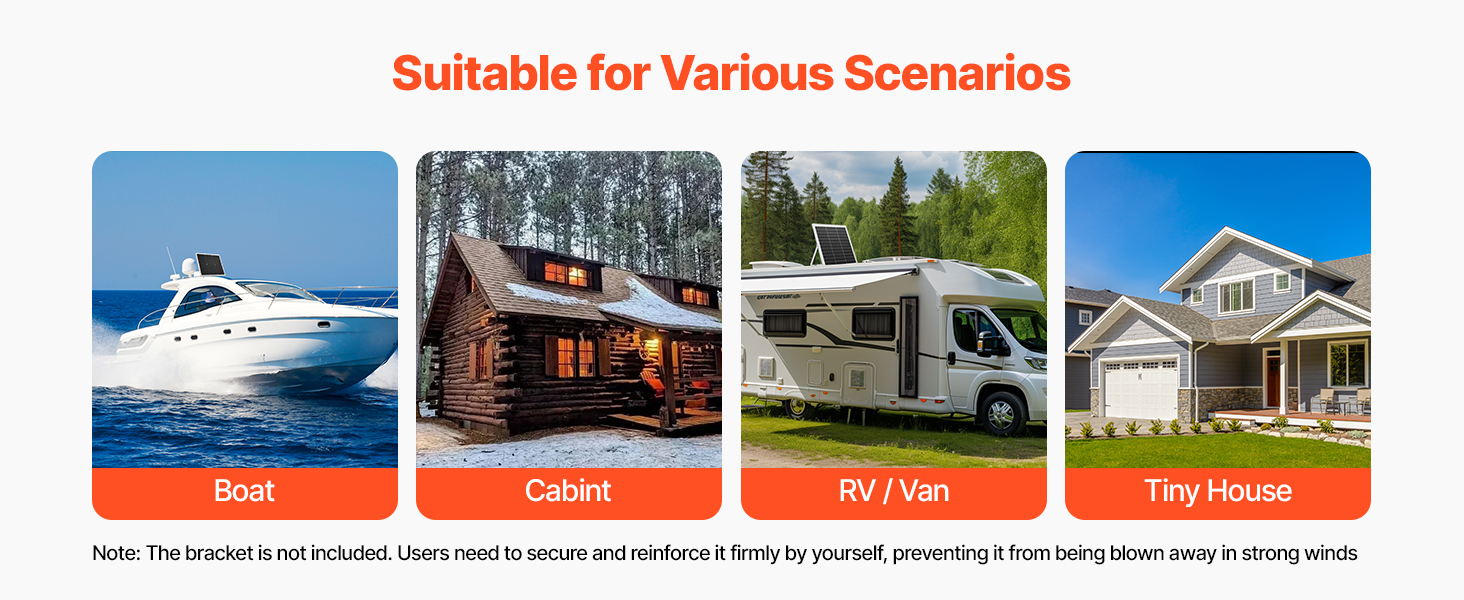
Figure 5.1: Recommended Placement Scenarios
메모: A mounting bracket is not included. If placing on a roof or in an area prone to strong winds, ensure the panel is securely fastened and reinforced to prevent it from being blown away.
5.2 태양광 패널 연결하기
The solar panel kit includes an MPPT controller and various connection cables for versatile use. Follow these steps for proper connection:
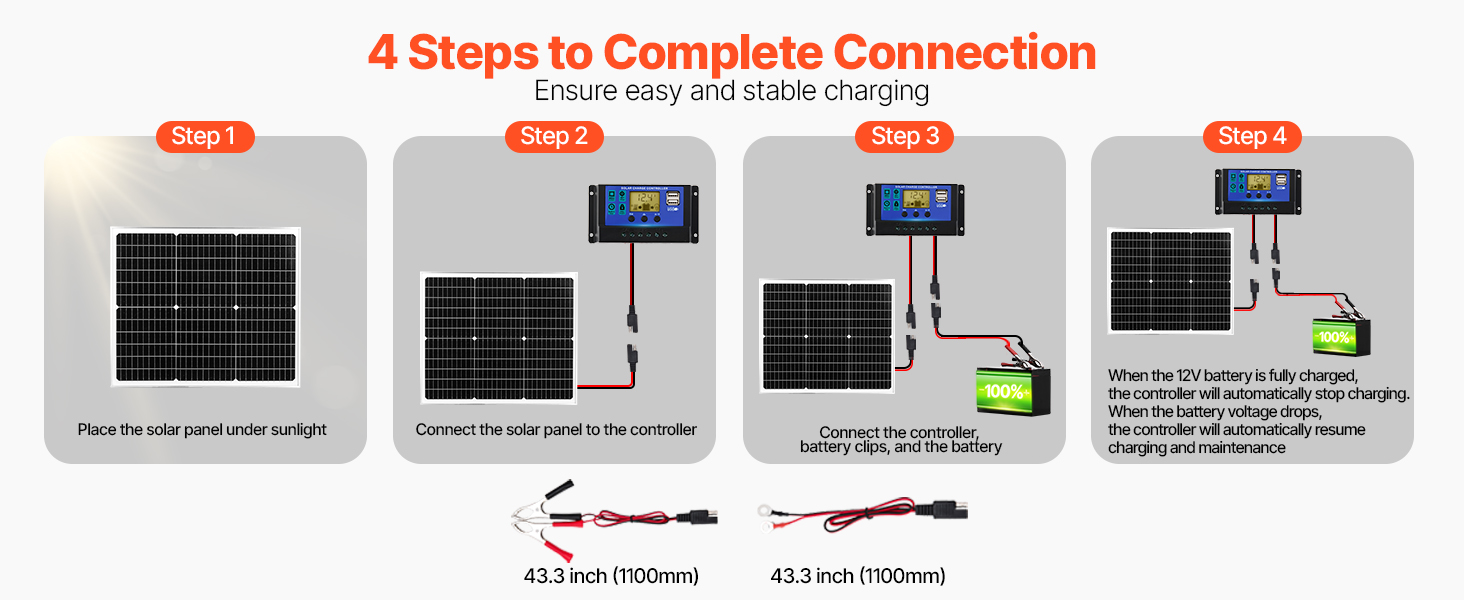
Figure 5.2: Connection Methods and Cables
- 태양광 패널을 배치하세요: Position the solar panel in direct sunlight.
- 컨트롤러에 연결: Connect the solar panel's MC4 connectors to the corresponding input terminals on the MPPT solar charge controller. Ensure polarity is correct (positive to positive, negative to negative).
- 컨트롤러를 배터리에 연결하세요: Choose the appropriate connection cable (alligator clips or O-ring terminals) based on your battery type. Connect the cable to the battery output terminals on the MPPT controller. Then, connect the other end of the cable to your 12V battery. Ensure correct polarity: red to positive (+), black to negative (-).
- 연결 확인: Once all connections are made, the controller display should activate, indicating the battery voltage 및 충전 상태.
중요한: Always connect the controller to the battery first, then to the solar panel. When disconnecting, disconnect the solar panel first, then the battery.
6. 사용 설명서
6.1 충전 프로세스
The intelligent MPPT controller manages the charging process automatically. When the solar panel is exposed to sunlight and connected to a 12V battery via the controller, it will begin charging. The controller features 6-stage protection to optimize battery health.
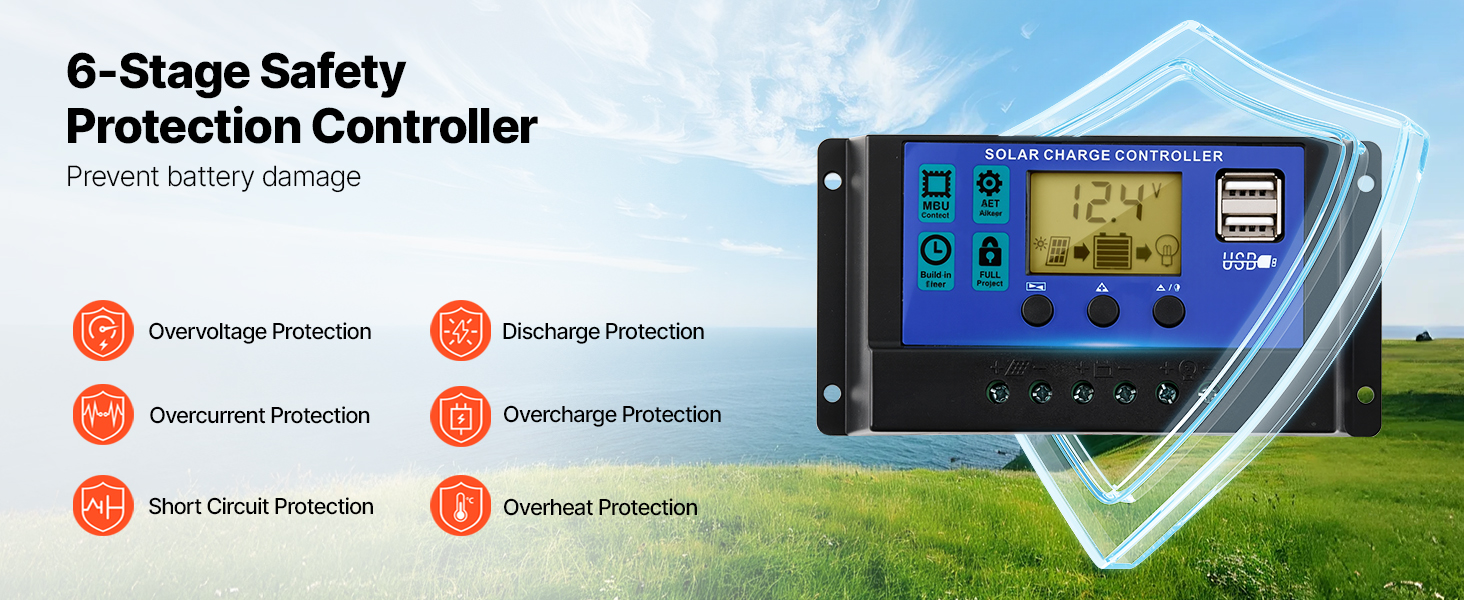
Figure 6.1: MPPT Intelligent Controller with Safety Features
- The controller automatically stops charging when the battery voltage reaches 12V to prevent overcharging.
- It automatically resumes charging when the battery voltage drops below 12V, ensuring continuous maintenance.
- The display on the controller provides real-time information on battery voltage 및 충전 상태.
6.2 배터리 호환성
This solar charger maintainer is compatible with multiple 12V battery types:
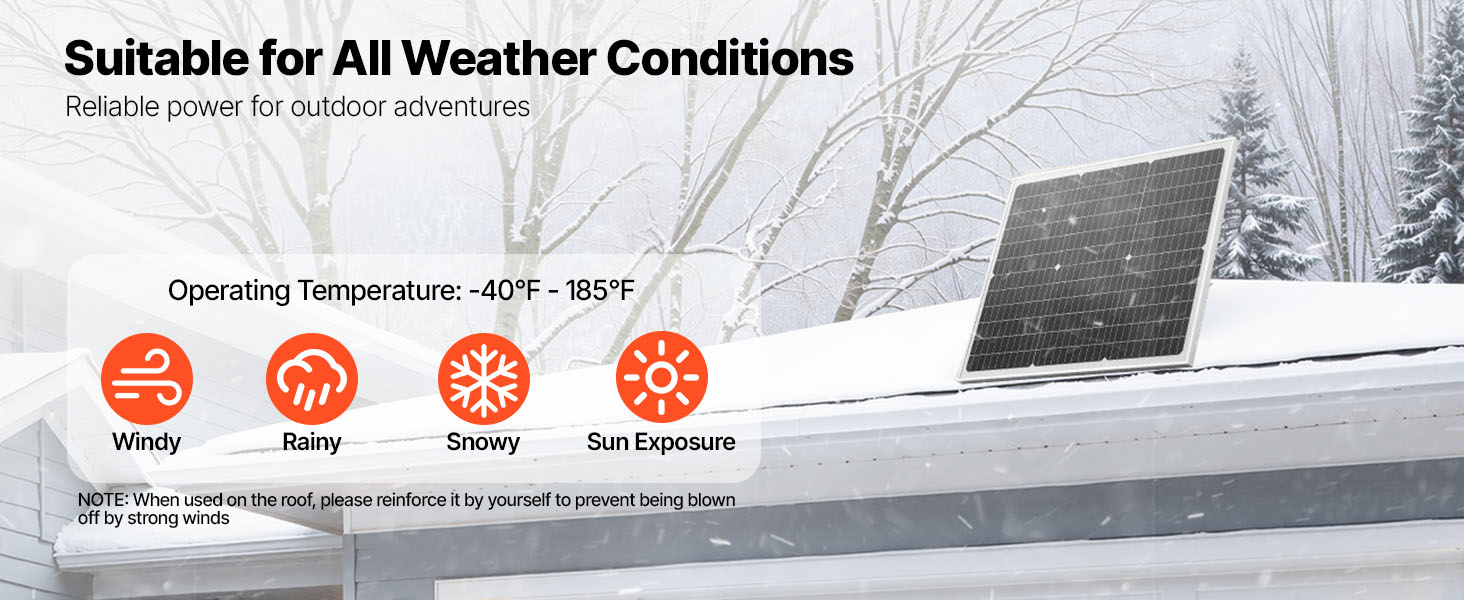
Figure 6.2: Compatible 12V Battery Types
- LiFePO4(인산철리튬)
- 리튬 이온 (Li-ion)
- AGM(흡수성 유리 매트)
- 젤라틴
- SLA (Sealed Lead-Acid)
- EFB(향상된 습식 배터리)
7. 유지관리
Regular maintenance ensures optimal performance and longevity of your solar battery charger maintainer.
- 청소: 태양광 패널 표면을 주기적으로 부드러운 천으로 닦아주세요.amp cloth to remove dust, dirt, and debris. A clean panel ensures maximum sunlight absorption. Do not use abrasive cleaners or harsh chemicals.
- 점검: Regularly inspect all cables and connections for signs of wear, corrosion, or damage. Ensure connections remain tight.
- 컨트롤러 관리: Keep the MPPT controller dry and free from dust. Ensure it has adequate ventilation.
- 환경 보호: While the panel is IP65 waterproof, the controller is not. Protect the controller from direct exposure to rain, snow, and extreme moisture.
8. 문제 해결
If you encounter issues with your VEVOR solar battery charger maintainer, refer to the following table for common problems and solutions.
| 문제 | 가능한 원인 | 해결책 |
|---|---|---|
| No charging indication on controller | 햇빛이 없거나 햇빛이 부족한 경우 연결이 느슨하거나 잘못되었습니다. Faulty solar panel or controller | Move panel to direct sunlight; clean panel surface Check all cable connections for tightness and correct polarity Test components individually if possible; contact support |
| 배터리가 완전히 충전되지 않았습니다 | 일광 노출이 부족합니다 배터리 성능 저하 Controller settings (if applicable) | 최대한 햇빛에 노출되도록 하세요 Have battery tested by a professional Ensure controller is set for 12V battery type (automatic for this model) |
| Controller display is off | No battery connection 배터리 용량tag너무 낮다 컨트롤러 오류 | Connect controller to a 12V battery Charge battery with an alternative charger if critically low 지원팀에 문의하세요 |
| Overcharging/Over-discharging (despite controller) | 컨트롤러 오작동 Incorrect battery type selection (if applicable) | Immediately disconnect and contact support. This model automatically detects 12V. |
9. 보증 및 지원
VEVOR 제품은 뛰어난 신뢰성과 성능을 위해 설계되었습니다. 보증 정보, 기술 지원 또는 서비스 문의는 제품에 동봉된 보증 카드를 참조하거나 VEVOR 공식 웹사이트를 방문하십시오. website. Please have your product model number (50W) and purchase details ready when contacting support.