1. 제품 오버view
The QRD Wireless Controller (Model: US-T5-JB02) is a high-performance replacement controller designed for Nintendo Switch, Switch Pro, Lite, and OLED models. It features advanced technologies such as Hall Effect joysticks for precise, drift-free control, dual vibration motors for immersive feedback, and a 6-axis gyroscope for accurate motion sensing. This controller also includes programmable back buttons and customizable LED backlighting, enhancing your gaming experience.
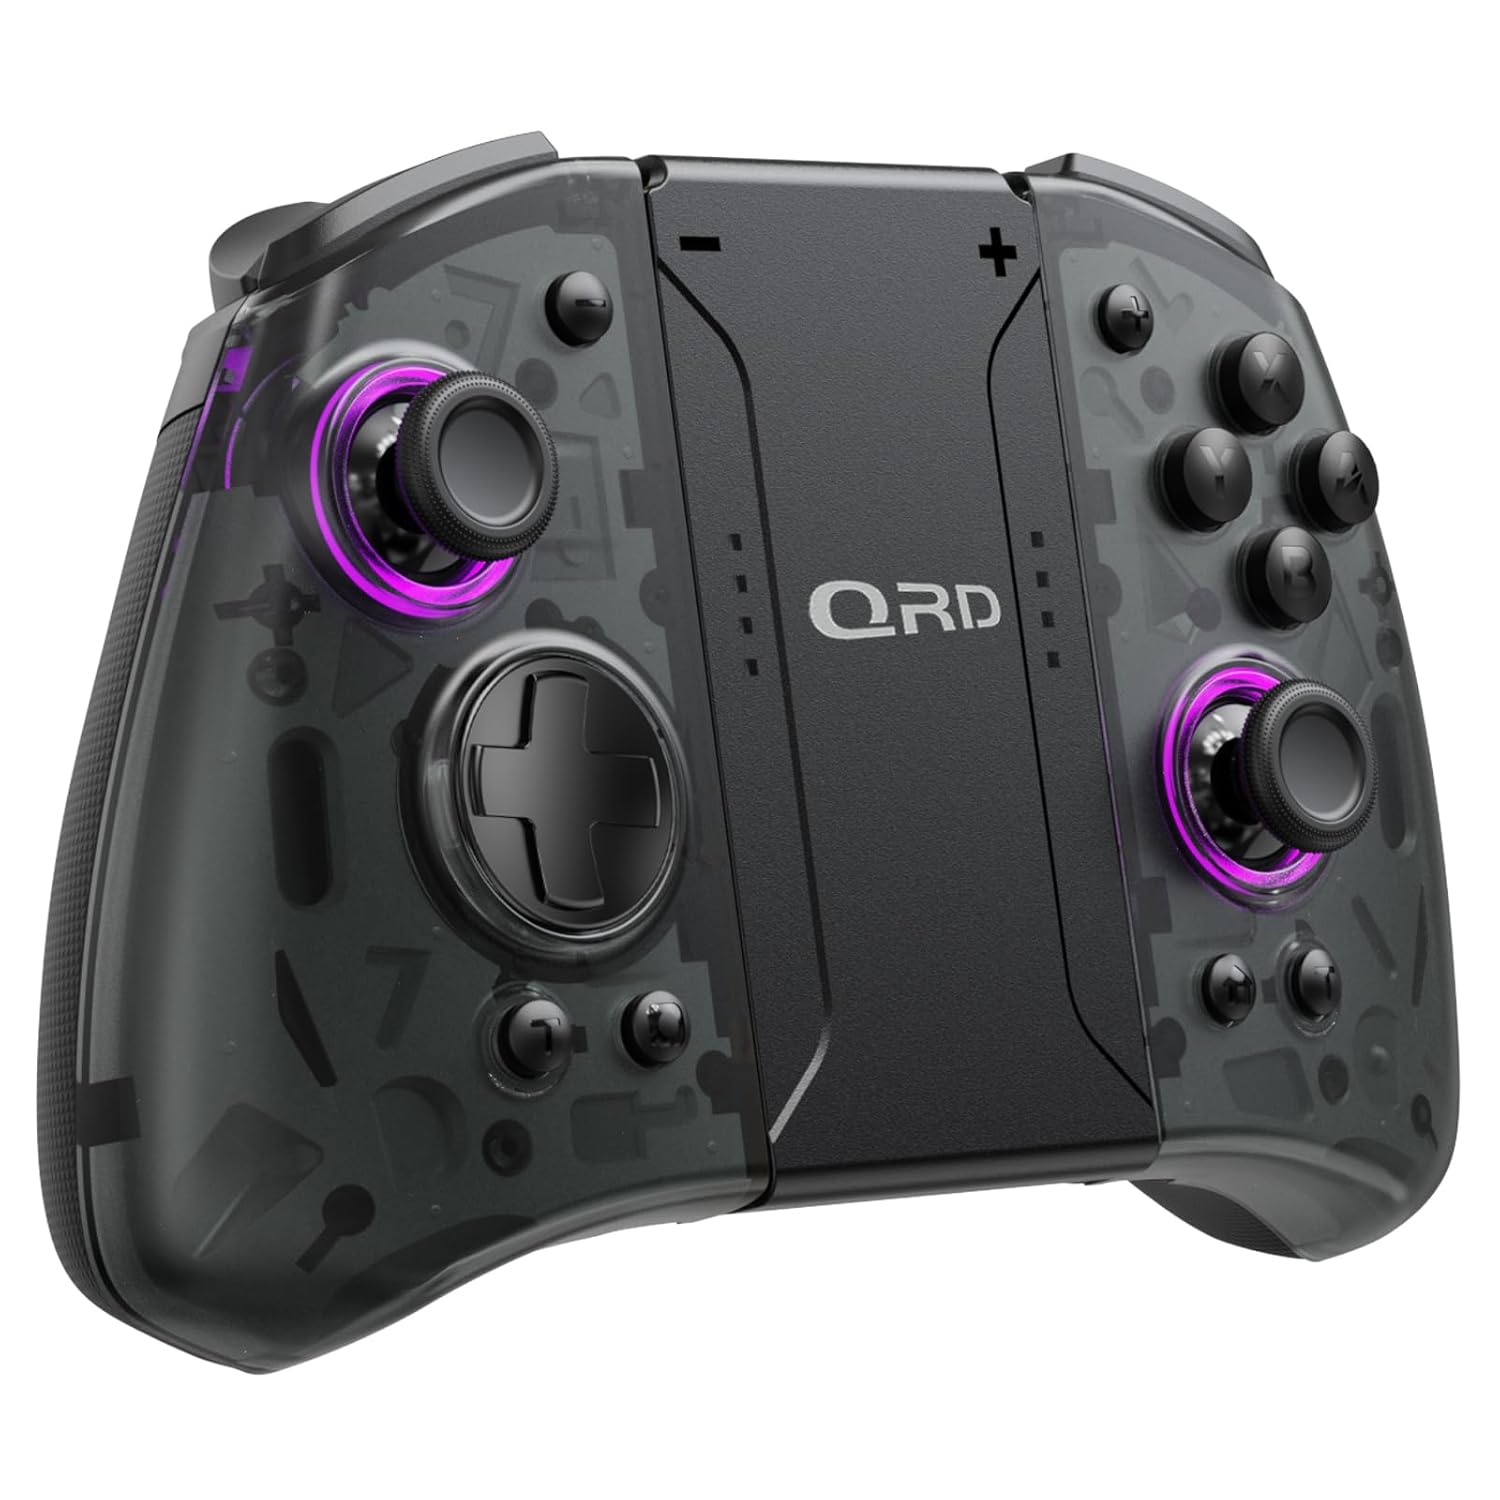
이미지 1.1: 앞면 view of the QRD Wireless Controller, showcasin인체공학적 디자인과 버튼 레이아웃이 특징입니다.
2. 주요 특징
- 무선 블루투스 5.3 연결: Ensures stable, lag-free connection for seamless gameplay.
- 홀 효과 조이스틱: Provides 360° precise, drift-free control and extended lifespan.
- 듀얼 진동 모터: Offers 3 levels of adjustable vibration for enhanced tactile feedback.
- 6축 자이로스코프 모션 감지: Enables accurate tilt detection for precise aiming and movement in compatible games.
- 프로그래밍 가능한 뒤로 가기 버튼: Customize controls with single or multiple mappings for efficient combo execution.
- 터보 기능 : Allows for rapid firing of buttons.
- LED 백라이트: Features 8 different colors with static, breathing, and flashing modes for personalized aesthetics.
- 긴 배터리 수명: Up to 10 hours of uninterrupted gameplay on a single charge (2 hours charging time).
- 인체공학적 디자인: Comfortable grip for extended gaming sessions, includes a screenshot function.

Image 2.1: Diagram highlighting key features such as Bluetooth 5.3, Dual Vibration, 6-Axis Gyro, Turbo, Macro Back Paddles, and Colorful Options.

Image 2.2: Illustration demonstrating the Hall Effect Joysticks, emphasizing drift-free and accurate control.
3. 설정 및 연결
3.1 Nintendo Switch와의 초기 페어링
- 닌텐도 스위치 본체가 켜져 있고 최신 시스템 버전으로 업데이트되어 있는지 확인하십시오.
- 홈 메뉴에서 "컨트롤러" > "그립/순서 변경"을 선택하세요.
- On the QRD Wireless Controller, press and hold the 홈 버튼 (usually located in the center) for 3-5 seconds until the LED indicators start flashing rapidly.
- Once the controller is successfully paired, the corresponding player LED(s) on the controller will light up solid.
- The controller can also be connected by sliding it into the Nintendo Switch Dock while the console is attached.
3.2 Reconnecting the Controller
To reconnect a previously paired controller, simply press the 홈 버튼 once. The controller will automatically attempt to connect to the last paired console.
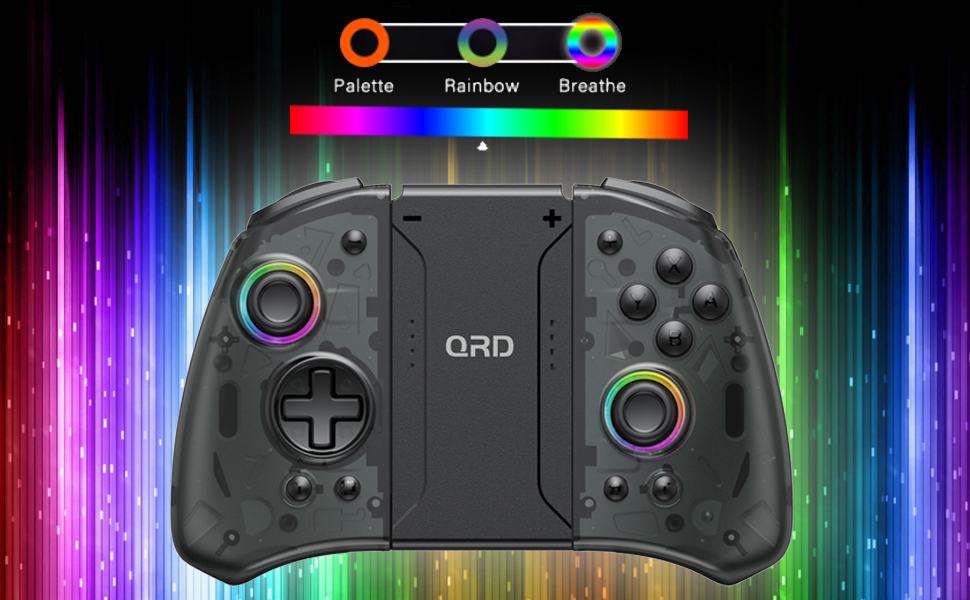
Image 3.1: Visual representation of controller compatibility with Nintendo Switch and Switch OLED models. Note: Not compatible with Switch Lite.
4. 사용 설명서
4.1 버튼 레이아웃
컨트롤러의 버튼 레이아웃을 숙지하세요.
- 왼쪽 조이스틱: 움직임 제어.
- 오른쪽 조이스틱: 카메라 또는 조준 제어.
- 방향 패드: 방향 입력.
- A/B/X/Y 버튼: 액션 버튼.
- L/R 버튼: 어깨 단추.
- ZL/ZR 버튼: 트리거 버튼.
- 홈 버튼: 홈 메뉴로 돌아가거나 컨트롤러의 전원을 켜거나 끕니다.
- 스크린샷 버튼: 스크린샷을 캡처합니다.
- +/- 버튼: 게임 내 기능을 위한 플러스/마이너스 버튼.
- M1/M2 (Back Buttons): Programmable macro buttons.
4.2 진동 강도 조절
The controller supports 3 levels of vibration intensity. To adjust, press and hold the 터보 버튼 그리고 다음을 누르세요 방향키 위쪽 or 방향키 아래쪽 to cycle through intensity levels (Low, Medium, High, Off).
4.3 터보 기능 설정
To set a button to Turbo mode:
- 를 누르고 계세요 터보 버튼.
- While holding Turbo, press the desired action button (e.g., A, B, X, Y, L, R, ZL, ZR). The button will now continuously register input when held down.
- To clear Turbo for a specific button, repeat the process. To clear all Turbo settings, press and hold the 터보 버튼 5초 동안.
4.4 Programming Back Buttons (Macro)
The M1 and M2 back buttons can be programmed to execute a sequence of button presses (macro). Each macro can store up to 16 button presses.
- 를 누르고 계세요 M1 or M2 프로그래밍하려는 버튼입니다.
- While holding the M button, press the SET 버튼 (refer to manual diagram for location, typically a small button on the back). The indicator light will flash slowly.
- Enter the desired sequence of button presses (e.g., A, B, X, Y, D-Pad directions).
- 를 누르세요 SET 버튼 again to save the macro. The indicator light will stop flashing.
- To clear a macro, press and hold the programmed M button and then press the SET 버튼 두 배.
4.5 LED 백라이트 조절
The controller features customizable RGB lighting. To cycle through modes and colors:
- 를 누르세요 LED 버튼 (refer to manual diagram for location) to change between static color, breathing, and flashing modes.
- In static mode, press the LED 버튼 repeatedly to cycle through the 8 available colors.

Image 4.1: Display of the controller's LED backlight options, including Palette (static colors), Rainbow, and Breathe modes.
5. 충전 및 배터리 수명
The QRD Wireless Controller is equipped with a built-in rechargeable Lithium Polymer battery. A 2.5m USB-C cable is included for charging.
- Connect the USB-C end of the cable to the controller's charging port and the USB-A end to a power source (e.g., Nintendo Switch Dock, USB wall adapter, computer USB port).
- 완전 충전에는 약 2시간 정도 소요됩니다.
- 완충 시 최대 10시간 동안 연속 게임 플레이가 가능합니다.
- The LED indicators on the controller will show charging status and battery level.
6. 유지관리
To ensure the longevity and optimal performance of your QRD Wireless Controller, follow these maintenance guidelines:
- 청소: 부드럽고 마른 천을 사용하여 컨트롤러를 닦으세요. 잘 지워지지 않는 오염의 경우, 가볍게 두드리세요.amp천에 물을 묻혀 닦아주세요. 강한 화학 물질, 용제 또는 연마성 세제는 사용하지 마세요.
- 저장: 컨트롤러는 직사광선, 극한 온도 및 높은 습도를 피해 서늘하고 건조한 곳에 보관하십시오.
- 손질: Avoid dropping the controller or subjecting it to strong impacts. Do not disassemble the controller, as this may void the warranty and cause damage.
- 충전 중: 컨트롤러가 완전히 충전된 후에는 지나치게 장시간 충전하지 마십시오.
7. 문제 해결
| 문제 | 가능한 원인 | 해결책 |
|---|---|---|
| 컨트롤러가 연결되지 않습니다. | Low battery; Not paired; Interference. | Charge the controller; Re-pair the controller following Section 3.1; Move closer to the console or away from other wireless devices. |
| Input lag or disconnection during gameplay. | Wireless interference; Distance from console; Low battery. | Ensure no strong wireless signals are nearby; Reduce distance to console; Charge the controller. |
| Joysticks drift or are unresponsive. | Calibration issue; Physical debris. | Go to Switch System Settings > Controllers and Sensors > Calibrate Control Sticks. Clean around the joystick base. |
| 버튼이 반응하지 않습니다. | Stuck button; Software glitch. | Ensure buttons are not physically stuck. Try resetting the controller (if a reset button is present, otherwise power cycle). |
| 진동이 작동하지 않습니다. | Vibration setting off; Game does not support vibration. | Adjust vibration intensity (Section 4.2). Verify game compatibility. |
8. 사양
| 특징 | 세부 사항 |
|---|---|
| 모델 번호 | US-T5-JB02 |
| 연결성 | 블루투스 5.3 |
| 호환성 | Nintendo Switch, Switch Pro, Switch OLED |
| 조이스틱 유형 | 홀 효과 |
| 진동 | 듀얼 모터, 3단계 높이 조절 |
| 모션 컨트롤 | 6 축 자이로 스코프 |
| 프로그래밍 가능한 버튼 | Yes (Back Buttons) |
| 배터리 유형 | 리튬폴리머 |
| 충전 시간 | 약 2시간 |
| 플레이 타임 | 최대 10시간 |
| 충전 포트 | USB-C |
| 치수 | 7.95 x 5.51 x 2.36인치(대략) |
| 무게 | 12.35 온스(대략) |
9. 보증 및 지원
9.1 보증 정보
QRD products are manufactured with high-quality materials and undergo rigorous testing. This product comes with a standard manufacturer's warranty against defects in materials and workmanship. Please refer to the product packaging or the official QRD web구체적인 보증 조건 및 기간은 해당 사이트를 참조하십시오.
9.2 고객 지원
For technical assistance, troubleshooting, or warranty claims, please contact QRD Customer Support. Have your product model number (US-T5-JB02) and purchase information ready when contacting support.
- 온라인 지원: Visit the official QRD website for FAQs, updated manuals, and support contact forms.
- 이메일 지원: [Insert QRD Support Email Address Here - if available, otherwise omit]
- 전화 지원: [Insert QRD Support Phone Number Here - if available, otherwise omit]
We are committed to providing excellent customer service and ensuring your satisfaction with QRD products.