
1. შესავალი
This manual provides essential information for setting up, operating, maintaining, and troubleshooting your HP 14-em 14-inch HD Laptop. Please read this guide thoroughly to ensure optimal performance and longevity of your device.
The HP 14-em laptop features an AMD Athlon Silver 7120U processor, 4GB RAM, 512GB eMMC storage, and runs on Windows 11 Pro. It is designed for everyday tasks, offering a balance of performance and portability.
2. დაყენება
2.1 გახსნა და პირველადი შემოწმება
ფრთხილად ამოიღეთ ლეპტოპი და ყველა აქსესუარი შეფუთვიდან. დარწმუნდით, რომ ყველა კომპონენტი ადგილზეა:
- HP-ის 14 დიუმიანი ლეპტოპი
- დენის ადაპტერი
- Mytrix 2.4GHz Wireless Gaming Headset
- დოკუმენტაცია
შეამოწმეთ ლეპტოპი ფიზიკური დაზიანებისთვის. თუ რაიმე დაზიანებას აღმოაჩენთ, დაუყოვნებლივ დაუკავშირდით თქვენს გამყიდველს.
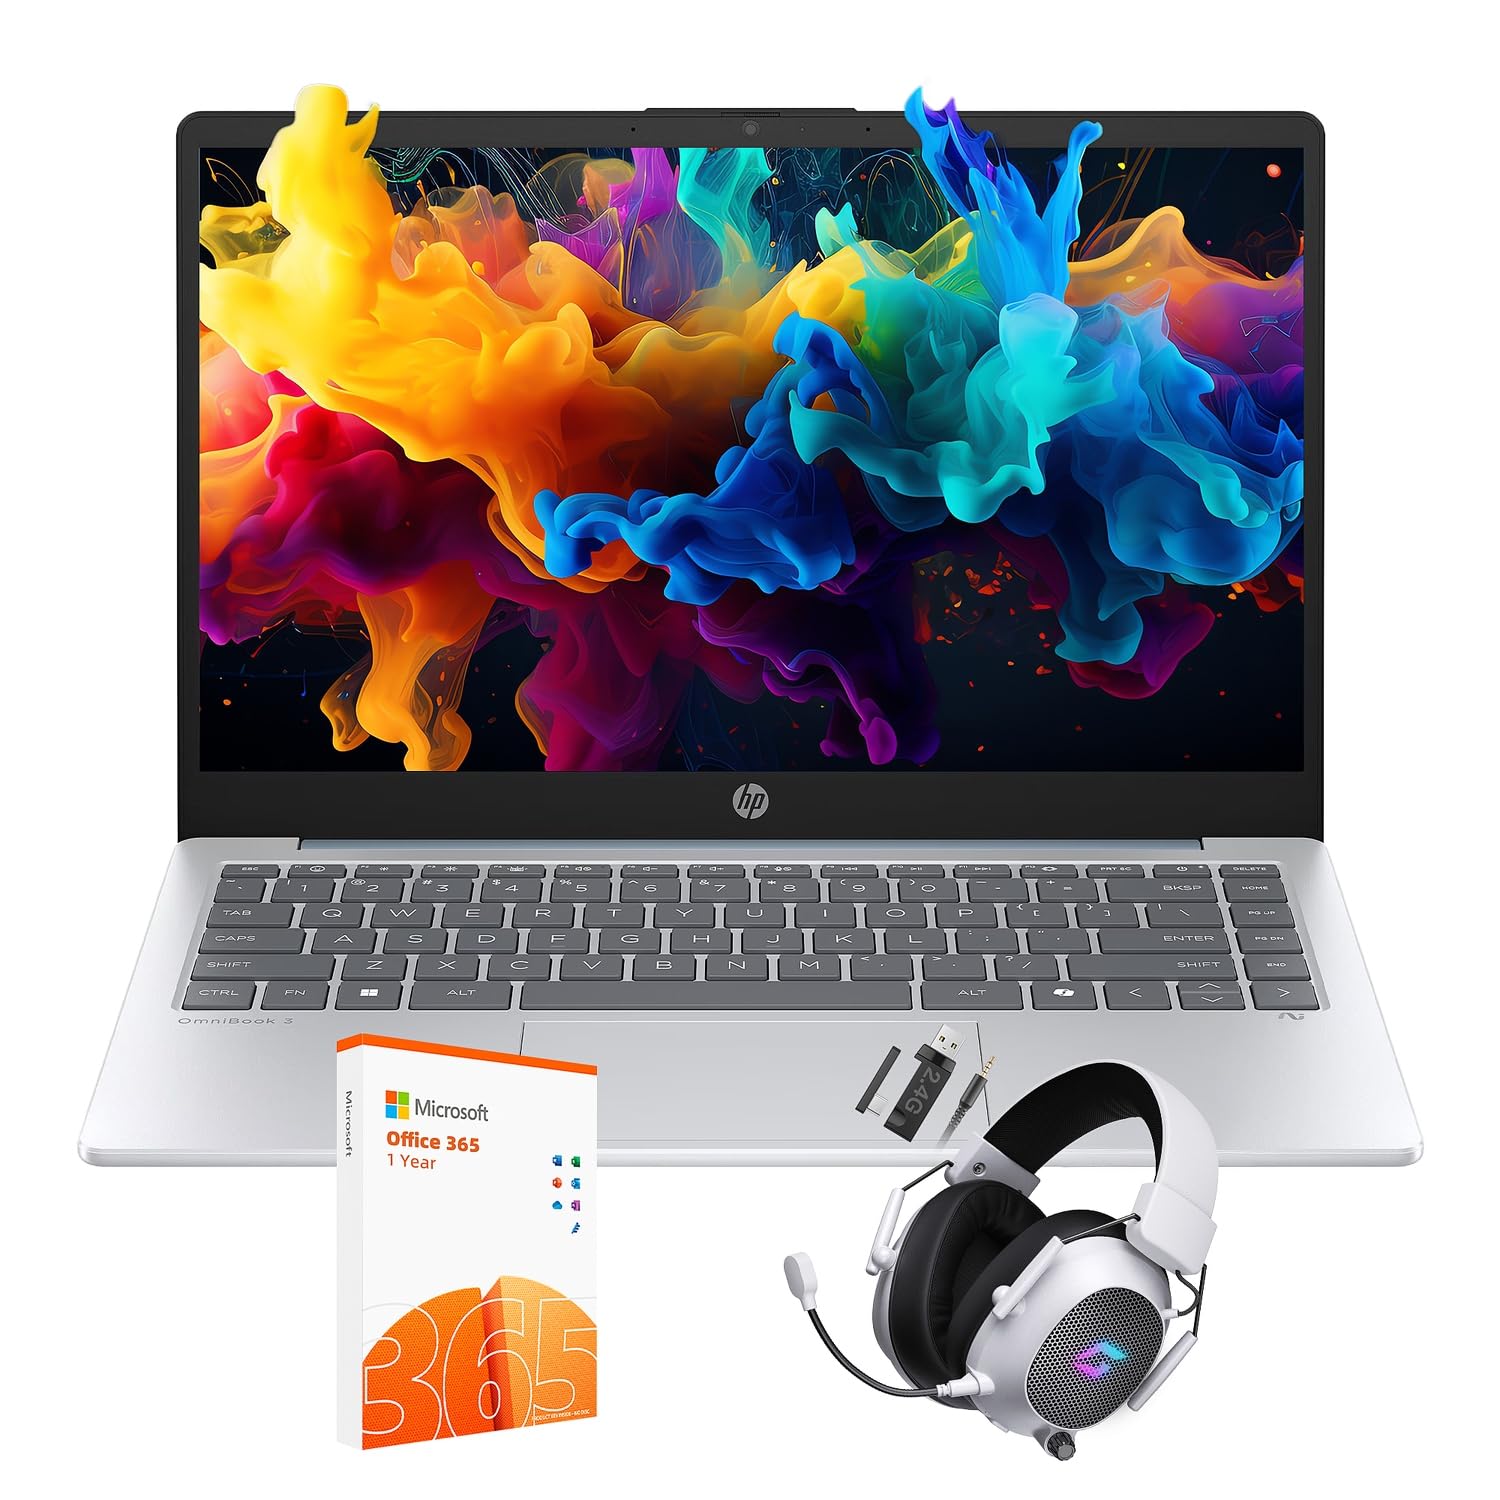
Figure 2.1: The HP 14-inch HD Laptop in Moonlight Blue, showcasinგ მისი ელეგანტური დიზაინი.
2.2 კვების ადაპტერის შეერთება
შეაერთეთ კვების ადაპტერი ლეპტოპის კვების პორტთან და შემდეგ შეაერთეთ ის კედლის როზეტში. რეკომენდებულია ბატარეის სრულად დატენვა პირველად გამოყენებამდე.
2.3 პირველადი ჩართვა და Windows 11 Pro-ს დაყენება
Press the power button located on the keyboard deck. The laptop will boot up and guide you through the Windows 11 Pro setup process. Follow the on-screen instructions to:
- აირჩიეთ თქვენი რეგიონი და ენა.
- დაუკავშირდით Wi-Fi ქსელს.
- მიიღეთ ლიცენზიის პირობები.
- შექმენით მომხმარებლის ანგარიში ან შედით Microsoft-ის ანგარიშით.
- კონფიდენციალურობის პარამეტრების კონფიგურაცია.
2.4 Setting up the Mytrix Wireless Gaming Headset
Refer to the separate instructions provided with the Mytrix 2.4GHz Wireless Gaming Headset for detailed setup. Generally, this involves:
- ყურსასმენის დატენვა.
- Connecting the wireless dongle to an available USB port on the laptop.
- Powering on the headset and ensuring it pairs with the dongle.
- Configuring audio input/output settings in Windows 11 Pro.
3. ლეპტოპის მართვა
3.1 ენერგიის მართვა
- ჩართვა: დააჭირეთ დენის ღილაკს.
- Ძილის რეჟიმი: დახურეთ სახურავი ან აირჩიეთ "ძილი" "დაწყების" მენიუდან.
- გამორთვა: Select "Shut down" from the Start Menu.
- გადატვირთვა: Select "Restart" from the Start Menu.
3.2 სენსორული პანელის გამოყენება
სენსორული პანელი ნავიგაციისთვის მრავალშეხებით ჟესტებს უჭერს მხარს. გავრცელებული ჟესტებია:
- შეეხეთ: მარცხენა დაწკაპუნებისთვის ერთი თითით შეხება.
- ორი თითით შეხება: დააწკაპუნეთ მარჯვენა ღილაკით.
- ორი თითის გადახვევა: გადაახვიეთ ზემოთ ან ქვემოთ.
- მასშტაბირება თითებით: მასშტაბირება ან შემცირება.
3.3 Connecting to Networks (Wi-Fi 6 and Bluetooth 5.4)
Wi-Fi ქსელთან დასაკავშირებლად:
- დააწკაპუნეთ Wi-Fi ხატულაზე დავალების პანელზე.
- აირჩიეთ სასურველი ქსელი სიიდან.
- მოთხოვნის შემთხვევაში შეიყვანეთ ქსელის პაროლი.
Bluetooth მოწყობილობის დასაკავშირებლად:
- გადადით პარამეტრები > Bluetooth და მოწყობილობები.
- დარწმუნდით, რომ Bluetooth ჩართულია.
- Select "Add device" and follow the pairing instructions for your device.
3.4 External Port Usage
თქვენი ლეპტოპი აღჭურვილია სხვადასხვა პორტით გარე მოწყობილობების დასაკავშირებლად:

Figure 3.1: Available ports on the HP 14-inch HD Laptop.
- USB ტიპი-A: For connecting standard USB devices like mice, keyboards, and external storage.
- USB Type-C: მონაცემთა გადაცემისთვის.
- HDMI: გარე დისპლეებთან ან პროექტორებთან დასაკავშირებლად.
- ყურსასმენის/მიკროფონის კომბინაცია: For connecting a headset or external speakers/microphone.
3.5 Windows 11 Pro-ს მახასიათებლები
Windows 11 Pro offers advanced security, management tools, and productivity features. Explore the Start Menu, Taskbar, and Settings app to customize your experience. The laptop also supports a 180-degree hinge for flexible viewing კუთხეები.
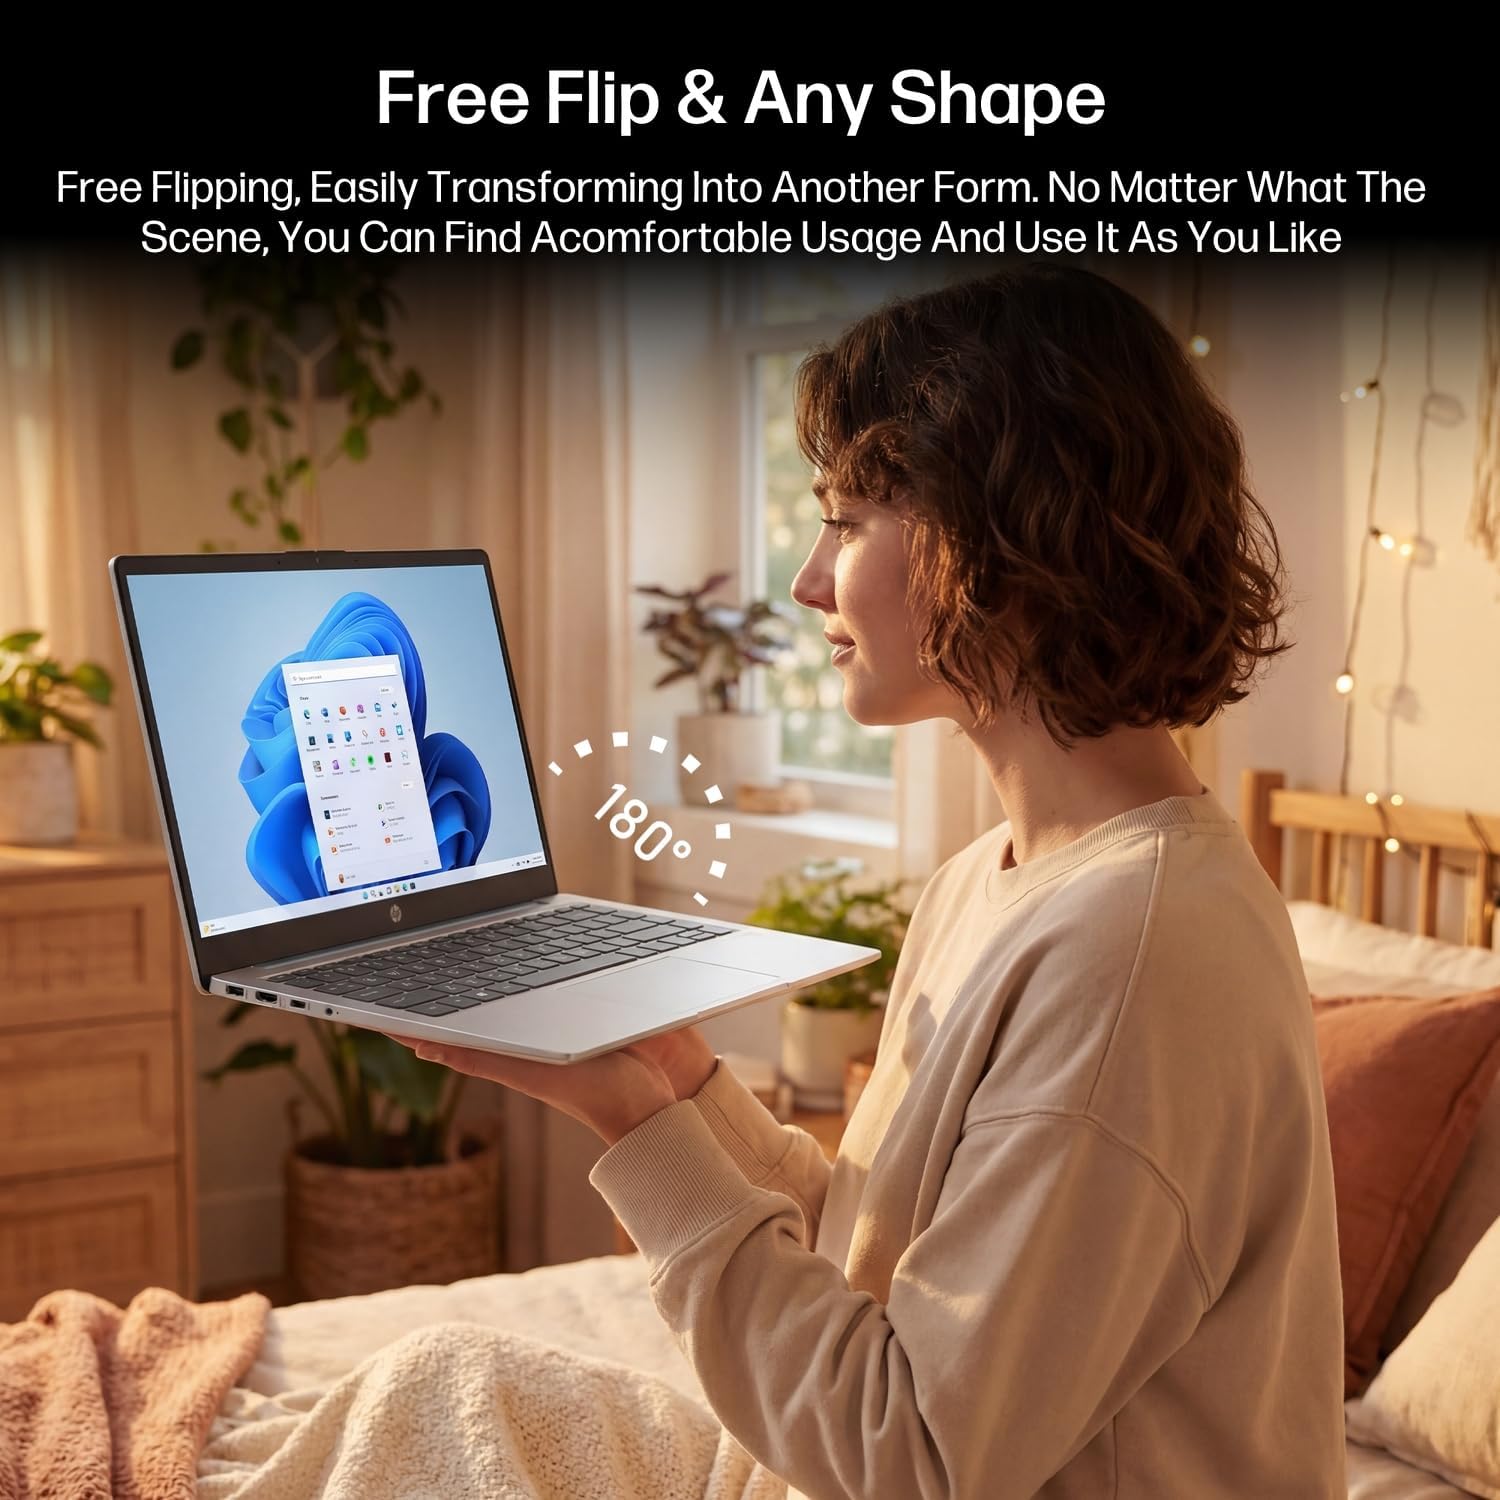
Figure 3.2: The laptop's 180-degree hinge for versatile use.

Figure 3.3: The HP laptop efficiently handles daily tasks.
4. მოვლა
4.1 ლეპტოპის გაწმენდა
- ეკრანი: მსუბუქად გამოიყენეთ რბილი, უბინაო ქსოვილი დampწყლით ან ეკრანის საწმენდი საშუალებით გარეცხეთ. არ შეასხუროთ საწმენდი პირდაპირ ეკრანზე.
- კორპუსი და კლავიატურა: გამოიყენეთ რბილი, მშრალი ქსოვილი. ჯიუტი ჭუჭყის შემთხვევაში, ოდნავamp შეგიძლიათ გამოიყენოთ ქსოვილი. მოერიდეთ ზედმეტ ტენიანობას.
- პორტები: შეკუმშული ჰაერი გამოიყენეთ პორტებიდან მტვრის ნაზად მოსაშორებლად.
4.2 ბატარეის მოვლა
ბატარეის მაქსიმალური მუშაობისთვის:
- მოერიდეთ ექსტრემალურ ტემპერატურას.
- არ დაუშვათ ბატარეის სრულად დაცლა ხშირად.
- Utilize HP Fast Charge technology for quick recharging when needed.
4.3 პროგრამული უზრუნველყოფის განახლებები
რეგულარულად შეამოწმეთ და დააინსტალირეთ Windows-ის განახლებები, რათა დარწმუნდეთ, რომ თქვენს სისტემას აქვს უახლესი უსაფრთხოების პატჩები და მუშაობის გაუმჯობესებები. გადადით პარამეტრები > Windows-ის განახლება.
4.4 შენახვის მართვა
The 512GB eMMC storage provides fast boot-ups and file access. To maintain performance, periodically:
- წაშალეთ არასაჭირო files.
- გამოუყენებელი აპლიკაციების დეინსტალაცია.
- Use Windows' built-in Disk Cleanup tool.
5. Დიაგნოსტიკა
ეს განყოფილება განიხილავს ხშირად წააწყდებო პრობლემებს. უფრო რთული პრობლემების შემთხვევაში, იხილეთ HP-ის ოფიციალური დახმარების რესურსები.
5.1 ლეპტოპი არ ირთვება
- დარწმუნდით, რომ კვების ადაპტერი საიმედოდ არის დაკავშირებული როგორც ლეპტოპთან, ასევე მოქმედ დენის წყაროსთან.
- შეამოწმეთ, რომ დენის წყარო ფუნქციონირებს სხვა მოწყობილობის ჩართვით.
- თუ ბატარეა მთლიანად დაიცალა, ჩართვის მცდელობამდე დაელოდეთ მინიმუმ 30 წუთის განმავლობაში დატენვას.
5.2 Wi-Fi კავშირის პრობლემები
- შეამოწმეთ, ჩართულია თუ არა Wi-Fi Windows-ის პარამეტრებში.
- გადატვირთეთ თქვენი როუტერი და მოდემი.
- დაივიწყეთ ქსელი და ხელახლა დაუკავშირდით, პაროლის ხელახლა შეყვანით.
- Ensure your laptop is within range of the Wi-Fi signal.
5.3 External Display Not Detected
- Ensure the HDMI cable is securely connected to both the laptop and the external display.
- Check the input source on your external display (e.g., HDMI 1, HDMI 2).
- დააჭირეთ Windows-ის კლავიში + P and select a display option (Duplicate, Extend, Second screen only).
5.4 აუდიო პრობლემები
- Check volume levels in Windows and on any connected external audio devices.
- Ensure the correct audio output device is selected in Windows sound settings.
- If using the Mytrix headset, ensure it is powered on and properly paired.
6. სპეციფიკაციები
Detailed technical specifications for your HP 14-em 14-inch HD Laptop:
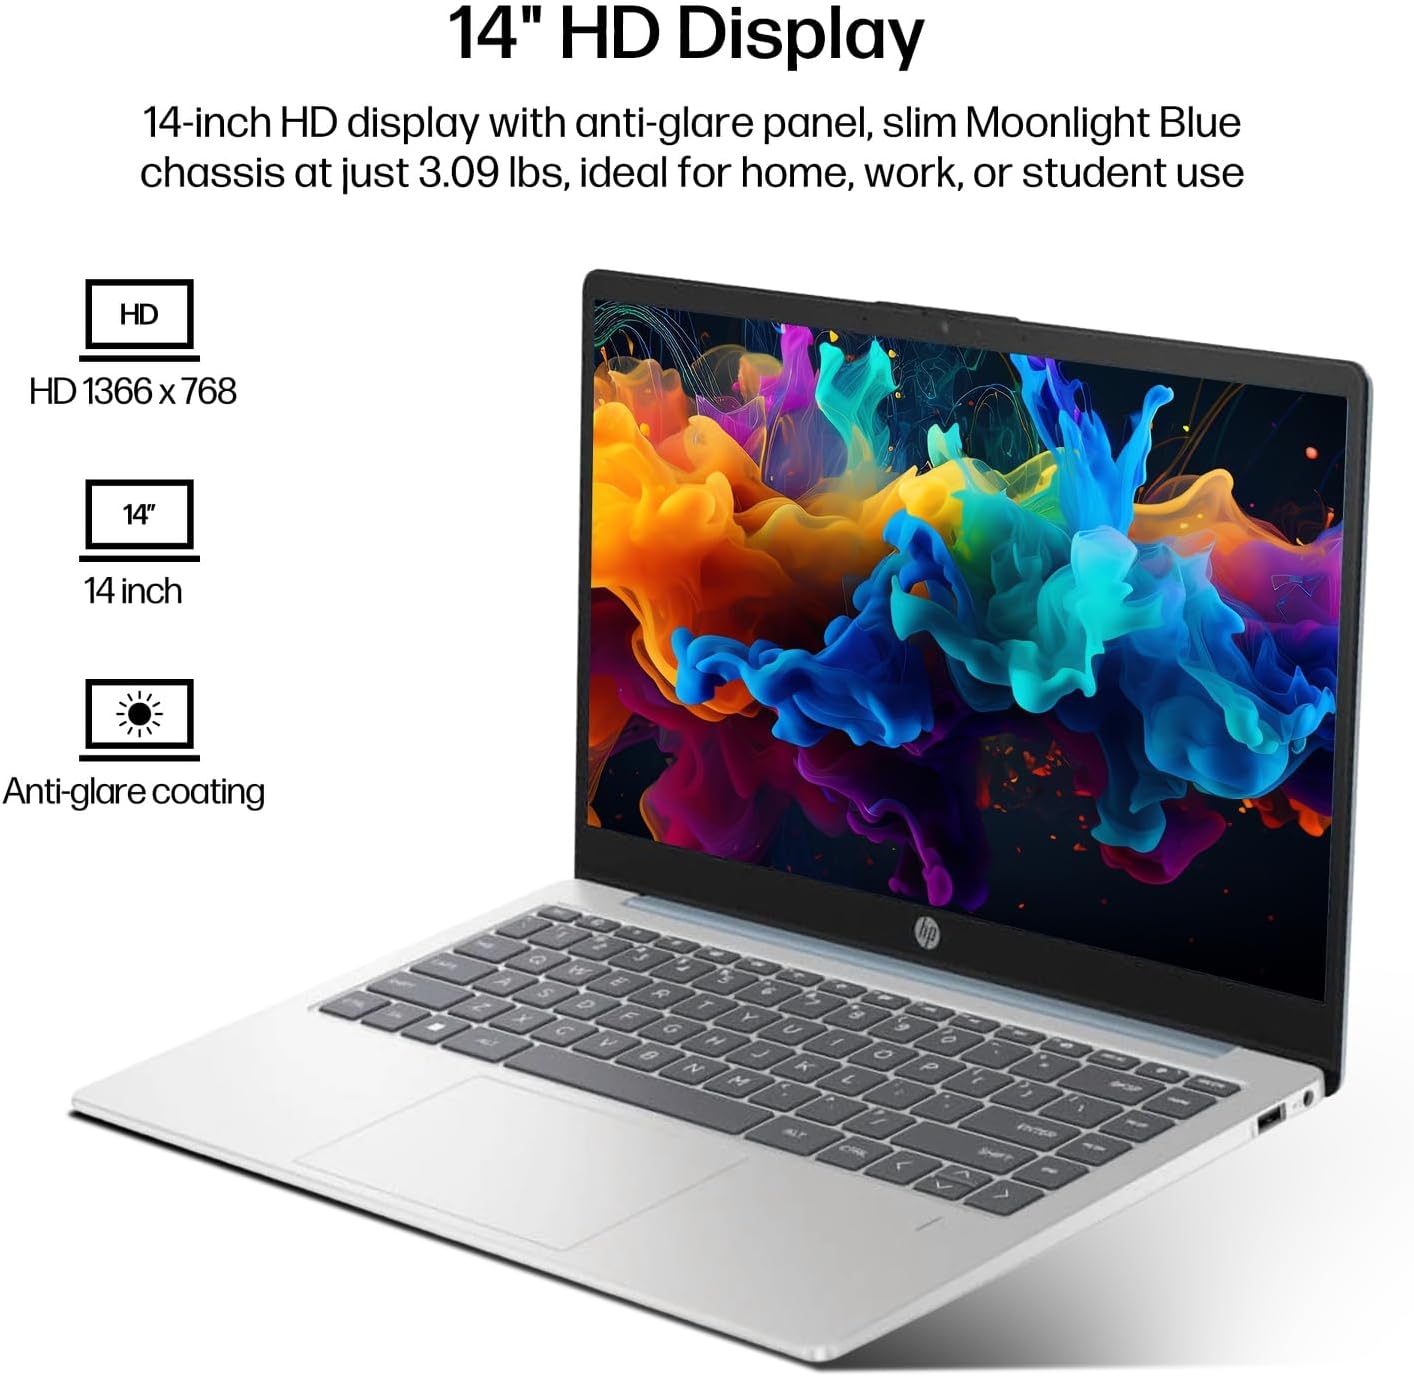
Figure 6.1: The 14-inch HD display features a resolution of 1366 x 768 pixels and an anti-glare coating.

Figure 6.2: The laptop is powered by an AMD Athlon Silver 7120U Processor with integrated AMD Radeon Graphics.
| ფუნქცია | სპეციფიკაცია |
|---|---|
| ბრენდი | HP |
| მოდელის სახელი | 14-em |
| პროცესორი | AMD Athlon Silver 7120U (2 Cores, 2 Threads, up to 3.5 GHz Boost Clock) |
| გრაფიკა | AMD Radeon გრაფიკა (ინტეგრირებული) |
| ოპერატიული მეხსიერება | 4 გბ DDR4 SODIMM |
| შენახვა | 512 GB eMMC (Solid State) |
| ჩვენება | 14-inch HD (1366 x 768) LED, Anti-Glare |
| ოპერაციული სისტემა | Windows 11 Pro |
| უსადენო კავშირი | Wi-Fi 6 (802.11ax), Bluetooth 5.4 |
| პორტები | 2x USB Type-A, 1x USB Type-C (Data Transfer), 1x HDMI, 1x Headphone/Microphone Combo |
| კამერა | წინა მხარეს |
| აუდიო | HD აუდიო |
| ზომები (L x W x H) | 12.74" x 8.46" x 0.7" |
| წონა | დაახლოებით 3.09 ფუნტი |
| მოყვება აქსესუარები | Mytrix 2.4GHz Wireless Gaming Headset |

Figure 6.3: Physical dimensions of the HP 14-inch HD Laptop.
7. გარანტია და მხარდაჭერა
7.1 პროდუქტის გარანტია
Your HP 14-em laptop comes with a 12-month manufacturer's warranty. This warranty covers defects in materials and workmanship under normal use. For specific terms and conditions, please refer to the warranty documentation included with your product or visit the official HP support webსაიტი.
7.2 ტექნიკური მხარდაჭერა
For technical assistance, troubleshooting beyond this manual, or warranty claims, please contact HP Customer Support. You can find contact information on the official HP webსაიტზე ან თქვენს ლეპტოპზე წინასწარ დაინსტალირებული დამხმარე აპლიკაციის საშუალებით.
Additional protection plans are available for purchase, including 2-Year and 4-Year Protection Plans, and a monthly Complete Protect plan. Details can be found where you purchased the product.