T300
Generic T300 LED Mini Projector User Manual
მოდელი: T300
1. შესავალი
მადლობა შენაძენისთვისasing the Generic T300 LED Mini Projector. This compact and portable projector is designed for home theater use, offering a clear viewing experience with its short-focus optical lens and diffuse reflection imaging technology, which helps reduce eye strain. This manual provides essential information for setting up, operating, maintaining, and troubleshooting your projector.
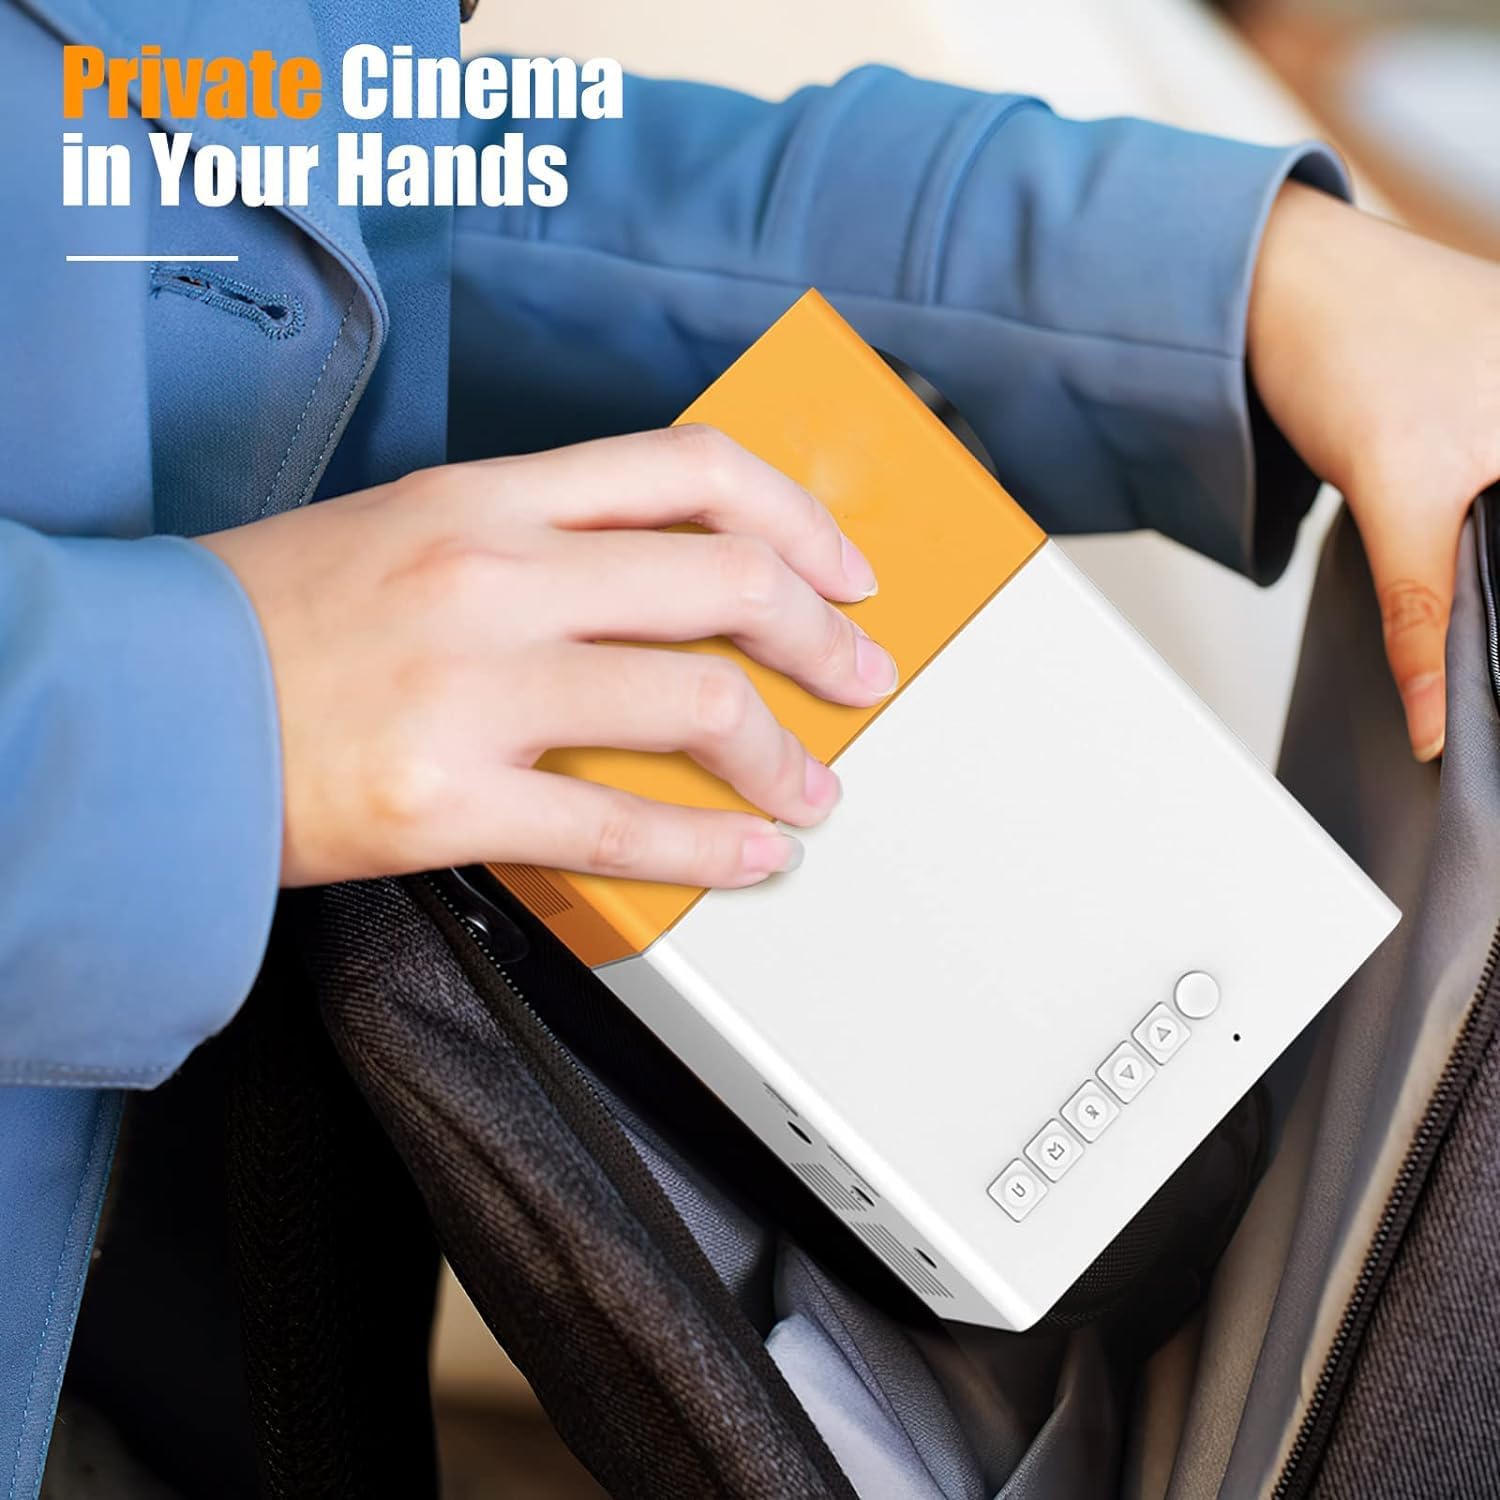
სურათი 1.1: The T300 Mini Projector's compact size allows for easy portability, fitting conveniently into a bag.
2. პაკეტის შიგთავსი
ყუთის გახსნისას, გთხოვთ, შეამოწმოთ შეფუთვის შიგთავსი, რათა დარწმუნდეთ, რომ ყველა ნივთი ადგილზეა:
- 1x T300 Projector
- 1x Power Adapter (EU Plug)
- 1x დისტანციური მართვა
- 1x AV კაბელი
- 1x მომხმარებლის სახელმძღვანელო (ეს დოკუმენტი)
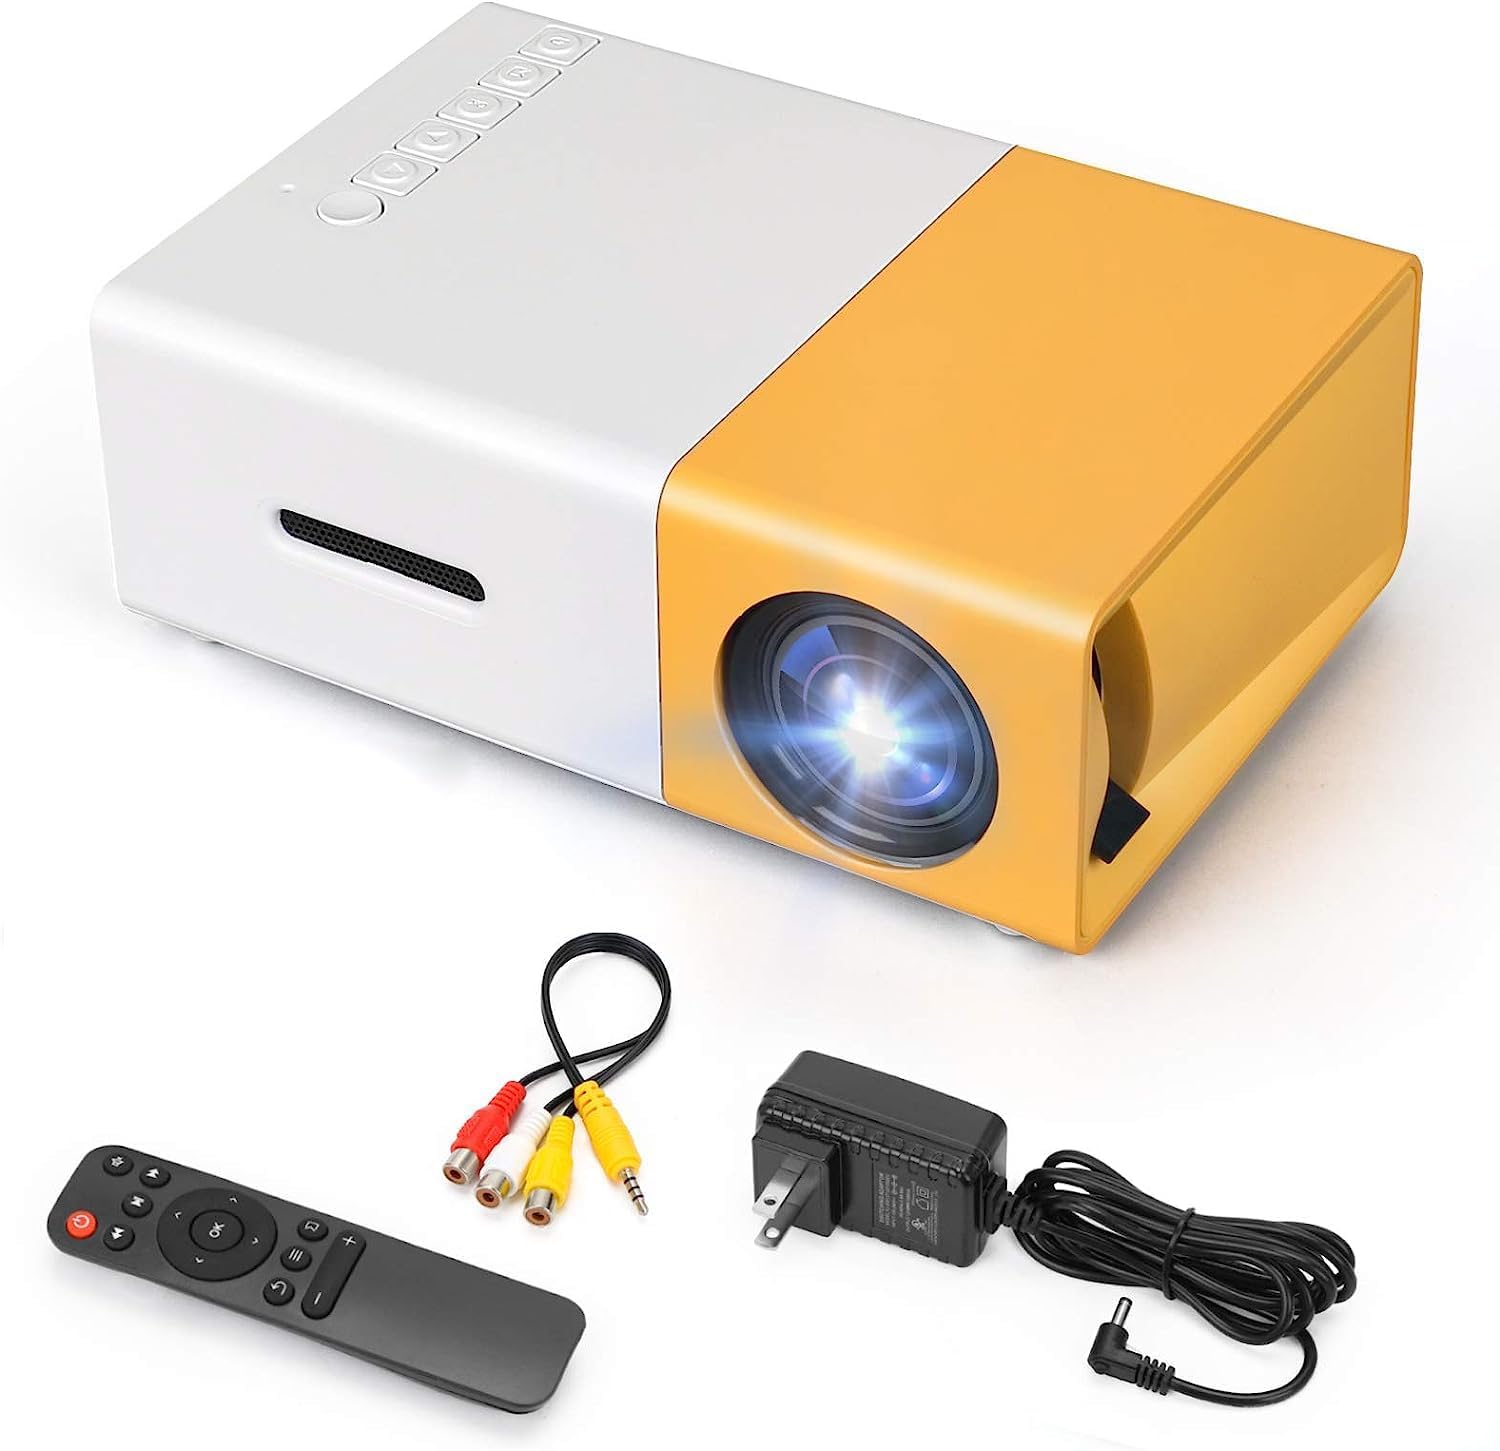
სურათი 2.1: The T300 Mini Projector and its included accessories.
3. პროდუქტი დასრულდაview
Familiarize yourself with the various ports and controls on your T300 Mini Projector:

სურათი 3.1: წინა და უკანა views of the T300 Mini Projector, detailing its input/output ports and control buttons.
3.1. პორტები და ინტერფეისები
- HDMI შეყვანა: Connect to laptops, TV boxes, gaming consoles, and other HDMI-enabled devices.
- USB შეყვანა: მედიის პირდაპირ USB დისკებიდან დაკვრისთვის.
- მიკრო SD ბარათის სლოტი: For playing media directly from Micro SD cards.
- AV შეყვანა: Connect to older devices using the included AV cable.
- Micro USB (5V/2A): Power input option, compatible with power banks or car chargers.
- Earphone Slot: გარე ყურსასმენების ან დინამიკების დასაკავშირებლად.
- DC დენის შეყვანა: Main power input using the provided power adapter.
3.2. კონტროლი
- დენის შეცვლა: პროექტორის ჩასართავად ან გამოსართავად.
- Navigation Buttons (Left, Right, OK): მენიუს ნავიგაციისა და შერჩევისთვის.
- შეყვანის ღილაკი: შეყვანის წყაროს შესარჩევად.
- დაბრუნების ღილაკი: To go back in menus.
4. დაყენება
4.1. დენის კავშირი
- Connect the provided power adapter to the DC Power Input port on the projector.
- შეაერთეთ დენის ადაპტერი კედლის განყოფილებაში.
- Alternatively, for portable use, connect a 5V/2A power bank or car charger to the Micro USB (5V/2A) port.
4.2. მოწყობილობის კავშირი
The T300 projector supports various input sources:
- HDMI: Connect your laptop, TV box, gaming console (PS4/PS3), or other HDMI devices using an HDMI cable (not included).
- USB: მედიის დასაკრავად USB ფლეშ დრაივი USB პორტში ჩადეთ fileს პირდაპირ.
- მიკრო SD ბარათი: Insert a Micro SD card into the Micro SD card slot to play media files.
- AV: Use the included AV cable to connect to devices with AV output (e.g., DVD players).

სურათი 4.1: Multimedia connectivity options for the T300 Mini Projector.
4.3. Placement and Focus
- მოათავსეთ პროექტორი სტაბილურ, ბრტყელ ზედაპირზე.
- Position the projector at a distance between 2 to 5 meters from the projection surface to achieve an optimal image size of 60 to 150 inches.
- Adjust the focus ring on the projector lens until the image appears clear and sharp. The short-focus optical lens allows focusing at a distance of 50cm.
5. საოპერაციო ინსტრუქციები
5.1. ჩართვა/გამორთვა
Press the Power Switch on the projector or the power button on the remote control to turn the projector on or off.
5.2. შეყვანის წყაროს შერჩევა
After powering on, use the 'Input' button on the projector or the remote control to cycle through available input sources (HDMI, USB, TF Card, AV) until your desired source is displayed.
5.3. მულტიმედიური დაკვრა
The projector supports multi-format video, audio, picture, and e-book playback. Navigate through your media files using the navigation buttons on the projector or remote control and press 'OK' to select.
5.4. აუდიო გამომავალი
The projector has a built-in miniature speaker. For enhanced audio, connect external speakers or headphones to the Earphone Slot.

სურათი 5.1: Versatile applications of the T300 Mini Projector for entertainment.
6. მოვლა
6.1. ლინზის გაწმენდა
Use a soft, lint-free cloth or lens cleaning paper to gently wipe the projector lens. Avoid using abrasive materials or harsh chemicals that could scratch the lens.
6.2. ვენტილაცია
Ensure the projector's ventilation openings are not blocked during operation to prevent overheating. Keep the projector in a well-ventilated area.
6.3. შენახვა
When not in use, store the projector in a cool, dry place, away from direct sunlight and excessive dust. It is recommended to use the original packaging or a protective case.
6.4. ლamp ცხოვრება
LED lamp in your T300 projector has an estimated life of 20,000 hours, providing long-term use without frequent lamp ჩანაცვლება.
7. Დიაგნოსტიკა
თუ თქვენს პროექტორთან დაკავშირებით პრობლემებს წააწყდებით, იხილეთ შემდეგი გავრცელებული პრობლემები და მათი გადაჭრის გზები:
- სურათი არ არის ნაჩვენები:
- დარწმუნდით, რომ პროექტორი ჩართულია და კვების ადაპტერი საიმედოდ არის შეერთებული.
- Verify the input source is correctly selected (HDMI, USB, AV, etc.).
- შეამოწმეთ პროექტორსა და წყაროს მოწყობილობას შორის დამაკავშირებელი კაბელი.
- სურათი ბუნდოვანია:
- პროექტორის ლინზაზე ფოკუსირების რგოლი დაარეგულირეთ მანამ, სანამ გამოსახულება მკაფიო არ გახდება.
- დარწმუნდით, რომ პროექციის მანძილი რეკომენდებულ დიაპაზონშია (2-5 მეტრი).
- ხმა არ არის:
- შეამოწმეთ ხმის პარამეტრები როგორც პროექტორზე, ასევე წყაროს მოწყობილობაზე.
- If using external speakers/headphones, ensure they are properly connected to the Earphone Slot.
- გადაამოწმეთ აუდიო გამომავალი პარამეტრები თქვენს წყაროს მოწყობილობაზე.
- დისტანციური მართვა არ მუშაობს:
- დარწმუნდით, რომ დისტანციურ მართვასა და პროექტორის ინფრაწითელ მიმღებს შორის არანაირი დაბრკოლება არ არის.
- Replace the batteries in the remote control if necessary.
8. სპეციფიკაციები
| ფუნქცია | სპეციფიკაცია |
|---|---|
| მოდელი | T300 |
| მხარდაჭერის რეზოლუცია | 1920 x 1080 (სრული HD) |
| მშობლიური რეზოლუცია | 1920 x 1080 |
| ჩვენების ტიპი | LCD, DLP |
| ინტერფეისები | HDMI, USB, TF Card Slot, AV, Micro USB (5V-2A) |
| ჩაშენებული დინამიკი | დიახ |
| Lamp ცხოვრება | 20,000 საათი |
| პროდუქტის ზომა | 114 x 87 x 50 მმ |
| რეკომენდებული გამოყენება | სახლის კინო |
| სპეციალური ფუნქცია | პორტატული |
| სურათის მაქსიმალური ზომა | 150 ინჩი |
| სურათის მინიმალური ზომა | 60 ინჩი |
| სროლის მაქსიმალური მანძილი | 5 მეტრი |
| სროლის მინიმალური მანძილი | 2 მეტრი |
| დენის შეყვანა | 5V/2A |
9. გარანტია და მხარდაჭერა
9.1. ინფორმაცია გარანტიის შესახებ
ამ პროდუქტს, როგორც წესი, გააჩნია ა 10-day replacement policy from the date of purchase. Please refer to your retailer's specific warranty terms and conditions for detailed information. The LED lamp is designed for a long life of 20,000 hours, which is not typically covered by short-term replacement policies.
9.2. მომხმარებელთა მხარდაჭერა
For technical assistance, troubleshooting beyond this manual, or warranty claims, please contact your original retailer or the manufacturer, SHUBH LABH ENTERPRISES. Keep your purchase receipt or proof of purchase handy when contacting support.
Ask a question about this manual
Ask about setup, troubleshooting, compatibility, parts, safety, or missing instructions. Manuals+ will review the question and use this page’s manual context to help answer it.