1. はじめに
This manual provides detailed instructions for the installation, operation, and maintenance of your JOOAN 4G Solar Security Camera. This outdoor wireless surveillance camera is designed for areas without traditional power or network infrastructure, utilizing 4G cellular connectivity and solar power for continuous operation. Please read this manual thoroughly before use to ensure proper setup and functionality.

Image 1.1: JOOAN 4G Solar Security Camera with its solar panel and a smartphone displaying the camera's live feed, highlighting its 4MP/5MP HD resolution capability.
2 製品の特徴
- 4G接続: Operates independently using a SIM card, ideal for remote locations.
- 太陽光発電: Equipped with a solar panel for continuous charging, reducing the need for external power sources.
- 高解像度: 鮮明なビデオをキャプチャtage for effective surveillance.
- カラーナイトビジョン: Offers multiple night vision modes including infrared, full-color, and smart color night vision for enhanced visibility in low-light conditions up to 10 meters.
- ローカルおよびクラウドストレージ: Supports up to 256GB SD card storage and optional cloud storage for recorded footage.
- 簡単なインストール: Designed for straightforward setup and mounting.
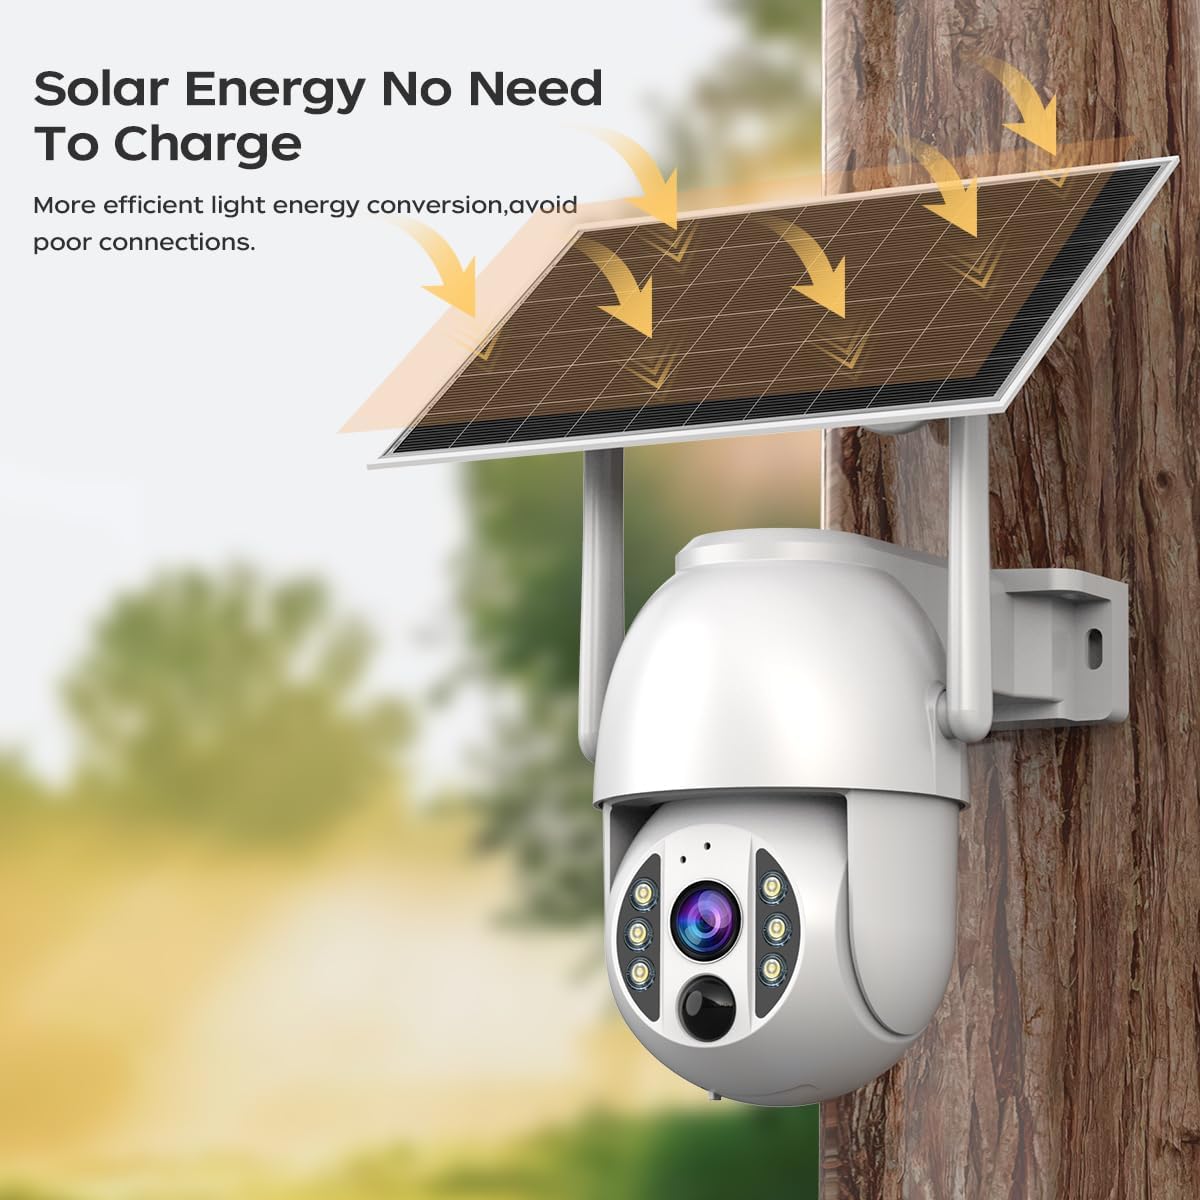
Image 2.1: The JOOAN 4G Solar Security Camera mounted with its solar panel, illustrating its solar energy capability for efficient light energy conversion and avoiding poor connections.
3. セットアップとインストール
3.1. SIMカードとSDカードの取り付け
Before mounting, install a 4G SIM card (not included) and an SD card (up to 256GB, not included) into the designated slots on the camera. Ensure the camera is powered off before inserting or removing cards.

画像3.1: クローズアップ view of the JOOAN camera's SD card slot, indicating support for cloud storage and a maximum 256GB SD card.
3.2. 取り付け手順
- ポジショニングとパンチング: Select a suitable location for the camera and solar panel. Mark the drilling points on the wall. Use a drill to create holes at the marked positions.
- 拡張ネジを挿入します: Gently tap the expansion screws into the drilled holes until they are flush with the surface.
- カメラを取り付ける: Align the camera bracket with the expansion screws and secure it using the provided screws.
- インストール完了: Attach the solar panel to the camera bracket or mount it separately in a location with ample sunlight. Ensure all connections are secure.

Image 3.2: Visual guide showing the four installation steps: 1. Positioning and punching, 2. Inserting expansion screws, 3. Mounting the camera with screws, and 4. Completing the installation with the solar panel.
3.3.アプリ接続
Download the official JOOAN app from your smartphone's app store. Follow the in-app instructions to add your camera. There are typically two methods:
- Add APP Phone Code: Scan the QR code displayed on your mobile phone APP with the camera lens from a distance of 20-30cm to add the distribution network.
- Add Camera Body Code: Scan the QR code located on the camera body using the mobile phone APP to add the distribution network.

Image 3.3: Illustration of the two connection methods: scanning the APP phone code or scanning the camera body code to establish a network connection.
4. 操作
4.1.電源のオン/オフ
The camera automatically powers on when sufficient solar power is available or when connected to a power source. To power off, disconnect the power source and allow the battery to deplete, or use the app if a power-off function is available.
4.2.ライブ View 録音
Once connected to the app, you can access the live video feed. The camera supports continuous recording to the SD card or cloud storage (subscription may be required). You can also manually record video or capture screenshots from the live view.
4.3. 動きの検知とアラート
Configure motion detection sensitivity and alert settings within the app. The camera will send notifications to your smartphone when motion is detected. Recorded events can be reviewアプリの再生セクションで編集されました。
4.4. ナイトビジョンモード
カメラにはアプリから選択できる 3 つの夜間視力モードがあります。
- 赤外線ナイトビジョン: 完全な暗闇でも鮮明な白黒画像を提供します。
- フルカラーナイトビジョン: 内蔵スポットライトを利用して、暗い場所でもカラー画像を提供します。
- スマートカラーナイトビジョン: Automatically switches from infrared to full-color vision upon detection of motion or specific events.

Image 4.1: Comparison of the three night vision modes: Infrared night vision, Full color night vision, and Smart color night vision, demonstrating the camera's ability to pick out details in darkness up to 10 meters away.
5. メンテナンス
- レンズの掃除: 鮮明な画質を保つために、カメラのレンズは定期的に柔らかく乾いた布で拭いてください。研磨剤入りの洗剤は使用しないでください。
- ソーラーパネルの清掃: Keep the solar panel free from dust, dirt, and debris to maximize charging efficiency. Clean with a damp 必要に応じて布で拭きます。
- ファームウェアの更新: 最適なパフォーマンスとセキュリティを確保するために、利用可能なファームウェア アップデートがないかアプリを定期的に確認してください。
- バッテリーの状態: Ensure the solar panel receives adequate sunlight to maintain battery charge. Prolonged periods without sunlight may require temporary charging via a USB power adapter (not included).
6。 トラブルシューティング
6.1. Camera Not Connecting to 4G Network
- SIM カードが正しく挿入され、有効なデータ プランでアクティブ化されていることを確認します。
- Check 4G signal strength at the camera's location.
- 電源を一時的に切断して再度接続し、カメラを再起動します。
6.2. No Video Feed or Poor Quality
- Verify the camera has sufficient power.
- Check the 4G signal strength.
- カメラのレンズを掃除してください。
6.3. Solar Panel Not Charging
- ソーラーパネルが毎日数時間直射日光を当てられるように設置されていることを確認してください。
- Clean any dirt or obstructions from the solar panel surface.
- ソーラーパネルとカメラ間の接続ケーブルを確認してください。
6.4. SD Card Not Recording
- SD カードが正しく挿入され、アプリ内でフォーマットされていることを確認します。
- SD カードに十分な空き容量があるかどうかを確認してください。
- アプリで録画設定を確認します。
7. 仕様
| 特徴 | 詳細 |
|---|---|
| ブランド | ジュアン |
| モデル | B0GCFGYCLX |
| 電源 | 太陽光発電 |
| 接続プロトコル | 4G Cellular (SIM card required), Wi-Fi (for initial setup/local access if applicable) |
| 推奨用途 | Indoor/Outdoor Surveillance |
| 特集 | 簡単にインストール |
| ストレージ | Supports up to 256GB SD card, Cloud Storage (subscription may apply) |
8. 保証とサポート
For warranty information and technical support, please refer to the JOOAN official web購入サイトをご覧いただくか、カスタマーサービスに直接お問い合わせください。購入証明書としてレシートを保管してください。
さらにサポートが必要な場合は、次のサイトをご覧ください。 AmazonのJOOANストア