1. はじめに
This manual provides essential information for setting up, operating, maintaining, and troubleshooting your ZONKO 11-inch Android 15 Tablet. Please read this guide thoroughly to ensure proper use and to maximize your device's performance and longevity.
2. パッケージ内容
以下にリストされているすべてのアイテムがパッケージに含まれていることを確認してください。
- 1 x ZONKO 11-inch Android 15 Tablet
- 1xタブレットケース
- 1 x Bluetoothキーボード
- 1 xワイヤレスマウス
- 1xタッチペン
- 1 x Screen Protector (1 installed, 1 spare)
- 1 x OTGアダプター
- タイプCケーブル x 1
- 充電器 x 1
- 1 x SIM/SD Card Tray Eject Pin
- ユーザーマニュアル x 1

Figure 2.1: Tablet components and included accessories.
3.デバイスオーバーview
Familiarize yourself with the physical features and ports of your ZONKO tablet.
3.1. Tablet Layout
The tablet features an 11-inch Incell display, dual cameras, and various ports for connectivity.
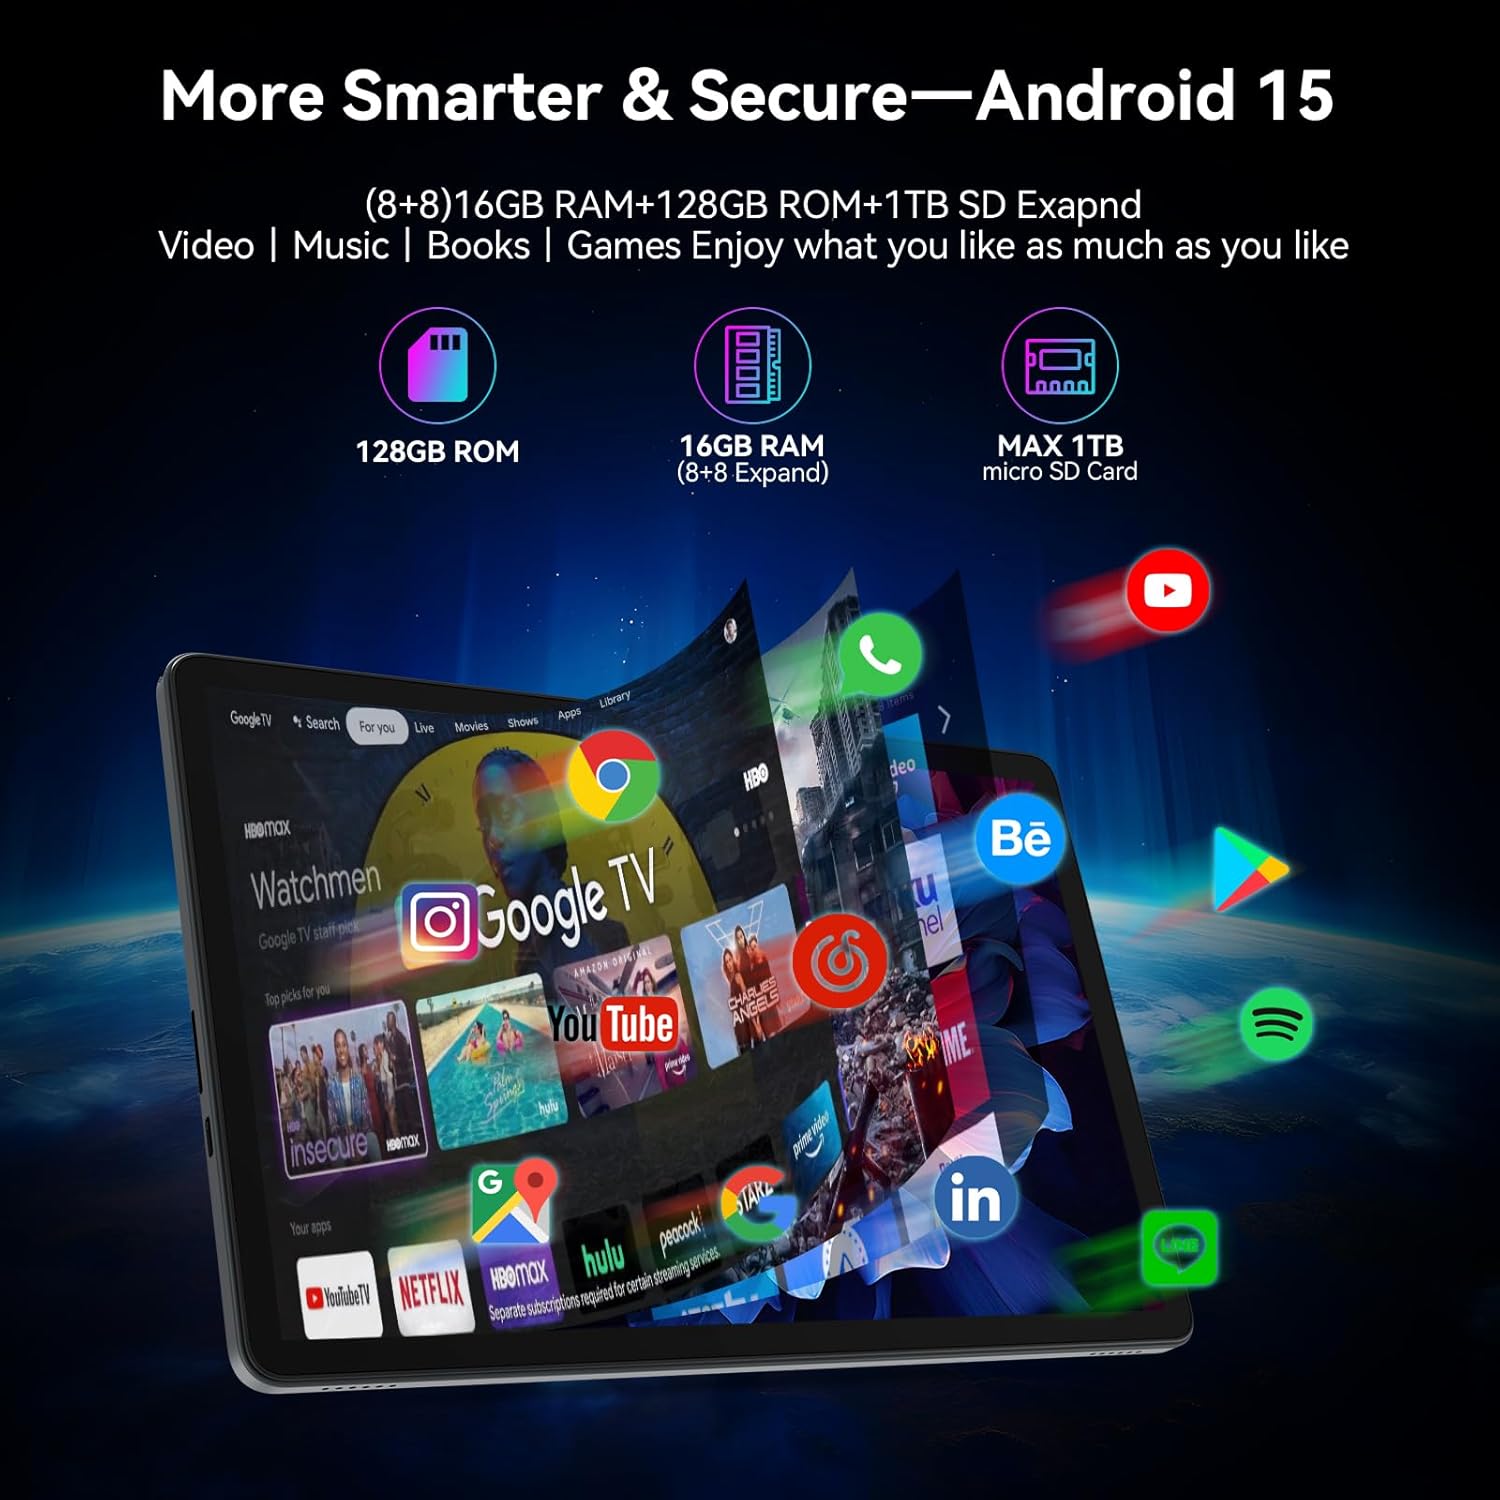
図3.1: 前面 view of the ZONKO 11-inch Android 15 Tablet.

図3.2:戻る view of the ZONKO 11-inch Android 15 Tablet.
3.2. ポートとボタン
- 電源ボタン: 側面にあり、デバイスの電源のオン/オフやスリープ/ウェイクに使用します。
- 音量ボタン: オーディオの音量を調整します。
- USB Type-Cポート: 充電やデータ転送に。
- ヘッドフォンジャック: 有線ヘッドホンを接続します。
- TF/SIMカードスロット: For inserting a microSD card (up to 1TB) or a SIM card (for LTE models, check compatibility).
- フロントカメラ: ビデオ通話や自撮りに。
- リアカメラ: 写真やビデオを撮影するため。

Figure 3.3: SIM and SD card slot location.
4. セットアップ
4.1. 初期充電
- 付属のType-Cケーブルをタブレットの充電ポートに接続します。
- 充電器を電源コンセントに差し込みます。
- 初めて使用する前に、タブレットを完全に充電してください。画面上のバッテリーインジケーターに充電状態が表示されます。
The tablet is equipped with an 8000mAh battery, providing approximately 9 hours of average use on a full charge.

Figure 4.1: Tablet charging indication.
4.2.電源のオン/オフ
- 電源を入れるには: ZONKOロゴが表示されるまで電源ボタンを押し続けます。
- 電源を切るには: 電源オプションが画面に表示されるまで電源ボタンを長押しし、「電源を切る」を選択します。
- 寝る/起きる: 電源ボタンを短く押します。
4.3. Android 15の初期セットアップ
初めて電源を入れたら、画面の指示に従って初期セットアップを完了します。
- 言語を選択します。
- Wi-Fi ネットワークに接続します。
- Google アカウントでサインインするか、新しいアカウントを作成してください。
- Review 利用規約に同意します。
- 画面ロック(PIN、パターン、パスワード)を設定します。
4.4. Inserting a MicroSD Card or SIM Card
To expand storage or use cellular data (if applicable):
- タブレットの側面にある SIM/SD カード トレイを見つけます。
- Insert the provided eject pin into the small hole next to the tray to open it.
- Place the microSD card (gold contacts facing down) or SIM card into the designated slot(s) on the tray.
- カチッと音がするまでトレイをタブレットに慎重に押し戻します。
4.5. アクセサリの接続
Your tablet comes with a Bluetooth keyboard, wireless mouse, and touch pen. Follow these steps to connect them:
4.5.1. Bluetooth Keyboard and Wireless Mouse
- キーボードとマウスが充電され、電源がオンになっていることを確認します。
- タブレットで、 設定 > 接続されたデバイス > ブルートゥース.
- Turn on Bluetooth and select "Pair new device."
- 使用可能なデバイスのリストからキーボードまたはマウスを選択し、画面上のペアリング手順に従います。

Figure 4.2: Tablet with connected keyboard and mouse.
4.5.2. Touch Pen
The touch pen typically does not require pairing and can be used directly on the screen for navigation and input.
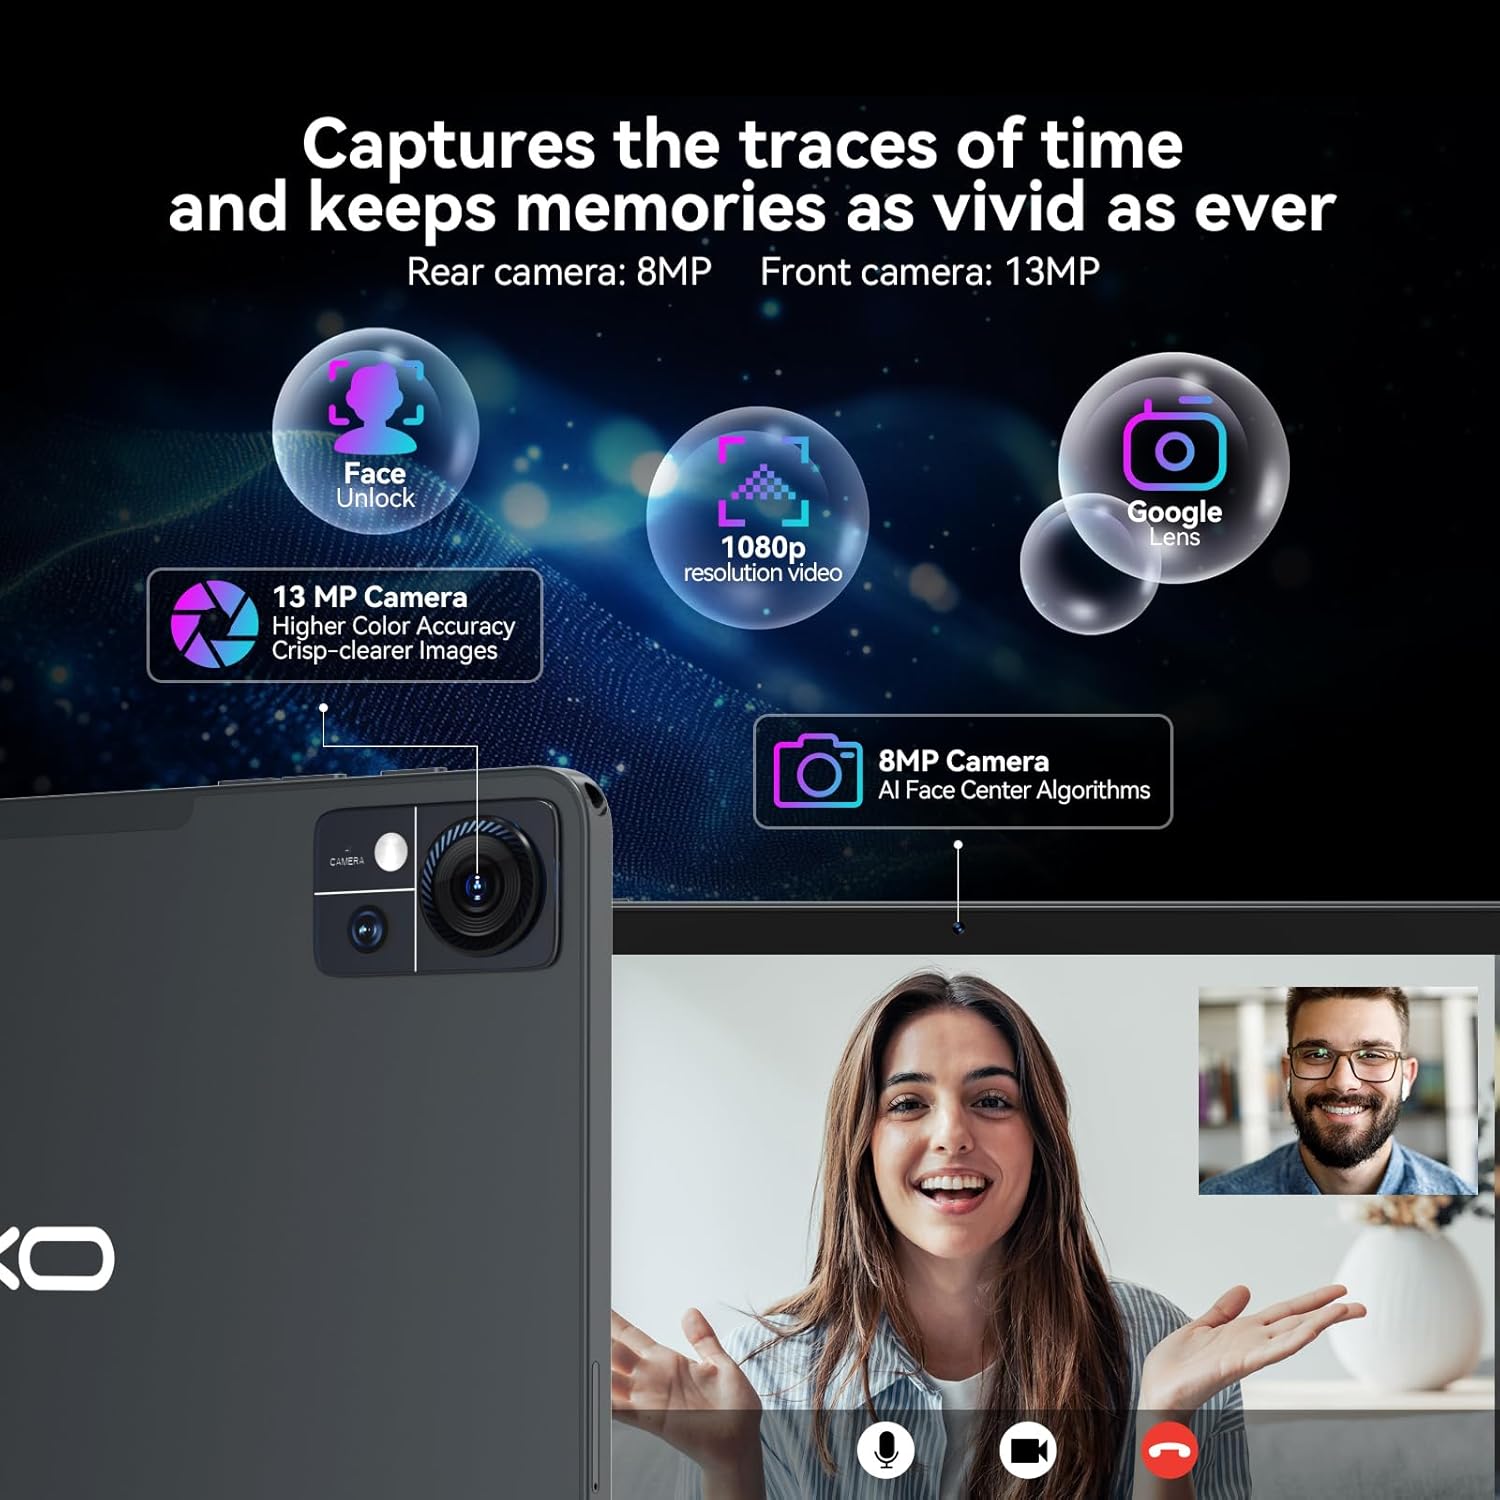
Figure 4.3: Using the touch pen with the tablet.
5.運用
5.1. 基本的なナビゲーション(Android 15)
Your tablet runs on Android 15, offering an intuitive user experience.
- ホーム画面: 左または右にスワイプして、さまざまなホーム画面パネルにアクセスします。
- アプリドロワー: 画面の下から上にスワイプして view インストールされているすべてのアプリケーション。
- 通知とクイック設定: 画面の上から下にスワイプすると、通知とクイック設定の切り替えにアクセスできます。
- マルチタスク: 画面下部から上にスワイプして長押しすると view 最近のアプリ。
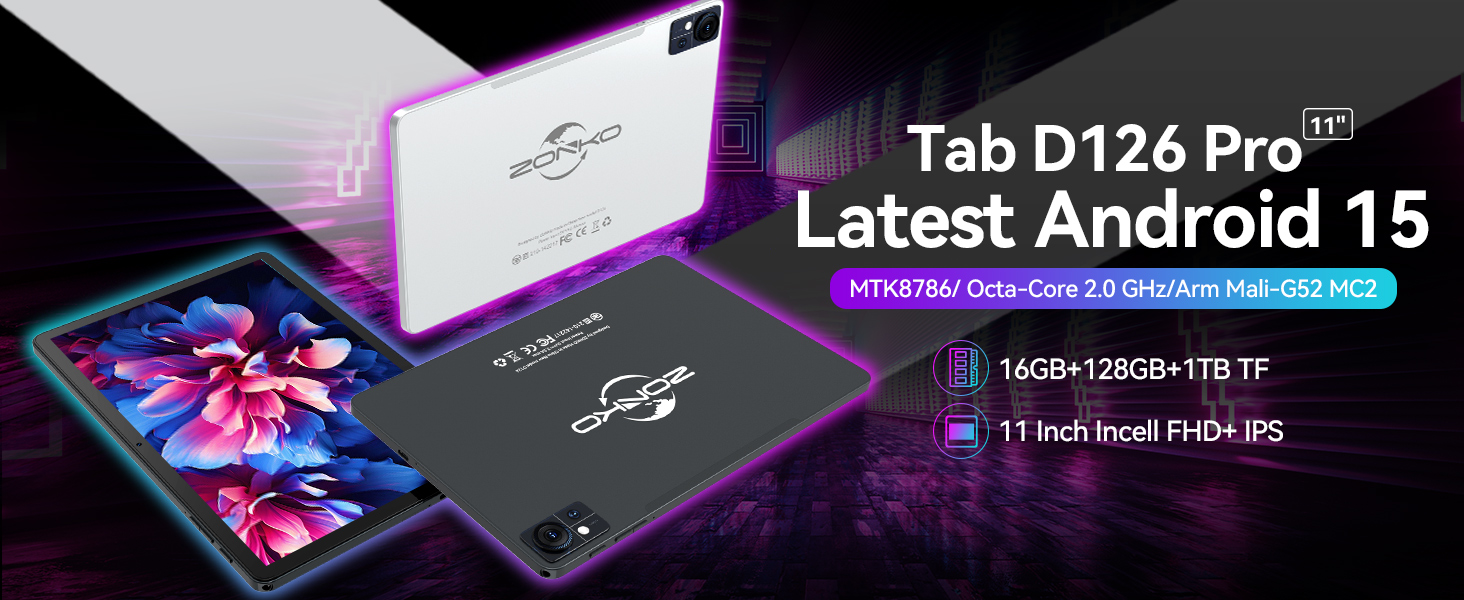
Figure 5.1: Android 15 interface displaying various applications.
5.2.Wi-Fi接続
Wi-Fi ネットワークに接続するには:
- へ移動 設定 > ネットワークとインターネット > Wi-Fi.
- Wi-Fiをオンにします。
- リストから希望のネットワークを選択し、プロンプトが表示されたらパスワードを入力します。
The tablet supports 2.4GHz and 5G dual-band Wi-Fi for stable and fast internet access.

Figure 5.2: Wi-Fi and Bluetooth connection indicators.
5.3. Bluetooth接続
Bluetooth デバイス (ヘッドフォン、スピーカーなど) に接続するには:
- へ移動 設定 > 接続されたデバイス > ブルートゥース.
- Bluetoothをオンにします。
- Bluetooth デバイスがペアリング モードになっていることを確認します。
- Select the device from the list and follow any on-screen pairing instructions.
5.4. カメラの使用
このタブレットには、21MP 背面カメラと 13MP 前面カメラが搭載されています。
- カメラアプリを開きます。
- カメラ切り替えアイコンをタップして、前面カメラと背面カメラを切り替えます。
- シャッターボタンをタップして写真を撮ったり、ビデオ録画を開始/停止したりします。

Figure 5.3: Tablet camera in use, showing both front and rear camera capabilities.
5.5. ストレージ管理
Your tablet comes with 128GB of internal storage and supports up to 1TB microSD card expansion. It also has 16GB RAM (8GB physical + 8GB virtual) for smooth operation.
- ストレージを確認するには: 設定 > ストレージ.
- 管理する files: Use the pre-installed Files app or download a file manager from the Google Play Store.
5.6. GPS機能
The built-in GPS allows for navigation and location-based services.
- 位置情報サービスが有効になっていることを確認してください 設定 > 位置.
- Use pre-installed map applications or download others from the Google Play Store.
5.7. Google Playストア
As a GMS certified device, you can download and install a wide variety of applications from the Google Play Store.
- 開く Playストア アプリ。
- 検索する apps, games, movies, or books.
- Tap "Install" to download and install your chosen content.
6. メンテナンス
6.1. バッテリーのお手入れ
- タブレットを極端な温度にさらさないでください。
- Do not let the battery drain completely regularly. Charge it when the battery level is low.
- 損傷を防ぐため、付属の充電器とケーブルのみを使用してください。
6.2.デバイスのクリーニング
- 柔らかく糸くずの出ない布を使用して、タブレットの画面と本体を清掃してください。
- 頑固な汚れには、軽くamp布に水または電子機器用のスクリーンクリーナーを含ませて拭いてください。
- 強力な化学薬品や研磨材の使用は避けてください。
6.3. ソフトウェアの更新
最適なパフォーマンスとセキュリティを確保するために、ソフトウェアの更新を定期的に確認してインストールしてください。
- へ移動 設定 > システム > システムアップデート.
- 画面上の指示に従って、利用可能なアップデートをダウンロードしてインストールします。
7。 トラブルシューティング
タブレットで問題が発生した場合は、次の一般的な解決策を参照してください。
| 問題 | 解決 |
|---|---|
| タブレットの電源が入りません。 | タブレットが充電されていることを確認してください。充電器に30分以上接続してから、再度電源を入れてみてください。 |
| Wi-Fi接続の問題。 | Restart your Wi-Fi router and the tablet. Check if other devices can connect to the Wi-Fi. Ensure you have entered the correct password. |
| アプリがクラッシュしたりフリーズしたりします。 | Close the problematic app and reopen it. Clear the app's cache in 設定 > アプリ > [アプリ名] > ストレージとキャッシュタブレットを再起動します。 |
| タブレットの動作が遅い、または反応しない。 | Close unnecessary background apps. Clear cached data. Consider performing a factory reset (back up your data first). |
| アクセサリ(キーボード/マウス)が接続されません。 | Ensure accessories are charged and in pairing mode. Re-pair them via Bluetooth settings. |
問題が解決しない場合は、保証とサポートのセクションを参照してさらにサポートを受けてください。
8. 仕様
Detailed technical specifications for the ZONKO 11-inch Android 15 Tablet (Model B0FSKXYFF1).
| 特徴 | 仕様 |
|---|---|
| モデル番号 | B0FSKXYFF1 |
| オペレーティング·システム | アンドロイド15 |
| プロセッサ | MTK 8786 Octa-Core |
| ラム | 16GB(物理8GB + 仮想8GB) |
| 内部ストレージ | 128GB ROM |
| 拡張可能なストレージ | TF(microSD)カードで最大1TB |
| 画面サイズ | 11インチ |
| 画面解像度 | 1280 x 800 ピクセル |
| リアカメラ | 21 MP |
| フロントカメラ | 13 MP |
| バッテリー容量 | 8000mAh |
| 平均バッテリー寿命 | 9時間 |
| ワイヤレス接続 | 2.4GHz/5G Dual-Band Wi-Fi (802.11ac, b, g, n) |
| ブルートゥース | ブルートゥース5.0 |
| GPS | GPS内蔵 |
| 寸法(長さx幅x高さ) | 11 x 6 x 0.1インチ |
| アイテム重量 | 3.16ポンド |
| 色 | グレー |
9.保証とサポート
For warranty information or technical support, please contact the seller or ZONKO customer service directly. The user manual included in your package may contain specific contact details or warranty terms.
You can also refer to the "Attention" note in the product description which states: "Attention: Following pictures have detailed instruction of how to use those accessories or you can contact our seller for more help."