TITAN ARMY P2418C
TITAN ARMY P2418C 24インチコンピュータモニター ユーザーマニュアル
モデル:P2418C
1. はじめに
Thank you for choosing the TITAN ARMY P2418C 24-Inch Computer Monitor. This manual provides essential information for setting up, operating, and maintaining your new monitor. Please read this manual thoroughly before use to ensure optimal performance and safety.
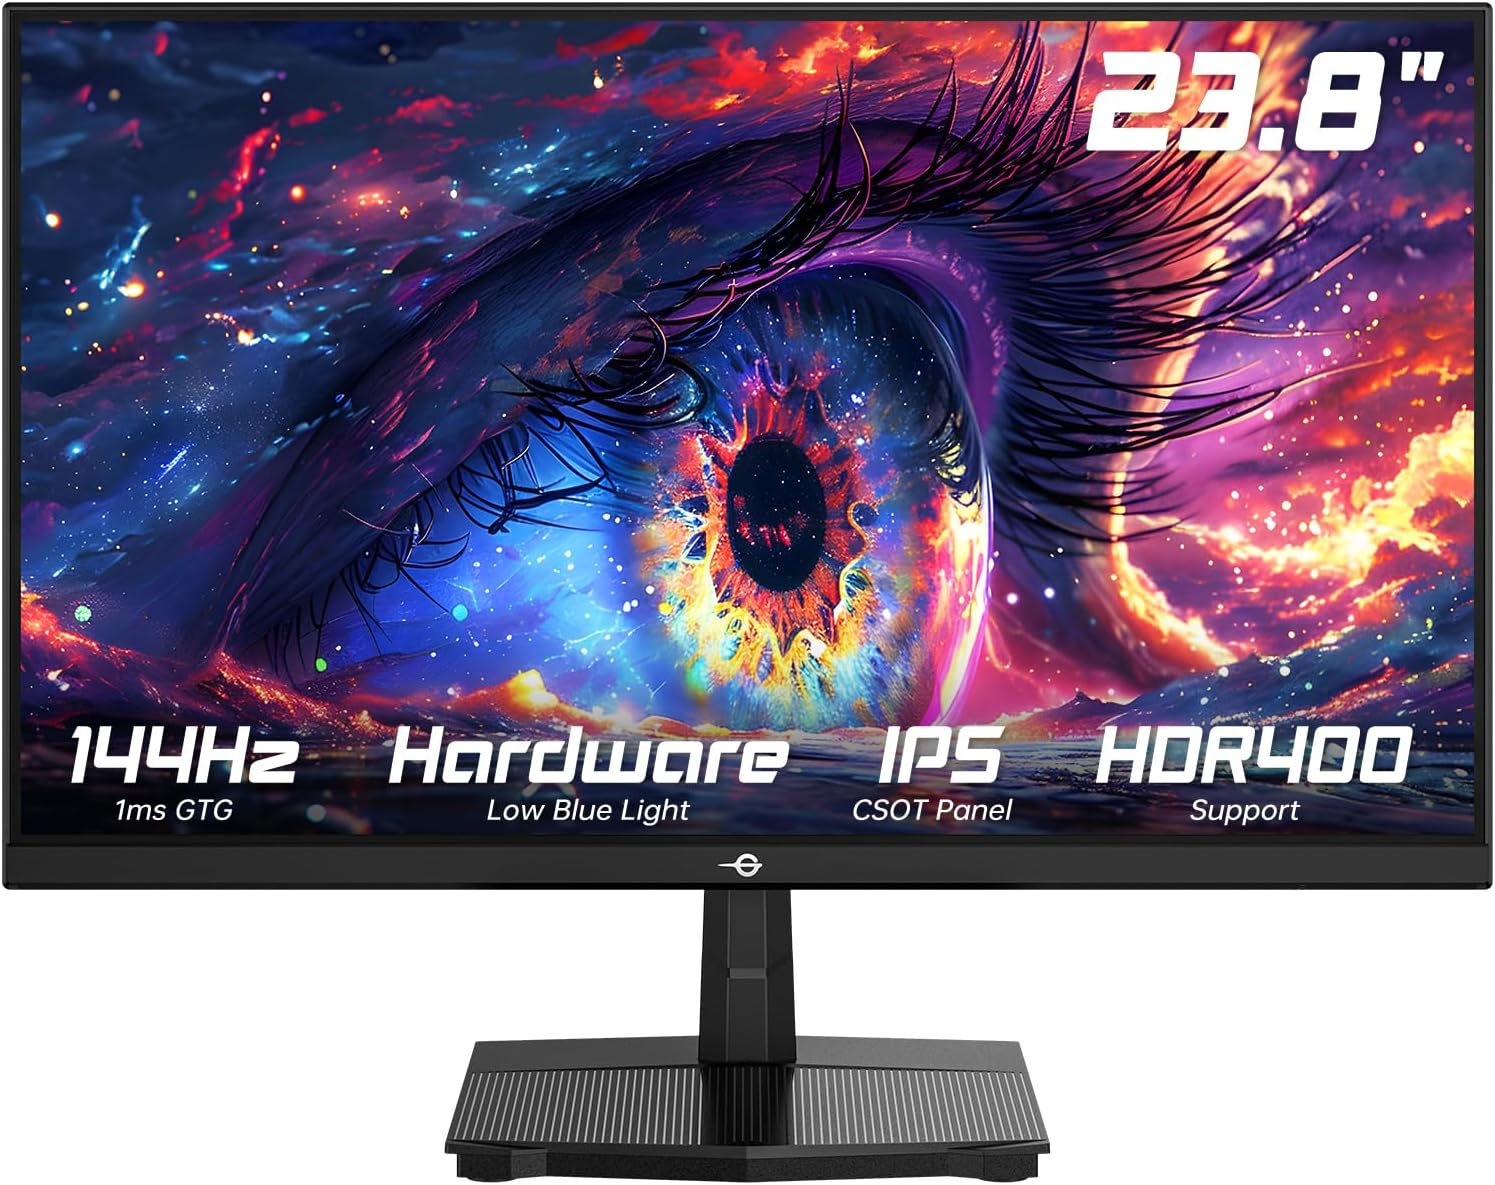
図1.1: 前面 view of the TITAN ARMY P2418C monitor.
2. 安全情報
モニターの損傷を防ぎ、個人の安全を確保するために、次の安全上の注意事項を守ってください。
- モニターを雨、湿気、極端な温度にさらさないでください。
- 換気口をふさがないでください。
- モニターに付属の電源アダプターのみを使用してください。
- モニターの修理はご自身で行わないでください。修理はすべて資格を持った専門家にご依頼ください。
- モニターが落ちないように、安定した平らな面に置いてください。
- 電源コードの上に重い物を置かないでください。
- モニターを長期間使用しない場合は、電源プラグをコンセントから抜いてください。
3. パッケージ内容
パッケージにすべてのアイテムが含まれていることを確認します。
- TITAN ARMY P2418C Monitor
- モニタースタンド(ベースとネック)
- 電源アダプター
- HDMIケーブル
- ユーザーマニュアル(このドキュメント)

Figure 3.1: The TITAN ARMY P2418C monitor and its included accessories.
4. セットアップ
4.1 スタンドの組み立て
- 画面を保護しながら、モニターをパッケージから慎重に取り出します。
- スタンドネックをモニターの背面パネルに取り付けます。カチッと音がしてしっかりと固定されているか、付属のネジでしっかりと固定されているかを確認してください。
- スタンドベースをスタンドネックに取り付けます。ベースの底部にあるつまみネジを締めます。
- 組み立てたモニターを安定した平らな机の上に置きます。
4.2 VESA壁掛けマウントの取り付け(オプション)
The monitor supports a 100x100mm VESA mount. If you wish to wall-mount the monitor, remove the stand and attach your VESA-compatible bracket using appropriate screws (not included).

図4.1:背面 view VESA マウントの互換性を強調したモニターの。
4.3接続ケーブル
Connect the video cables from your computer to the monitor. The P2418C supports HDMI and DisplayPort connections.
- HDMI接続: HDMI ケーブルの一方の端をコンピューターのグラフィック カードの HDMI ポートに接続し、もう一方の端をモニターの HDMI ポートに接続します。
- DisplayPort (DP) 接続: Connect one end of the DisplayPort cable to the DP port on your computer's graphics card and the other end to one of the DP ports on the monitor.
- 電源接続: 電源アダプタをモニターの電源入力に接続し、電源コードを壁のコンセントに差し込みます。

図4.2:側面 view of the monitor displaying the available input ports (HDMI, DP).
5. 操作手順
5.1 電源のオン/オフ
モニターの電源ボタンを押すと、電源のオン/オフを切り替えることができます。モニターの電源がオンになると、電源インジケーターライトが点灯します。
5.2 オンスクリーンディスプレイ(OSD)メニュー
OSDメニューでは、モニターのさまざまな設定を調整できます。メニュー内を移動するには、コントロールボタン(通常はモニターの背面または右下にあります)を使用してください。
主要な OSD 設定:
- 輝度コントラスト: ディスプレイ全体の輝度とコントラスト比を調整します。
- 色の設定: 色温度、ガンマ、個々の RGB 値を変更します。
- 入力選択: HDMI と DisplayPort 入力を手動で切り替えます。
- リフレッシュレート: Ensure your refresh rate is set to 144Hz for optimal performance. This may also need to be configured in your computer's display settings.
- ブルーライト軽減: この機能を有効にすると、ブルーライトの放出が抑えられ、長時間使用時の目の疲れを最小限に抑えることができます。
- HDR (ハイ ダイナミック レンジ): Enable HDR400 for enhanced contrast and color depth.
- アダプティブ シンク: Turn on Adaptive Sync to reduce screen tearing and stuttering, especially during gaming.
- Scenario Modes: Select from pre-set display modes optimized for different content types (e.g., Standard, Game, Movie, Text).

図5.1:以上view of key display features and adjustable settings.

Figure 5.2: Visual representation of HDR400 enhancing contrast and clarity.

Figure 5.3: Illustration of the Low Blue Light technology for eye comfort.

Figure 5.4: Visualizing the difference between 100Hz and 144Hz refresh rates for smoother motion.
6. メンテナンス
6.1 モニターの掃除
- 清掃する前に必ずモニターの電源プラグをコンセントから抜いてください。
- 柔らかく糸くずの出ない布で軽く拭き取ってください。amp水または非研磨性のスクリーンクリーナーで拭いてください。
- クリーナーを画面に直接スプレーしないでください。
- ベンゼン、シンナー、アンモニア、研磨剤入りの洗剤はモニターの表面を傷つける恐れがあるので使用しないでください。
6.2 ストレージ
モニターを長期間保管する場合は、すべてのケーブルを外し、ほこりや物理的な損傷から保護するために元の梱包に戻してください。涼しく乾燥した場所に保管してください。
7。 トラブルシューティング
モニターに問題が発生した場合は、次の一般的な問題と解決策を参照してください。
| 問題 | 考えられる原因 | 解決 |
|---|---|---|
| 画面に画像がありません | 電源ケーブルが外れています。ビデオケーブルが外れています。入力が正しく選択されていません。 | Ensure power cable is securely connected. Check video cable connection. Select correct input via OSD menu. |
| 画像がぼやけたり歪んだりする | 解像度が正しくありません。ビデオ ケーブルが緩んでいます。 | ディスプレイの解像度を1920x1080に設定します。ビデオケーブルをしっかりと接続し直してください。 |
| 画面のちらつき | リフレッシュ レートが一致しません。ケーブルに障害があります。 | Ensure refresh rate is set to 144Hz in both monitor OSD and computer display settings. Try a different video cable. |
| 色が正しく表示されない | Color settings misconfigured; Faulty cable. | Adjust color settings in OSD. Reset OSD to factory defaults. Try a different video cable. |
| 144Hzのリフレッシュレートを実現できない | Cable limitation; Graphics card limitation; Incorrect settings. | Ensure you are using a high-quality HDMI 2.0 or DisplayPort 1.2 (or higher) cable. Verify your graphics card supports 144Hz at 1080p. Check display settings in your operating system. |
8. 仕様
| 特徴 | 詳細 |
|---|---|
| モデル | P2418C |
| 画面サイズ | 24インチ(23.8インチ viewできる) |
| パネルタイプ | IPS |
| 解決 | 1920 x 1080 (フルHD) |
| リフレッシュレート | 144Hz |
| アスペクト比 | 16:9 |
| 輝度 | 350 cd/m² (HDR400 support) |
| 色域 | 99% sRGB |
| 表示色 | 16.7 Million (8-Bit) |
| 静的コントラスト比 | 1500:1 |
| View角度 | 178°(H / V) |
| 接続性 | HDMI x 1、ディスプレイポート x 2 |
| 人間工学 | 傾斜(-5°~20°) |
| VESA互換性 | 100x100mm |
| 特集 | HDR400, Low Blue Light, Adaptive Sync |
| 製品寸法(スタンド付き) | 8.6 x 21.3 x 16.3インチ |
9. 保証とサポート
For warranty information and technical support, please refer to the warranty card included with your product or visit the official TITAN ARMY website. Please have your product model number (P2418C) and serial number ready when contacting support.
オンラインサポート: Visit the TITAN ARMY Store on Amazon