1. はじめに
ご購入ありがとうございますasing the ELEPHAS RD-606 Mini Projector. This compact and portable projector is designed to provide a versatile home theater experience with features like Wi-Fi connectivity, 3D support, and a built-in battery. This manual provides essential information for setting up, operating, and maintaining your projector to ensure optimal performance and longevity.
The RD-606 utilizes advanced DLP technology to deliver clear images with a 1000:1 contrast ratio and up to 1080P resolution. Its lightweight design and integrated battery allow for flexible use in various environments.

Image: High-Definition Display Comparison. The ELEPHAS projector delivers superior image clarity and color reproduction.
2. 安全情報
プロジェクターをご使用になる前に、すべての安全に関する注意事項をよくお読みください。このマニュアルは保管し、今後の参考としてお役立てください。
- プロジェクターレンズを直接見ないでください。amp 明るい光により目が損傷する恐れがあるため、電源をオンにしてください。
- プロジェクターの周囲に適切な換気を確保してください。通気口を塞がないでください。
- プロジェクターに付属の電源アダプターのみを使用してください。
- プロジェクターを雨、湿気、極端な温度にさらさないでください。
- プロジェクターを不安定な場所に置かないでください。
- プロジェクターを分解したり改造したりしないでください。修理は必ず資格のある専門家にご依頼ください。
3. パッケージ内容
パッケージにすべてのアイテムが含まれていることを確認します。
- ELEPHAS Mini Projector (RD-606) x1
- 電源アダプター x 1
- リモコンx1
- Micro USB Wire x1
- Free Tripod x1
- キャリーバッグ×1
- ユーザーマニュアル x1
4. セットアップ
4.1 電源のオン/オフ
- Connect the power adapter to the projector's charging port (DC 5V) and then to a power outlet.
- Slide the Power Switch to the 'ON' position. The projector will power on.
- 電源を切るには、電源スイッチを「オフ」の位置にスライドします。
4.2 フォーカス調整
Rotate the focus ring on the side of the projector until the projected image appears clear and sharp.
4.3 自動キーストーン補正
The RD-606 features an automatic keystone correction function. The projected image will adjust automatically to optimize the angle, correcting distortion up to ±40 degrees. No manual adjustment is typically required for this feature.
4.4 接続性
プロジェクターはさまざまな入力ソースをサポートしています。
- HDMI: Connect devices like laptops, gaming consoles (PS4), or streaming sticks (Fire TV, Roku Stick, Apple TV) using an HDMI cable.
- USB: メディアを再生するにはUSBフラッシュドライブを挿入します file直接。
- マイクロUSB: For charging or connecting compatible devices.
- 3.5mmオーディオ: 外部スピーカーまたはヘッドフォンを接続します。
- Wi-Fi: Connect to your wireless network for online content and screen mirroring.

Image: Projector Ports and Compatible Devices. This image illustrates the various input ports and devices that can be connected to the RD-606 projector.
5. 操作手順
5.1 基本的なナビゲーション
Use the included remote control to navigate the projector's on-screen menu. The directional buttons allow you to move through options, and the 'OK' or 'Enter' button confirms selections. 'Back' or 'Return' buttons typically exit menus.
5.2 Wi-Fi接続
- Access the projector's settings menu.
- 「ネットワーク」または「Wi-Fi設定」を選択します。
- リストから希望の Wi-Fi ネットワークを選択します。
- 画面上のキーボードを使用して Wi-Fi パスワードを入力します。
- Once connected, you can access built-in apps like YouTube and Koala (if available) for online content.
5.3 Wireless Screen Mirroring (Airplay/Miracast)
The projector supports wireless mirroring from compatible smartphones and tablets via Airplay (for iOS devices) or Miracast (for Android devices).
- プロジェクターとスマートデバイスが同じ Wi-Fi ネットワークに接続されていることを確認します。
- プロジェクターのメインメニューから「スクリーンミラーリング」または「ワイヤレスディスプレイ」オプションを選択します。
- On your smart device, activate its screen mirroring feature (e.g., 'Screen Mirroring', 'Smart View', 'Airplay', 'Cast').
- Select the projector's name from the list of available devices on your smart device.
- The device's screen content will now be projected.

Image: Screen Mirroring with Phone/Tablet. This image demonstrates how to wirelessly share content from mobile devices to the projector.
5.4 3D Mode Operation
The RD-606 Series supports multiple 3D modes. To experience 3D content:
- You will need a pair of active DLP Link 3D glasses (sold separately).
- Play 3D content from a compatible source.
- Turn on your DLP Link 3D glasses. They should automatically synchronize with the projected image.
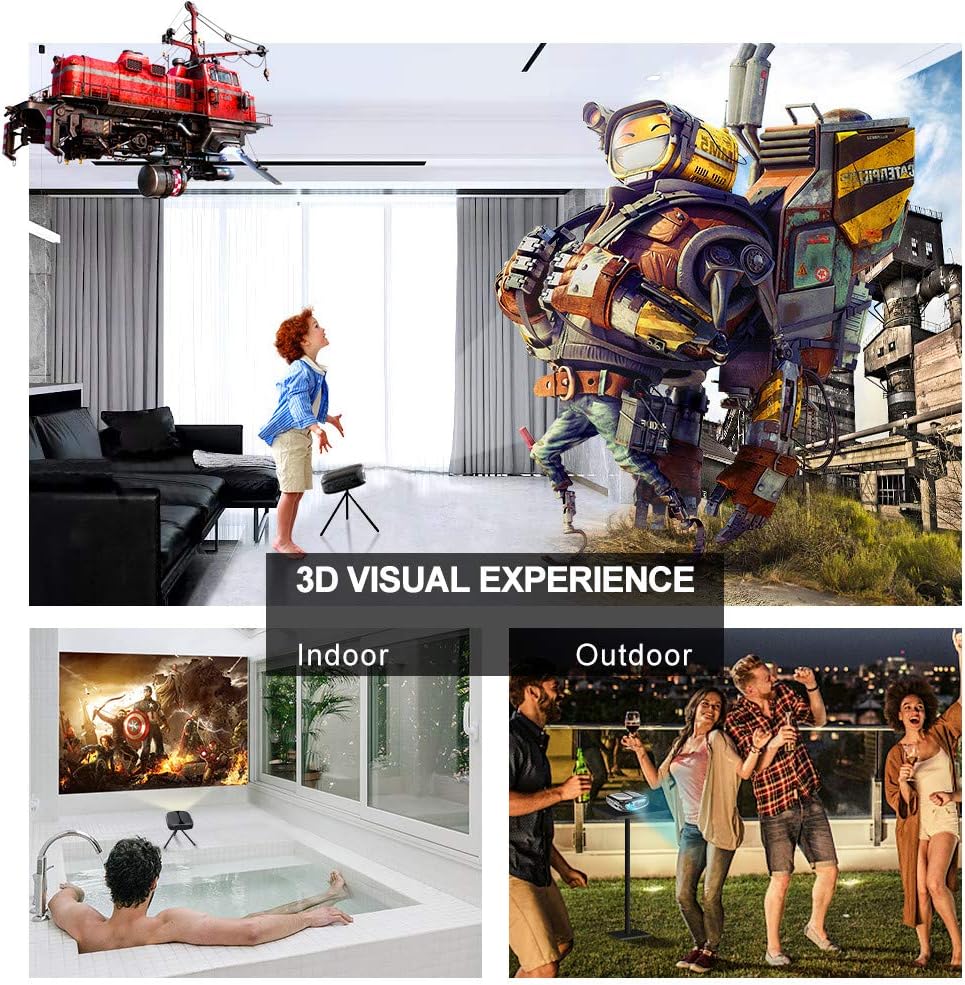
Image: 3D Visual Experience. The projector offers immersive 3D viewing for both indoor and outdoor settings.
5.5 Battery Operation and Portability
The built-in battery provides approximately two hours of continuous video playback, offering flexibility for use without a constant power source. For extended use, the projector can also be charged via a power bank.

Image: Embedded Battery for Portable Use. The projector's battery allows for convenient outdoor entertainment.

Image: Pocket Size and Lightweight Design. The projector's compact form factor makes it highly portable.
6. メンテナンス
6.1 レンズのクリーニング
Gently wipe the projector lens with a soft, lint-free cloth specifically designed for optical surfaces. Do not use abrasive cleaners or harsh chemicals.
6.2一般的なクリーニング
プロジェクターのカバーを拭くときは、柔らかく乾いた布を使用してください。asing. 頑固な汚れには、軽くdamp 布で拭いた後、乾いた布で拭いてください。デバイス内に液体が入らないようにしてください。
6.3 ストレージ
When not in use for extended periods, store the projector in a cool, dry place, away from direct sunlight and extreme temperatures. Use the provided carrying bag for protection against dust and physical damage.
7。 トラブルシューティング
- 電源なし:
- 電源アダプタがプロジェクターと正常な電源コンセントの両方にしっかりと接続されていることを確認します。
- 電源スイッチが「オン」の位置にあるかどうかを確認します。
- 電源コンセントが機能していることを確認します。
- 画像無し:
- Check the input source selection on the projector to ensure it matches your connected device (e.g., HDMI, USB).
- 接続されているデバイスの電源がオンになっていて、信号を出力していることを確認します。
- すべてのケーブルがしっかりと接続されていることを確認してください。
- ぼやけた画像:
- 画像が鮮明になるまでプロジェクターのフォーカスリングを調整します。
- 投影面が平らであり、プロジェクターが適切な距離にあることを確認します。
- 音が出ない:
- プロジェクターと接続されているソースデバイスの両方の音量設定を確認します。
- 外部スピーカーを使用する場合は、正しく接続され、電源がオンになっていることを確認してください。
- ソース デバイスのオーディオ出力設定が正しいことを確認します。
- Wi-Fi/Screen Mirroring Issues:
- Ensure both the projector and your smart device are connected to the same Wi-Fi network.
- Check for strong Wi-Fi signal strength.
- Restart both the projector and your smart device.
- Ensure your smart device's operating system is up to date.
8. 仕様
| 特徴 | 仕様 |
|---|---|
| モデル | RD-606 |
| ディスプレイ技術 | 情報漏洩防止 |
| 画像の明るさ | 2600ルーメン |
| 画像のコントラスト比 | 1000:1 |
| ネイティブ解像度 | 1920 x 1080 (1080P をサポート) |
| 特集 | Auto Keystone, HDMI Connectivity, Portable, Built-in Wi-Fi, 3D Ready |
| 接続技術 | HDMI、USB、Wi-Fi |
| 対応デバイス | Laptops, Smartphones, Media Players |
| 電池のタイプ | リチウムイオン(1個付属) |
| バッテリー寿命 | Approx. 2 hours video playback |
| 製品寸法 | 9.91 x 10.67 x 4.06 cm |
| アイテム重量 | 793.79 g (0.66 ポンド) |
| 取り付けタイプ | 卓上マウント |
9. 保証とサポート
ELEPHAS provides lifetime professional customer service and technical support for the RD-606 Mini Projector. If you encounter any issues or have questions regarding your product, please do not hesitate to contact our support team.
連絡先:
- メールアドレス: support@elephas.com.hk
Please have your product model number (RD-606) and purchase details ready when contacting support to facilitate a quicker resolution.